What you need to know:
The Gutenberg interface can be customized to a small degree via the three-dot button in the upper-right corner of the page. The most notable customizations include choosing which interface elements and panels to show, toggling between the Visual and Code editors, managing the Block Library, and more.
WordPress has always been a content management system that is very powerful and flexible and yet it remains easy to use. Gutenberg, the WordPress Block Editor, continues this tradition by being intuitive and straightforward while also offering a few ways to customize its interface and behavior. In this article, we’ll go over the various customizations that you can perform in Gutenberg.
Table of Contents:
What Is the Gutenberg Editor in WordPress?
Gutenberg, also known as the WordPress Block Editor, is the successor to the classic WYSIWYG post editor. Released with WordPress 5.0, Gutenberg uses blocks to contain your various types of content. There are paragraph blocks, image blocks, quote blocks, and so on. Having your content separated like that makes it easier to modify one piece of content without negatively affecting the rest.
The WordPress Block Editor is fully integrated into WordPress and it appears automatically whenever you are creating a new post, page, or widget. If you have not used Block Editor in the past, we have a separate tutorial where you can learn the Gutenberg basics.
Tip:
Do you want to try Gutenberg for yourself, but you don’t have a website yet? Get one of our premium WordPress hosting plans or even our free hosting package and you’ll have access to the WordPress Block Editor in no time!
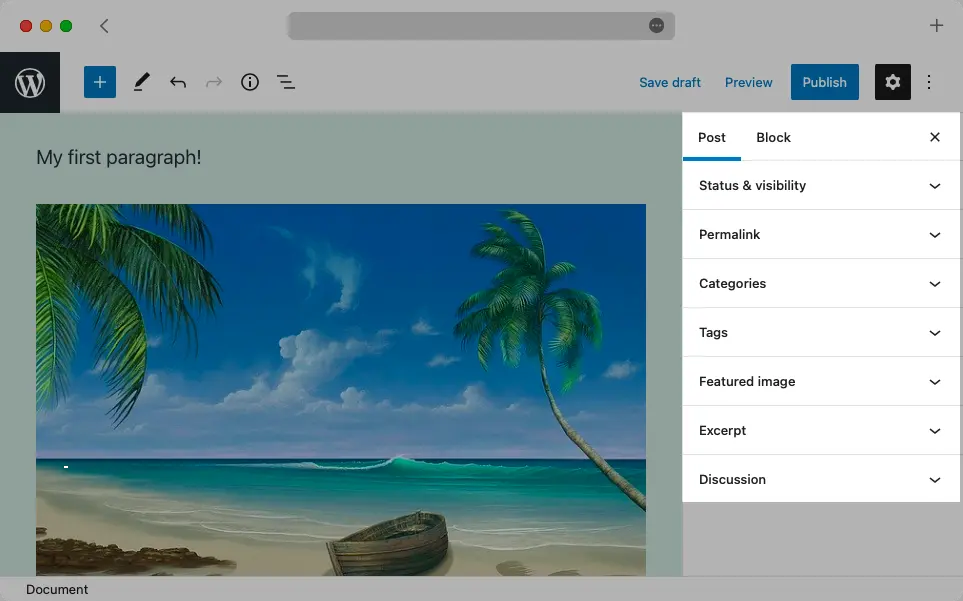
Configuring the Gutenberg Editor Preferences
The WordPress Block Editor comes with its own preference pane. You can access it by clicking on the three-dot button at the end of the Top Toolbar and then choosing the last option called Preferences from the dropdown menu.
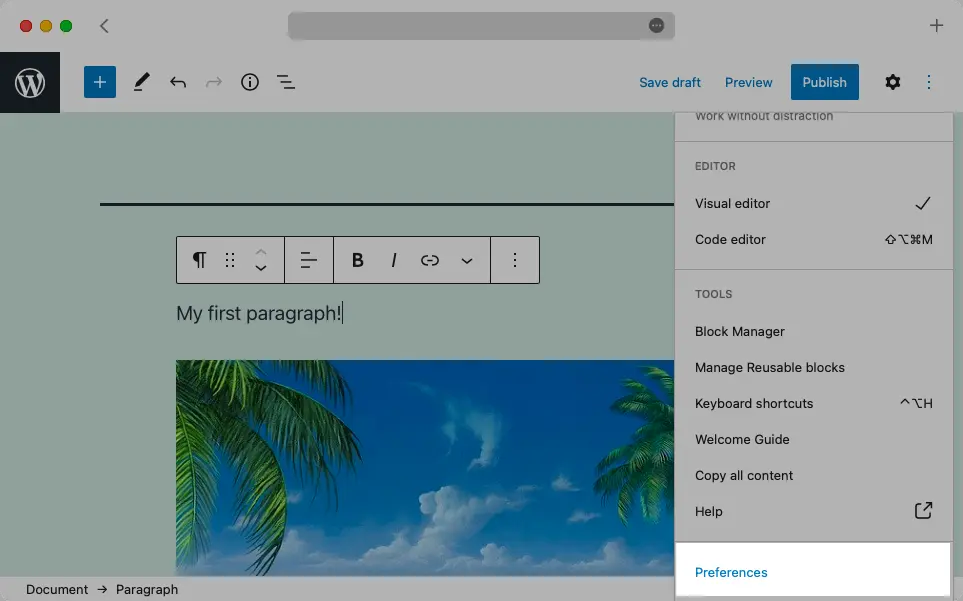
The preference pane in Gutenberg is accessed via the three-dot button in the Top Toolbar.
In the next few sections, we’ll explore what you can do in the Gutenberg Preferences pane.
General
When you open the Preferences pane, you will be taken to the General tab.
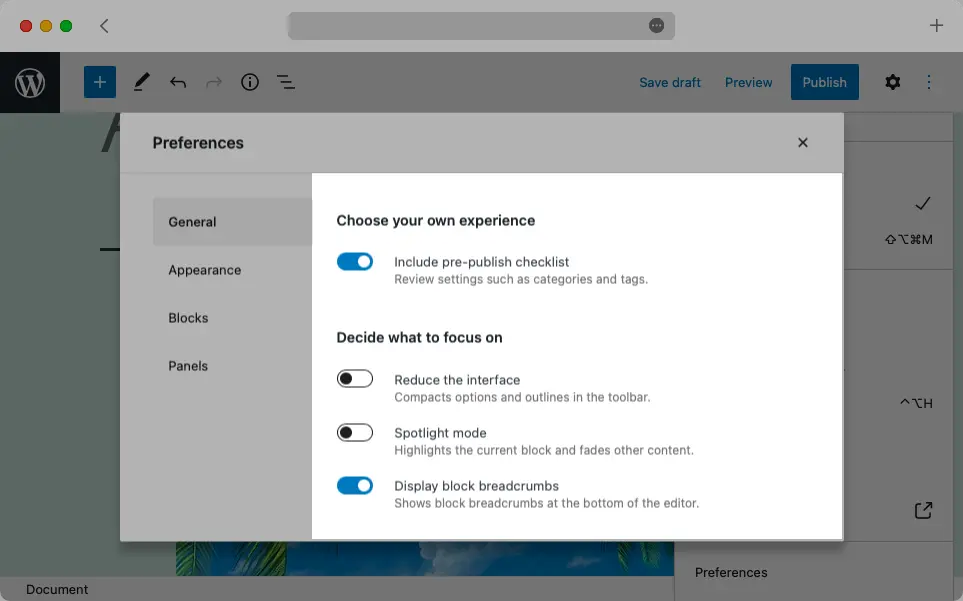
The General tab is the first tab in Gutenberg’s Preference pane.
The first option that you’ll come across is called Include pre-publish checklist. This pre-publish checklist is a bunch of recommendations that Gutenberg offers as you are about to publish your content in WordPress. You can enable or disable this functionality from here
The next set of toggles control various visual elements on the screen. When you enable Reduce the interface, you will notice that the Status Bar will be removed and most buttons will disappear from the Top Toolbar. That said, you can easily reveal the hidden buttons by hovering your mouse cursor over the Top Toolbar.

Hovering your mouse cursor over the Top Toolbar will reveal its hidden buttons when the Reduce the interface option is enabled.
Next, you’ll notice a toggle called Spotlight mode. When enabled, this option will help you focus on your currently selected block by slightly fading the rest.
Spotlight mode helps you focus on your content by fading neighboring blocks.
Lastly, the Display block breadcrumbs toggle can be used to show or hide the Status Bar. Note that this toggle will be hidden if you have enabled Reduce the interface.
Appearance
The second tab in Gutenberg’s Preferences is called Appearance. It holds two options that change the looks of the WordPress Block Editor.
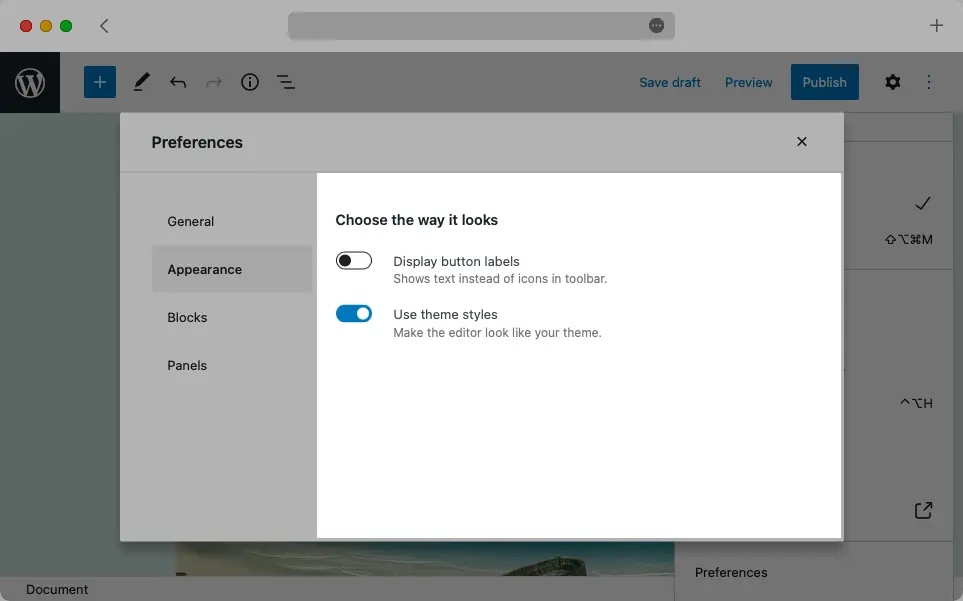
The Appearance tab can change how Gutenberg looks.
When you enable the first toggle called Display button labels, the glyphs on all buttons will be replaced with text.
You can replace all button glyphs with text labels using the Display button labels option.
The second toggle, called Use theme styles, controls whether Gutenberg applies styling from your current theme or not. If you disable this option, the WordPress Block Editor will look the same regardless of the theme you are currently using.
By allowing Gutenberg to use your theme styling, you can get a better idea of how your content will look once published.
Blocks
The third tab in Gutenberg’s Preferences is called Blocks and contains two options: Show most used blocks and Contain text cursor inside block.

The Blocks tab in the Gutenberg Preferences contains two block-related options.
When you enable the first toggle, you will see a new Most Used section in the Block Library. The second option, on the other hand, is an accessibility feature for people using screen readers to interact with the WordPress Block Editor.
Panels
The last tab in the Preferences window is called Panels.
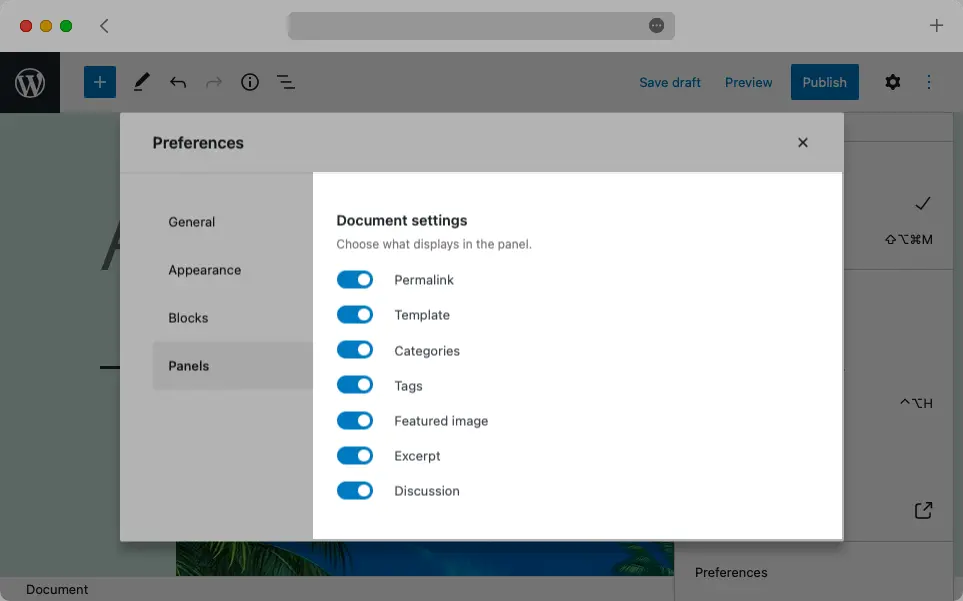
The Panels section in Gutenberg Preferences allows you to show and hide most Sidebar panels.
It simply lists various Sidebar panels that you can toggle on and off.
You can choose to hide the Sidebar panels that you do not use.
Learning Gutenberg’s View Options
The Gutenberg Preference pane does not hold all of the interface options that the WordPress Block Editor has to offer. Some settings are also placed in the dropdown menu that is activated by the three-dot button at the end of the Top Toolbar. In this section, we will explore the first three options that appear there.
You can find additional Gutenberg options by clicking on the three-dot icon at the end of the Top Toolbar.
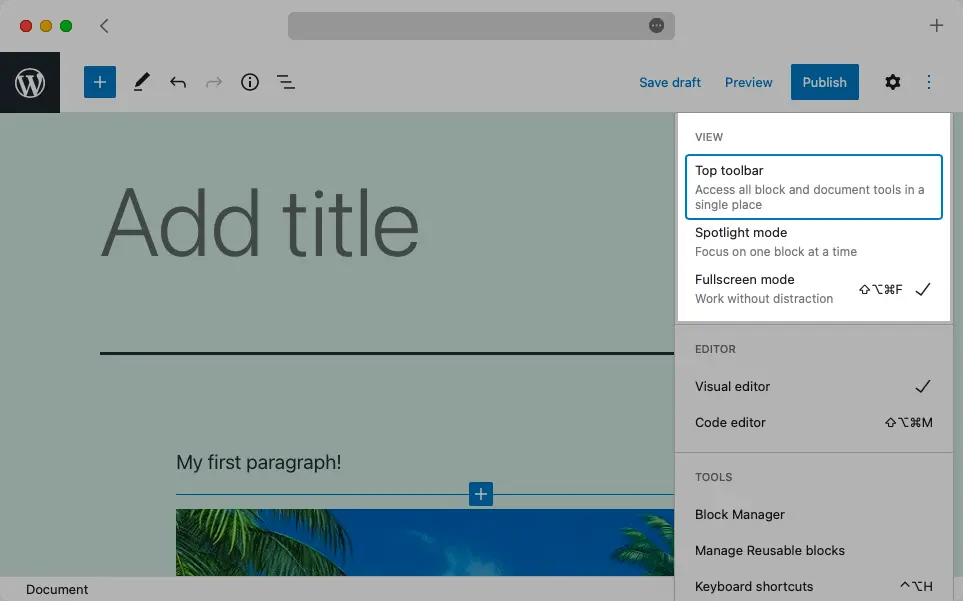
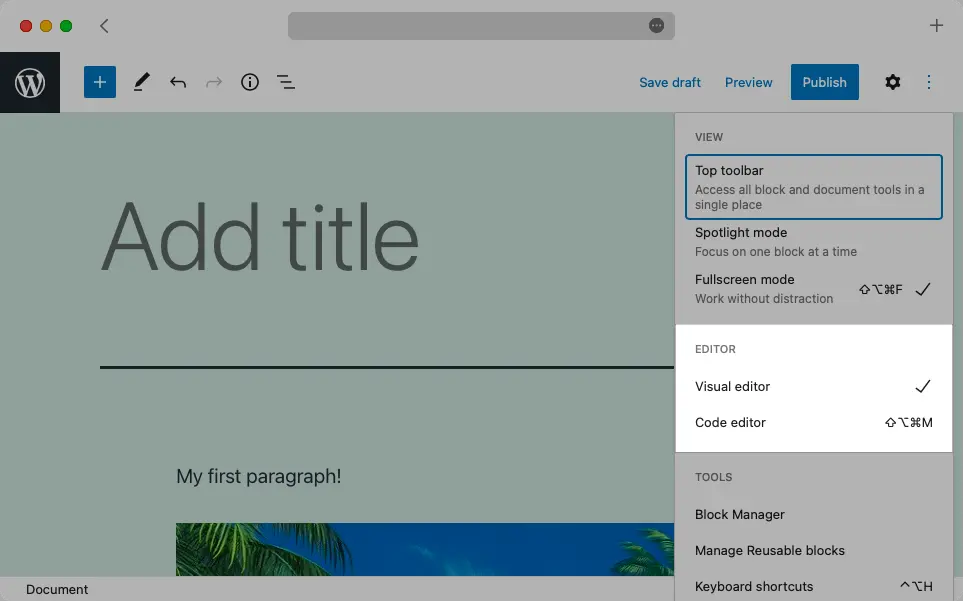
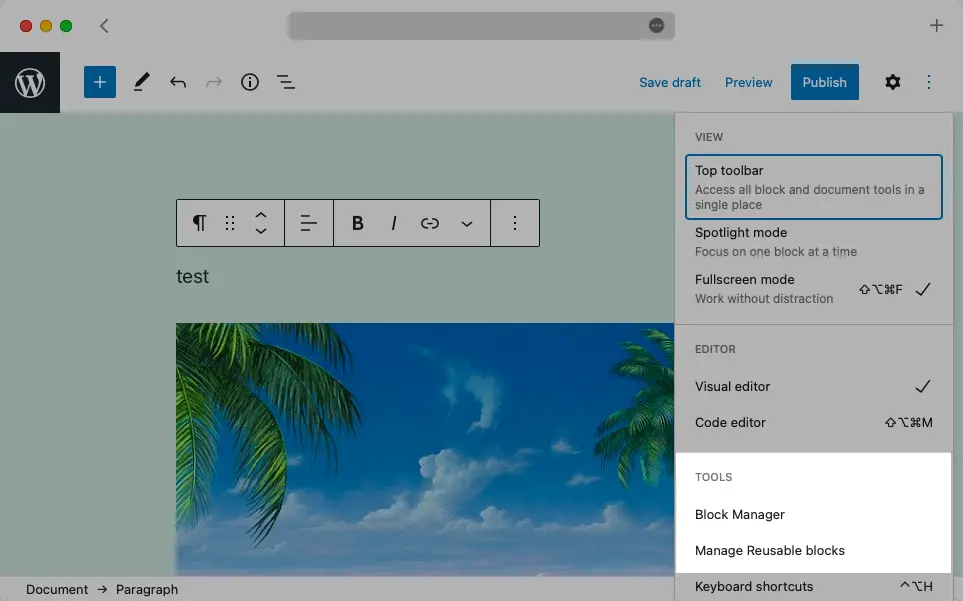
The first setting, called the Top toolbar, can be used to anchor the Contextual Toolbar so it always appears below the Top Toolbar.
The Top toolbar option takes the Contextual Toolbar out of the Main Content Area and places it below the Top Toolbar.
Next, you’ll find Spotlight mode. This is actually the same toggle we encountered while exploring the General tab in Gutenberg’s Preferences.
Finally, you’ll also see the option for Fullscreen mode. This toggle shows and hides the WordPress sidebar and top toolbar. When Fullscreen mode is turned on, your entire page will be taken up by the WordPress Block Editor:
The Gutenberg interface with Fullscreen turned on.
And when you turn Fullscreen mode off, a portion of the page will be taken up by the WordPress admin panel.
The Gutenberg interface with Fullscreen turned off.
Learning Gutenberg’s Editor Options
Gutenberg offers two options when it comes to its editor. You can use either the Visual Editor or the Code Editor. You can switch between them using the two buttons in the three-dot dropdown menu.
Gutenberg allows you to use either the Visual Editor or the Code Editor when creating content.
The Visual Editor uses blocks to represent your various types of content. The Code Editor, on the other hand, presents you with the HTML code that makes up your content. Switching to the Code Editor will significantly change the appearance of the Gutenberg interface.
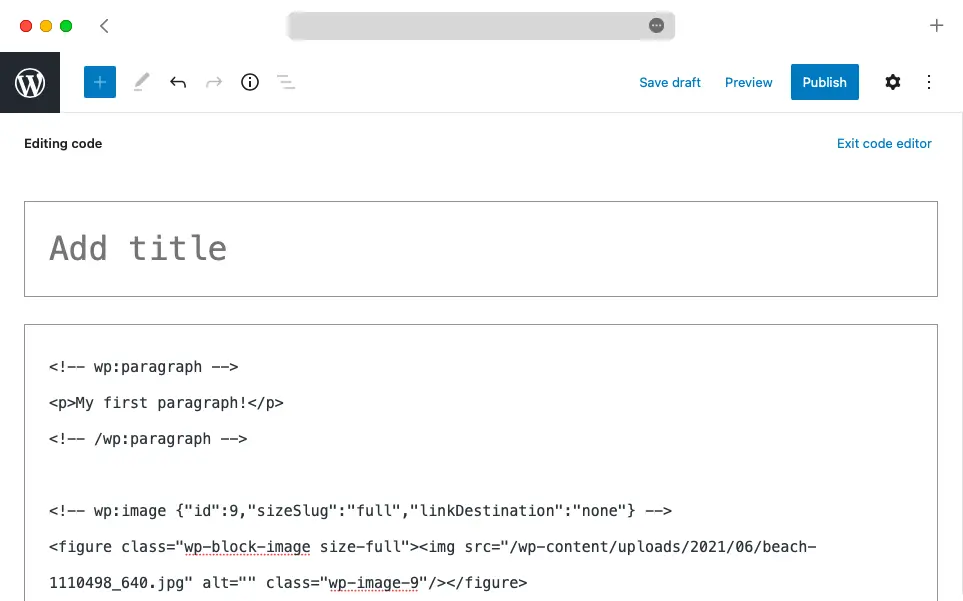
The Code Editor significantly changes the appearance of the WordPress Block Editor.
Tip:
It is possible to switch between the Visual and Code editors while working on the same document!
Gutenberg Block Management
The last set of Gutenberg options that we’ll look at consists of the Block Manager and Manage Reusable blocks buttons.
The WordPress Block Editor also has some block-specific options that you can adjust.
The Block Manager lets you choose which blocks are available in the Block Library while the Manage Reusable blocks button will take you to the reusable blocks section in WordPress where you can manage your reusable blocks.
Next Steps
Thanks to the various settings and customizations outlined in this article, you should be able to set up Gutenberg in a way that best suits the way you work. And if you want to become even more proficient with the WordPress Block Editor, we recommend learning its keyboard shortcuts, how to work with blocks, and which are the best Gutenberg plugins.