Adding images with Gutenberg is quite simple. The block editor is very user-friendly and allows you to add images in several ways.
In the following paragraphs, you will read about 4 methods you can instantly use to upload the media files you want.
How to Add Images to WordPress with Gutenberg
Adding images to WordPress is very easy, especially if you are using Gutenberg to craft your website.
To add an image, you should first enter your WordPress admin dashboard.
Then, make sure that Gutenberg is set as your default editor.
After that, open the web page or a blog post in which you want to add an image.
Keep in mind that the process is the same whether you want to add an image to a web page or a blog post.
For this demonstration, we will create a sample post.
Once you open a web page or a blog post, Gutenberg will be activated and you should see a page such as this:

There are a total of 4 ways you can add an image to the content area of your blog post/web page:
- By clicking the black + sign within the content area.
- By clicking the blue + button at the top left corner of the page.
- By typing “/” within the content area and searching for the image block.
- By directly dragging an image from your device to WordPress.
In the following paragraphs, you will read how to use each of the mentioned methods.
Method 1: Click the Black + Button Within the Content Area
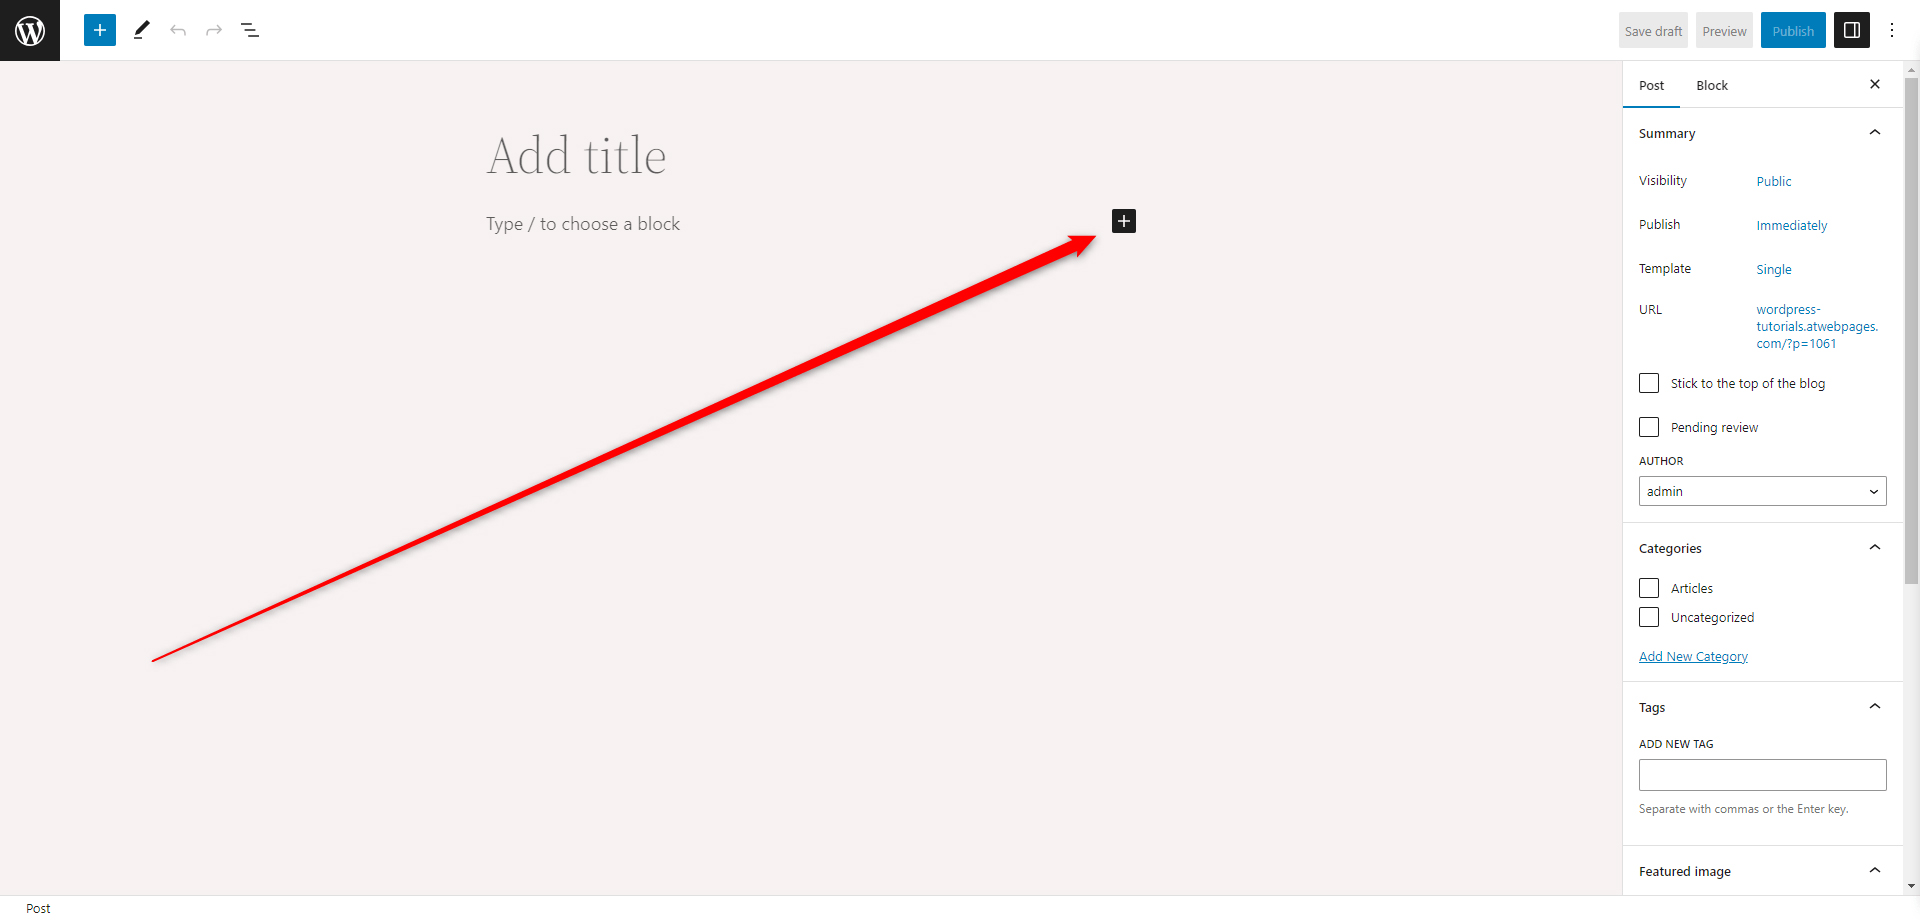
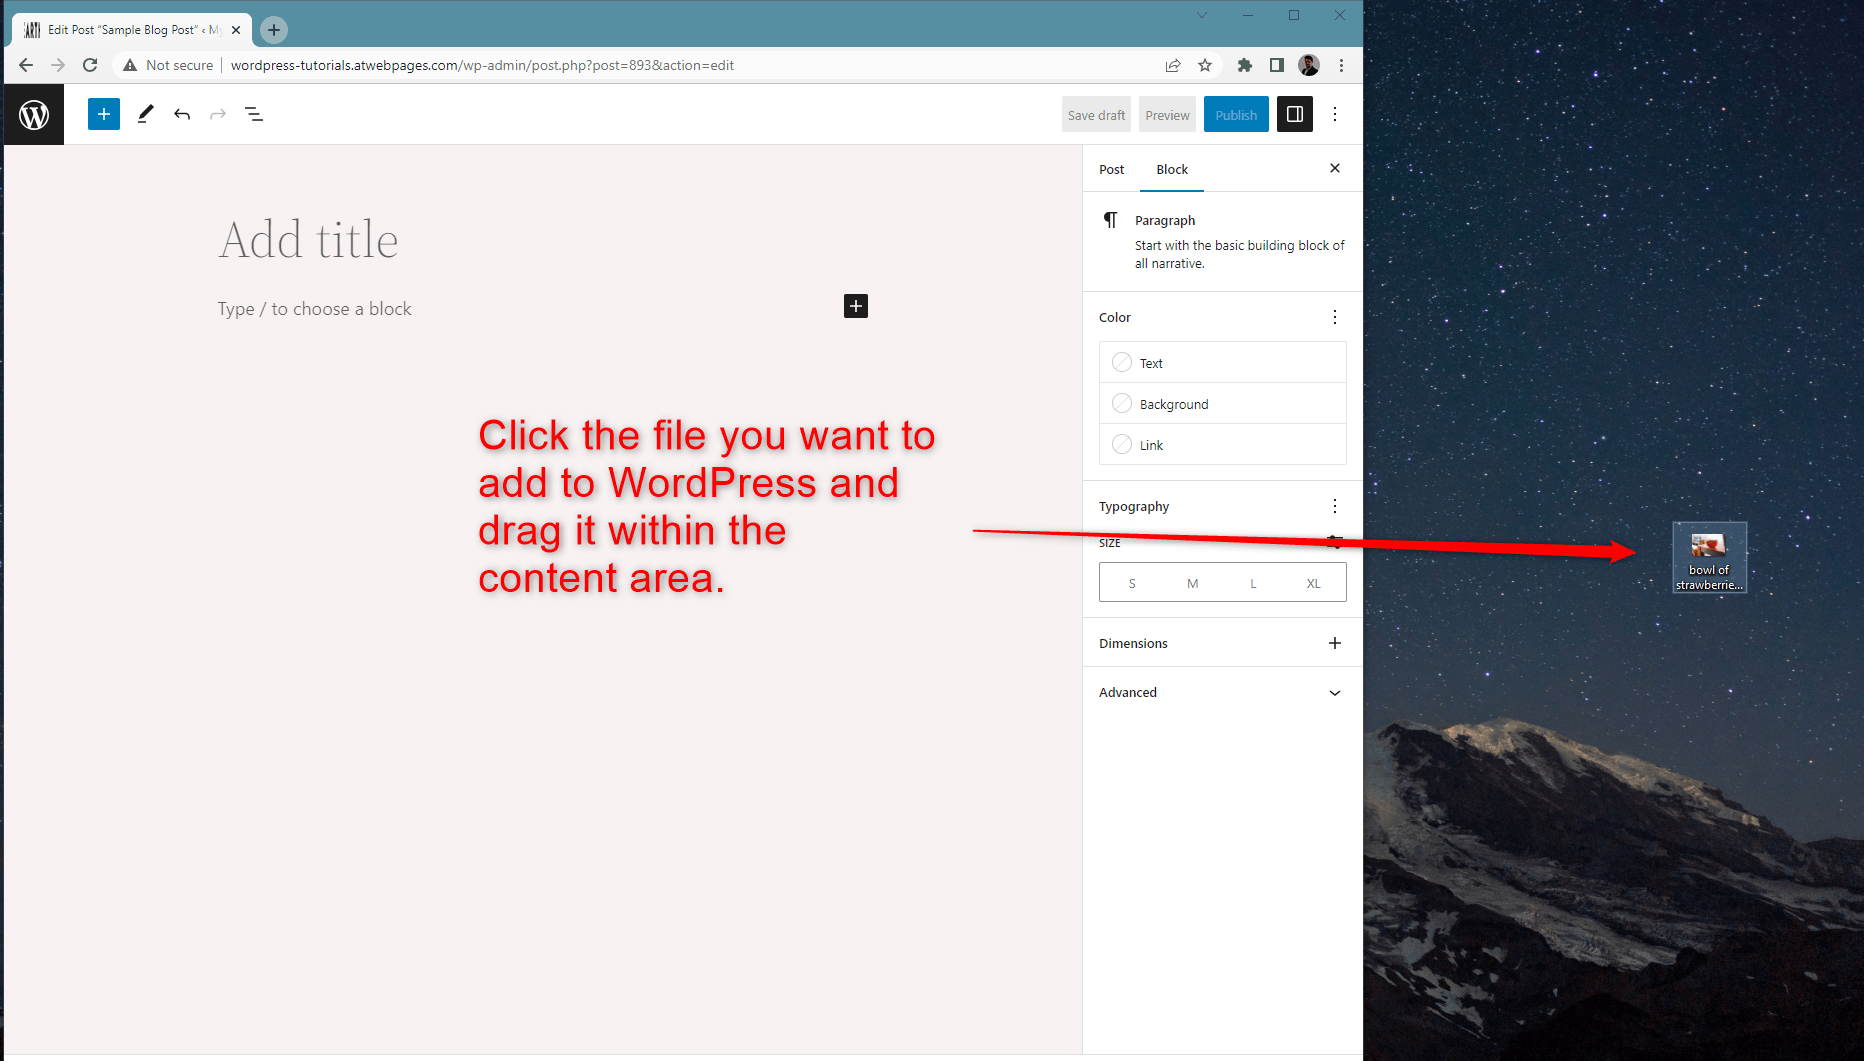
A very quick way of adding an image to WordPress with Gutenberg is by simply clicking the + button that is always visible within your content area:
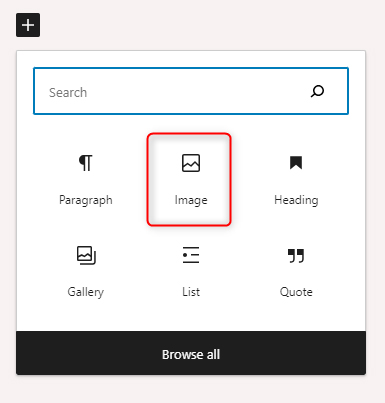
Once you click the black + button, a new box with the most used Gutenberg blocks will appear:

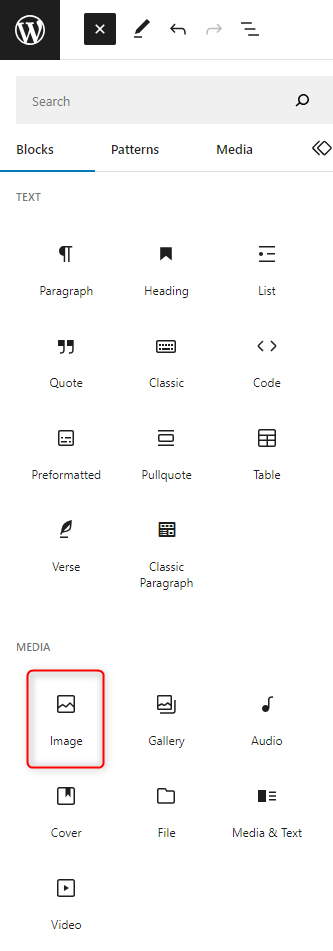
Within this box search for the Image icon:
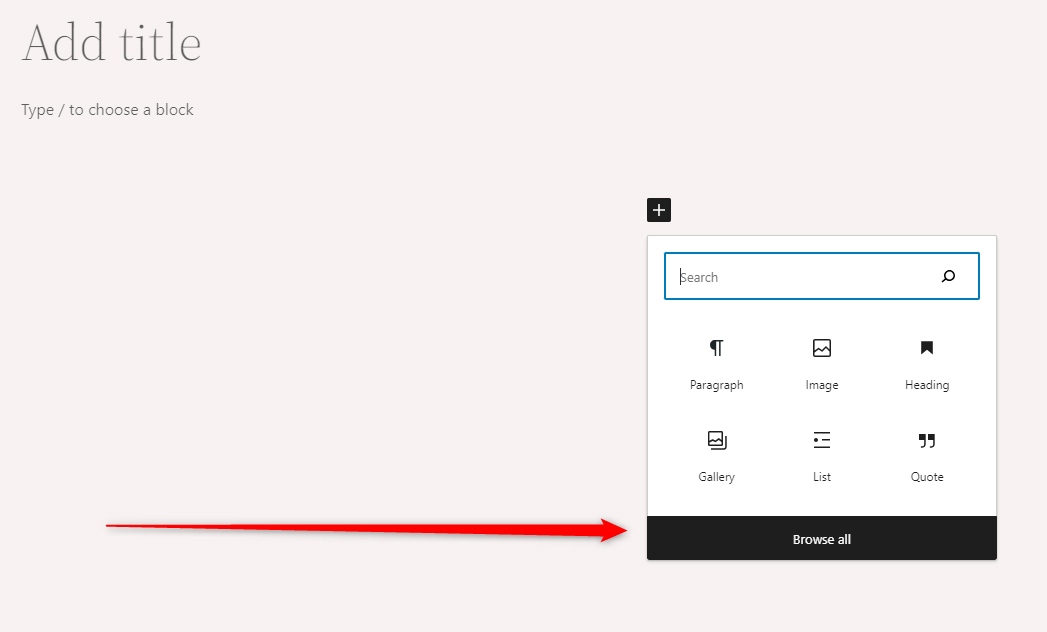
If you don’t see such an icon, click on the Browse All button, so you open the list with all available Gutenberg blocks:
Once you click it, the list with blocks should appear on the left side of the screen:
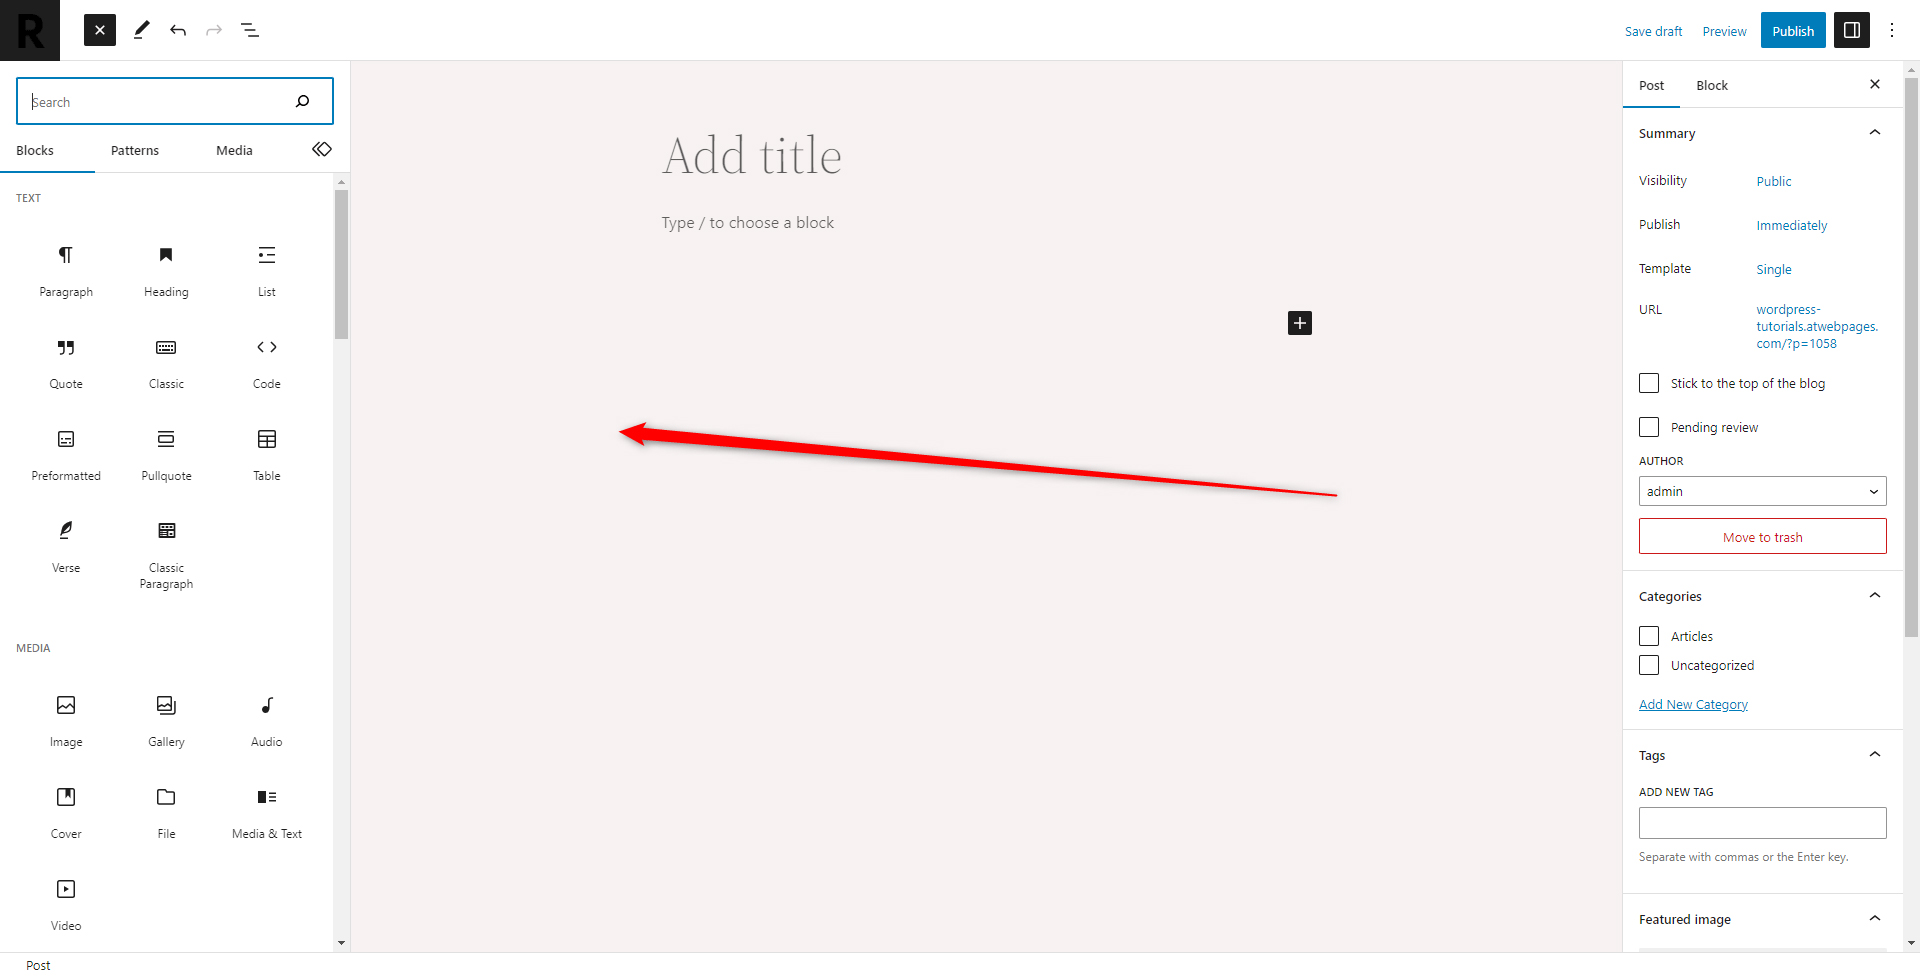
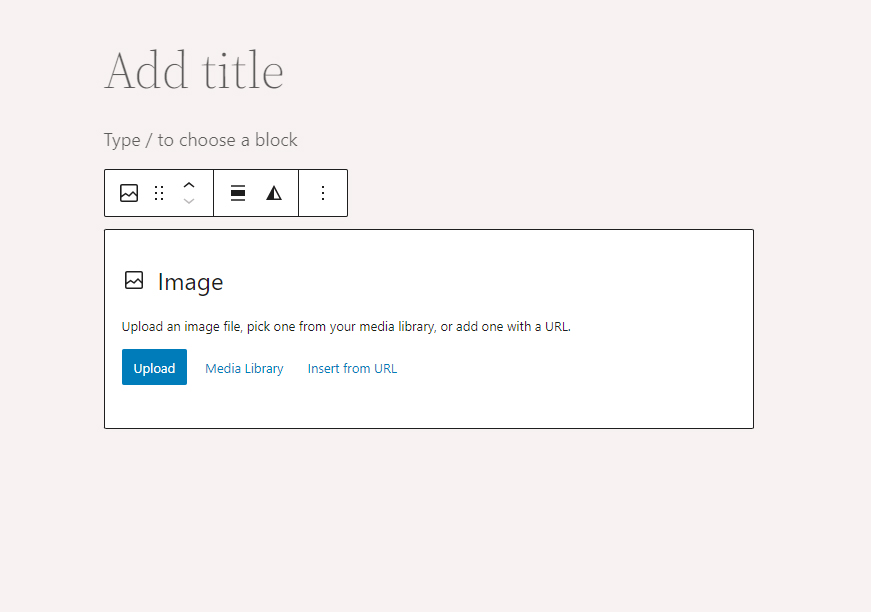
Search for the Image icon and click it. This will make WordPress insert a new image block within your content area:
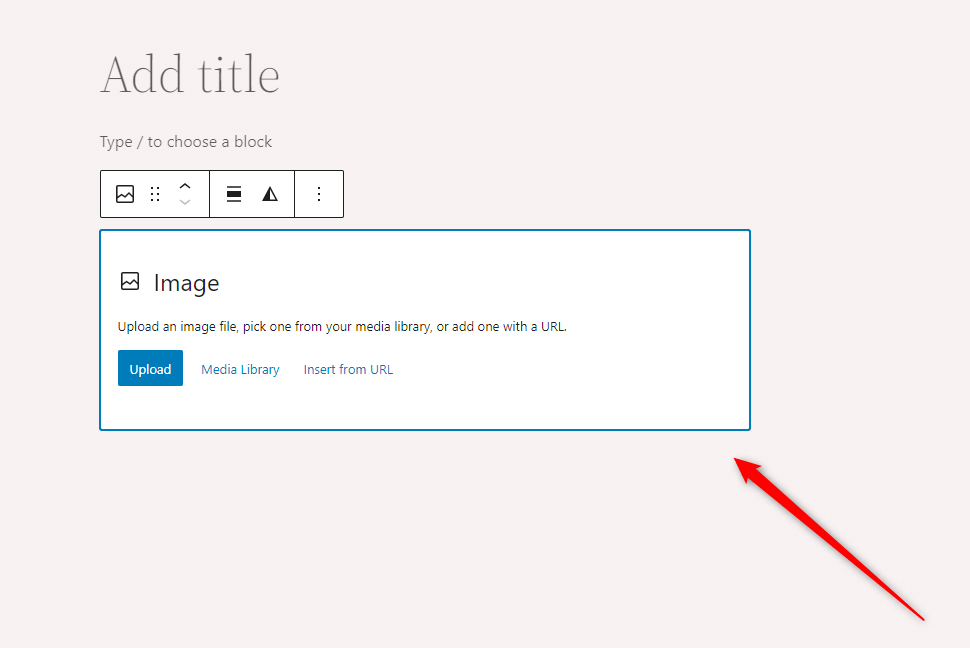
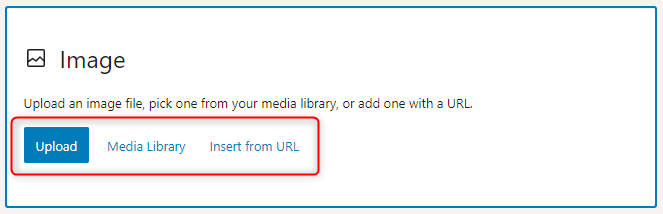
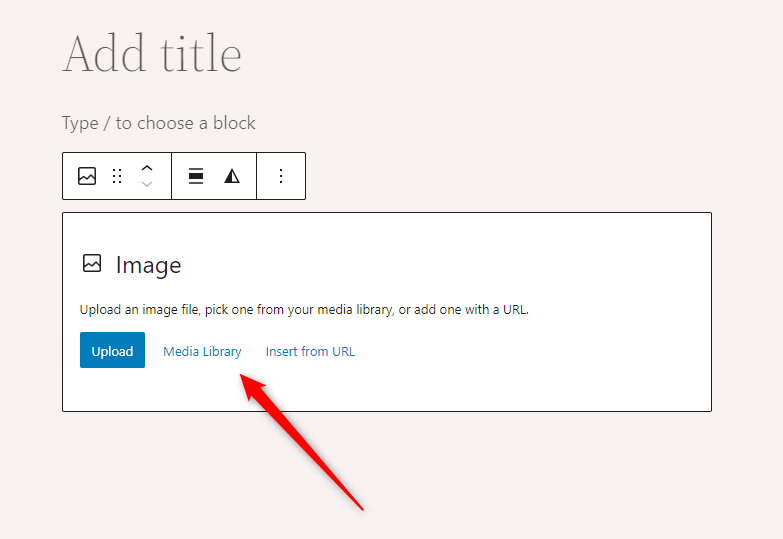
Via this block you can either upload an image to WordPress, insert an image from the WordPress media library or insert an image from the URL:
For this demonstration, we will use an already uploaded image from the Media Library.
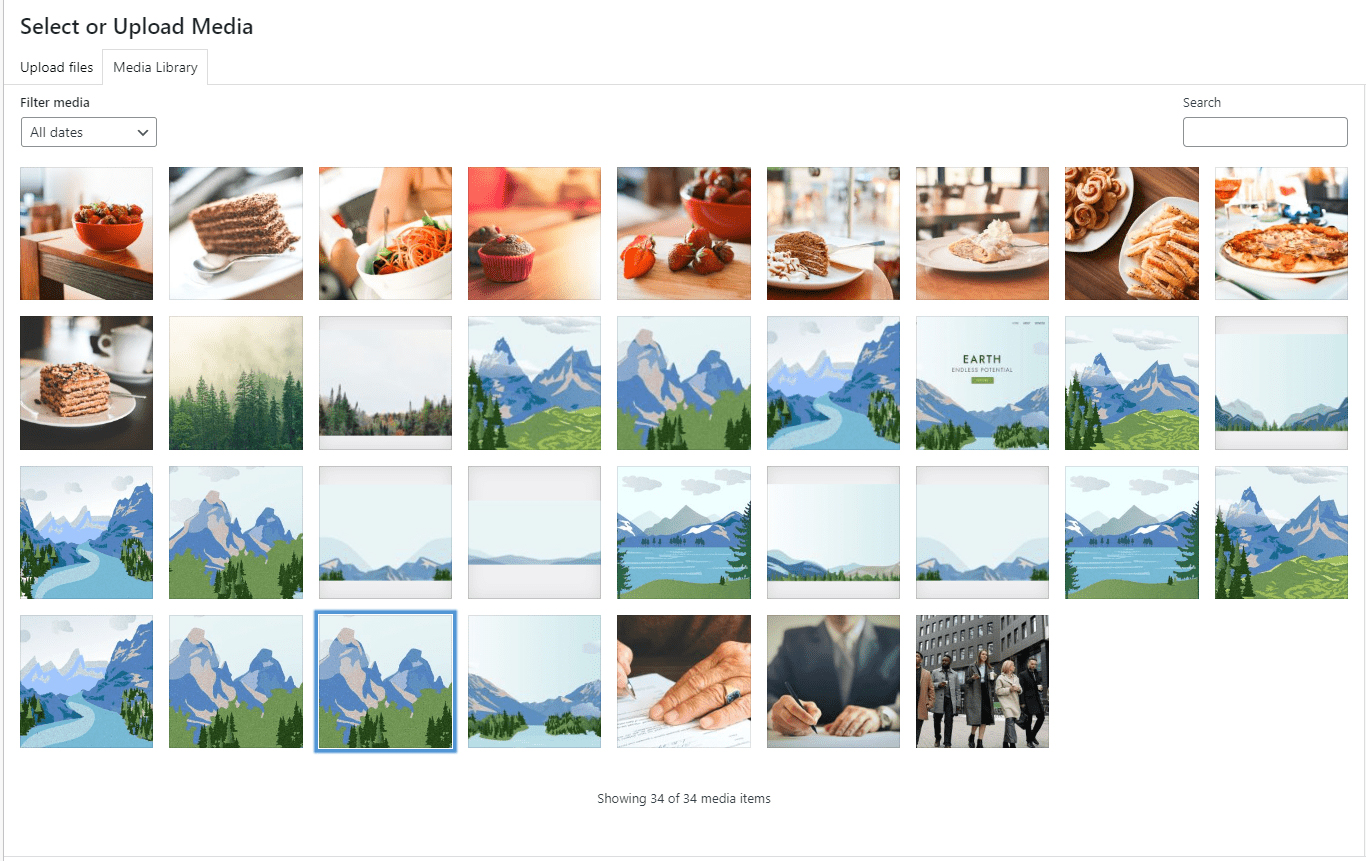
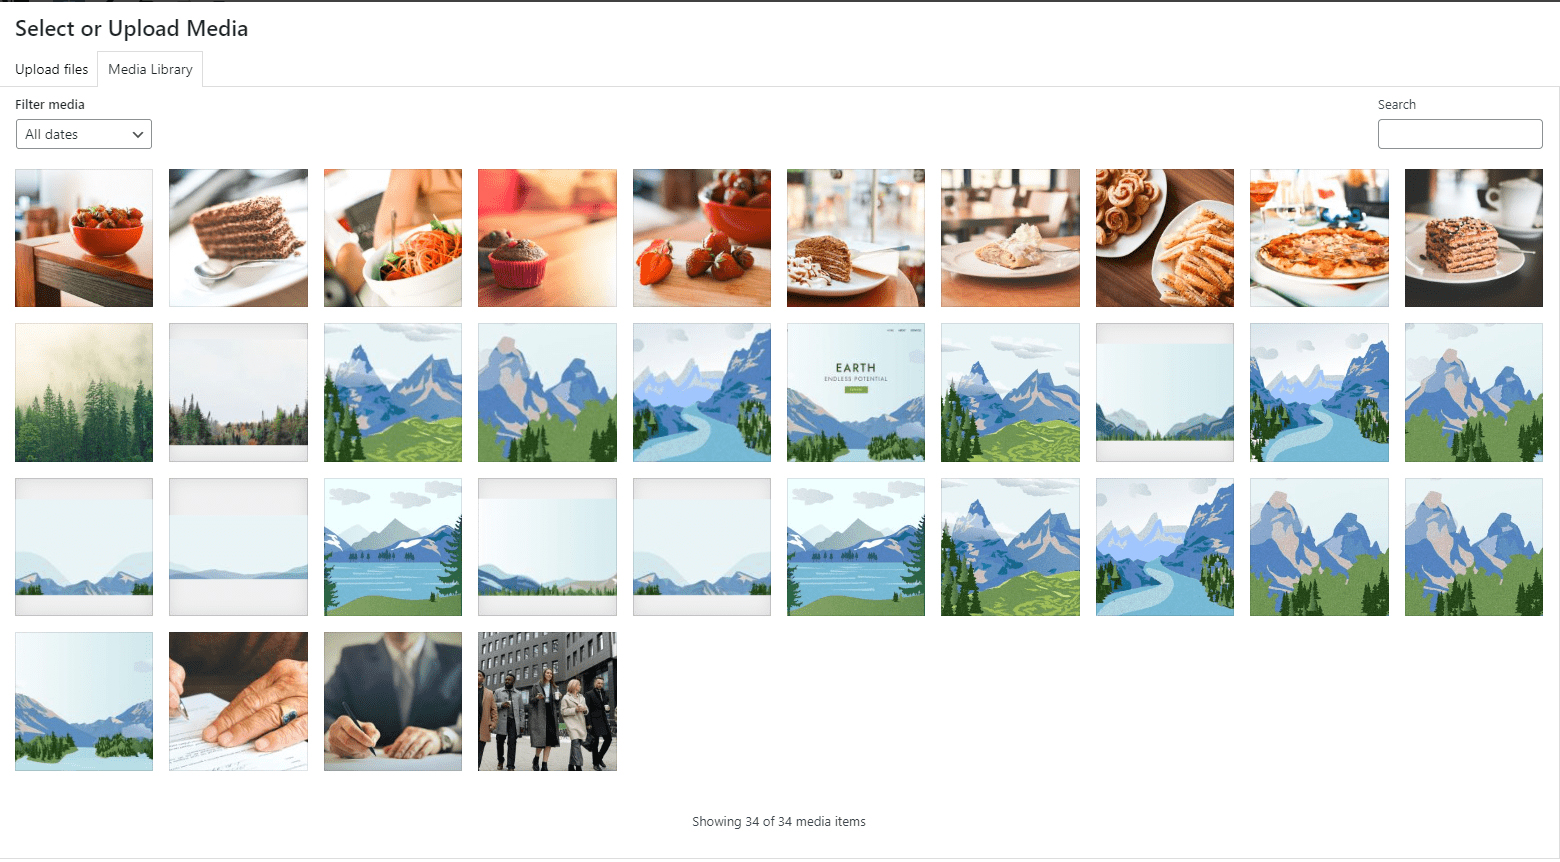
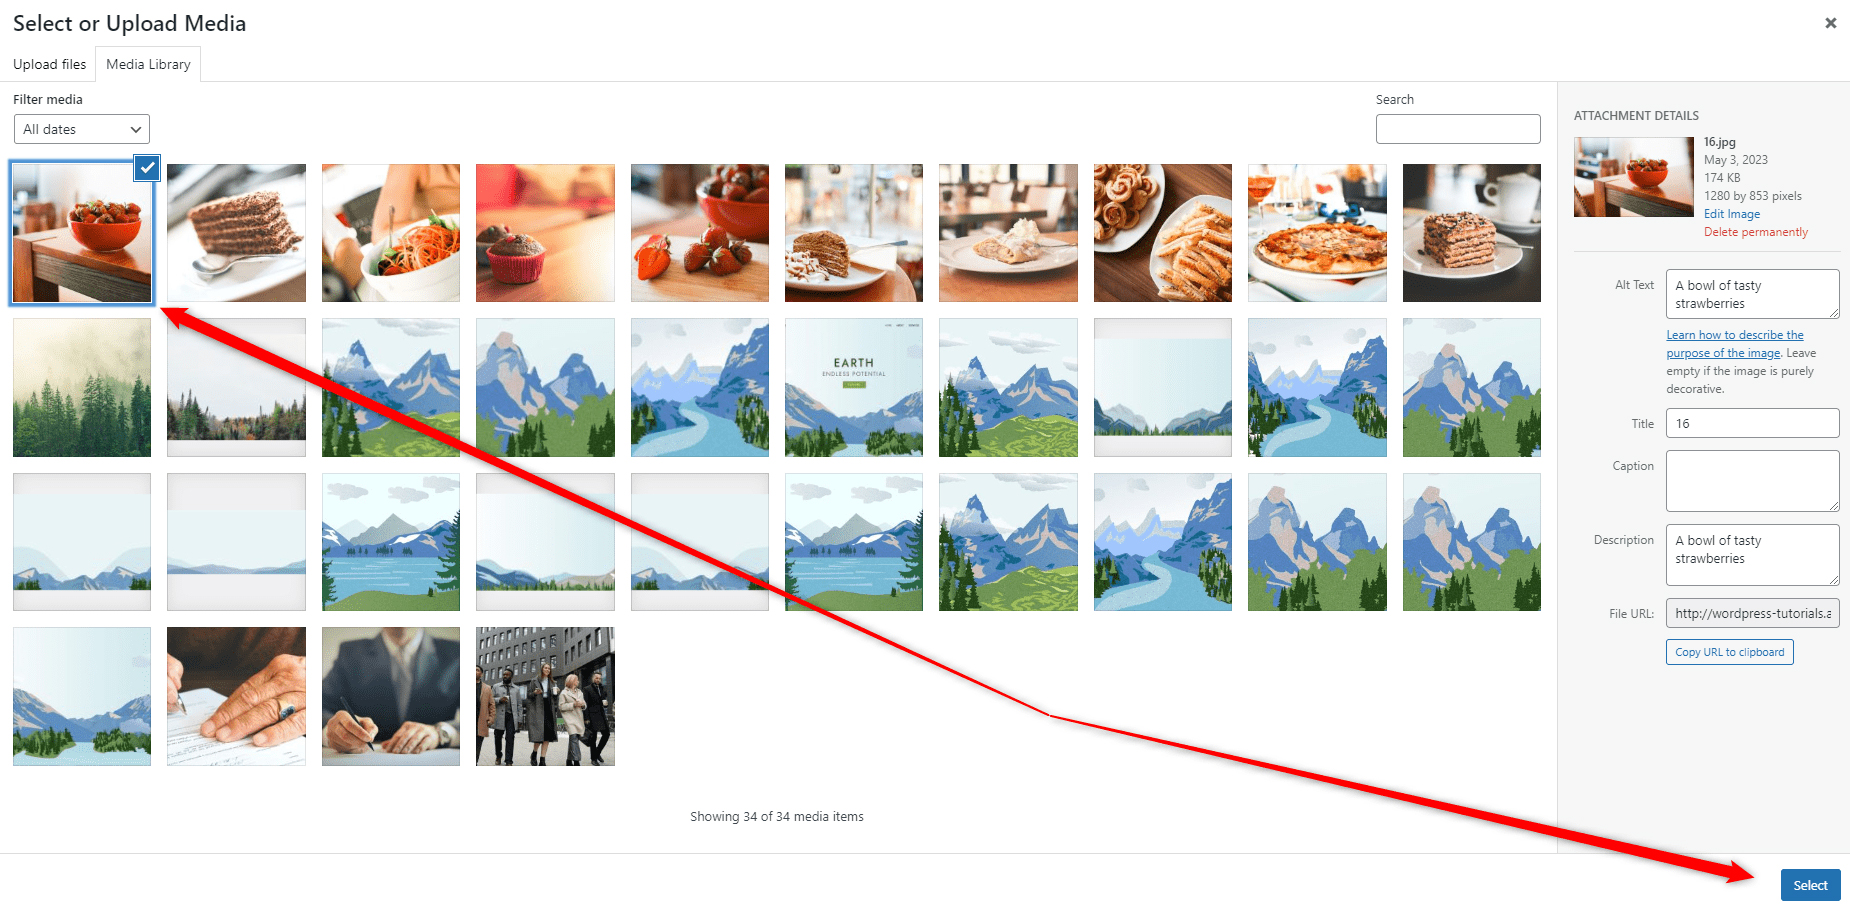
We simply click the Media Library button and a list with all uploaded images to WordPress will appear:
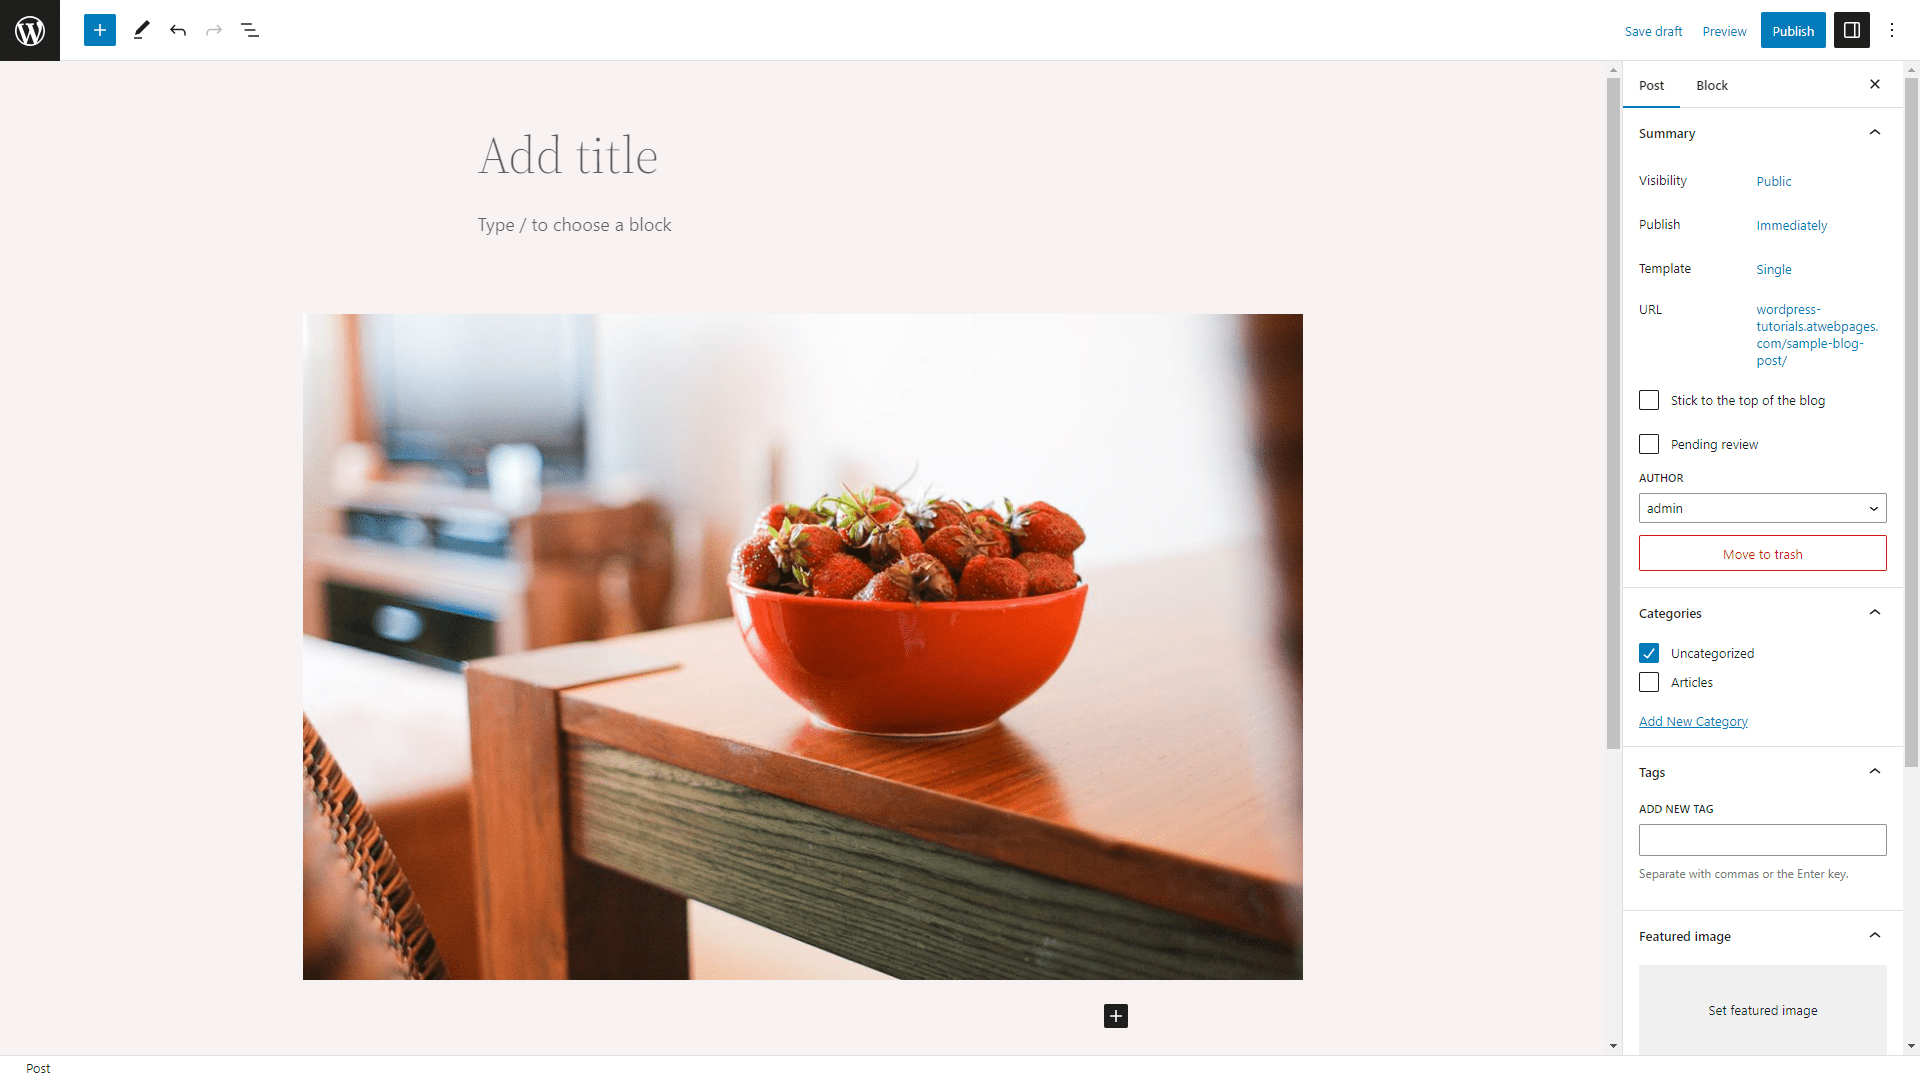
While inside, click on a particular image you would want to add to your content, and after that click on the blue Select button at the bottom right of the screen:
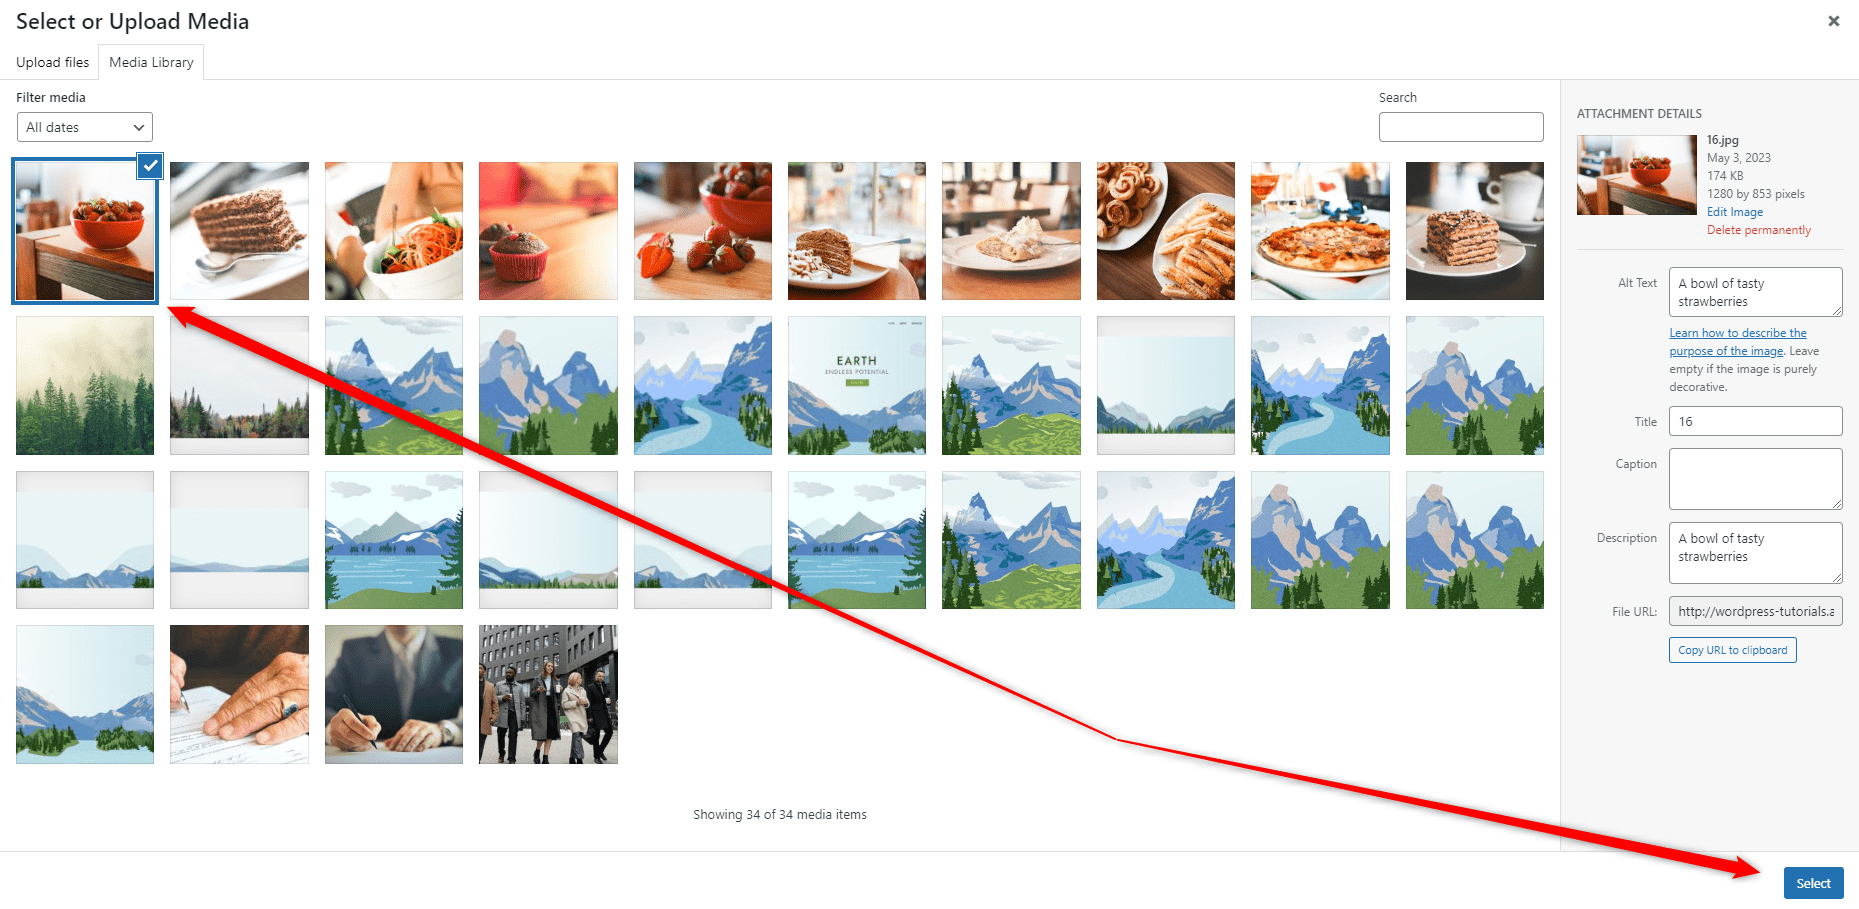
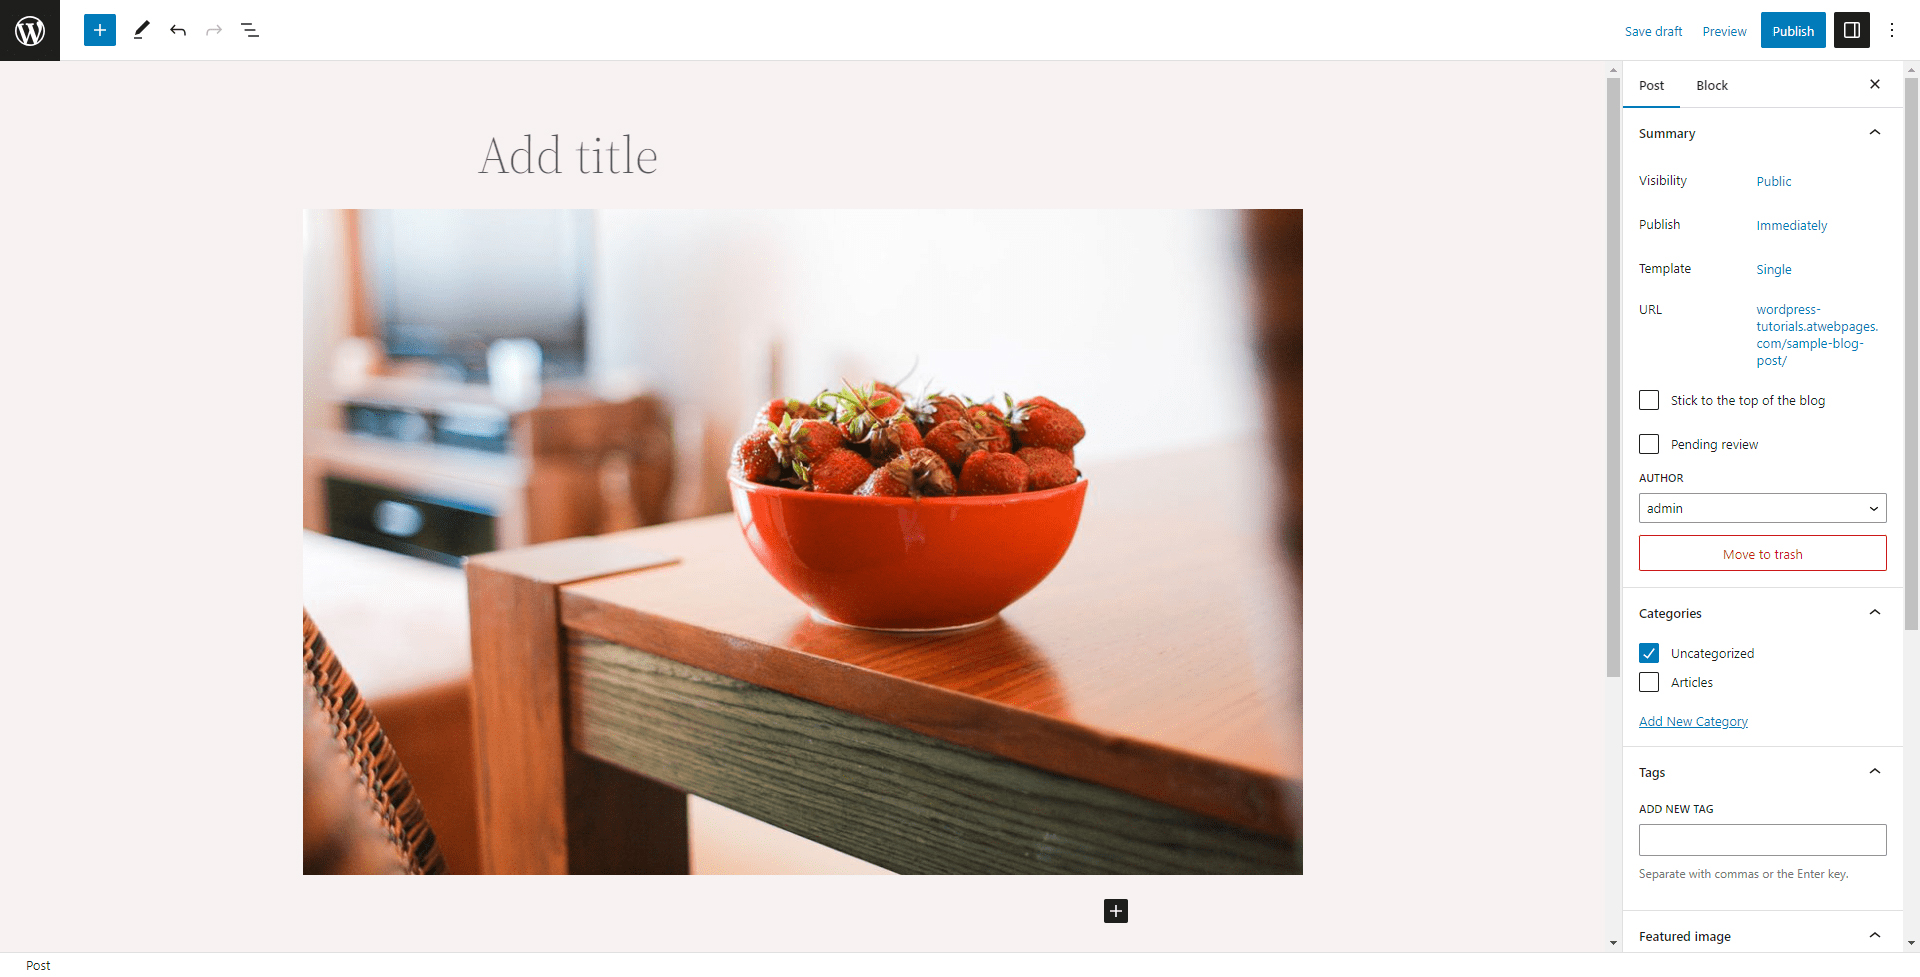
Once you click on Select, WordPress will insert the selected image within the Image block:
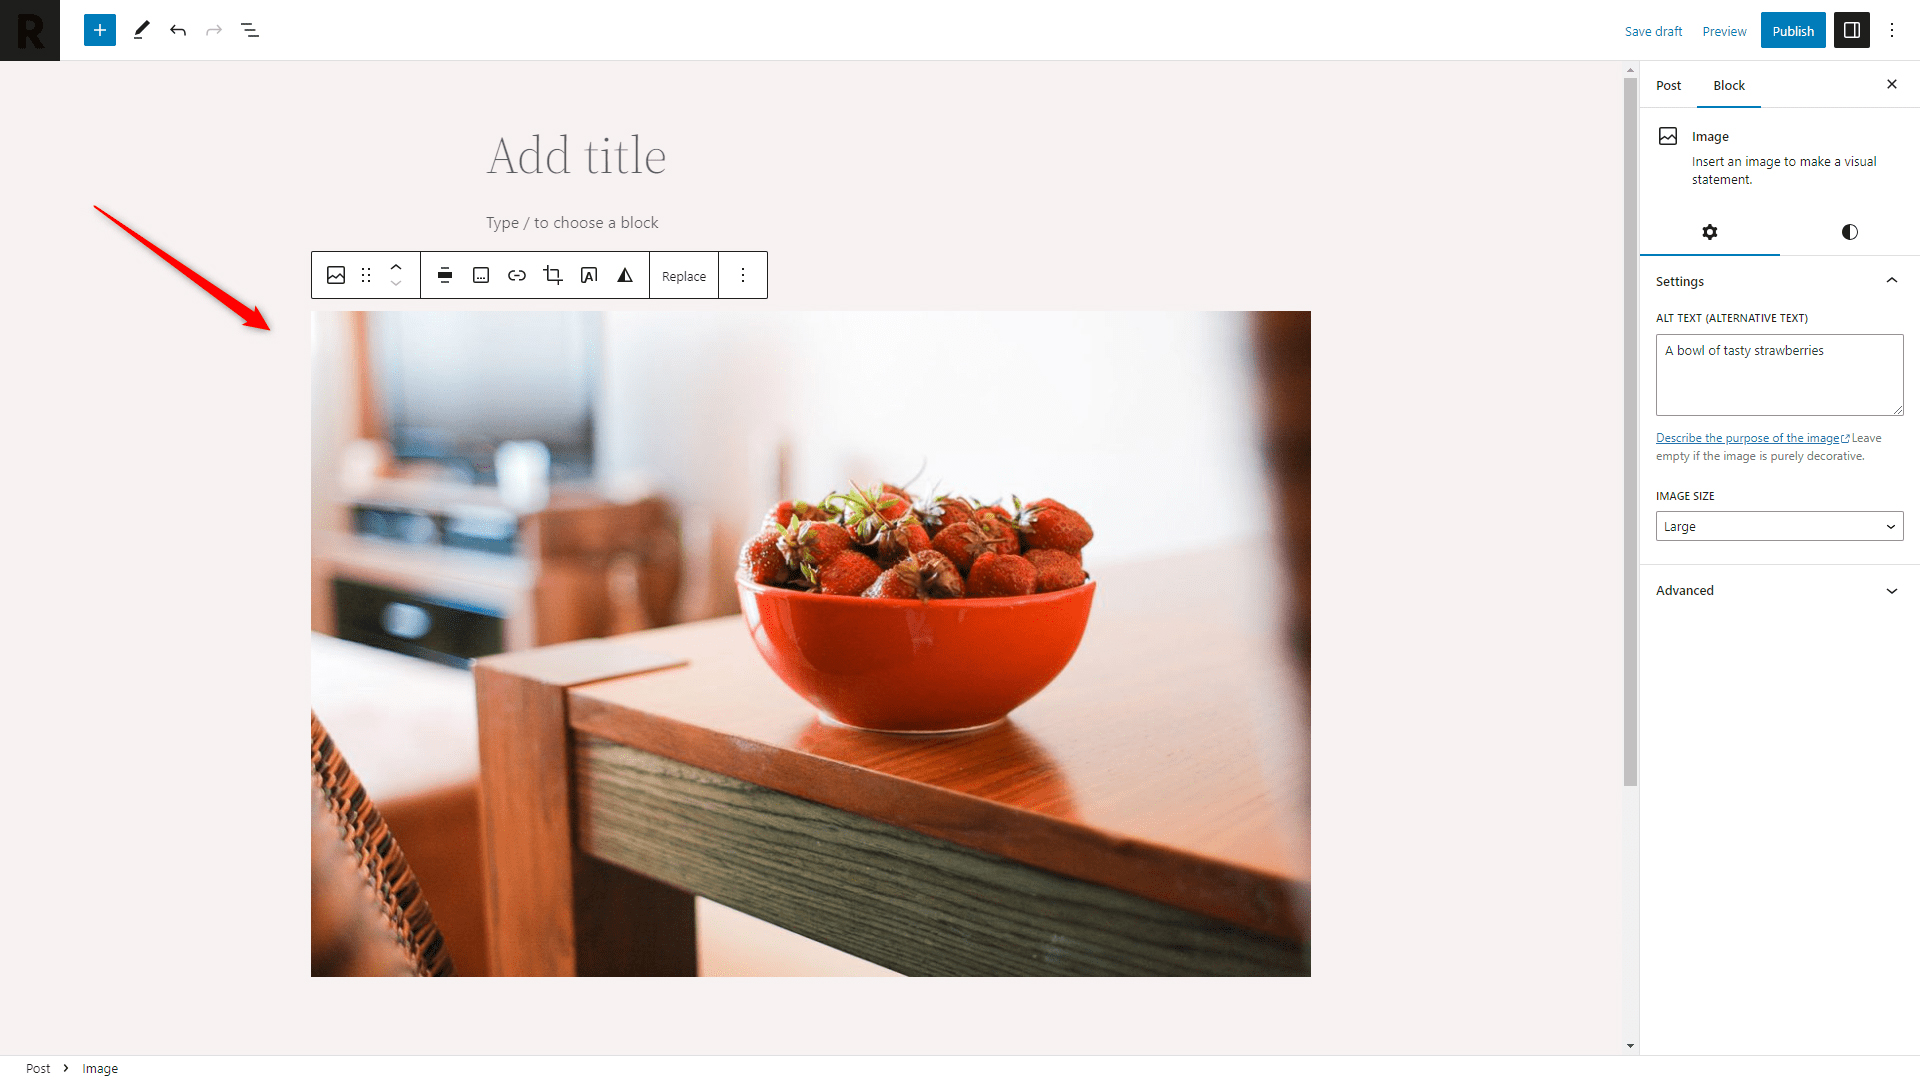
Now you have managed to add an image to WordPress.
Method 2: Click the Blue + Button at the Top Right of the Page
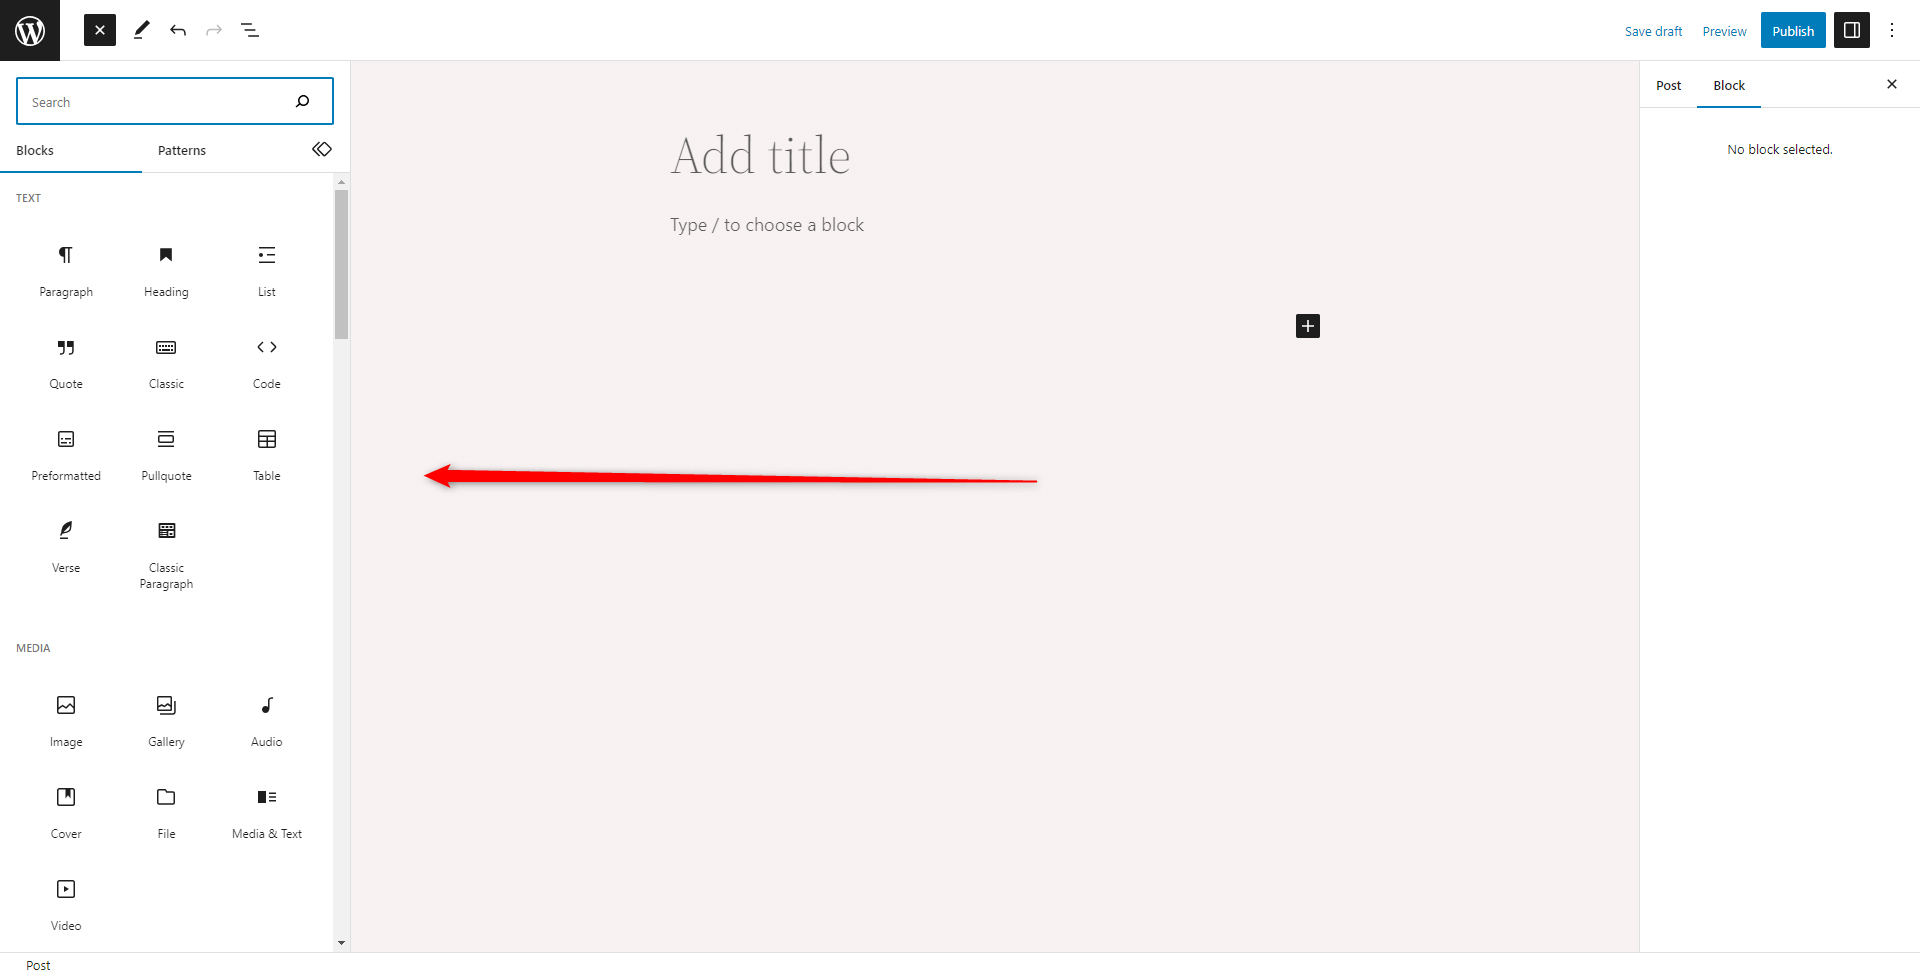
Similar to the black + button, the blue one, located at the top left corner of the page can be used to insert an image in your content area:

The difference between the two buttons is that the black one opens a short list of the most used Gutenberg blocks, whereas the blue one opens the library with all available blocks you can use.
Once you click the blue + button, a sidebar with all the available blocks should appear on the left of the page:
From this area search for the Image icon:
If you don’t see the icon among the list of suggested blocks, simply type down “image” in the search area, so Gutenberg filters the result based on this input:

Once you see the Image icon, click it, so Gutenberg inserts this block within your content area:
Now, just like the first method, choose whether you wish to upload an image from your device, insert an already uploaded image from the Media Library or use an URL to add an image to your content.
For this demonstration, we will insert an image from the Media Library.
First, we click on the Media Library button located within the image block:
This will open the WordPress Media Library that contains all your uploaded media files:
From this list click on the image you wish to insert within your content area and then click on the blue Select button located at the bottom right corner:
This will insert the image into your content area:
Now you have added an image within your content area.
Method 3: Use the “/” Symbol to Search for the Image Block
This method is quite simple to adopt.
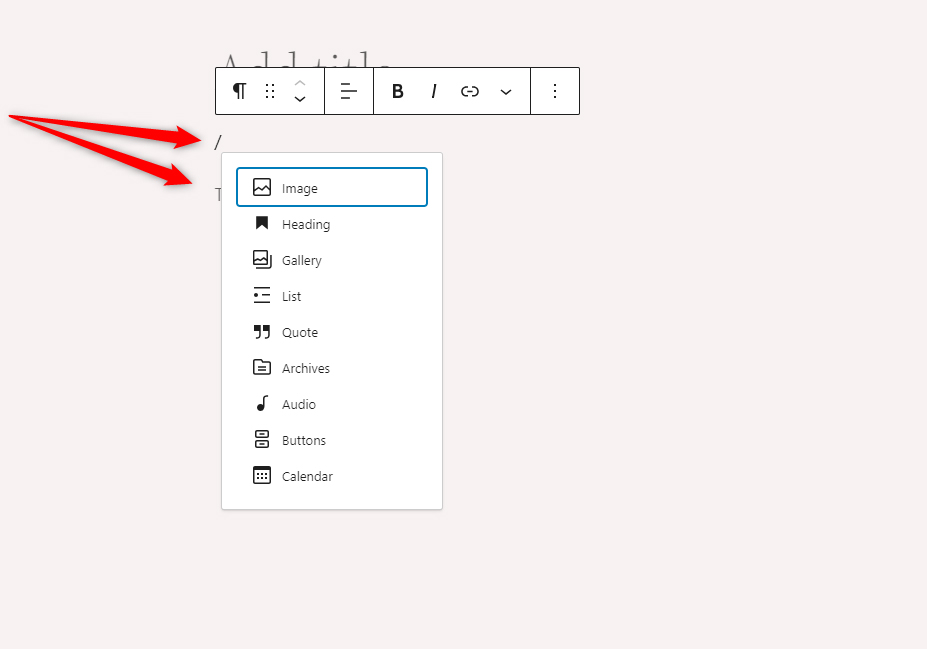
Within the content area, click on the paragraph block, which is usually included by default, and as prompted by Gutenberg, type “/”, so a list of available blocks appears:
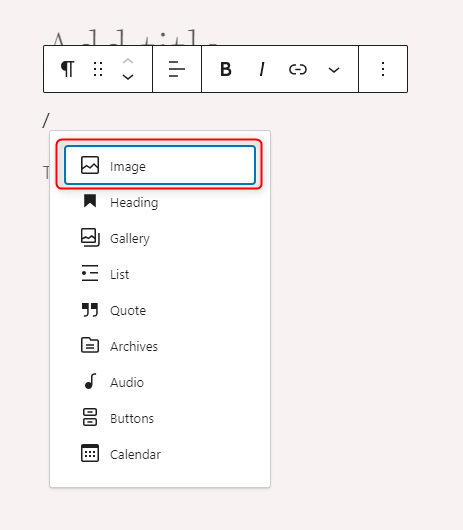
Now, from the list of suggestions, click on Image:
Clicking on the image icon will make Gutenberg insert an image block within your content area:
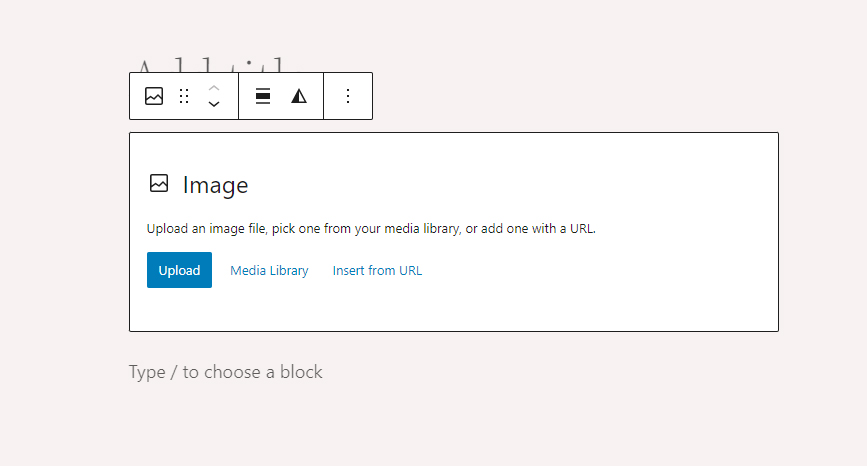
Now, similar to the previous two methods, choose how to insert an image within this block – by uploading a file from your device, by choosing a file from your Media Library, or by using an URL.
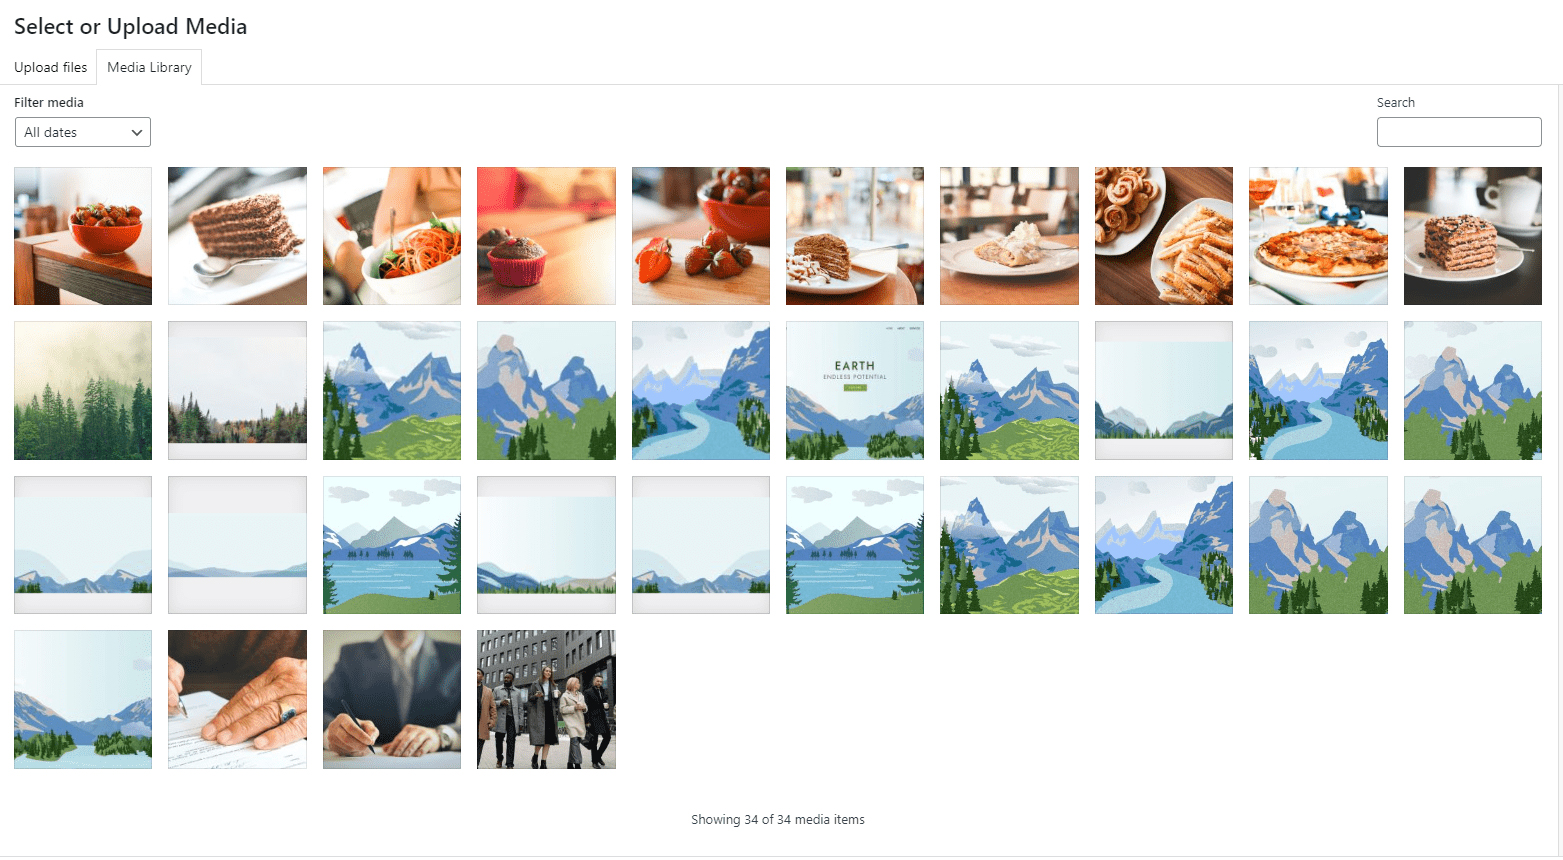
For example, if you click on Media Library, WordPress will open a list with all your uploaded media files:
Click on the image you wish to use and then on the blue Select button at the bottom of the screen:
Clicking on the image and then on the blue Select button will insert the image within your content area:
Method 4: Drag the Image from Your Device to WordPress
Dragging an image from your device to WordPress is the fastest way you can include an image file in your blog posts and web pages.
To add an image with this method, you simply click on the image file on your device and drag it to the content area in WordPress.
To drag the file, simply right-click on it with your mouse and while the right button is pressed, move the mouse, so the cursor starts to move the selected file around:
Once you drag the file within the content area, release the right mouse button, and the file will immediately be uploaded to your WordPress Media Library and inserted within the content area:
Now you have managed to add an image to WordPress via the drag-and-drop function.
Conclusion
In this article, we shared a total of 4 methods you can use to add an image to WordPress with Gutenberg:
- By clicking the black + sign at the center of the page.
- By clicking the blue + button at the top left corner of the page.
- By typing “/” within the content area and searching for the image block.
- By directly dragging an image from your device to WordPress.
Each method is very handy and you can select the one that fits your working preferences the best.
Related:
- Create a WordPress Website – The Ultimate Guide
- How to Use the Media Library in WordPress
- How to Use WordPress Gutenberg Block Editor
- How to Insert Gutenberg Blocks in WordPress
- How to Change Text Color With WordPress Block Editor
- How to Use WordPress Reusable Blocks
- How to Display Code with WordPress Gutenberg Code Block
- How to Use the Navigation Block in Gutenberg
- How to Add a Contact Form with WordPress Gutenberg Editor
- 5 Best WordPress Slider Plugins for Gutenberg
- How to Create Tables in WordPress Using Gutenberg Editor
- How to Add Tabs to Your WordPress Site with Gutenberg
- How to Copy a Page with WordPress Gutenberg Editor
- How to Access the Gutenberg Full Site Editor
- How to Disable Gutenberg Editor in WordPress