What you need to know:
The interface of the WordPress Block Editor is comprised of five main segments: a Top Toolbar, a Sidebar, a Main Content Area, a Contextual Toolbar, and a Status Bar. Your content is displayed in the Main Content Area and you use the other segments to add new blocks, edit existing ones, and make other modifications to the document.
When WordPress 5.0 was released, it brought a brand new content creation experience named Gutenberg. Known also as the WordPress Block Editor, Gutenberg uses blocks instead of free-form text to build posts and pages. Needless to say, this new approach to creating content meant that the Gutenberg interface was significantly changed when compared to its WYSIWYG predecessor.
In this tutorial, we will take you on a tour of Gutenberg’s interface and point out its most important features.
Table of Contents:
- What Is Gutenberg in WordPress?
- How Can I Access Gutenberg in WordPress?
- What Are Gutenberg Blocks?
- Overview of the WordPress Block Editor Interface
- Learning Gutenberg’s Top Toolbar
- Exploring the Main Content Area
- Exploring the Status Bar
- Learning the Gutenberg Sidebar
- Exploring the Contextual Toolbar
- Customizing the WordPress Block Editor
- Reverting to the Classic WordPress Editor
- Next Steps
What Is Gutenberg in WordPress?
Gutenberg is the new default way of creating posts, pages, and widgets in WordPress. Unlike the classic post editor, Gutenberg uses blocks to structure and manage content. If you have not used Gutenberg so far, we highly recommend going through our Gutenberg Basics tutorial.
Tip:
Are you looking to test Gutenberg for yourself but you don’t have a website yet? We recommend signing up for our free hosting package as it is fully compatible with WordPress. And if you ever find yourself in need of additional features, you can always upgrade to a premium plan, a Virtual Private Server, or a Semi-Dedicated server.
How Can I Access Gutenberg in WordPress?
You will encounter the Gutenberg interface every time you start creating a new page or post. In addition, as of WordPress version 5.8, the WordPress Block Editor is also used when you manage your widgets.
In time, more and more aspects of your WordPress site will be managed through Gutenberg. The developers of WordPress refer to this long-term goal as Full Site Editing (FSE).
What Are Gutenberg Blocks?
What sets Gutenberg apart from other WYSWYG editors is that it uses blocks to encapsulate each piece of content. This content can be anything – text, an image, a video, embedded code, blockquotes, etc. Every block can be manipulated independently and all blocks are treated as equals.
This stands in stark contrast to most document editors where the text is the most important piece of content and other media elements like images get inserted into the text on the page.
Tip:
You can read our tutorial on WordPress blocks if you wish to learn how to take full advantage of the WordPress Block Editor. And if you ever wish to expand your blocks collection, you should also check our article on the best block plugins for WordPress.
Overview of the WordPress Block Editor Interface
The Gutenberg editor interface can be split into five segments:
- The Top Toolbar is located at the top of the page and contains important buttons like the Block Library, the undo/redo buttons, and the Publish button.
- The Main Content Area is located below the Top Toolbar and occupies the majority of the page. Here, you can work with the blocks that make up your content.
- The Status Bar is located at the very bottom of the page. It simply shows you where your currently selected block is located within the document hierarchy.
- The Sidebar is found next to the Main Content Area. It can be used to manage various document properties. It can also provide you with options for your currently selected block.
- Lastly, the Contextual Toolbar is a small toolbar that appears within the Main Content Area whenever you select a block. It houses the block’s most used options.
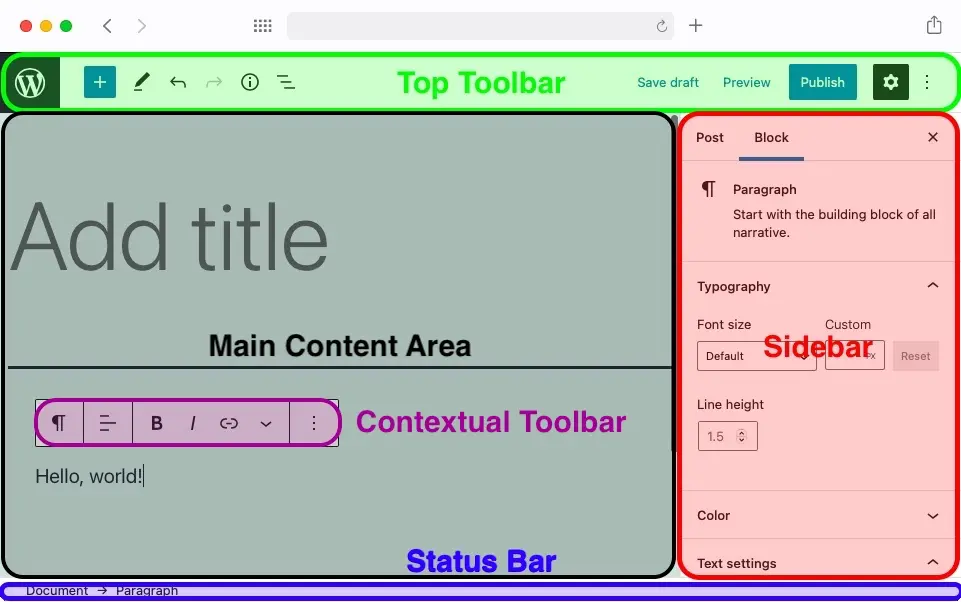
The WordPress Block Editor interface can be split into five segments.
Learning Gutenberg’s Top Toolbar
The Top Toolbar is a row of buttons and options that is located at the very top of the WordPress Block Editor. In this section, we’ll take a closer look at these options.
The Top Toolbar is located at the top of the Gutenberg editor page.
The first button that you’ll come across in the Top Toolbar is the WordPress logo. Clicking on the WordPress logo would take you out of the Gutenberg interface and will bring you back to the WordPress back-end.
Warning:
Clicking on the WordPress logo may cause you to lose any unsaved changes! As such, we highly recommend saving your work before clicking on that button.
The next button that you’ll see is a small “+” button that opens the Block Library. There, you will find all blocks that are currently available in Gutenberg. When you wish to insert a block into your document, you would open the Block Library and select it.
The Block Library is divided into three tabs: Blocks, Patterns, and Reusable. The Blocks tab contains standalone blocks, the Patterns tab has block patterns which are groups of blocks that go well together, and the Reusable tab houses your reusable blocks.
Tip:
The Reusable tab will be hidden if you have no reusable blocks.
We have a separate in-depth tutorial if you wish to learn more about the WordPress Block Library.
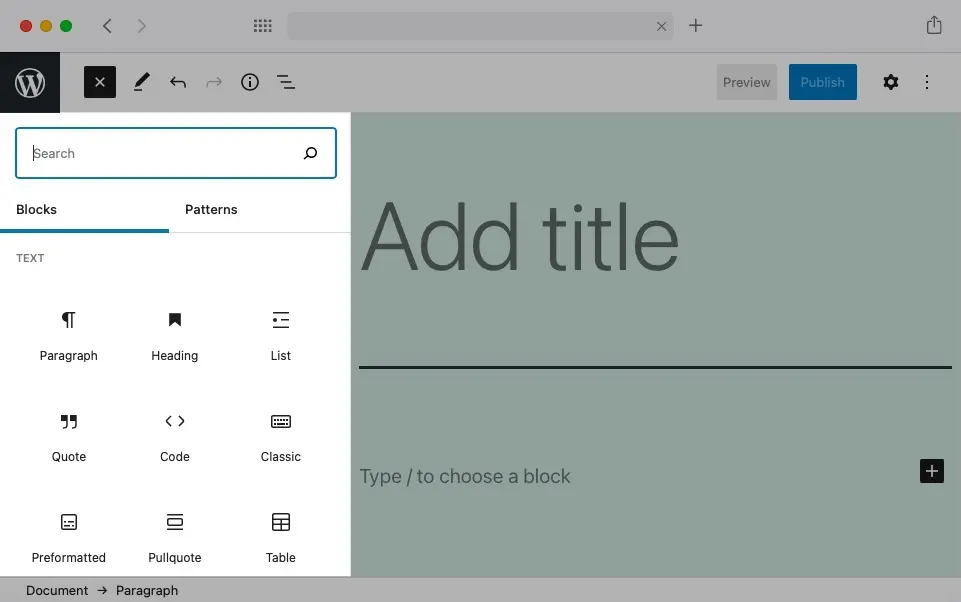
The Block Library is divided into two sections – Blocks and Patterns. You may also see a third section called Reusable.
After the Block Library, you will see a button called Tools. Currently, it holds only two options that govern how your clicks are interpreted:
– In Edit mode, when you click on a block, you will be able to edit it straight away.
– In Select mode, clicking on a block would simply select it. This can be useful for bulk editing actions.
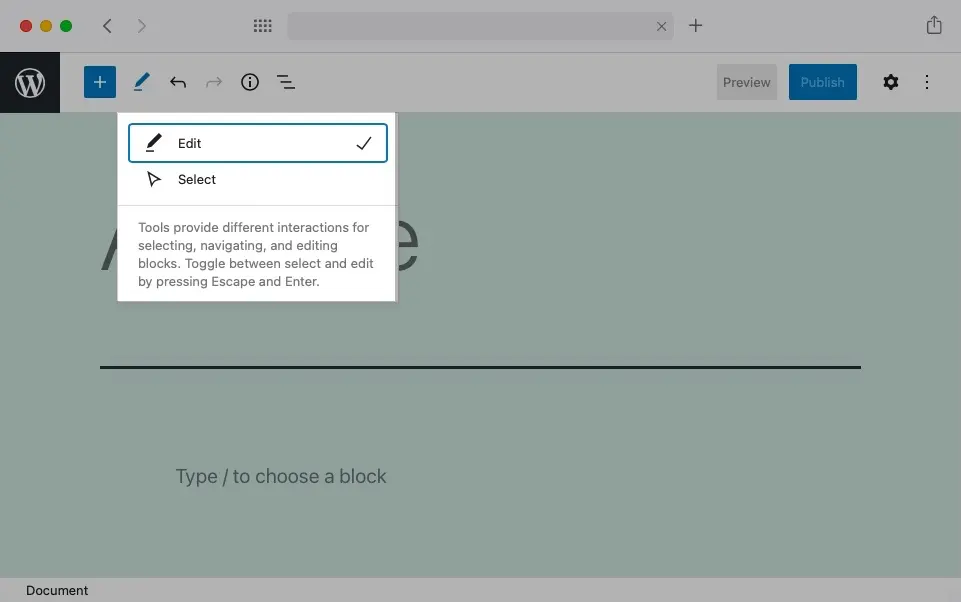
The Tools button lets you control what happens when you click on a block with your mouse cursor.
Next, you’ll see two buttons that you are most likely very familiar with. These are the Undo and Redo buttons. You can use them to take back changes that you have made or to reapply edits that you have undone.
Tip:
Did you know that you can also use keyboard shortcuts for Undo/Redo in Gutenberg? If you use Windows or Linux, you can use
Ctrl+Zfor Undo andCtrl+Shift+Zfor Redo. And if you use a Mac, your shortcuts are⌘+Zand⌘+⇧+Zrespectively.
After the Undo/Redo buttons you will come across the Details button. This option will show you a handful of statistics about your document, such as the word count, the number of paragraphs used, and the number of blocks used. In addition, if your document has headings, those will be used to generate a handy outline.

The Details button can show you how many words you have written.
Right next to the Details button you’ll find the List View button. When clicked, it will bring up a side panel containing an outline of your document where every block is represented in the hierarchy. Clicking on a block would take you to it in your actual document. This can be especially handy for documents that have more complex layouts.
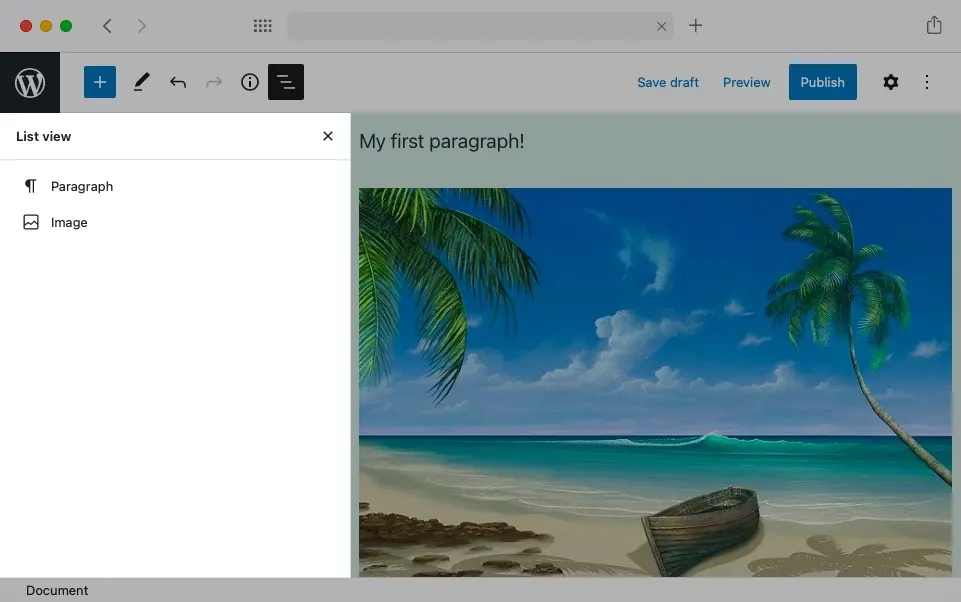
The List View shows you an outline of the various blocks that comprise your document.
If you have used WordPress in the past, you will be familiar with the next three buttons: Save Draft, Preview, and Publish. These allow you to save your changes, see how your content will look once it is published, and actually publishing your content.
Tip:
When you are about to publish your content, WordPress will perform a few checks and offer recommendations on how to improve it. If you wish to learn more, we recommend reading our article on the publishing process in WordPress.
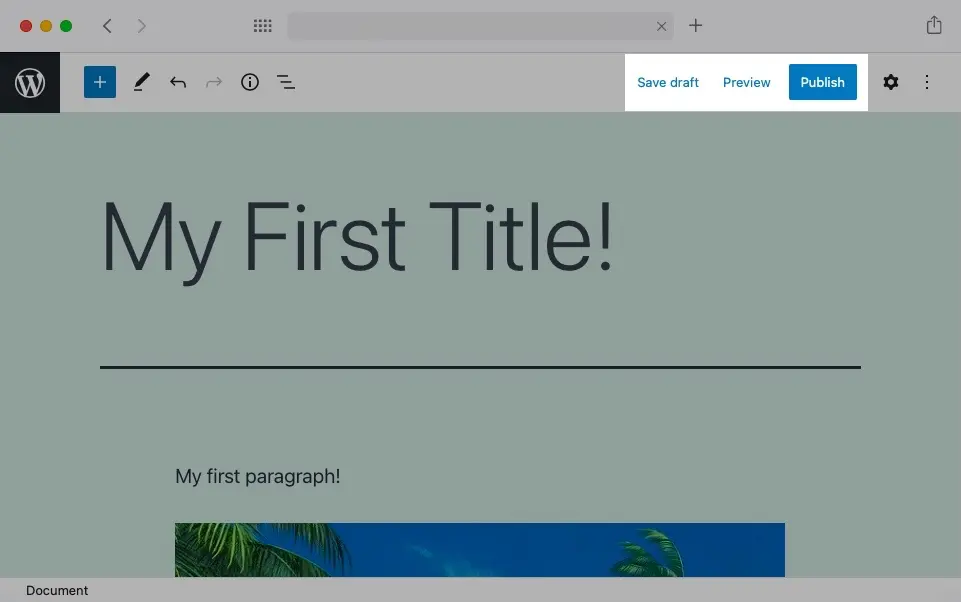
The Save Draft, Preview, and Publish buttons are located in the right half of the Top Toolbar.
The last two buttons contained within the Top Toolbar are the Settings toggle and the Options dropdown. You can use the Settings button to show and hide the Sidebar while the Options dropdown would reveal various options related to Gutenberg itself.
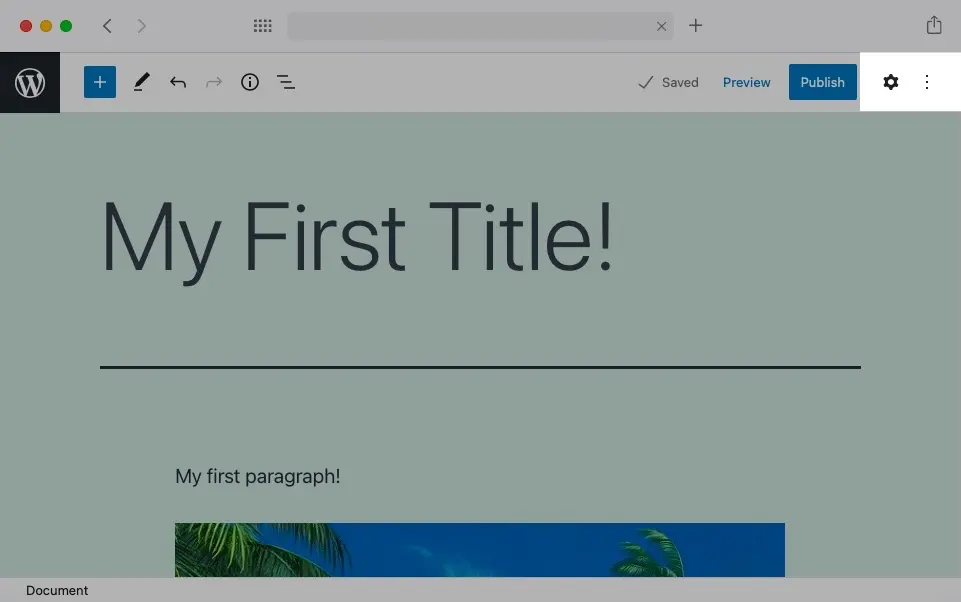
The Settings and Options buttons are located at the end of the Top Toolbar.
Tip:
If you wish to learn more about the Options dropdown, we recommend checking our article on how to customize Gutenberg.
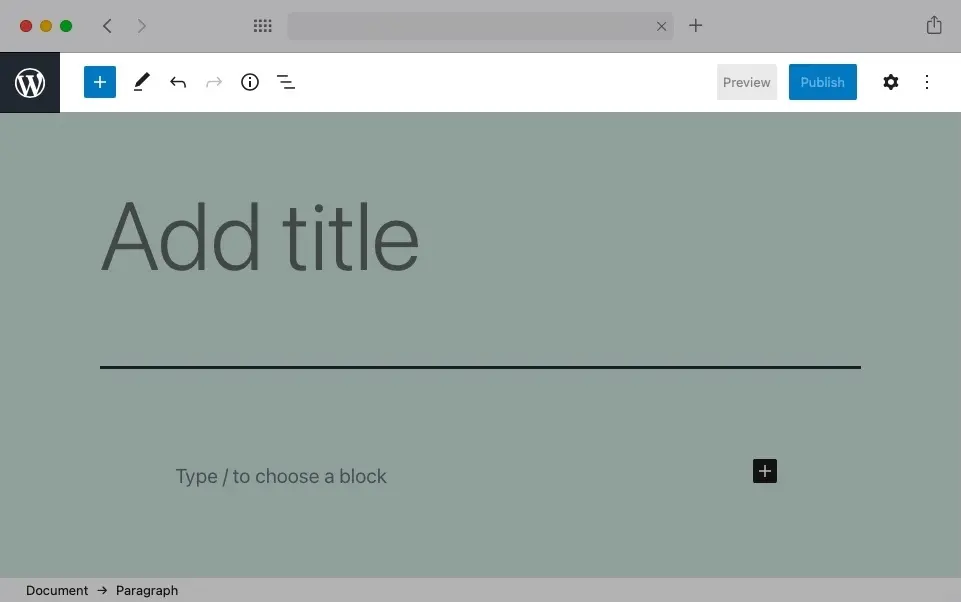
Exploring the Main Content Area
The Main Content Area takes up the most space in the Gutenberg interface. This is where you’ll insert, move, edit, and delete the blocks that hold your content.
The Main Content Area is located below the Top Toolbar and makes up most of the WordPress Block Editor interface.
Speaking of blocks, the Main Content Area features a hidden button that will bring up the Block Library. To access this button, hover in the space between two existing blocks until you see a separator line with a “+” button. Clicking on that “+” button will reveal the Block Library. Once you choose a block from the Library, it will be inserted where the separator line is located.
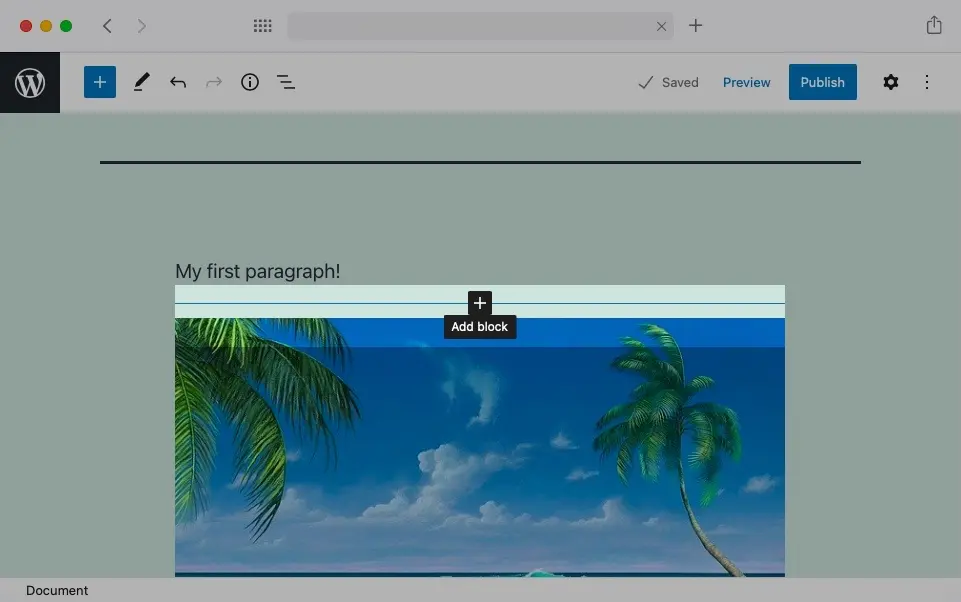
The Main Content Area features a hidden button that can bring up the Block Library.
Tip:
This separator line also appears at the end of your document.
Exploring the Status Bar
The Status Bar is located at the very bottom of the WordPress Block Editor interface. It is used to show where your currently selected block is located within the document structure.
Tip:
The Status Bar is useful if your document is made up of multiple nested block groups.
The Status Bar is located beneath the Main Content Area.
Learning the Gutenberg Sidebar
The next interface element that we’ll look at is the Sidebar. It is located to the right of the Main Content Area.
The Sidebar is located to the right of the Main Content Area.
Tip:
If you do not see the sidebar, click on the cogwheel-like icon from the Top Toolbar in order to reveal it.
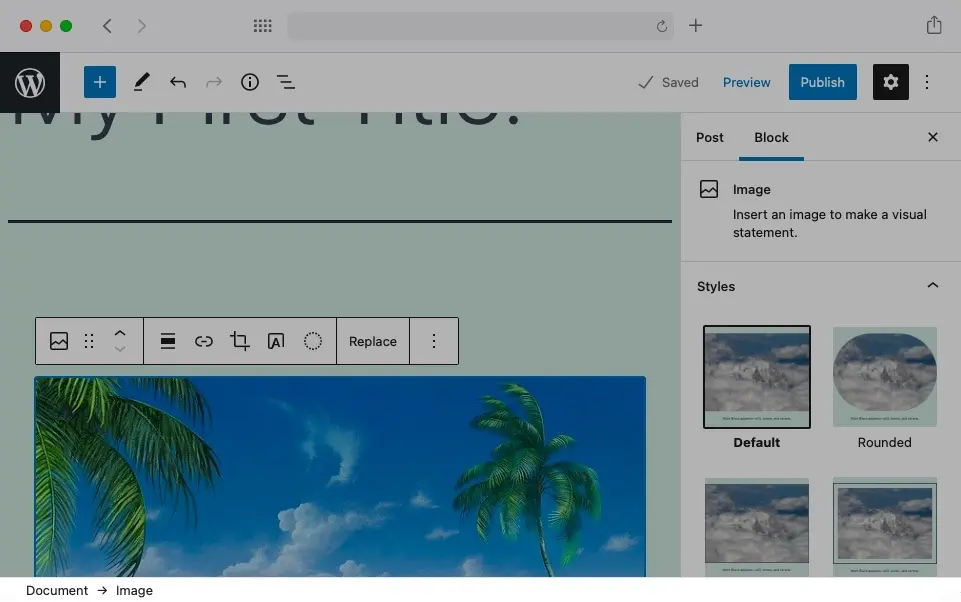
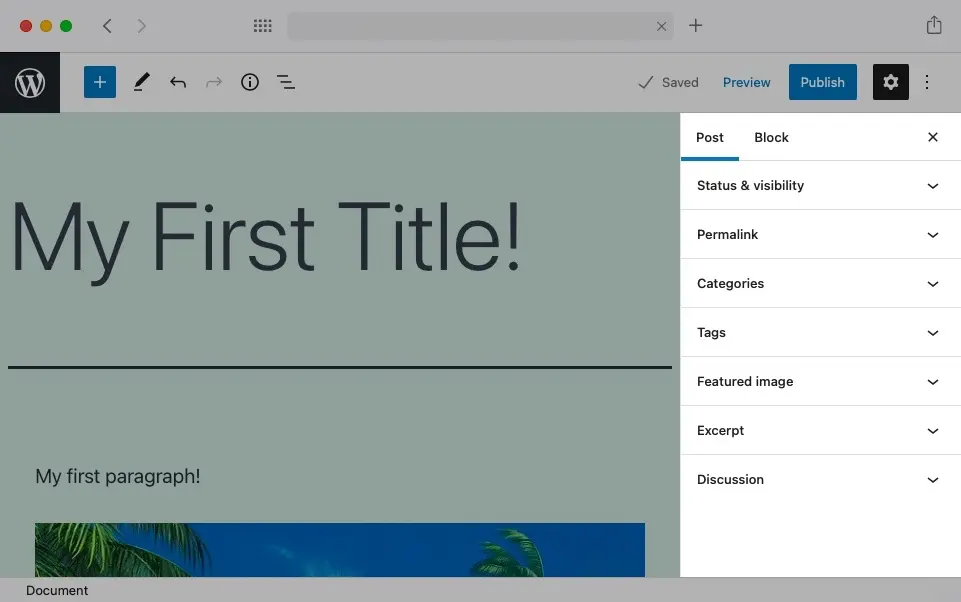
Gutenberg’s Sidebar is divided into two tabs. The first tab contains settings that govern your post or page. Here, you’ll find options such as the Permalink, Categories, Tags, Featured Image, and more. The second tab, called Block, holds options for whatever block you have selected.
Tip:
The first tab in Gutenberg’s Sidebar has options that very closely match the options you would find in the sidebar of the classic WordPress Post Editor.
Exploring the Contextual Toolbar
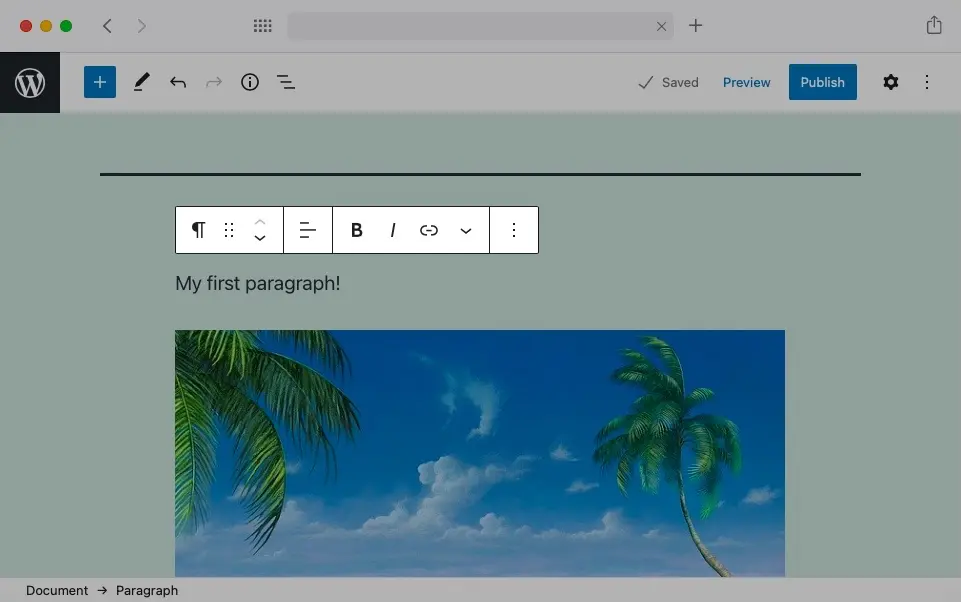
The last element of the Gutenberg interface that we will explore is the Contextual Toolbar. The Contextual Toolbar appears within the Main Content Area whenever you select a block.
The Contextual Toolbar is shown every time you select a block.
The Contextual Toolbar will contain a different set of options depending on the type of block that you have selected. The most used options will appear in the toolbar itself. Other options that are used less frequently will be hidden in a menu that can be revealed by clicking on the three-dot button or the downward-pointing arrow at the end of the toolbar.
Customizing the WordPress Block Editor
The great thing about Gutenberg is that it allows a certain degree of customization. If you are interested in making the WordPress Block Editor your own, then we recommend going through our guide on how to customize Gutenberg.
Reverting to the Classic WordPress Editor
The developers behind WordPress have realized that some users would prefer to stick with the classic WordPress Post Editor despite Gutenberg’s flexibility and ease of use. That is why they have created a way to bring back the classic editing experience that you know and love. If you fall into this category and wish to return to the classic editor, check out our tutorial on how to replace Gutenberg with the classic WordPress Post Editor.
Next Steps
Now that we have gone over Gutenberg’s interface, you should have a good idea of how the WordPress Block Editor is laid out and where to find most options. Moving forward, we recommend customizing Gutenberg to better suit your needs. In addition, you should also check our list of top plugins for the WordPress Block Editor.