Protecting your WordPress website should be a top priority for you and your team. Protection not only can ensure a more confident site-building and maintenance process but also can contribute to more conversions, as your visitors and potential customers might well feel safe to make purchases via your pages.
One of the best ways to add a layer of security is to limit the number of login attempts. This is one of the most useful approaches to defend your site from brute hacking attacks – the type of attacks in which hackers try out different login passwords, so they eventually stumble on the one which works.
How to Limit Login Attempts in WordPress
One of the fastest ways of applying a number of login attempts is by using a dedicated WordPress plugin. There are numerous plugins that add different kinds of security to your website. However, for this demonstration, you will see how to install and use a plugin that limits the number of login attempts.
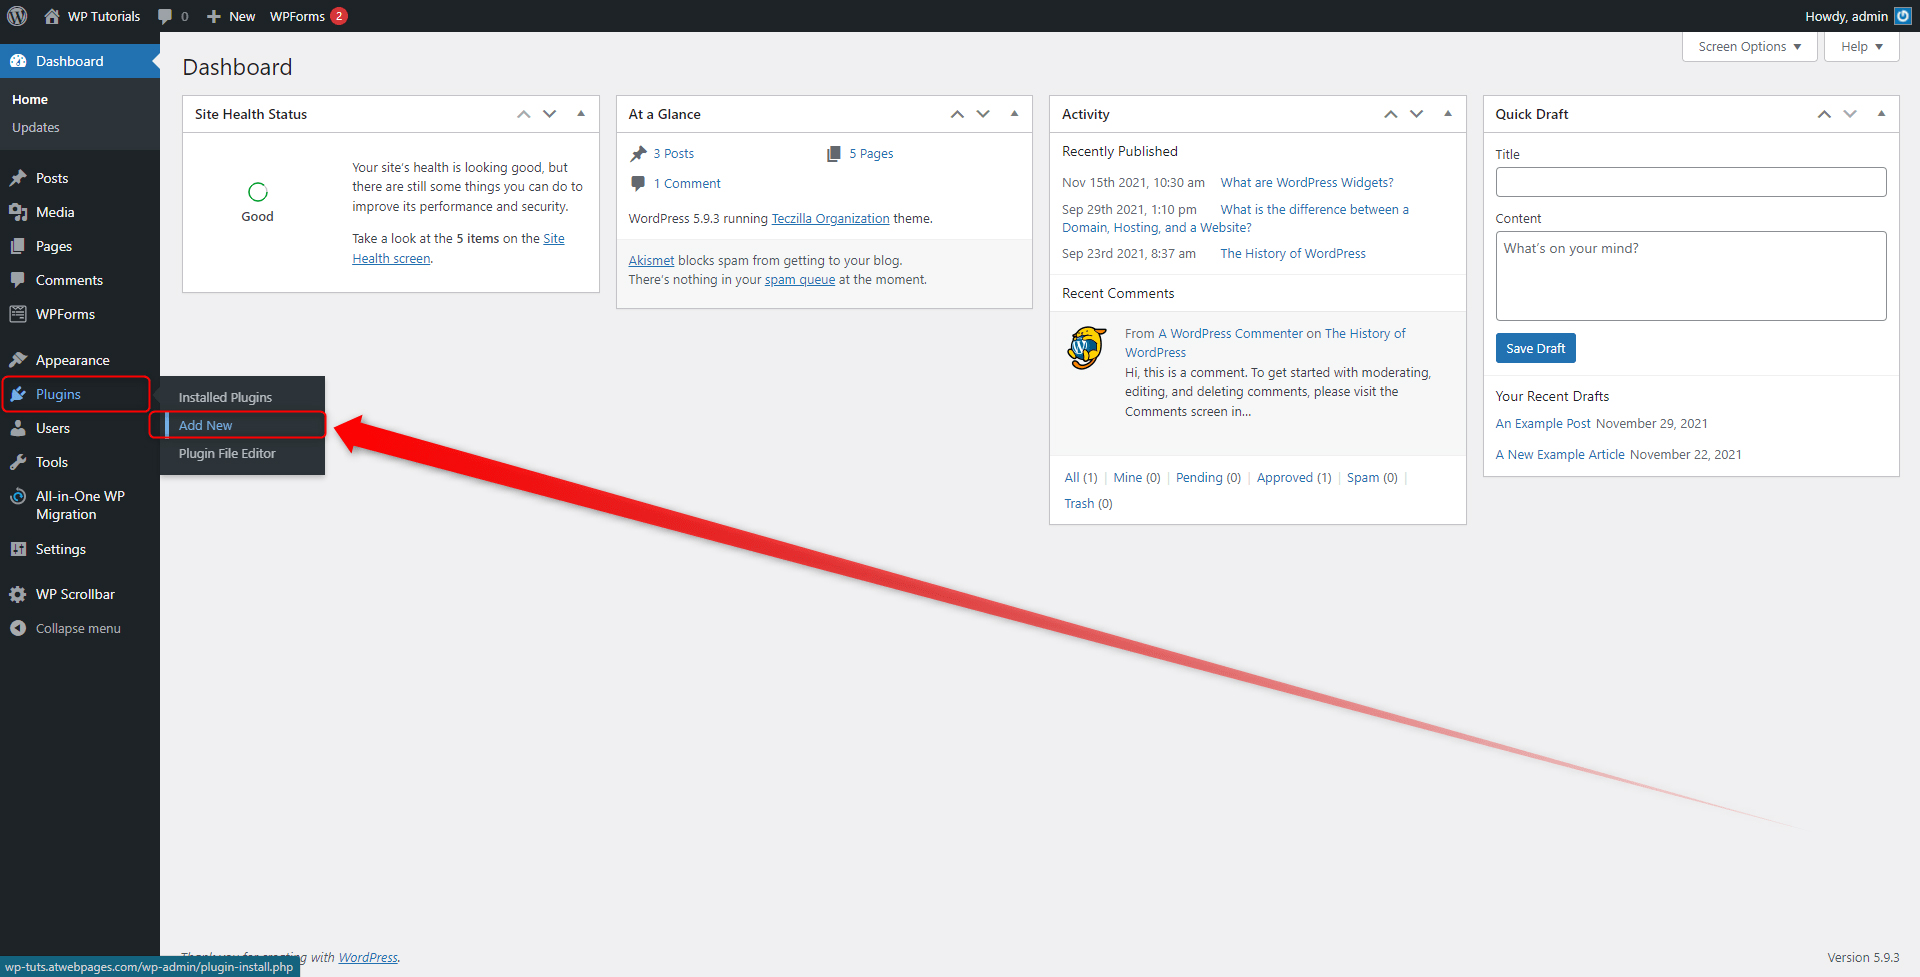
To do so, first, enter your WordPress admin panel and from there go to the Plugins->Add New:
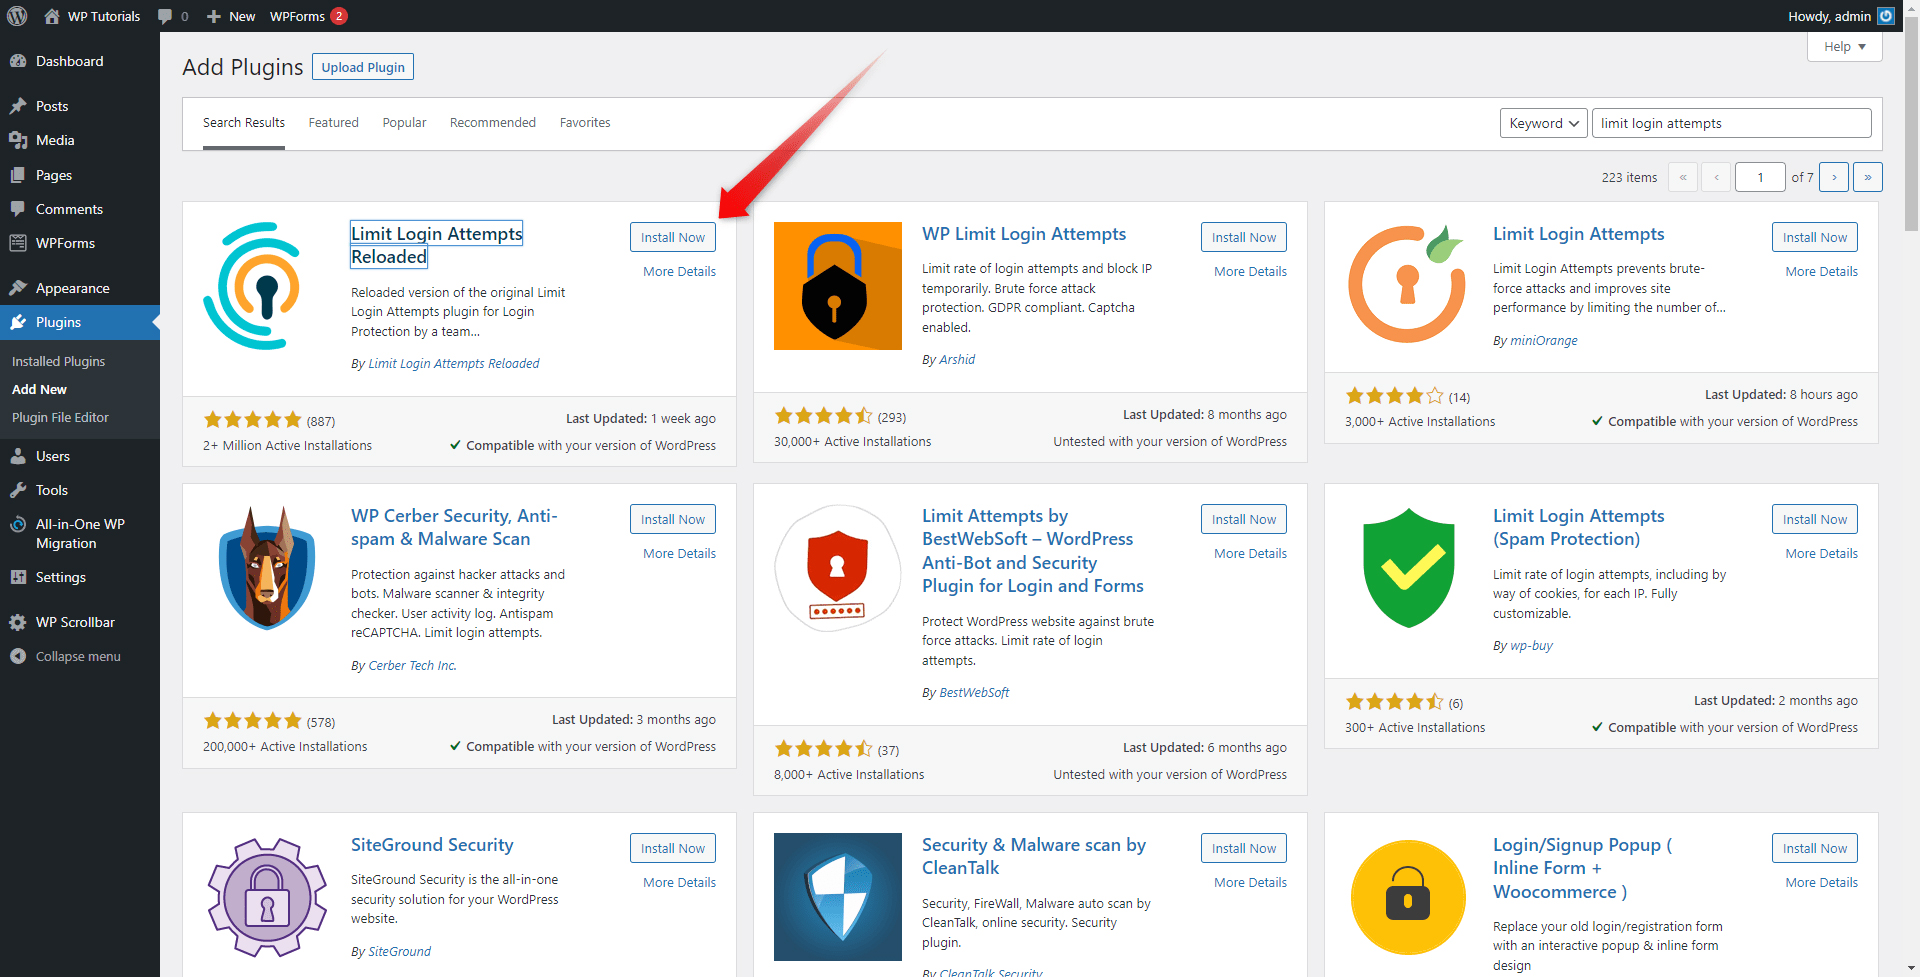
Then search for suitable plugins and install the one that fits your requirements the best. For this demonstration, we will use Limit Login Attempts Reloaded. However, you can use anyone else you want:
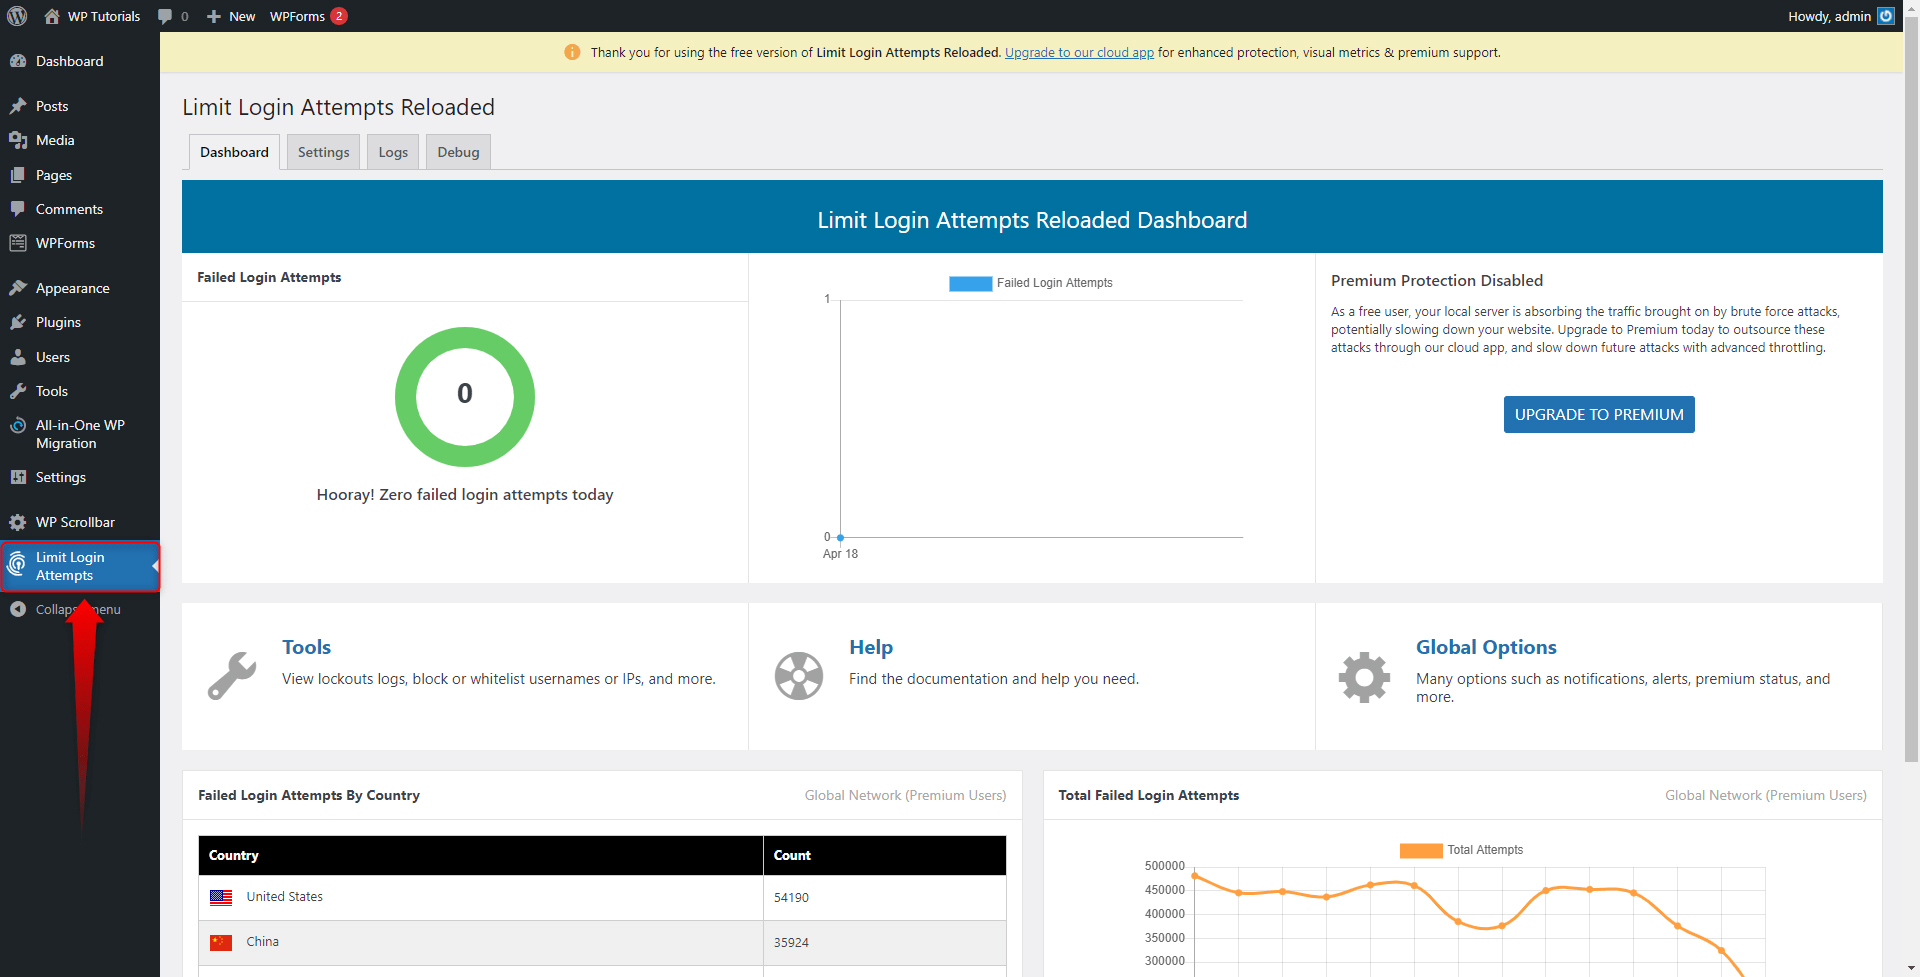
Once you’ve installed and activated the plugin, go to the dedicated settings page. In our case, this menu permalink is placed in the WordPress sidebar and looks like this:
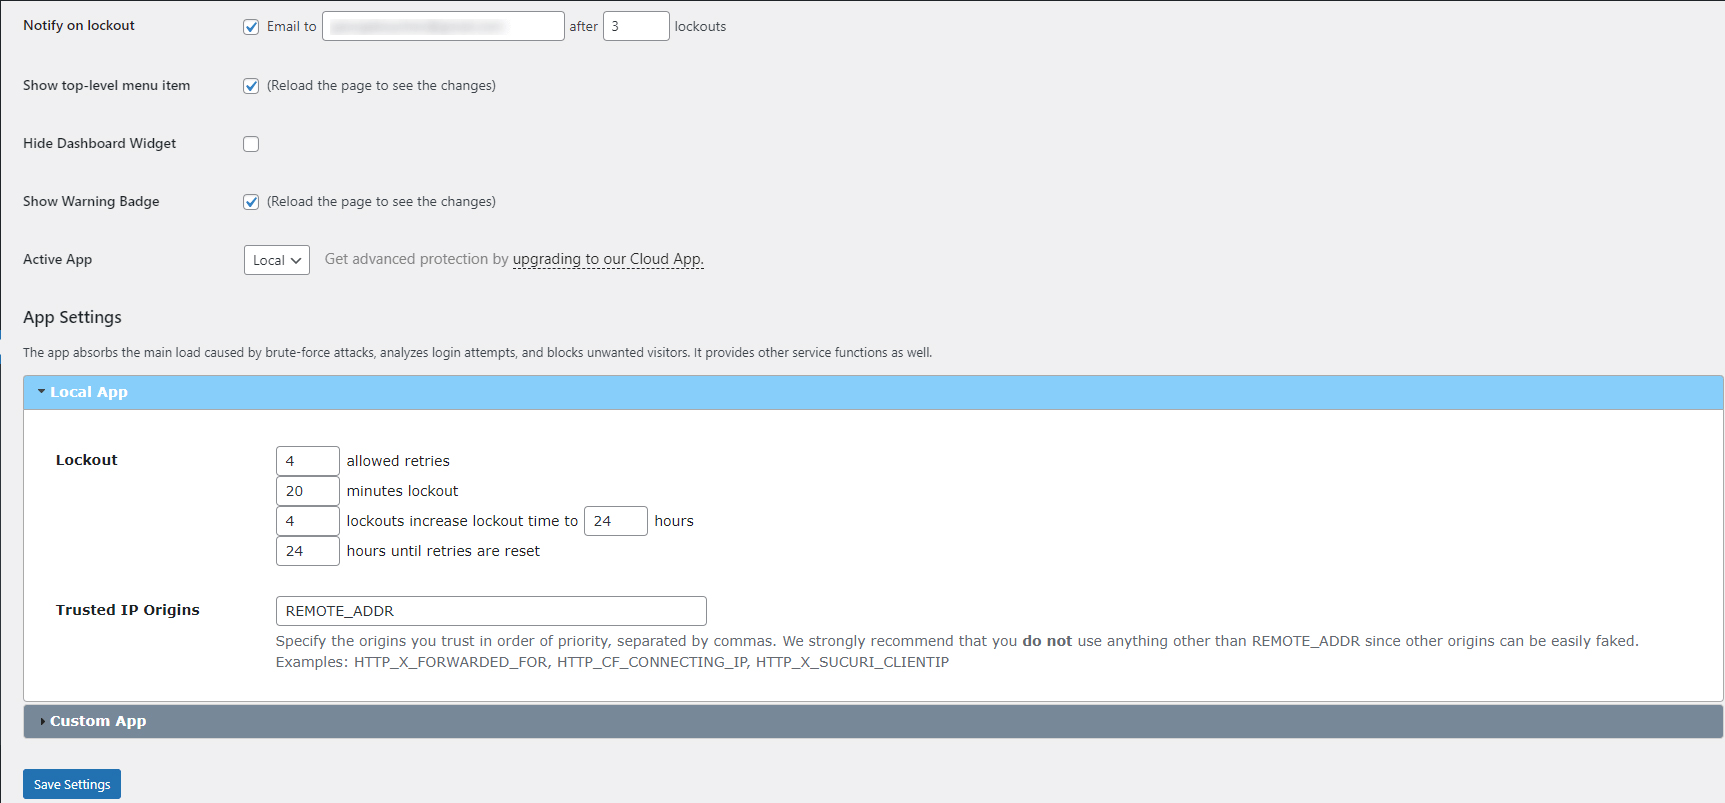
Along with other handy options, this particular plugin gives some comprehensive settings regarding preferences such as:
- Notification email after X failed tries
- Number of allowed retries
- Setting up the minutes of lockout
- Setting up the increased time of the lockout time after X failed tries.
Spend some time and get yourself familiar with all the settings the plugin offers and then spend some more time tweaking these, so you set up all your preferences.
To apply these, simply click on the Save Settings button. This will not only save them but also apply the changes you just made:
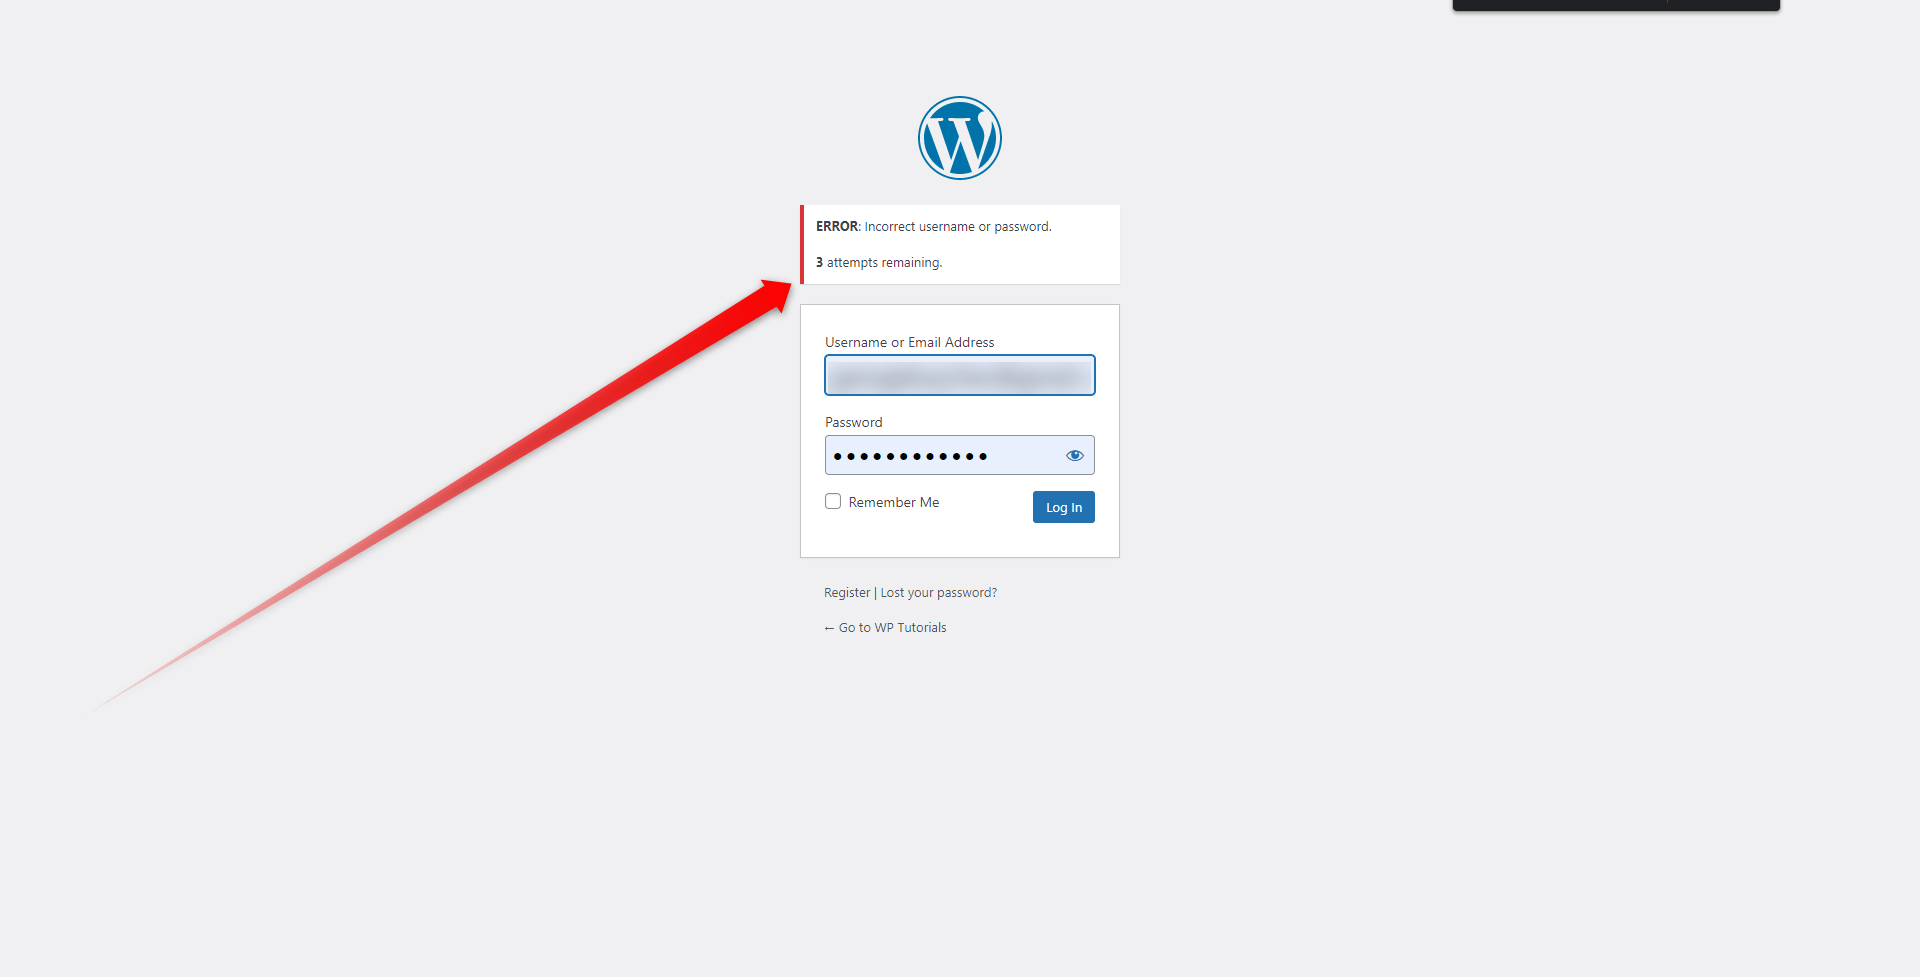
Now, when you have applied the settings, the WordPress login window displays a dedicated message, informing visitors that they have a certain number of login trials, and if they fail to log in, two things will happen:
- The admin will receive a notification email.
- WordPress will be blocked for that particular user for a certain amount of time, for example, 24 hours
Conclusion
Limiting the login attempts is only one way of securing your pages. Relying on a safe hosting service and adding additional levels of security is a fundamental step in making your website safe. This is why ZETTAHOST provides its partners with reliable and safe hosting services like WordPress hosting.
Browse our services and contact us to explore how we can become your partner in the digital world.
Also, check out our free and comprehensive WordPress guide that will show you everything about the platform and the site-building process.
Related: