Changing the timezone on WordPress is not only easy but also necessary, so your updates are on spot and on time!
How to Change Your WordPress Timezone
The process of changing your timezone is pretty simple.
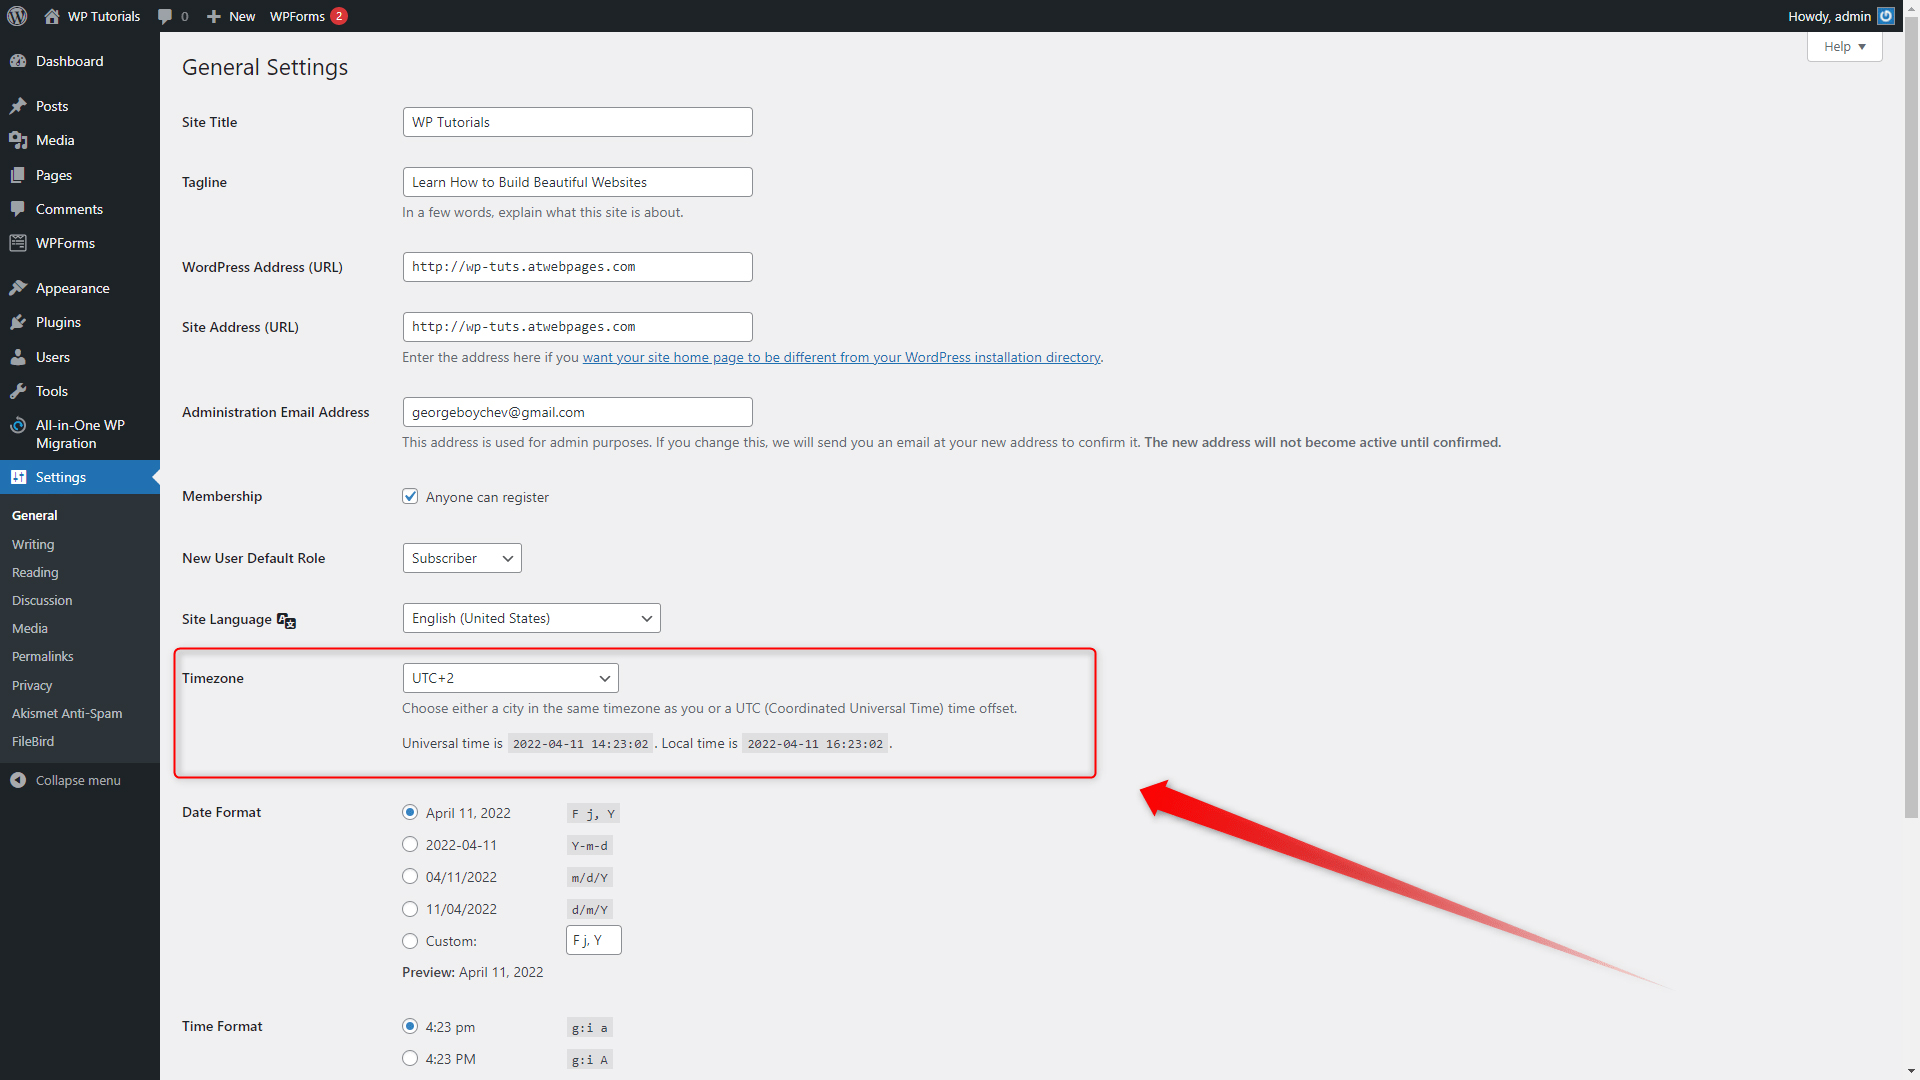
First, via your WordPress admin panel, go to Settings->General:

This will open a new page with different settings you can adjust to your preferences. Along with other options, this is the page from where you can change your preferred time zone. To do so, simply locate the Timezone area and choose either a city or UTC:
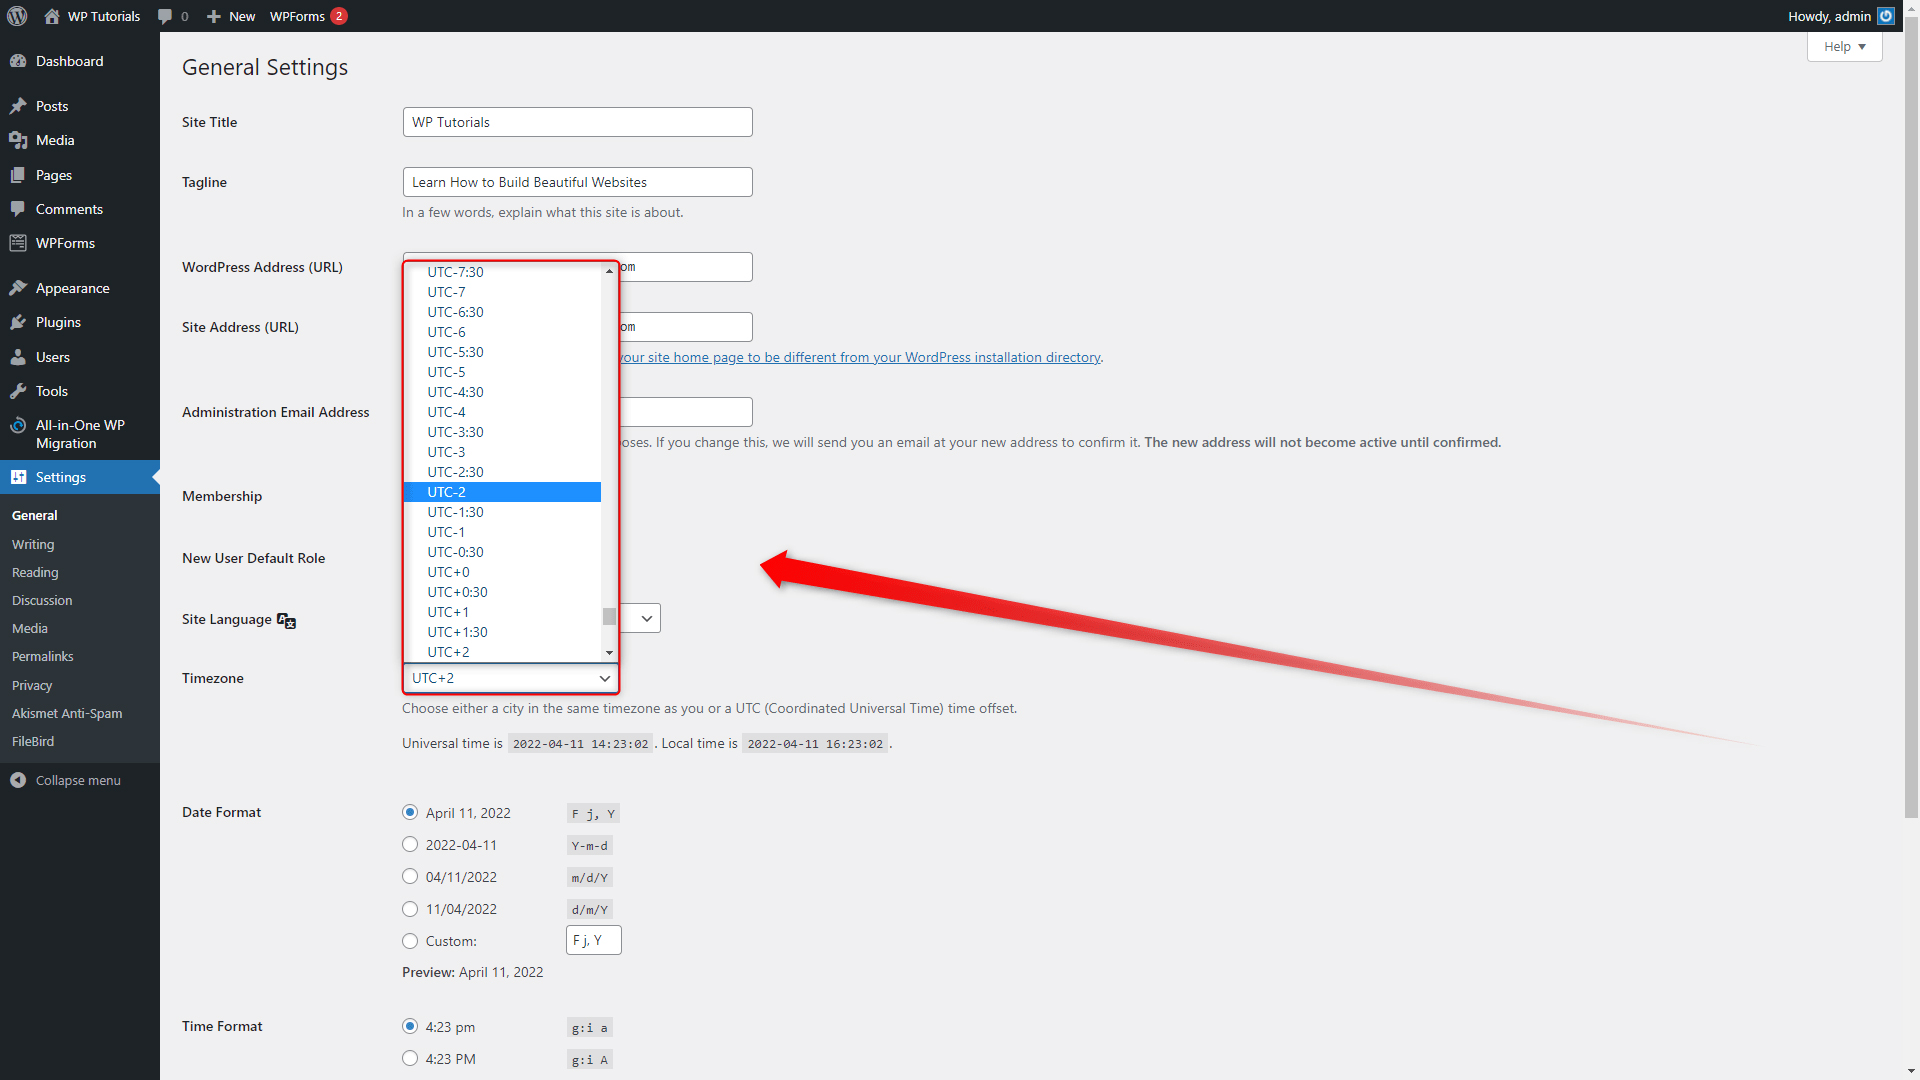
To adjust the settings, simply click on the drop-down menu and click on the option you find suitable for your needs:
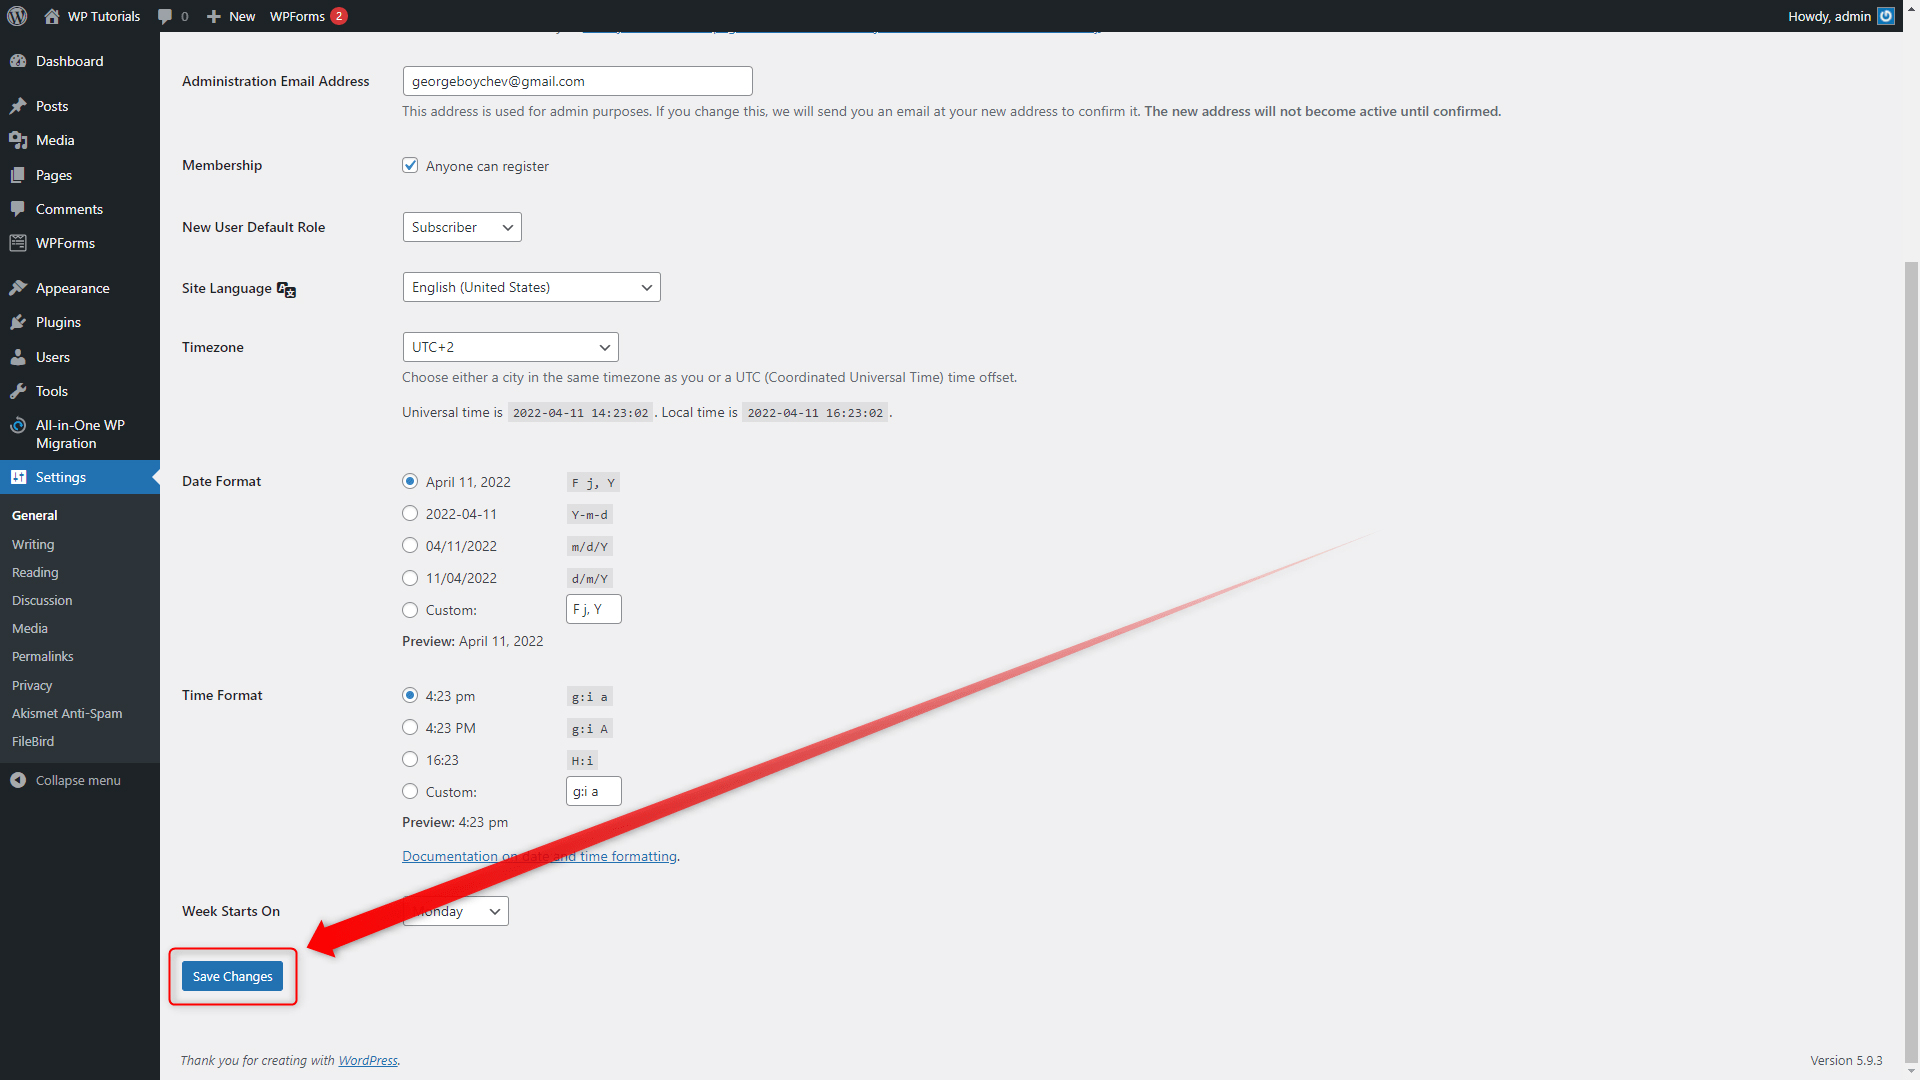
When you have selected the correct timezone, scroll down to the bottom of the page and click on the blue Save Changes button, so WordPress applies and saves your preferred settings:
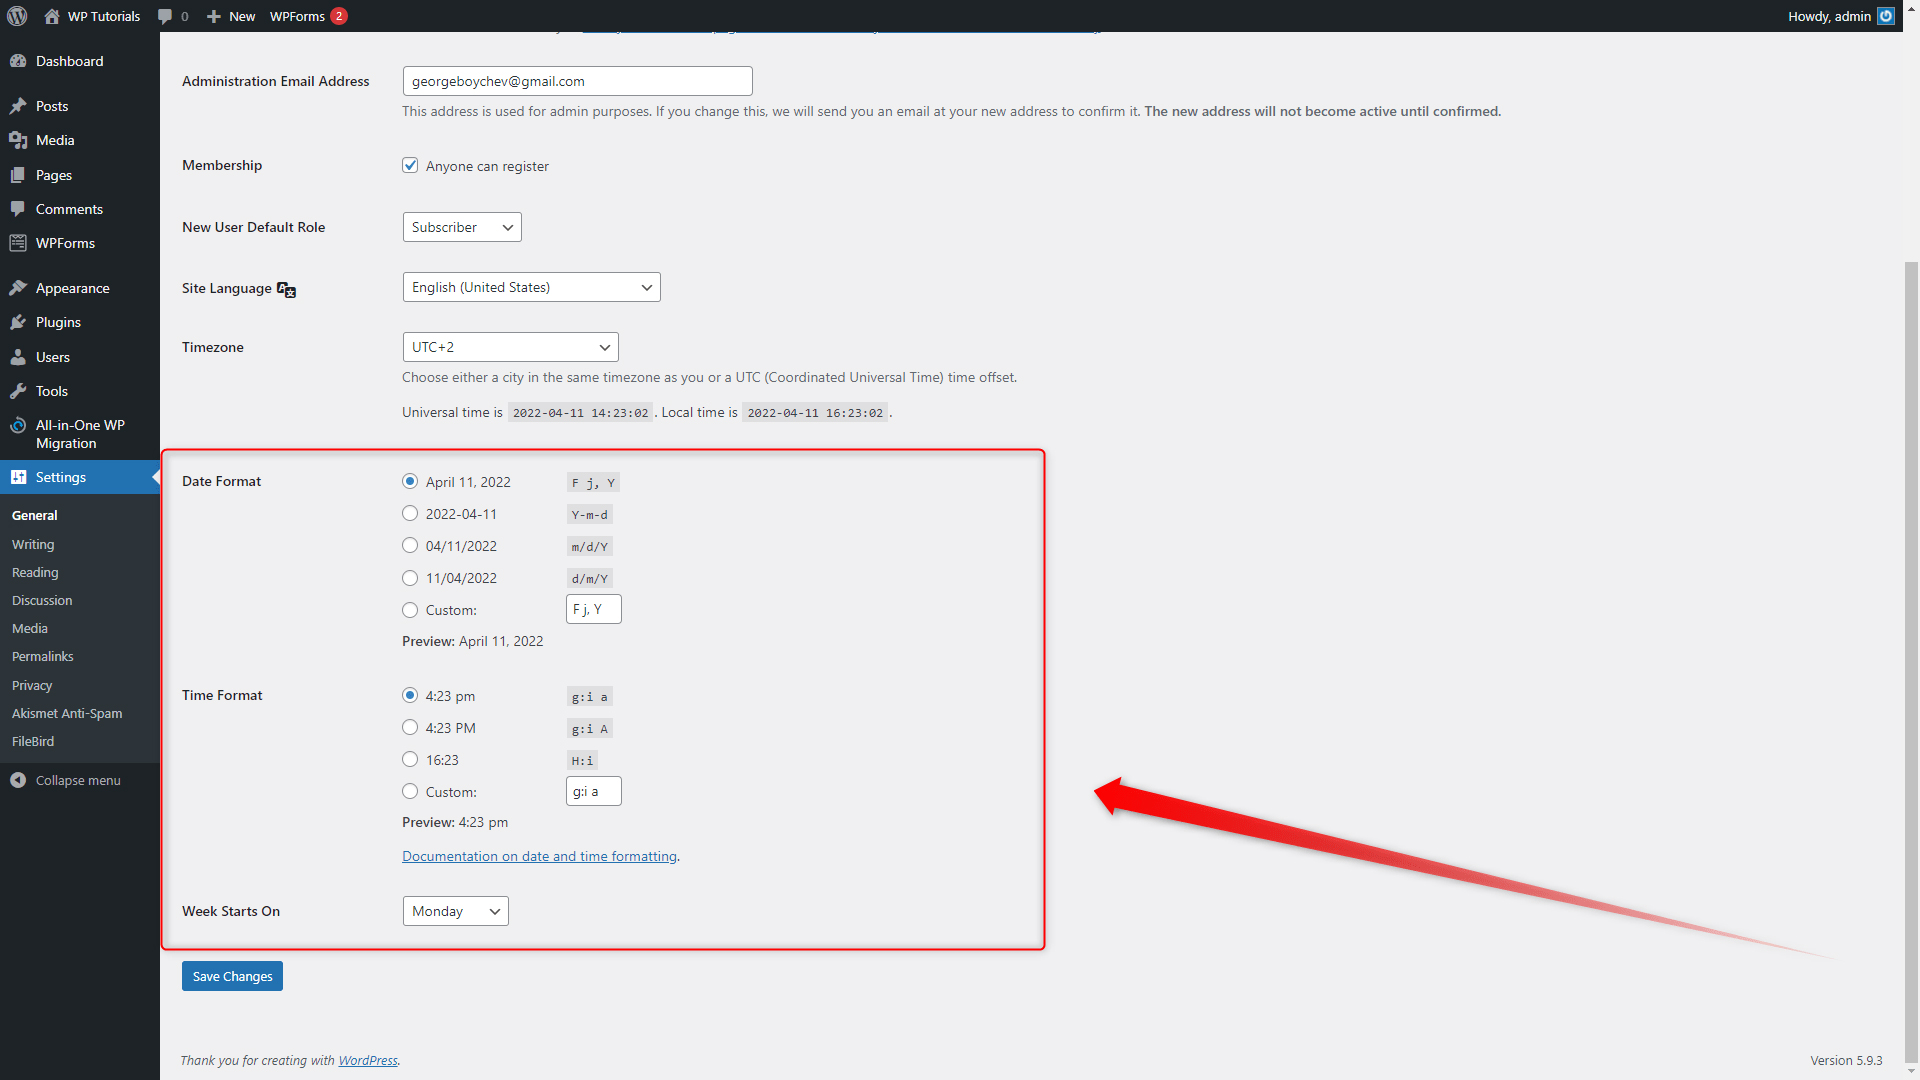
Before you close the page, also look at the rest of the time settings you can benefit from. After you have selected the correct timezone, you can add some more conveniences such as date format, time format, and starting day of the week:
Conclusion
Also, don’t forget that changing the timezone will also change the publication time of all your pages and posts and will display the exact time of that particular timezone.
Delve deeper into WordPress and learn everything about the platform with our easy-to-follow WordPress guide.
It is not enough to create a beautiful website. It is also important to keep your and your visitors’ data safe and secure, so you build a reliable and strong online presence. To protect your site, you need a secure hosting service and advanced data encryption. This is why, we at ZETTAHOST can offer you both – we offer a wide range of shared web hosting services, domain name registration, and SSL Certificates.
Related:
- What are the WordPress User Roles
- How to Add Categories in WordPress and Assign Posts to Them
- How to Create Tags in WordPress?