WordPress Gutenberg block editor introduces a width alignment option that allows you to become more creative with your site layout.
With width alignment, you can use various width settings for your Gutenberg blocks, so they become wider than the main content area and even as wide as your computer screen.
In the following paragraphs, you will read how to enable block width alignment and how to use it across your pages and posts.
How to Enable Full-Width Alignment in WordPress
The full-width alignment is a feature that comes with the choice of a WordPress theme. However, not all themes support it.
Fortunately, you can quickly enable the option, regardless of whether the theme you are using supports width alignment or not.
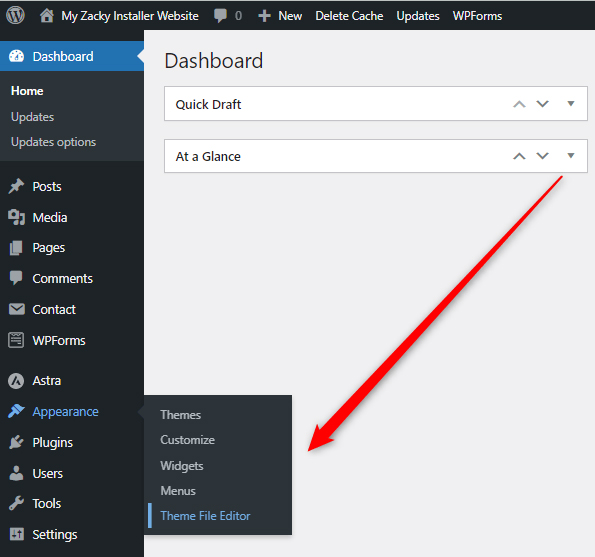
To activate the feature, you should first enter your WordPress admin dashboard.
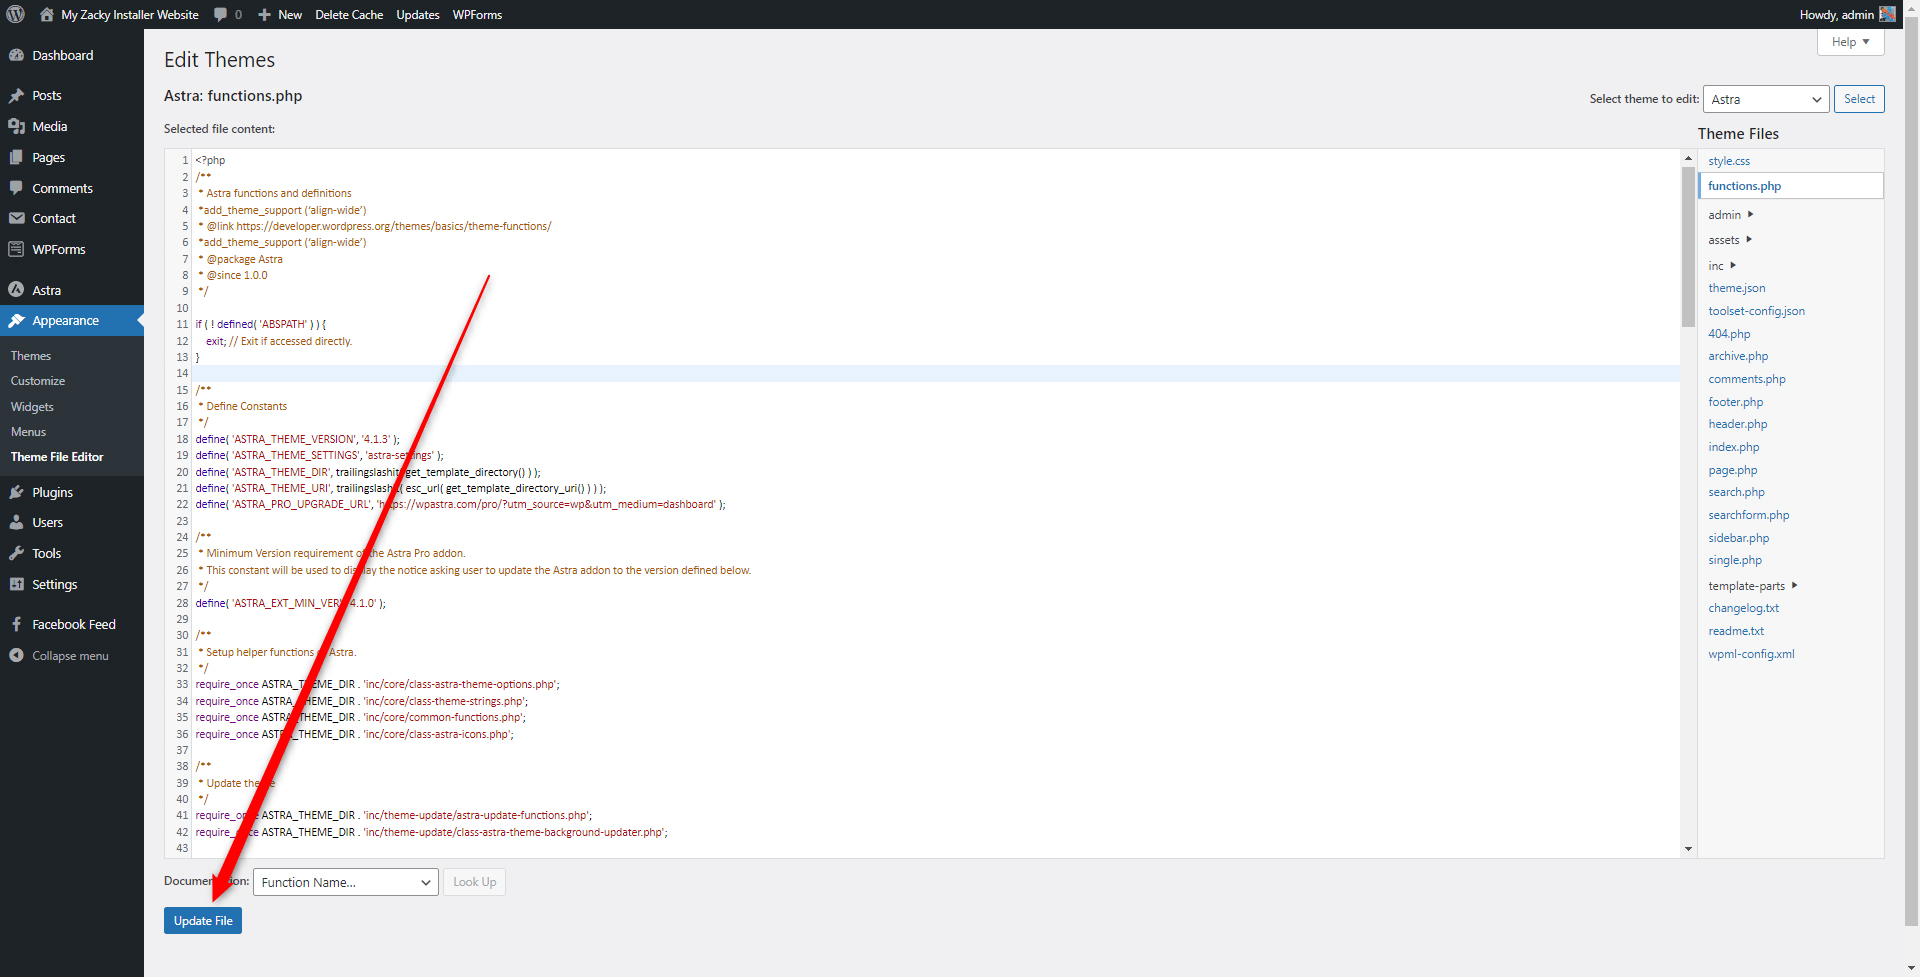
Once in, head to Appearance->Theme File Editor:
Once within the Theme File Editor, WordPress should display a page such as this one:
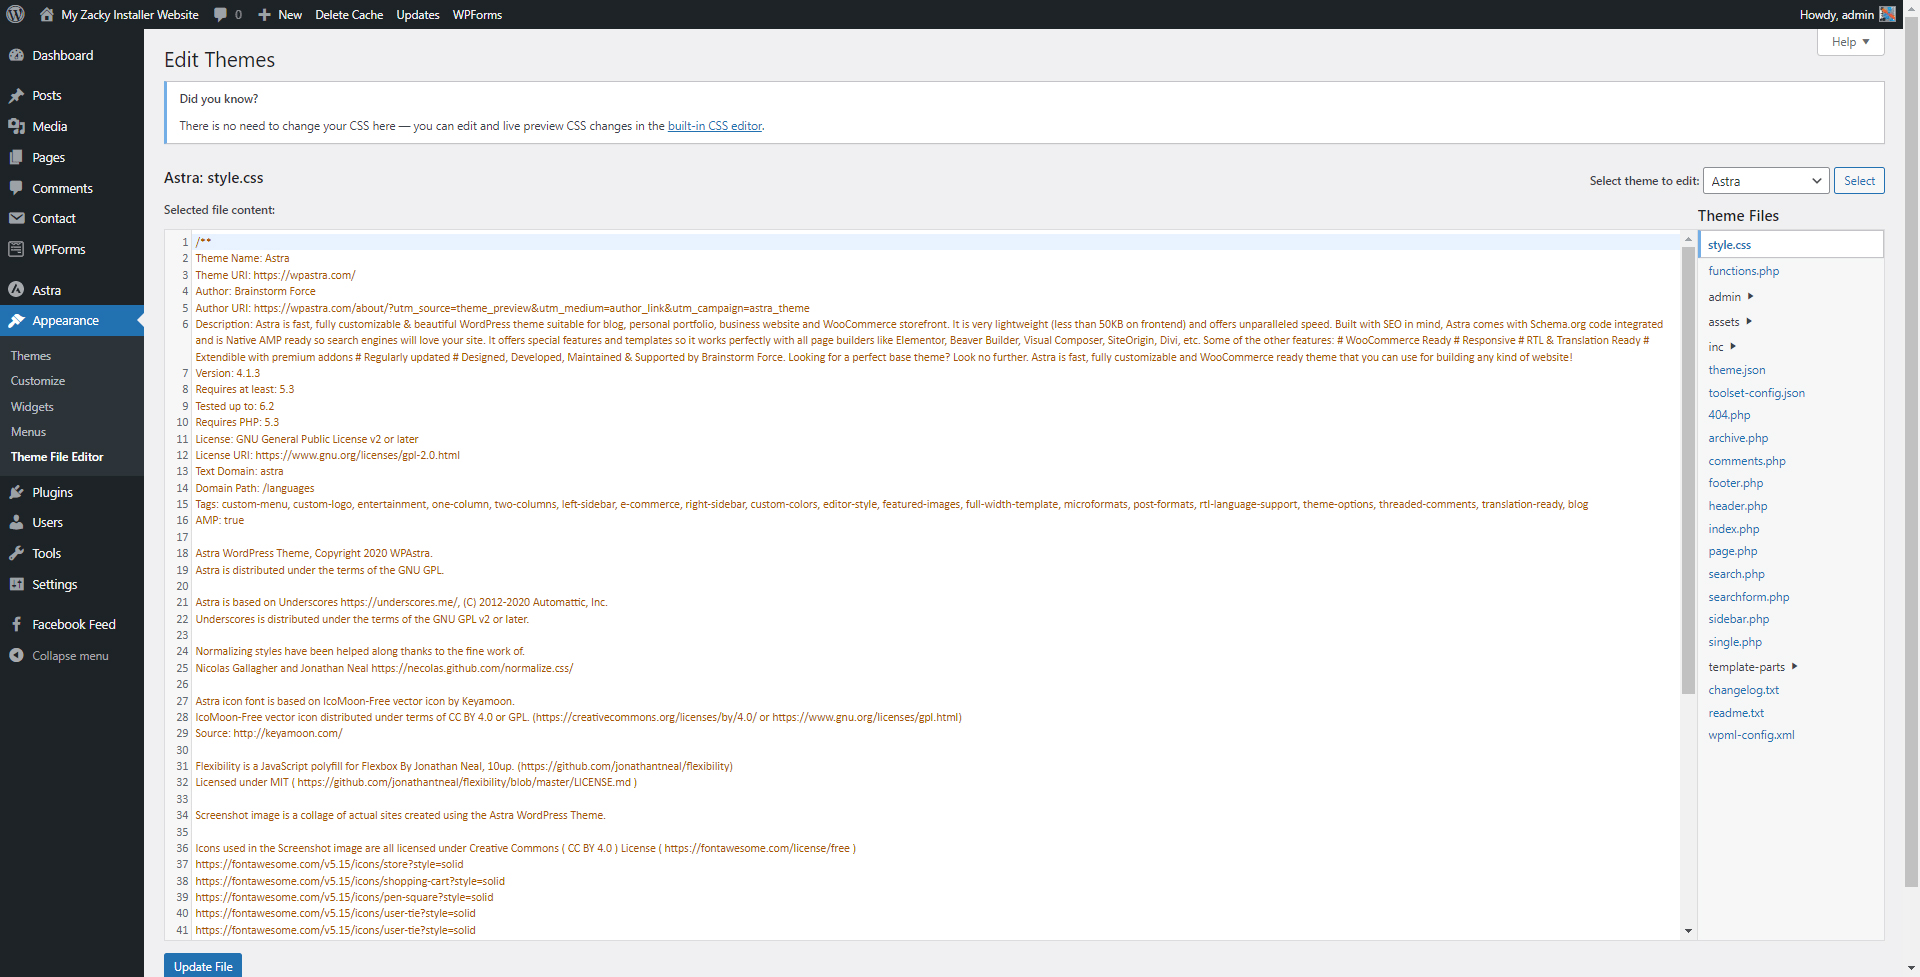
Don’t get intimidated by the amount of code you see. You only need to paste a short snippet within the functions.php file.
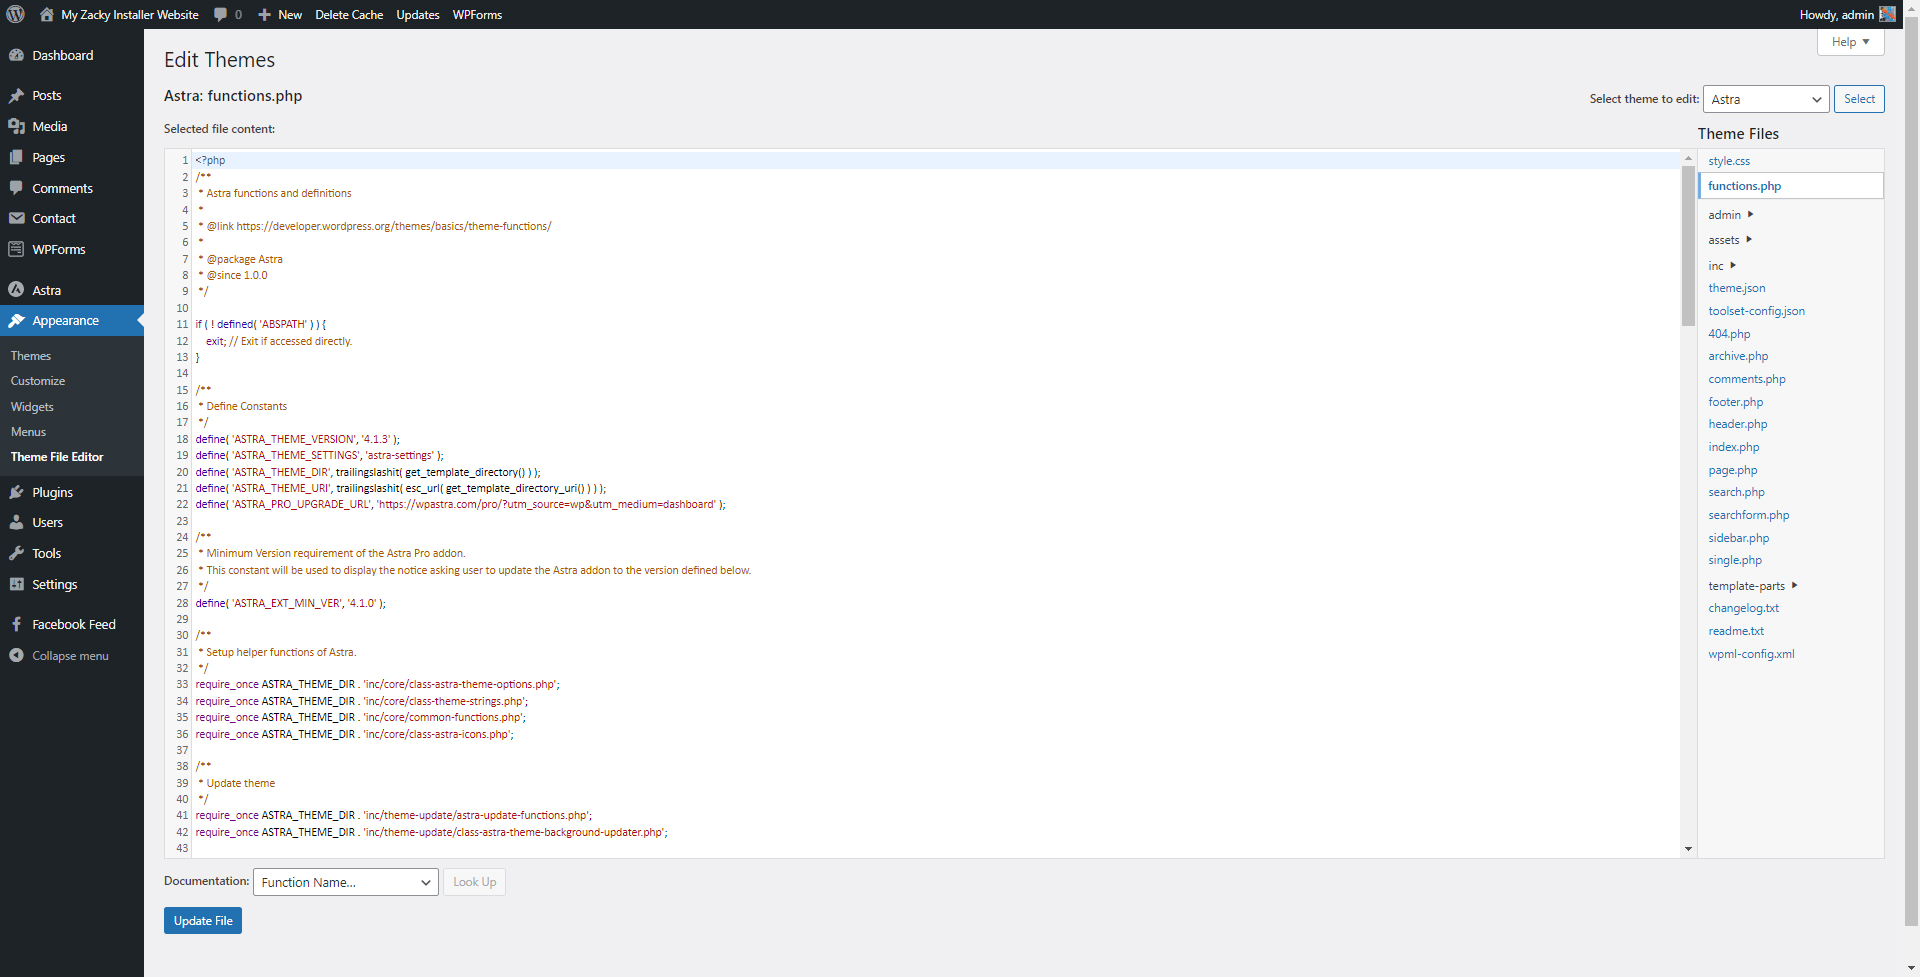
To open the functions.php file, while within the Theme Editor, click on the functions.php button on the right of the screen:

Once you do, a new page with code snippets should appear. This is the function.php file with all the code information it contains:
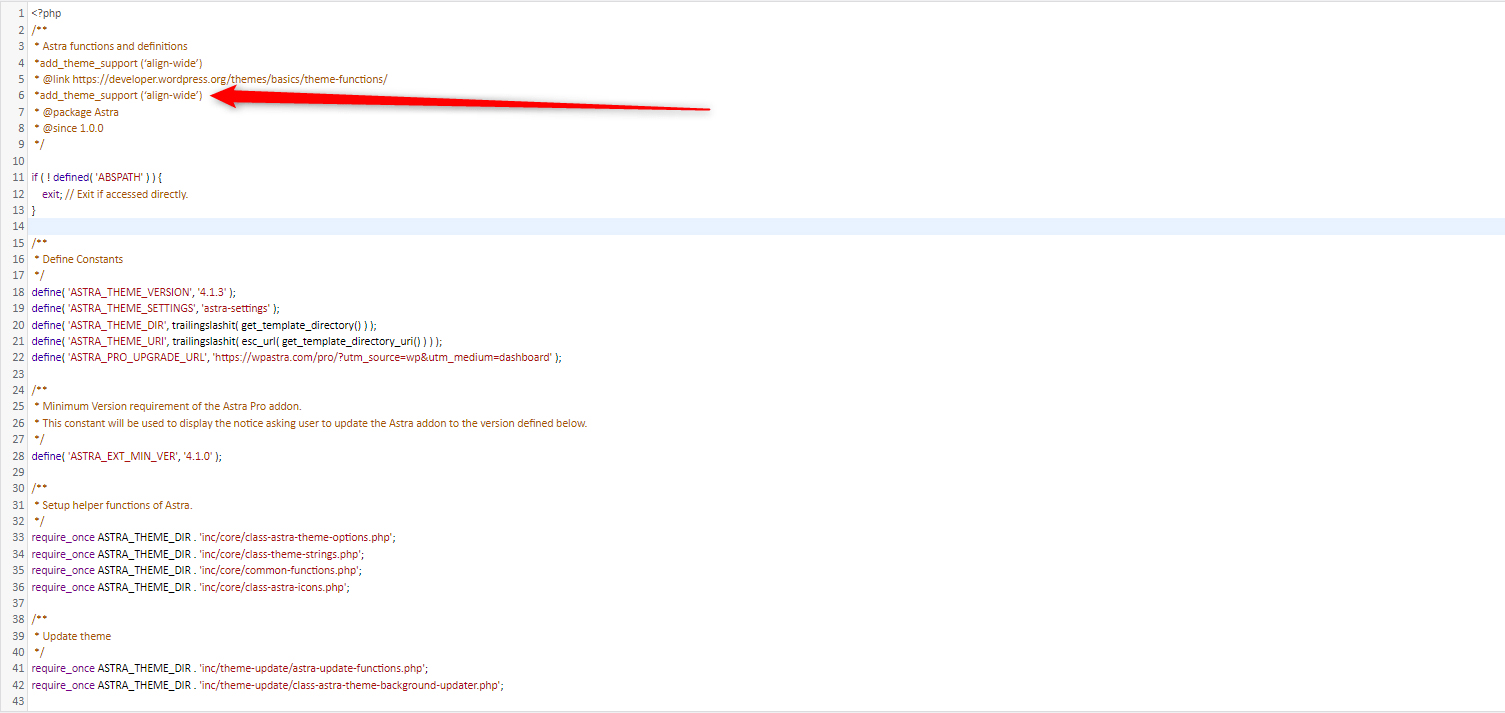
Now, add this snippet to the file:
add_theme_support (‘align-wide’)
Once you add the snippet, click on the blue Update File button at the bottom of the page, so WordPress applies and saves the changes you just made:
Now, you can use the Full-Width Alignment feature with Gutenberg.
How to Set Full-Width Alignment in WordPress Gutenberg Block
Now that the full-width alignment is enabled, you can try out how it works and come up with various design ideas for your WordPress website.
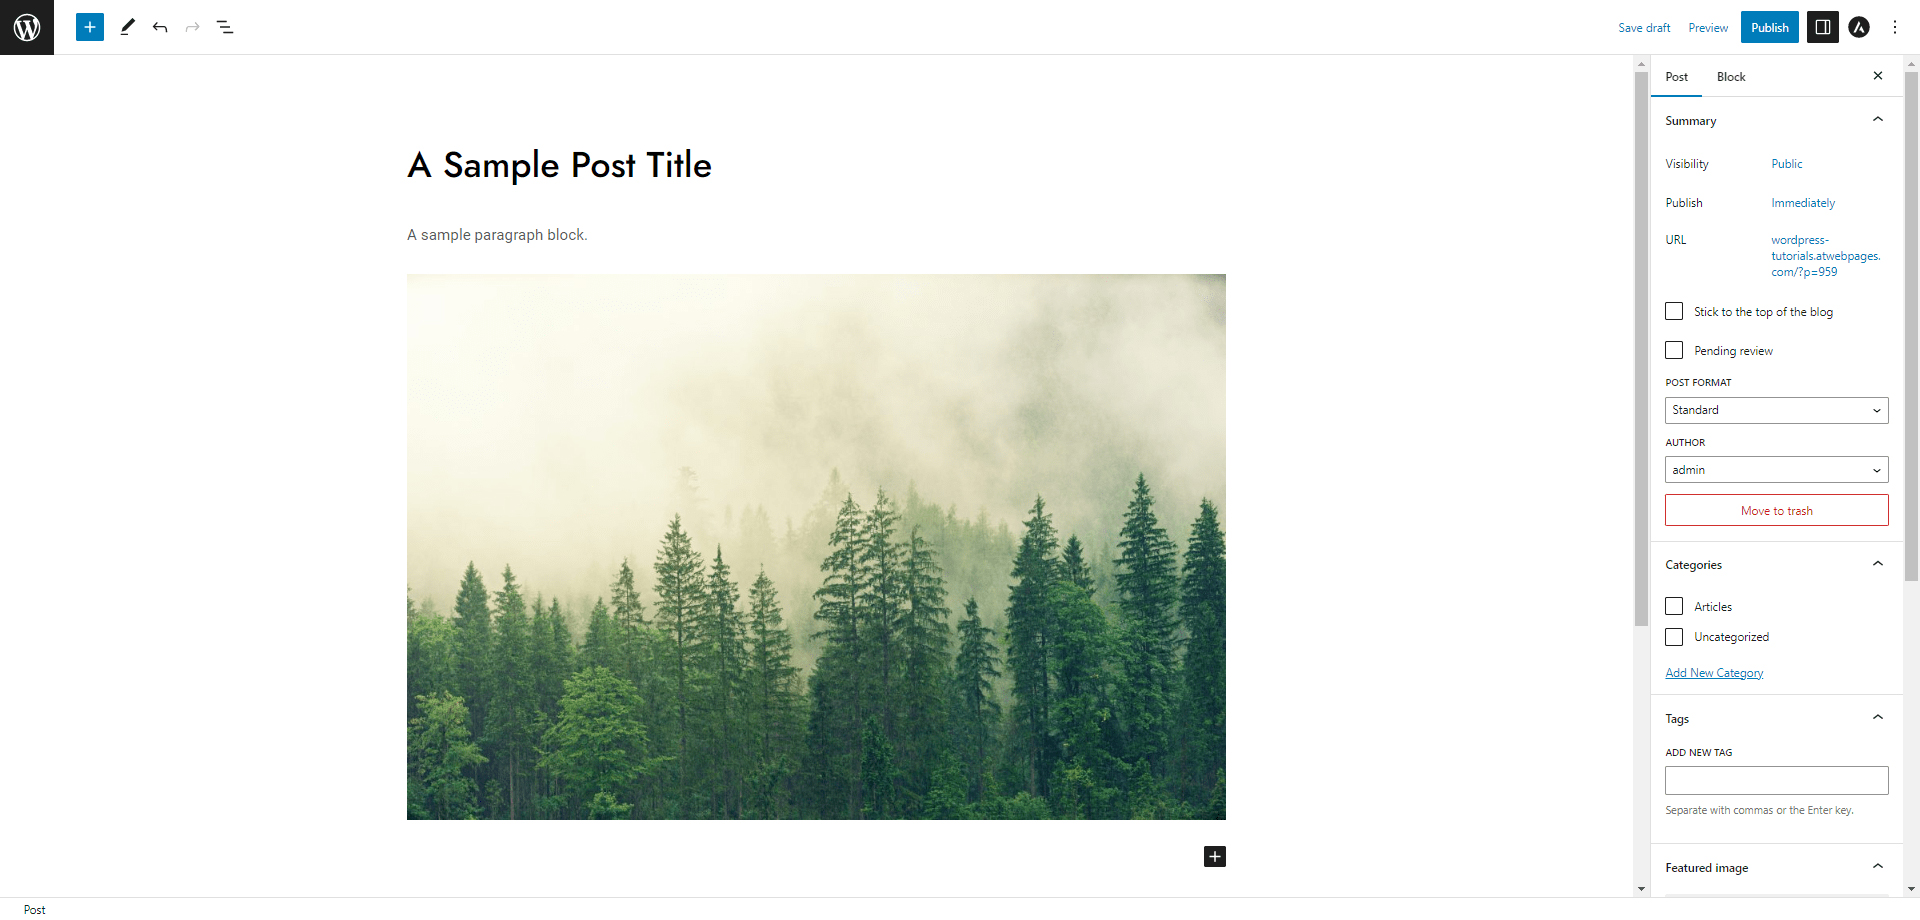
To do so, open a page or a blog post you wish to edit, or simply create a new blog post or a new web page.
For this demonstration, we will edit a blog post.
To be able to use the width align feature, open the Gutenberg editor, and insert a new block in the content area.
We will insert a sample paragraph block and an image block:
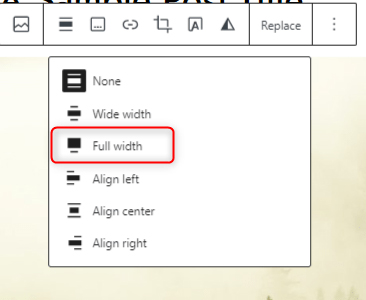
Now, click on the block and locate the Align settings:
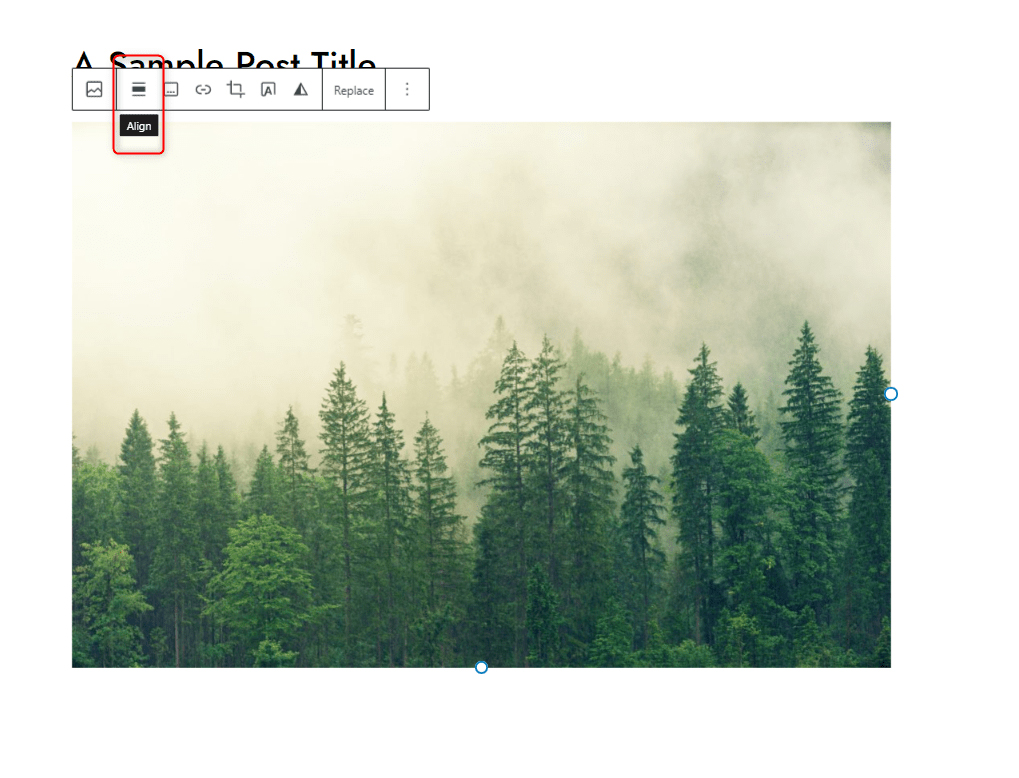
Now, click the Align button and have a look at the various options:
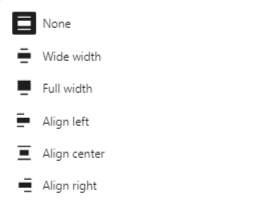
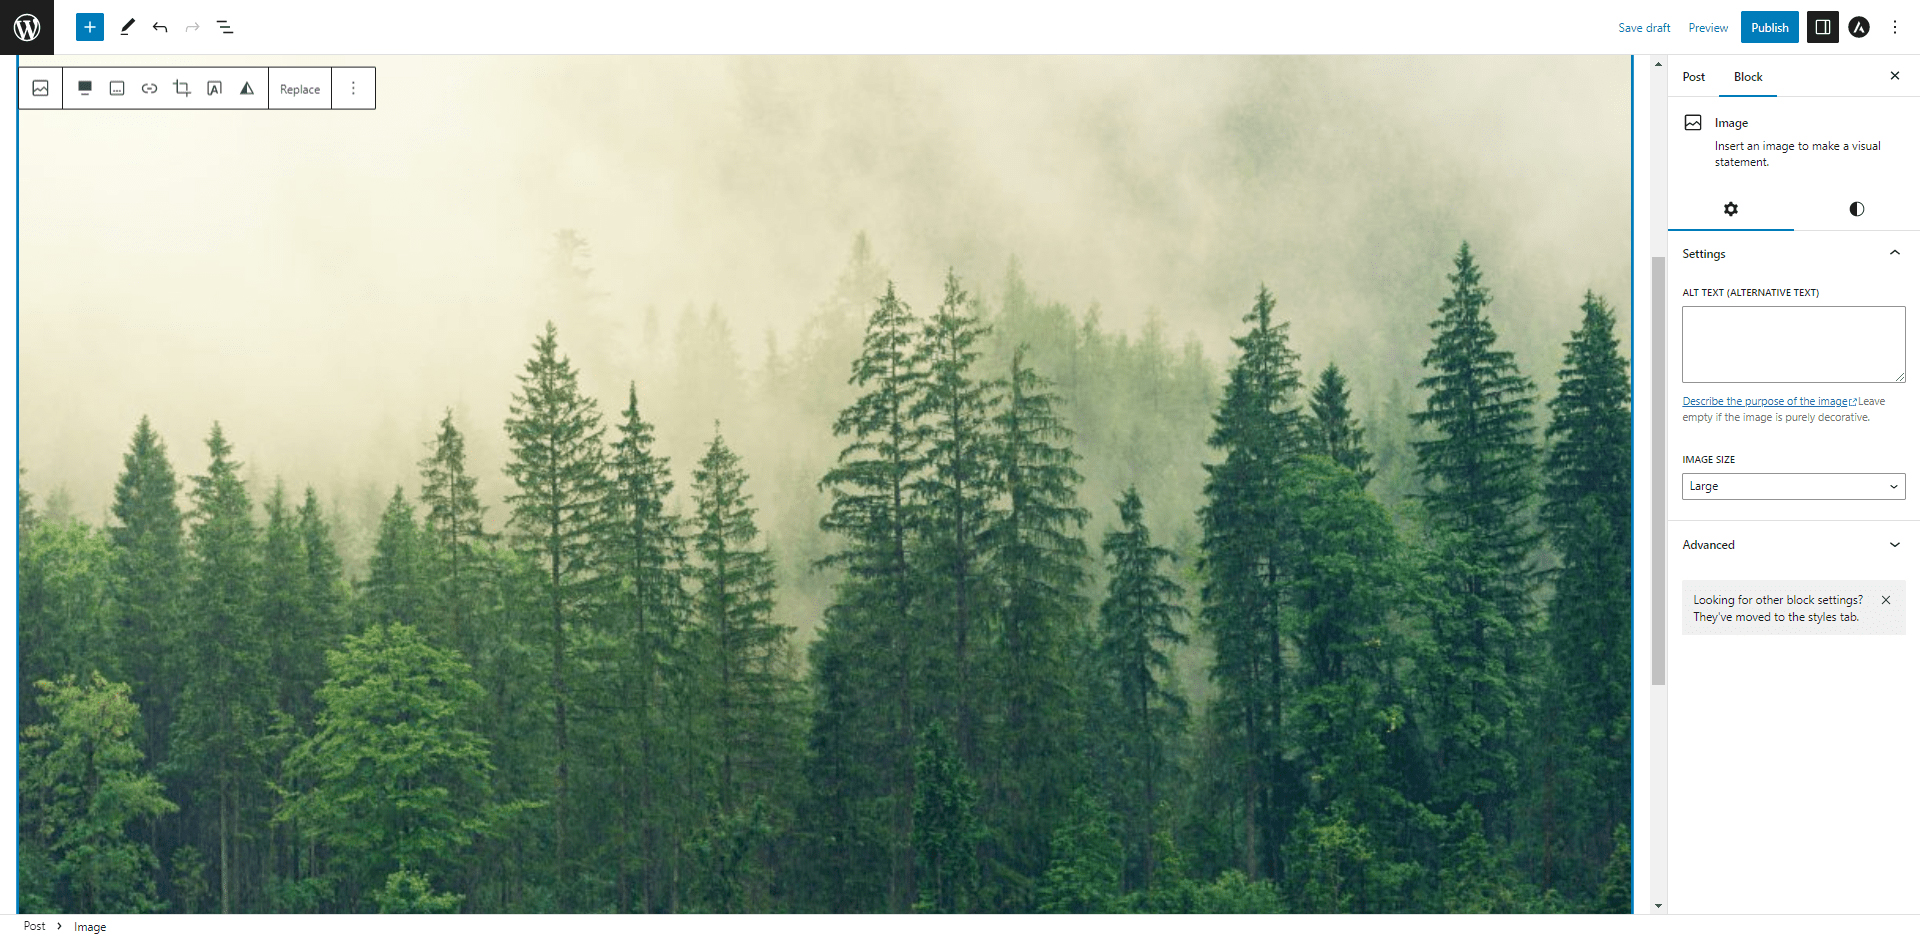
To align the Gutenberg block to full width, simply click on this option from the menu:
Once you click on the Full width, WordPress will automatically expand the image beyond the content area and to the corners of your screen:
Now you can use the full-width alignment feature on your WordPress posts and web pages.
Conclusion
The Full Width Alignment option in WordPress is very handy, as it gives you new ways to design the layout of your pages and posts.
Now you know how to activate and use the feature.
Related: