The block editor (Gutenberg) in WordPress is very handy for three main reasons. It doesn’t require coding or any IT knowledge to be of use to you, and it comes with an intuitive design, and last, but not least, it offers ample options for your blog section.
Via Gutenberg, you can create quite beautiful layouts of your posts and the best of all is that you can start using it right away.
Because of how useful the block editor is, in the next sections you will read how to use it to create, modify and publish blog posts.
How to Create Posts in WordPress via the Block Editor
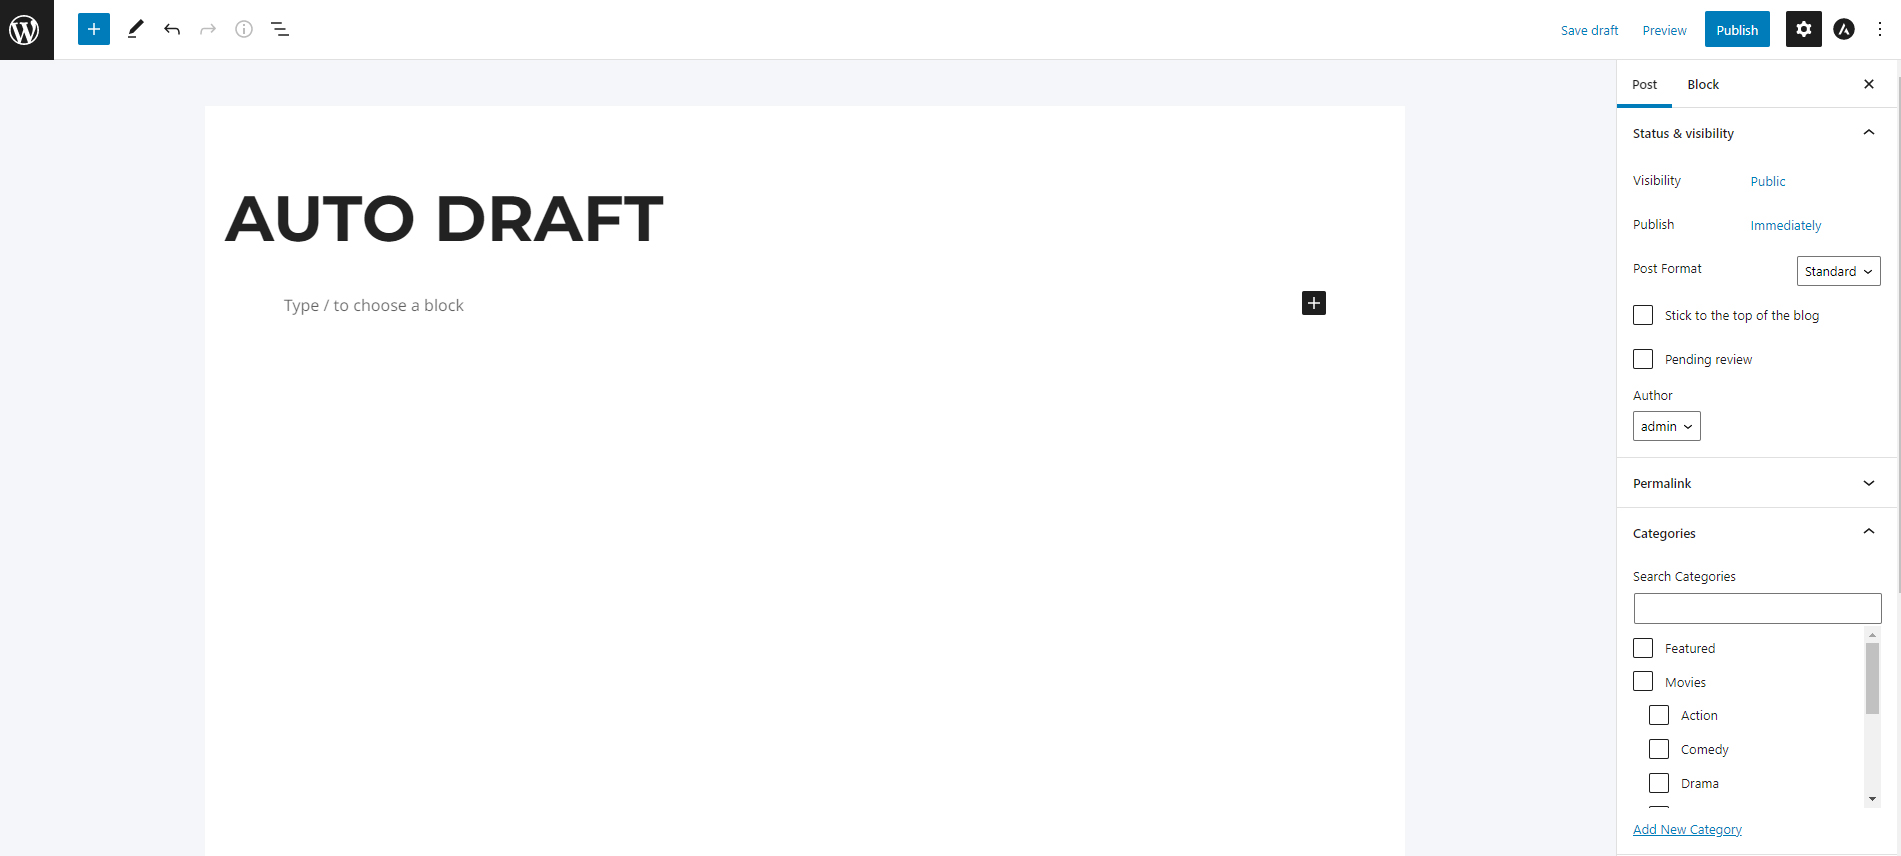
First, open the post creation section (Posts->Add New):
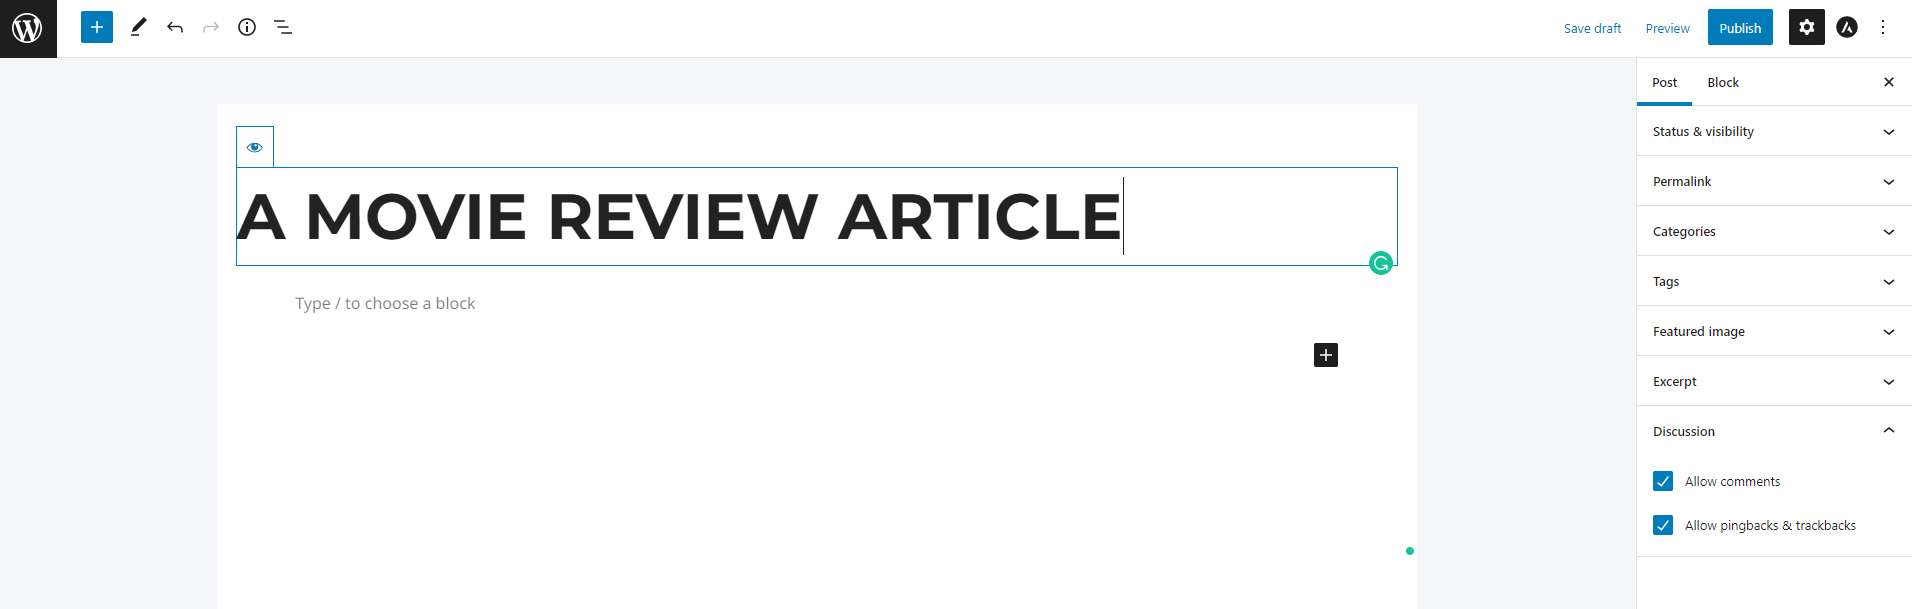
In this demonstration, we will create a movie review article, and, in the process, we will see how each component works.
First, we should add a title – do so by deleting the large Auto Draft text and adding a text on your own – this is the title area of your post:
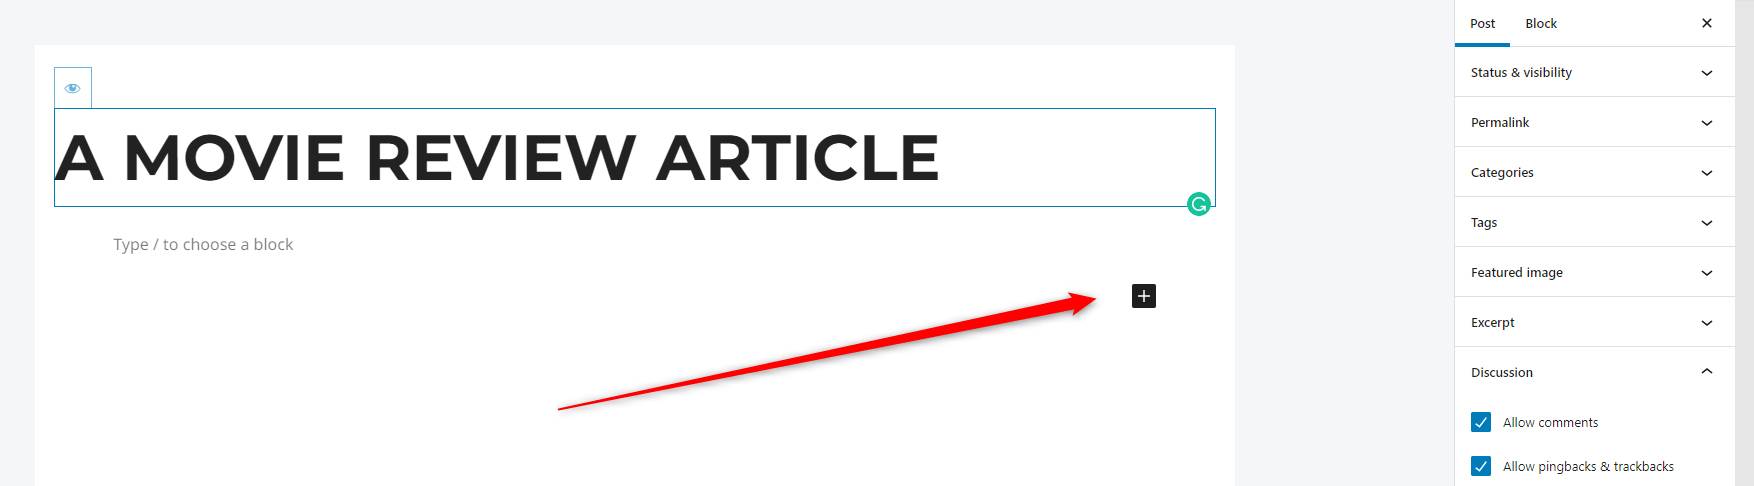
Then, we should proceed with adding some text.
To do so, simply click on the black plus icon you see on the right of the screen:
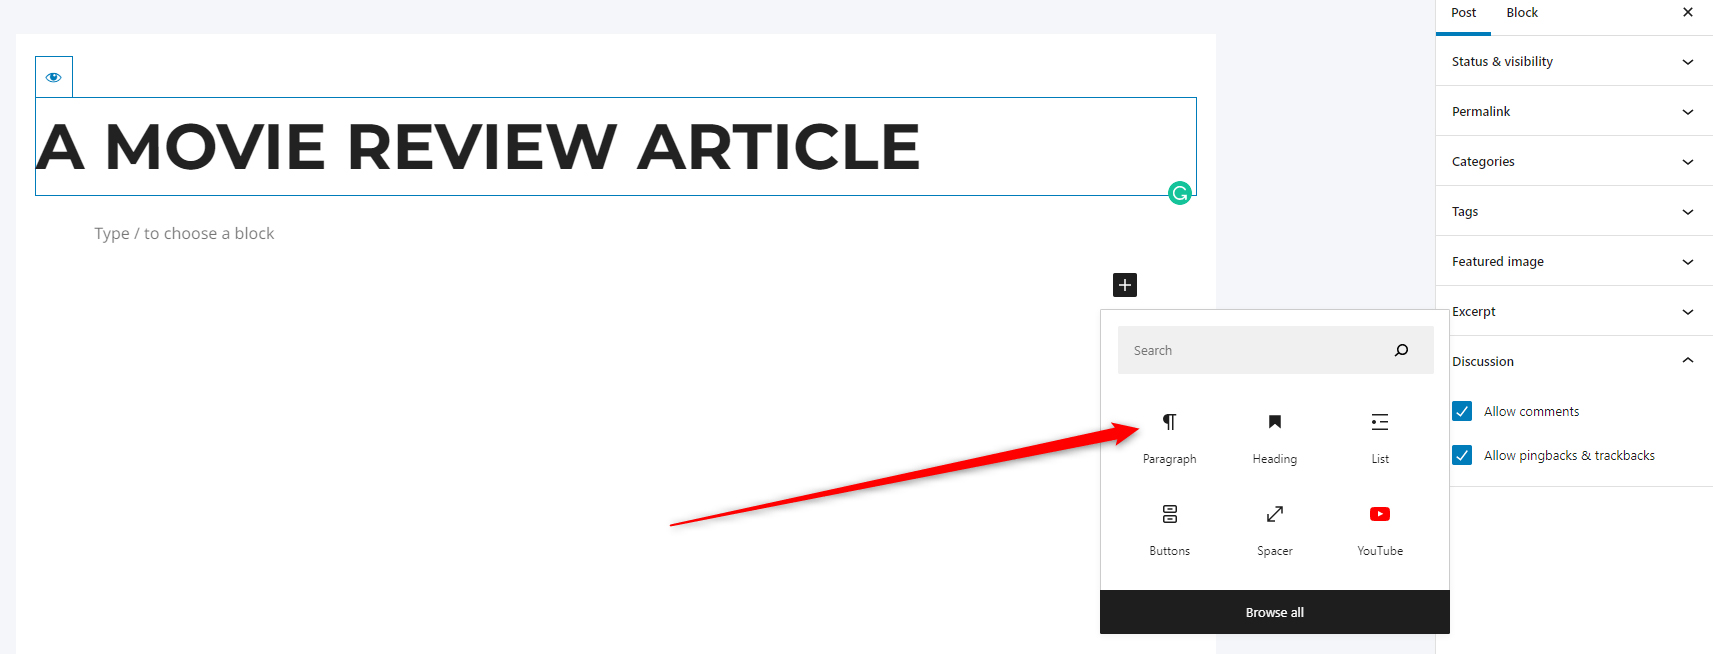
This will open a list of blocks you can include in your post – each one of these does something.
In this example, we will add a paragraph section and will include some text inside. Later, we will use a different block for our images and embedded videos.
Since we want to begin with a text, click on the icon and select Paragraph:
Once you’ve selected the block, you will see it just below the article’s heading. Also, on the right side of the screen, you will see various options for this block:

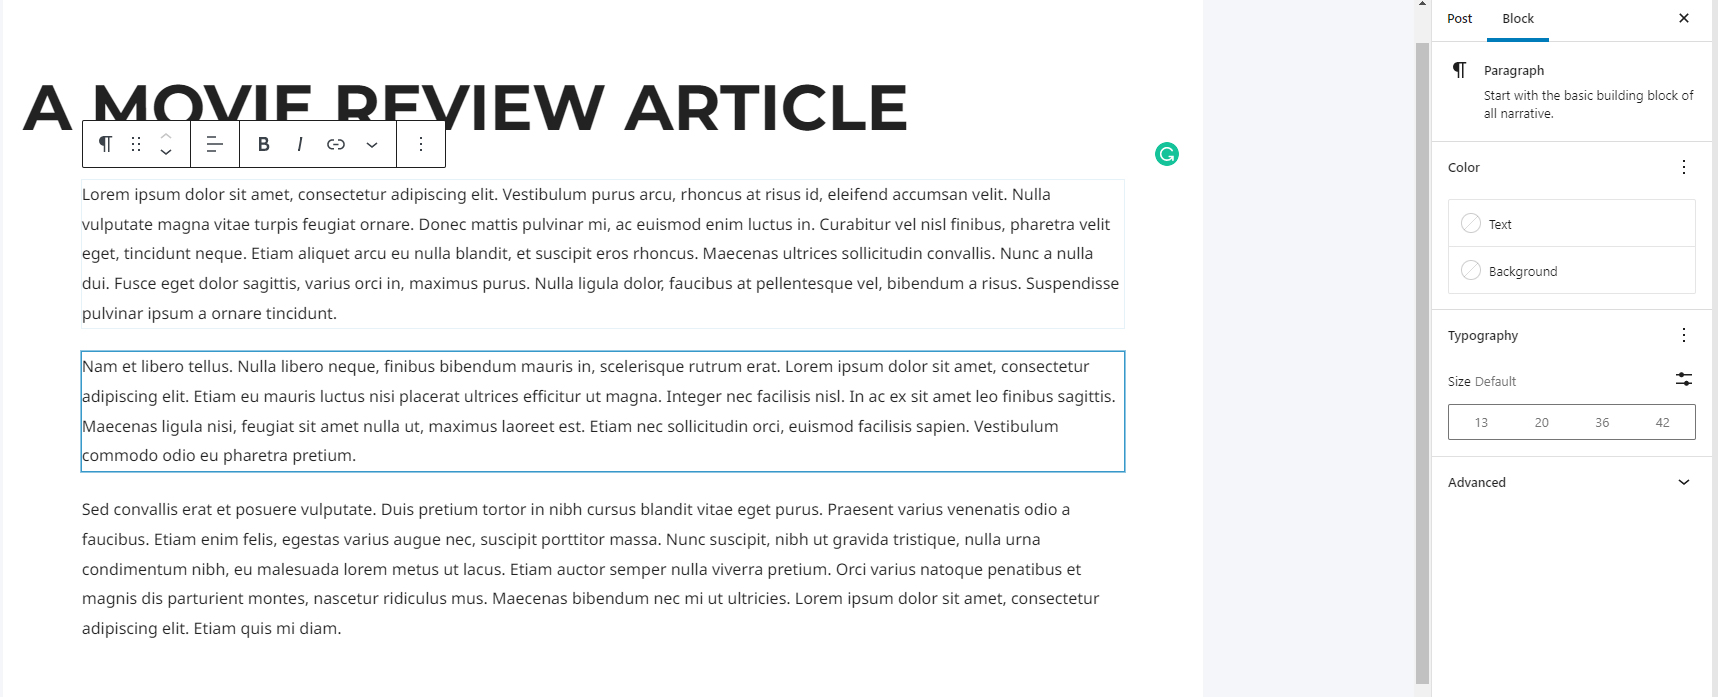
Now, within the selected block start typing your text. You can separate the entire text into paragraphs, each of which will be contained in an individual paragraph block.
For this demonstration we separated our text into three paragraphs, each of which is contained by an individual Paragraph block:
Now, to make the text easier to read and to navigate visitors with more ease, we will include subheadings above each paragraph.
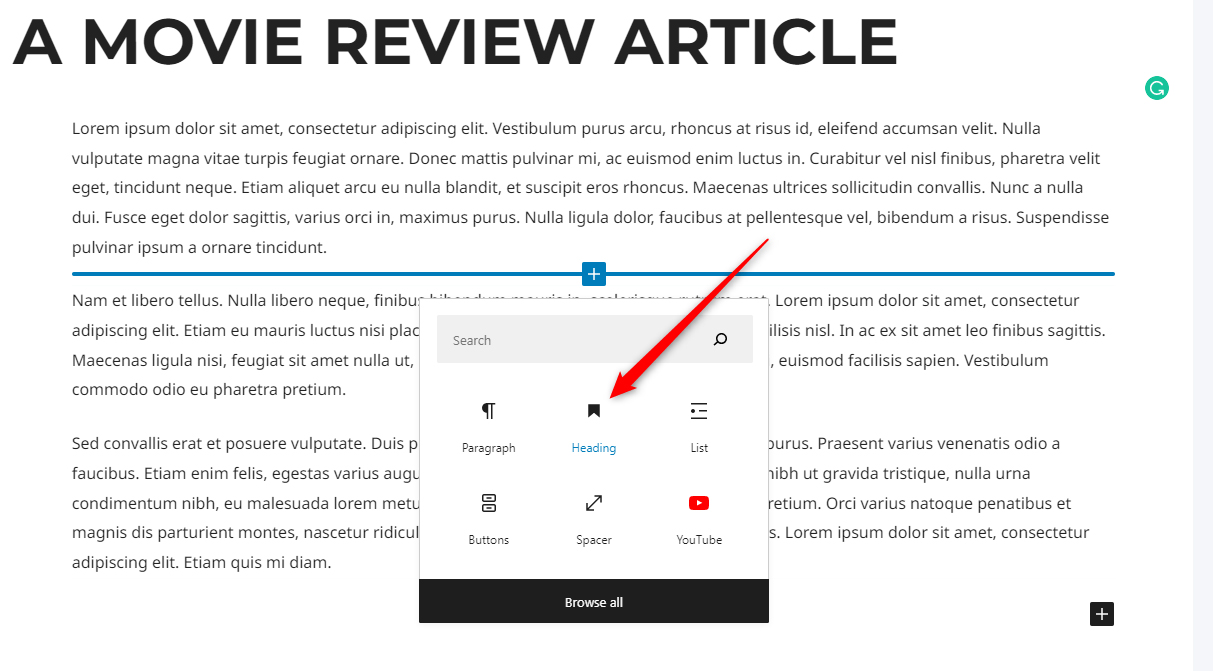
To do so, simply hover your mouse between two paragraphs. A Plus icon will appear. Click it:

The menu with the available blocks will appear. This time select the heading:
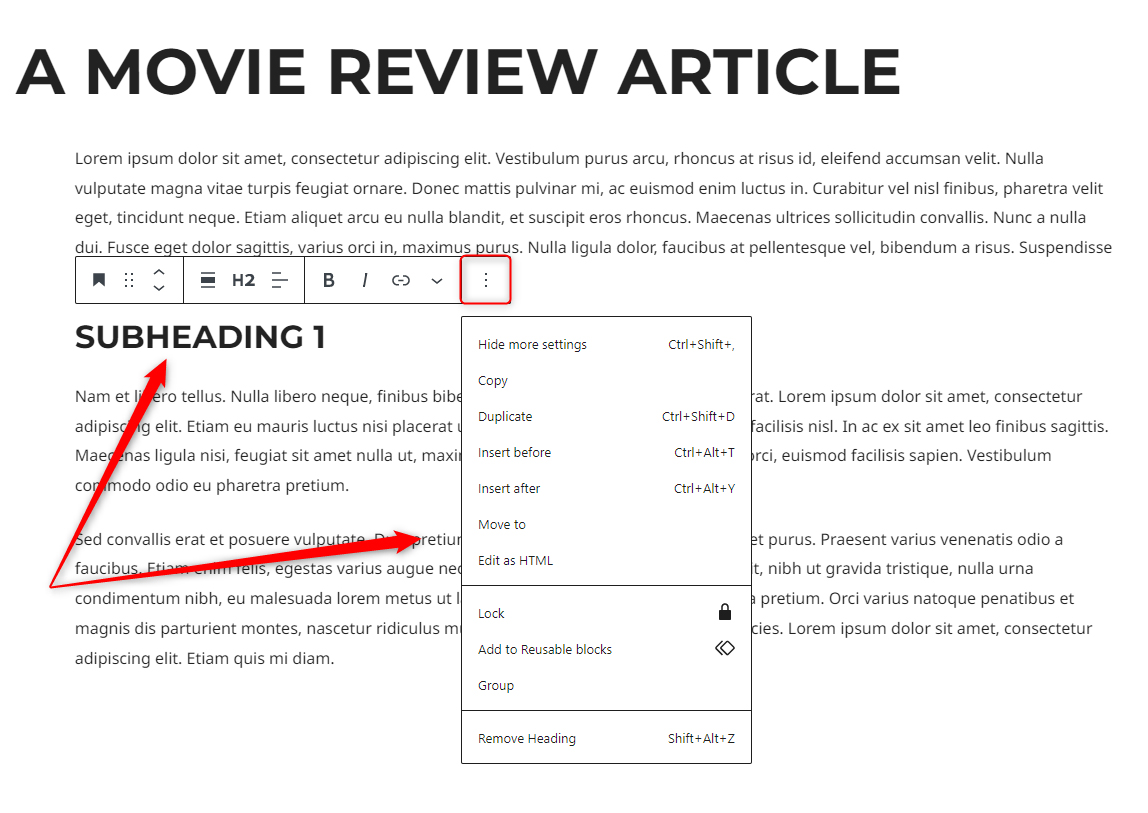
Now, a Heading block has appeared. Notice how a menu with options appears each time you click it:
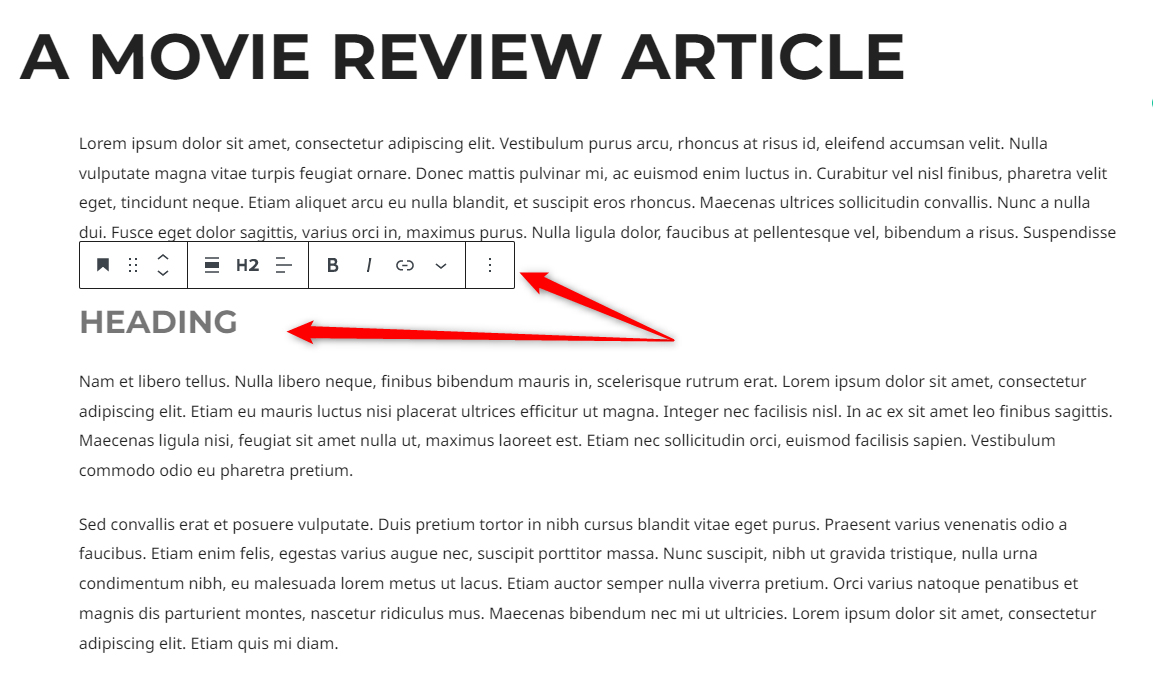
Now, type down your preferred subheading by clicking the block and start writing. Then, you can add some more customization options via the menu options. For example, you can align the center of the subheading, make it bold, add a link, or something else:
Here’s how our layout turned out to be:
Now, it is time to freshen the design with some media items.
We will include an image below each subheading and a video right below the main heading.
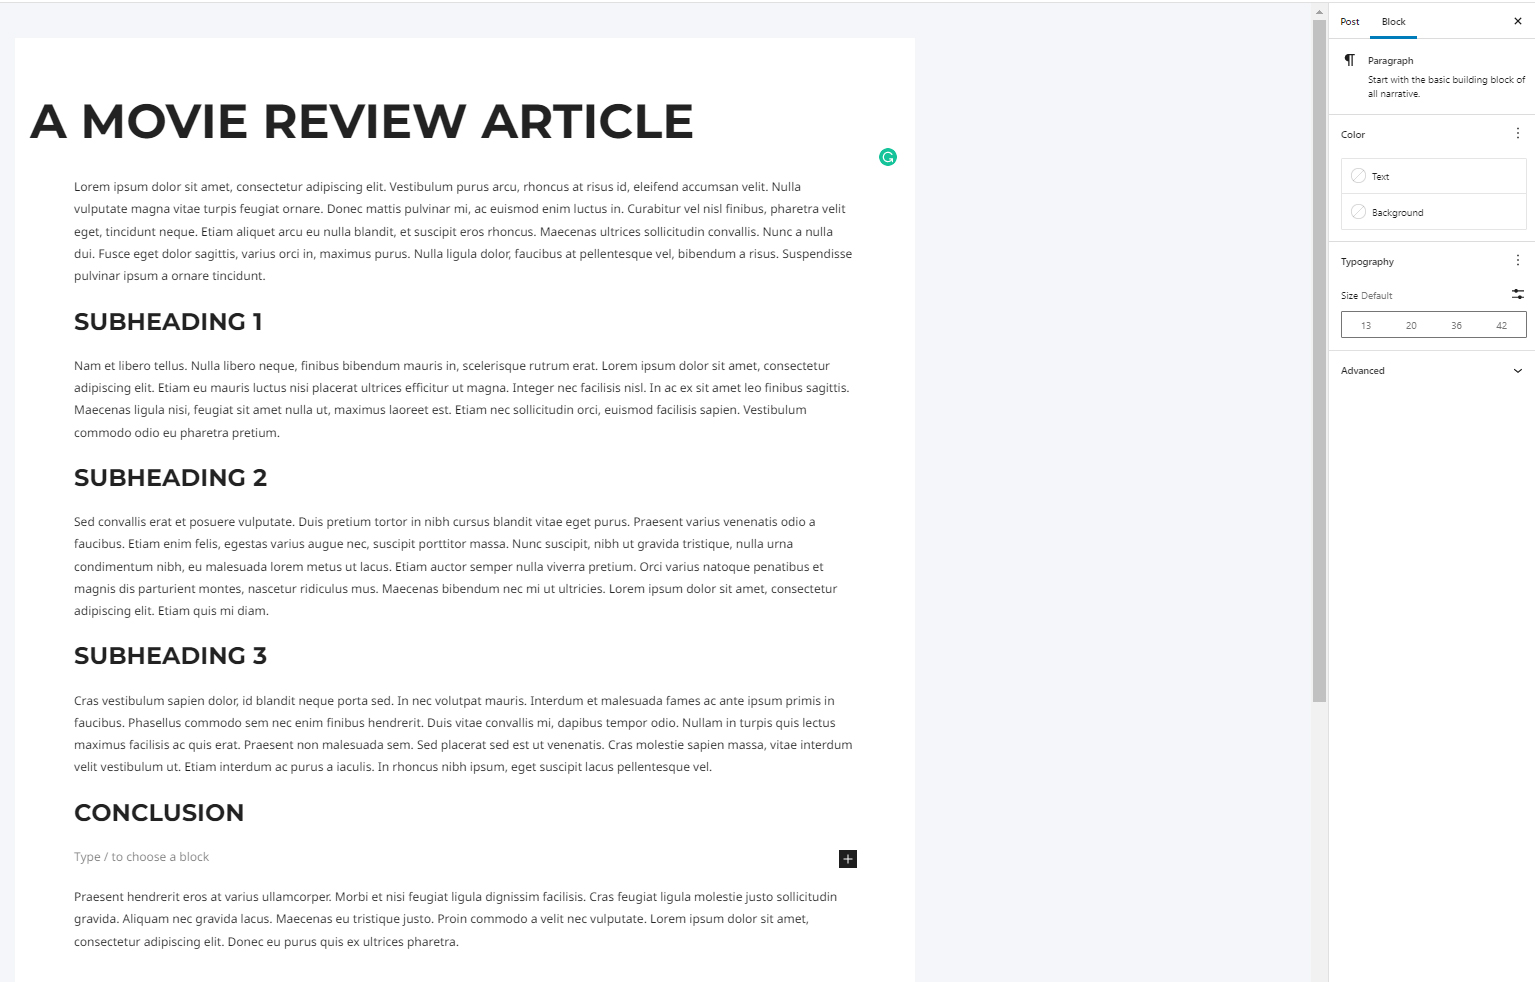
To do so, however, you mouse between any subheading and text and click the plus icon that should appear:
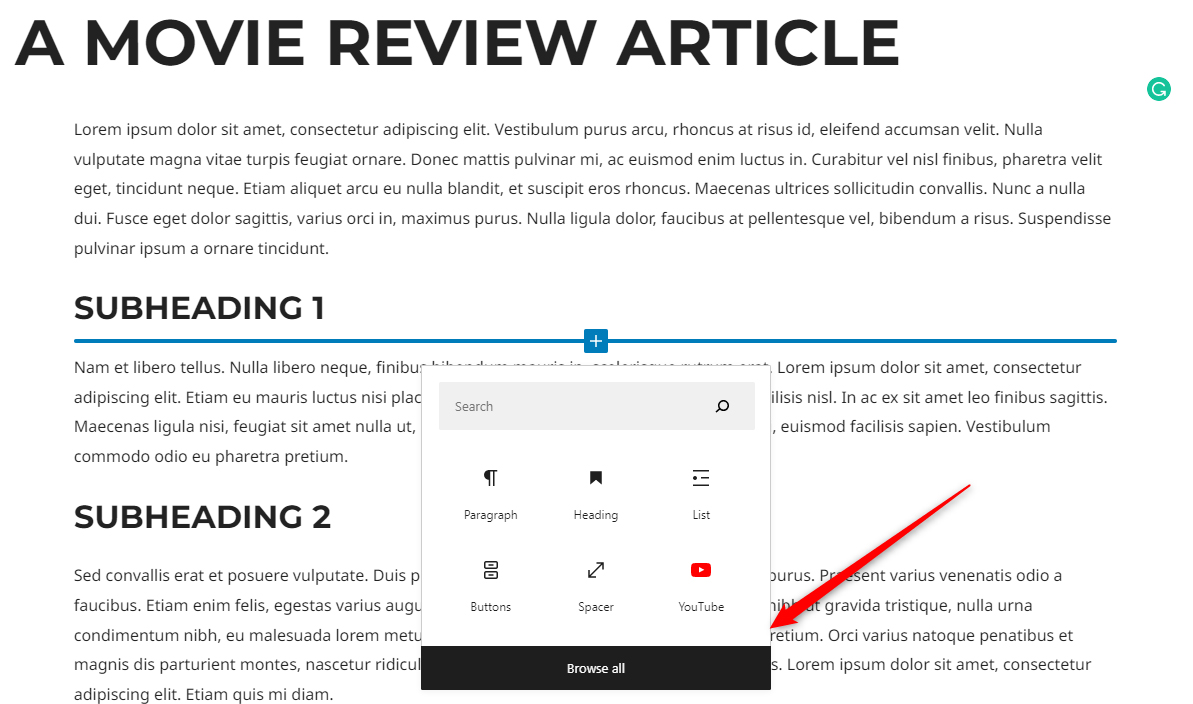
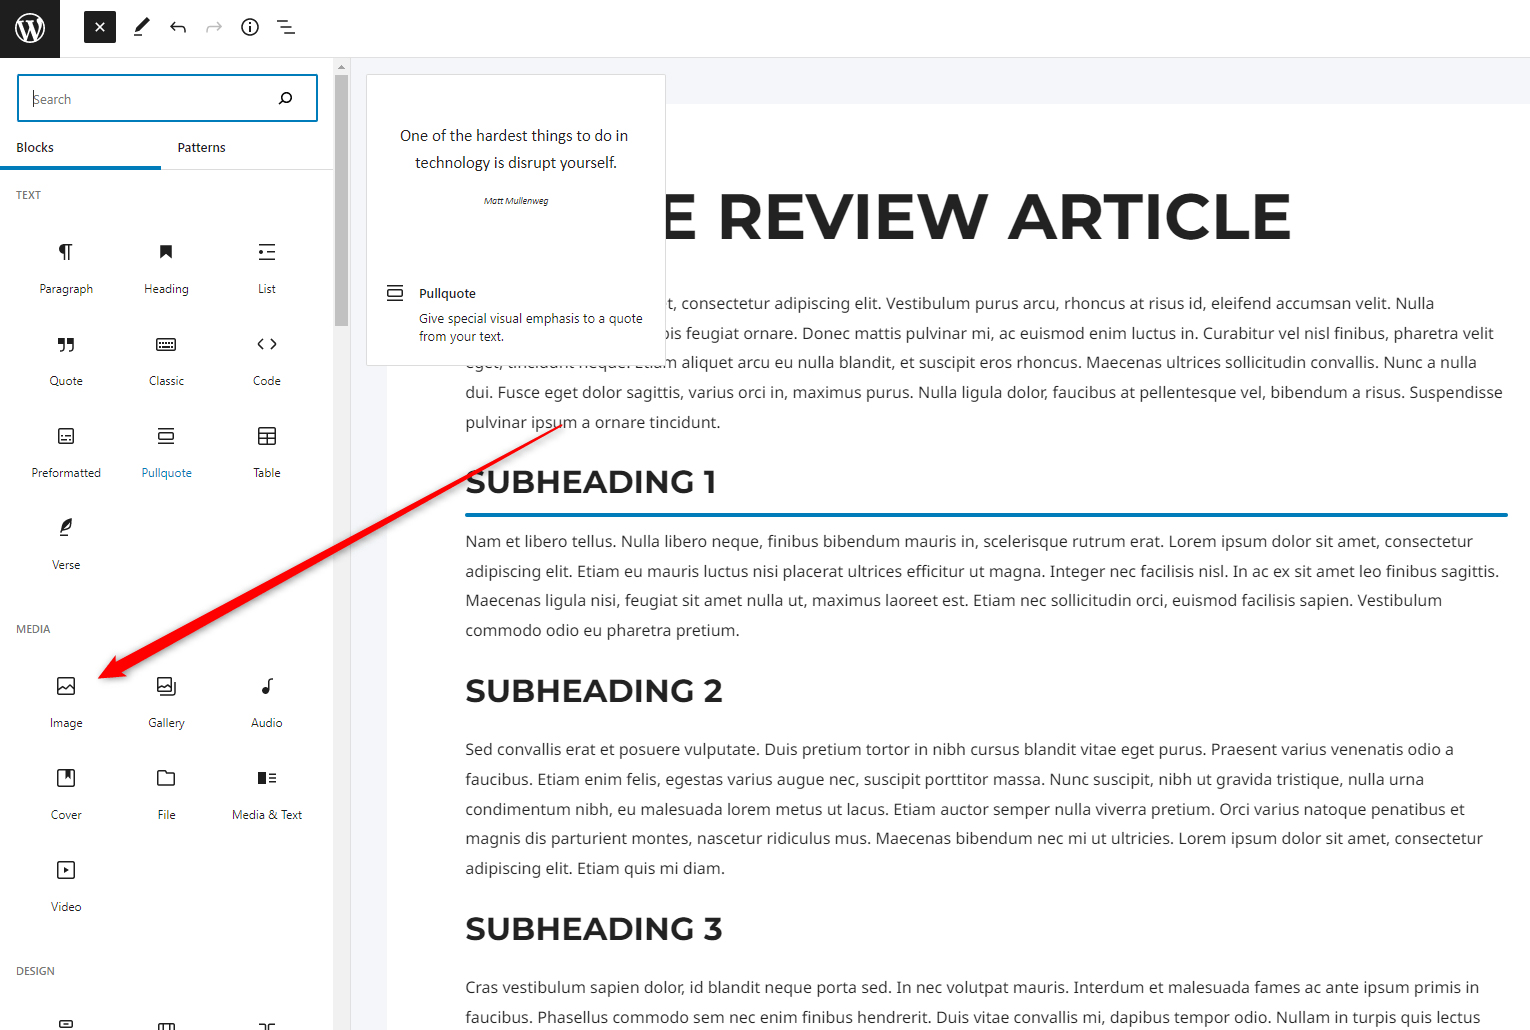
From the box that appears search for “image”. If you can’t find it, click on Browse all. This will show a list of all available types of Gutenberg blocks:
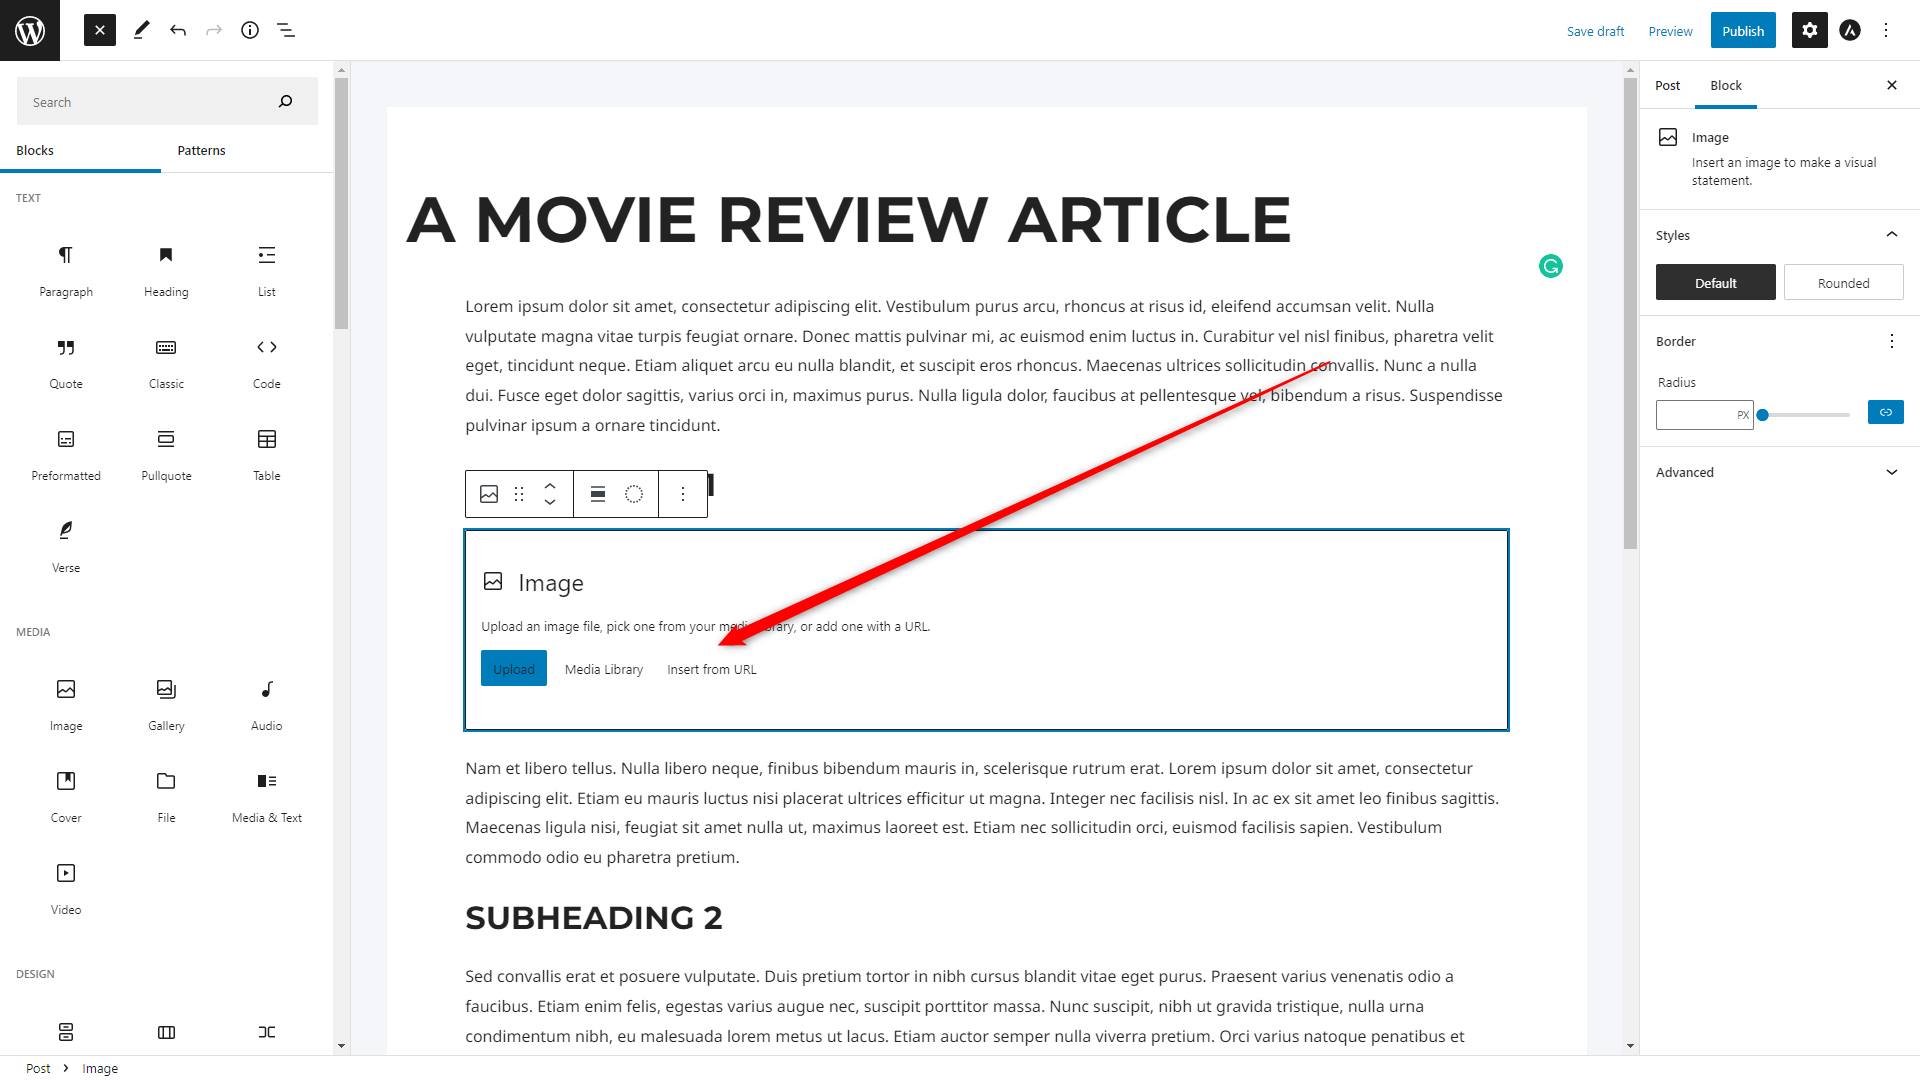
Now, after you’ve selected the Image block, add the preferred image:
You can either browse the WordPress Media Library or upload a new image. Also, you can add the URL of a certain image, if you prefer so:
Now, include the image in the post.
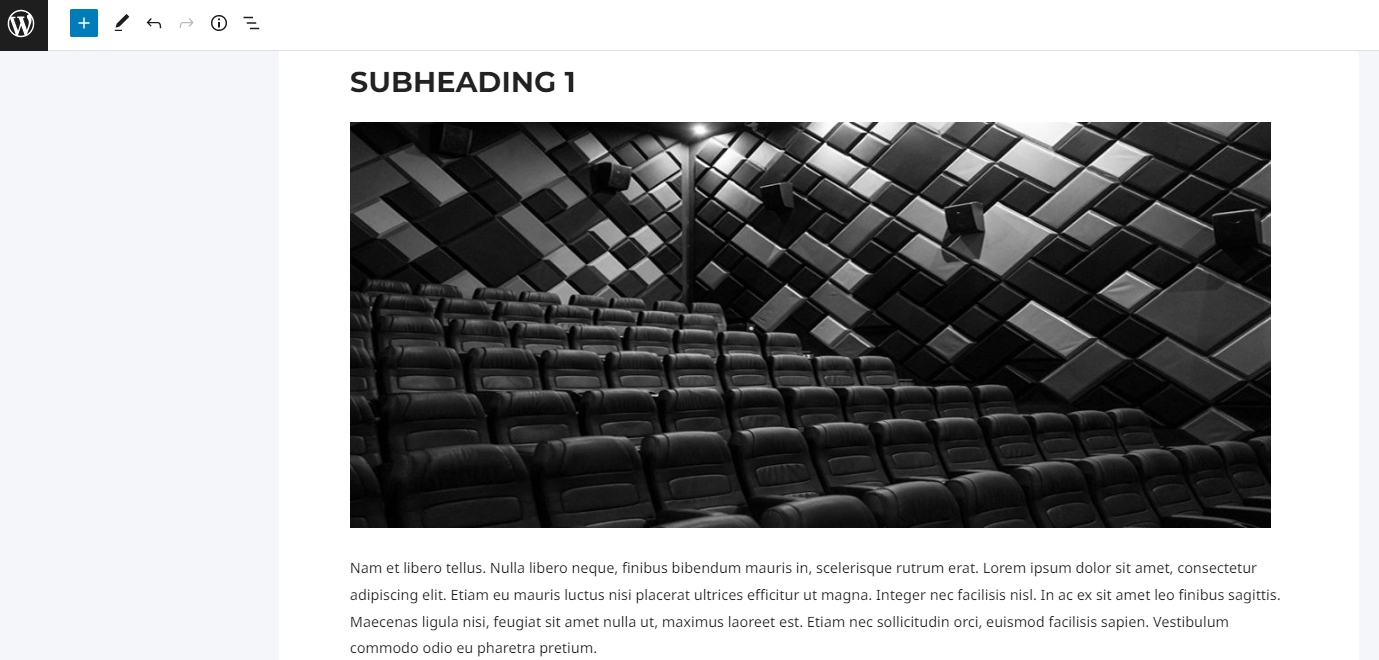
For our example, we have included an image right before each subheading:
You can also experiment with the width of the image block. See how in this article:
How to Set Full-Width Alignment in WordPress Gutenberg Block
See also:
How to Create Tables in WordPress Using Gutenberg Editor
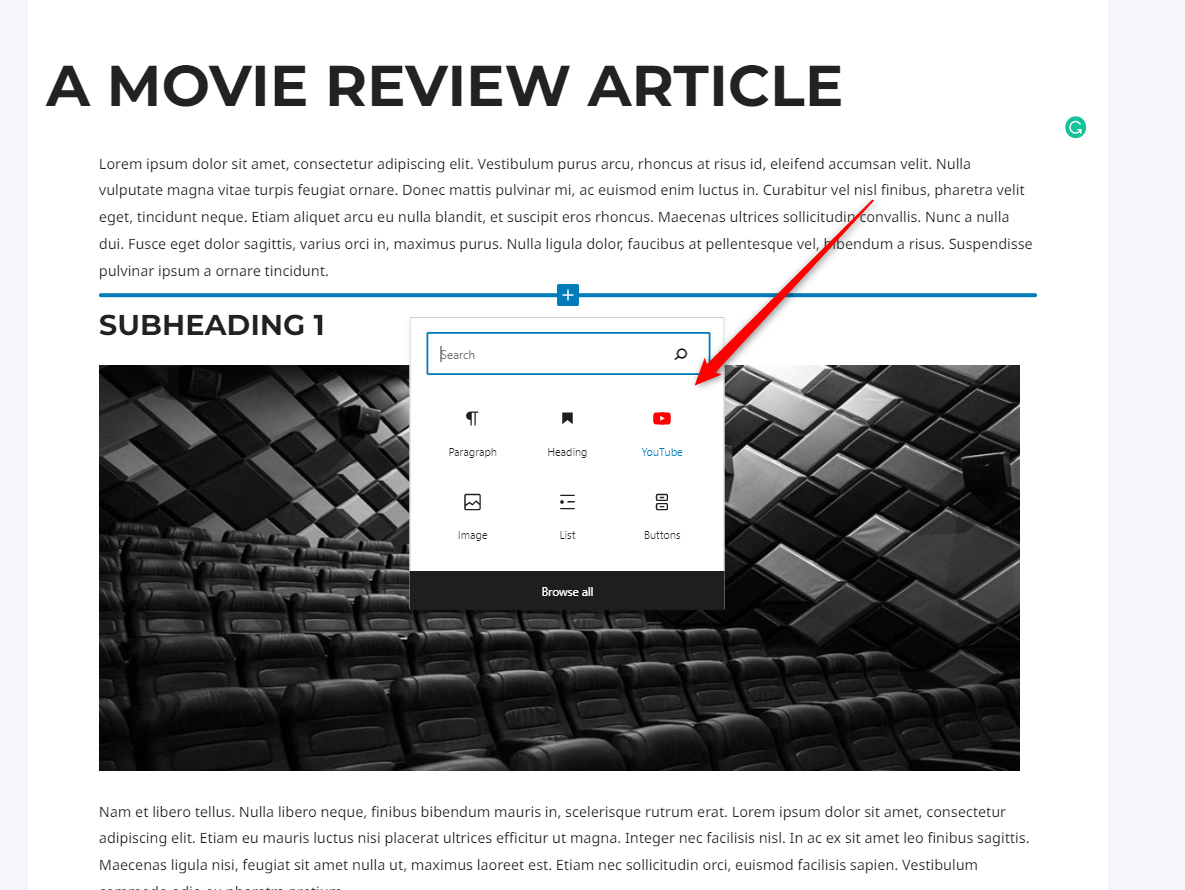
Now, to make the article even more appealing, we will add a video trailer to the movie right above the text. This will keep our visitors engaged with our content.
To do so, we created a block right between the main heading and the text, then in the blocks list we selected YouTube:
If you can’t include a block right where you wish it to appear, don’t worry. Insert it somewhere in the article and then via the two arrows move it up and down until it hits the spot you wish:
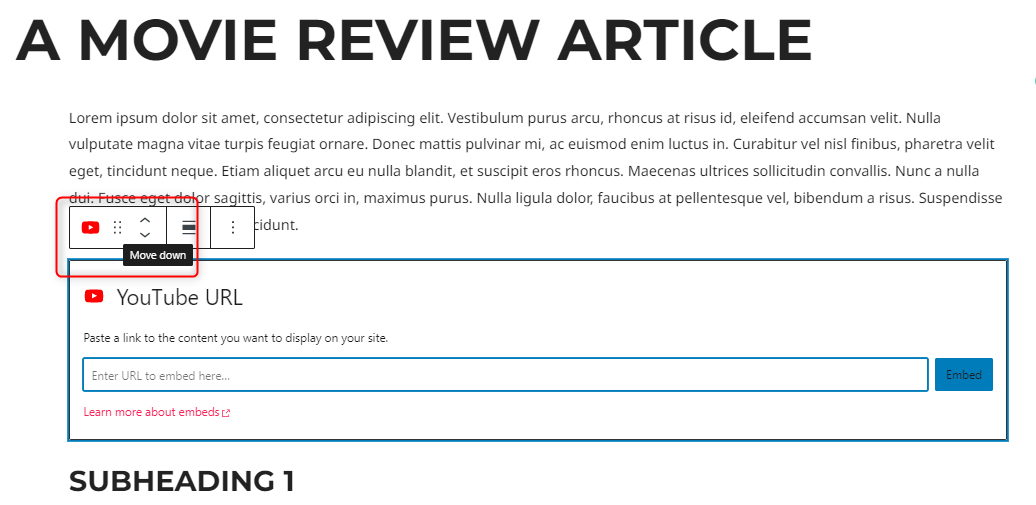
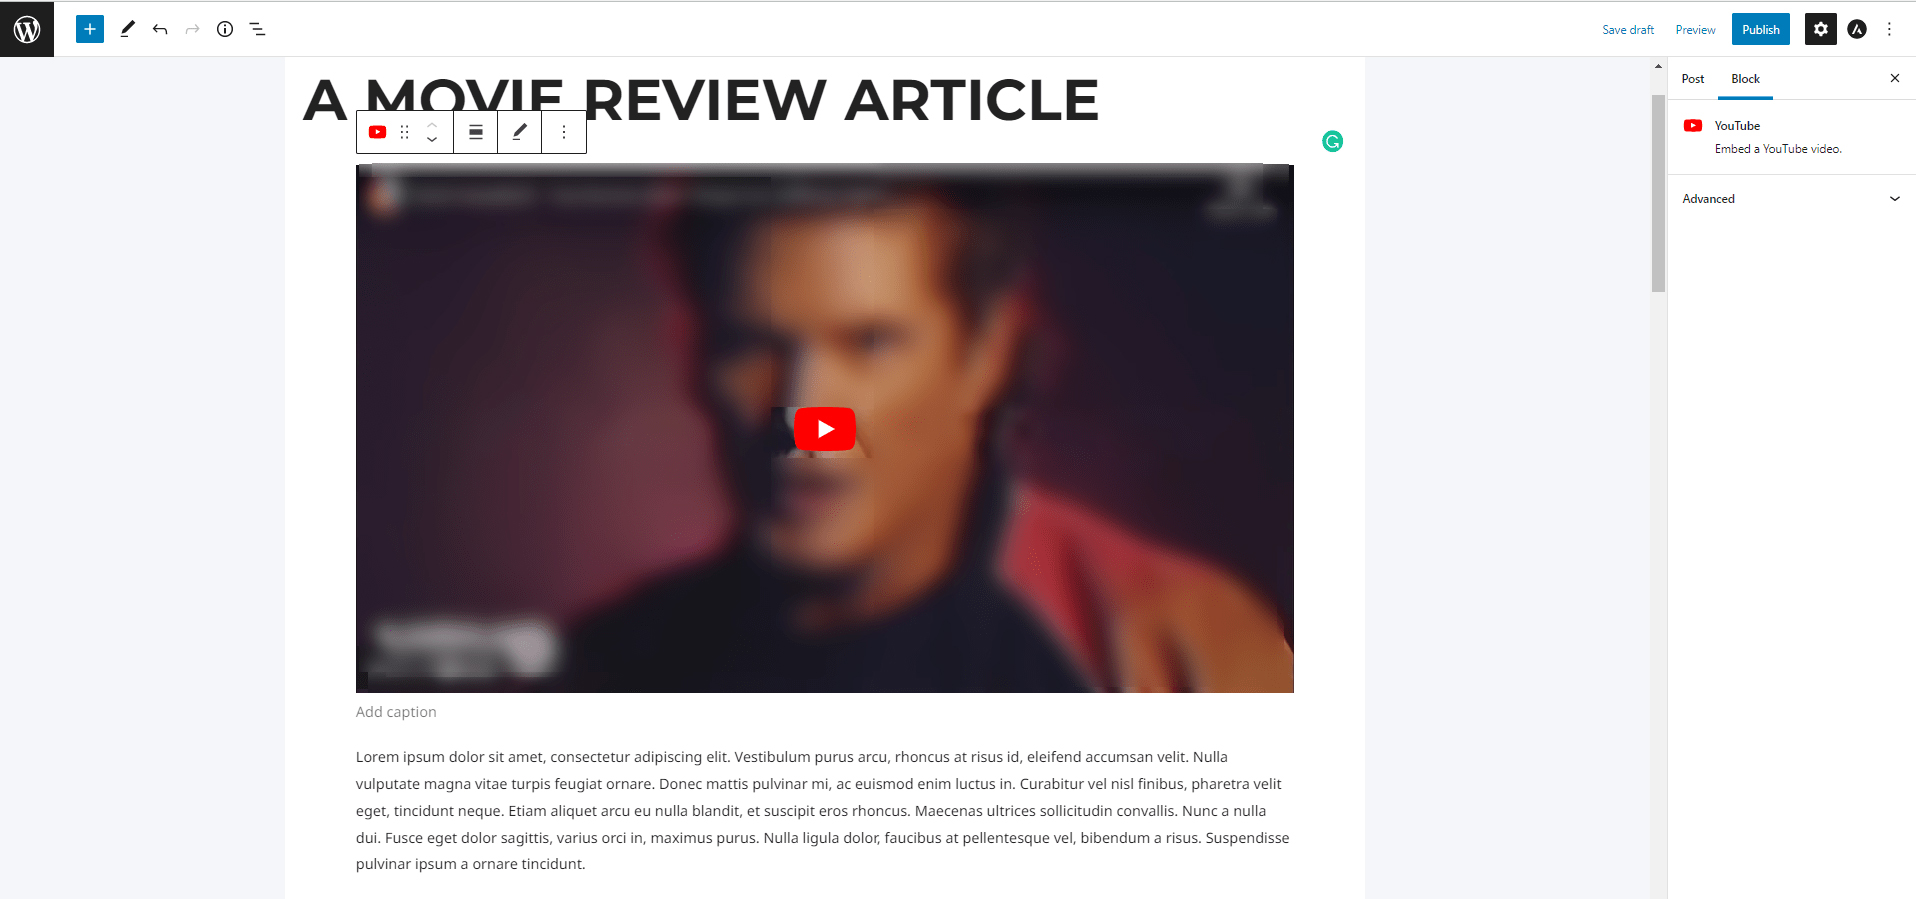
With this tool, we have managed to move the block right on top of the article. Then, we added a YouTube URL:
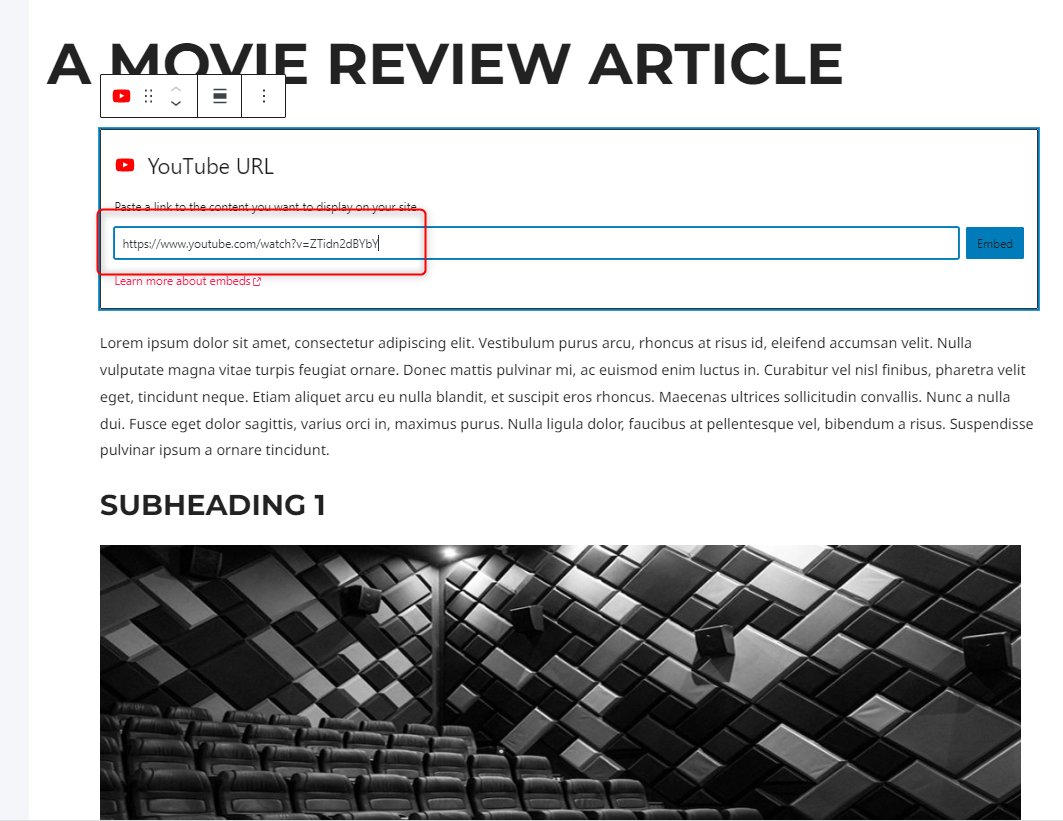
Once you embed the video, the platform will automatically visualize it:
Now, it is time to continue with the post setup and publish it.
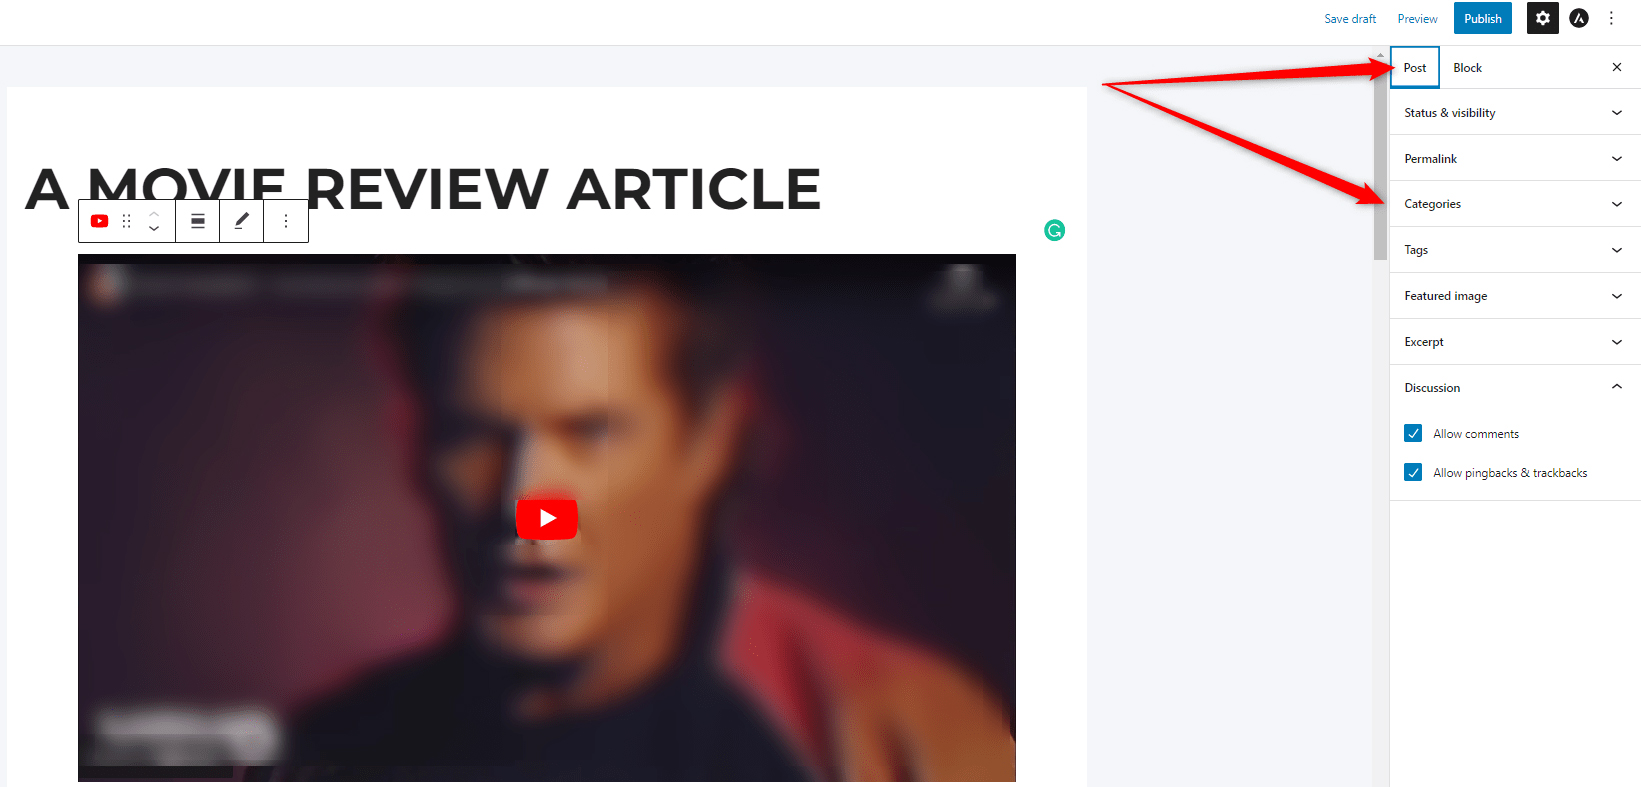
First, we will add the article to the preferred categories and tags. To do so, from the right side of the screen select Post and then find the Categories box:
From this box search your preferred category and add a check next to it.
Do the same with the Tags box.
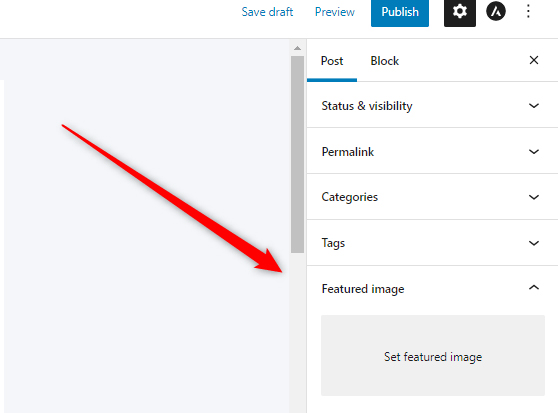
Then, if you prefer, you can add a featured image for this post. To do, simply open the Featured Image box and select an image from the Media Gallery:
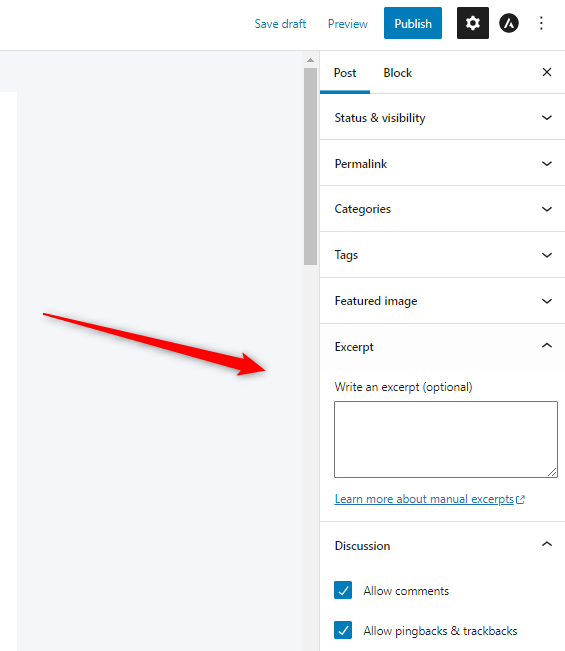
Then, you can add Except. This is a text that will give some information about your article before visitors open it:
Now, the post is ready. You can save it as a draft and continue editing it, preview how it would look if it was published, and publish it. You will find these options right on top of the screen:
Congratulations!
You have managed to publish your first blog post with Gutenberg!
Conclusion
Gutenberg is quite a versatile builder and can help you craft beautiful and vibrant posts. It comes as a standard feature with WordPress 5.0 and later and is very easy and fun to use.
Related:
- How to Add Posts in WordPress via the Classic Editor (Step By Step Guide)
- How to Use WordPress Gutenberg Block Editor
- How to Add Tabs to Your WordPress Site with Gutenberg
- How to Insert Gutenberg Blocks in WordPress
- How to Display Code with WordPress Gutenberg Code Block
- How to Create Posts in WordPress via the Block Editor (Step By Step Guide)
- How to Use WordPress Reusable Blocks
- What are the components of WordPress Posts
- How to Add Categories in WordPress and Assign Posts to Them
- How to Schedule WordPress Posts?
- How to Set Full-Width Alignment in WordPress Gutenberg Block
- 10 Best WordPress Themes for Gutenberg
- 5 Best Gutenberg Plugins for WordPress
- How to Add a Contact Form with WordPress Gutenberg Editor