With the Gutenberg Navigation block, you can add various types of navigation on any page or within any blog post on your website.
Similar to the classic WordPress menu, the Navigation block can be modified in numerous ways and become a handy tool in many situations.
In the following paragraphs, you will read how to add a Navigation Block to your page content and how to modify it, so it best fits your needs.
How to Add a Navigation Block in WordPress
The first thing you need to do to use the Navigation block is to insert it in your page/post content area. There are various ways of inserting Gutenberg blocks in WordPress, and each one of them is as effective as the others.
The first thing you should do is to enter your WordPress admin panel.
Once inside the WordPress dashboard, make sure you select Gutenberg as your main editor.
Then, create a new page, a blog post, or simply edit some of your already existing posts and pages.
N.B! Keep in mind that the process of using Navigation blocks in WordPress is the same, regardless of whether you wish to insert it in a blog post or a static page.
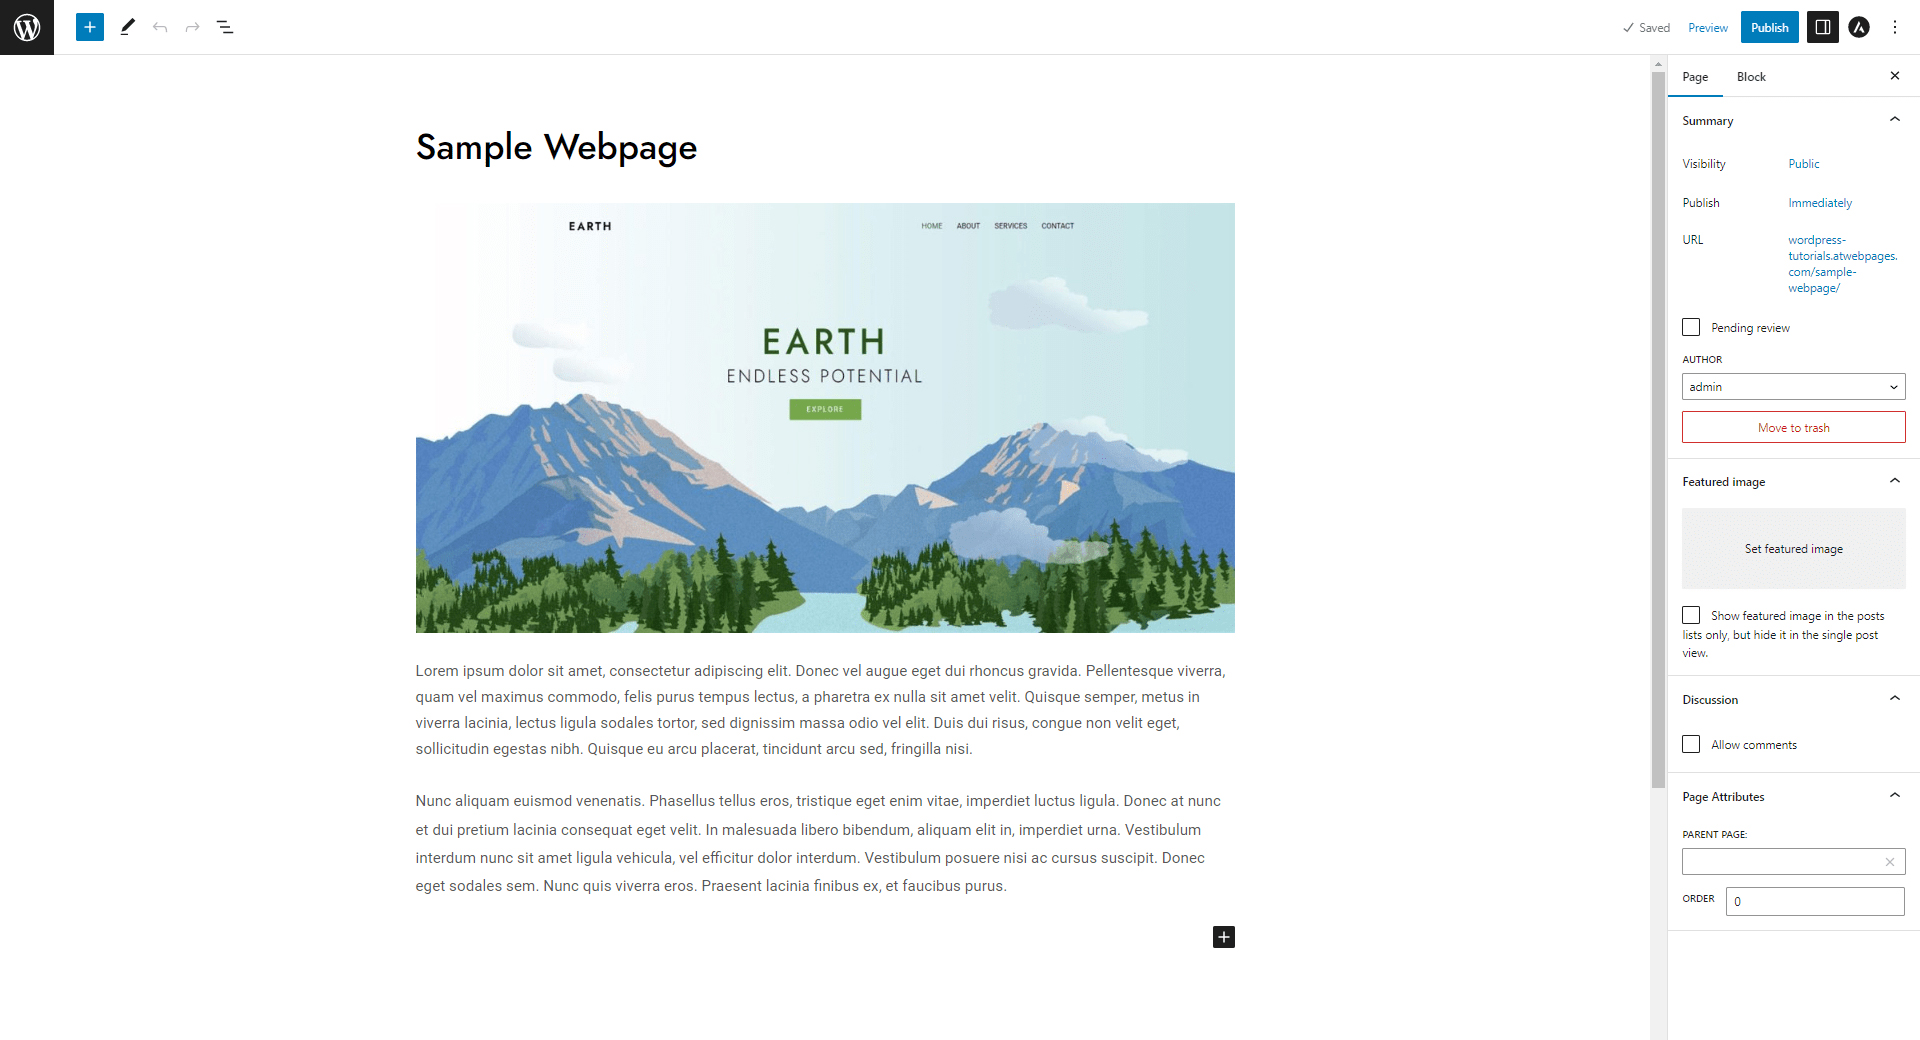
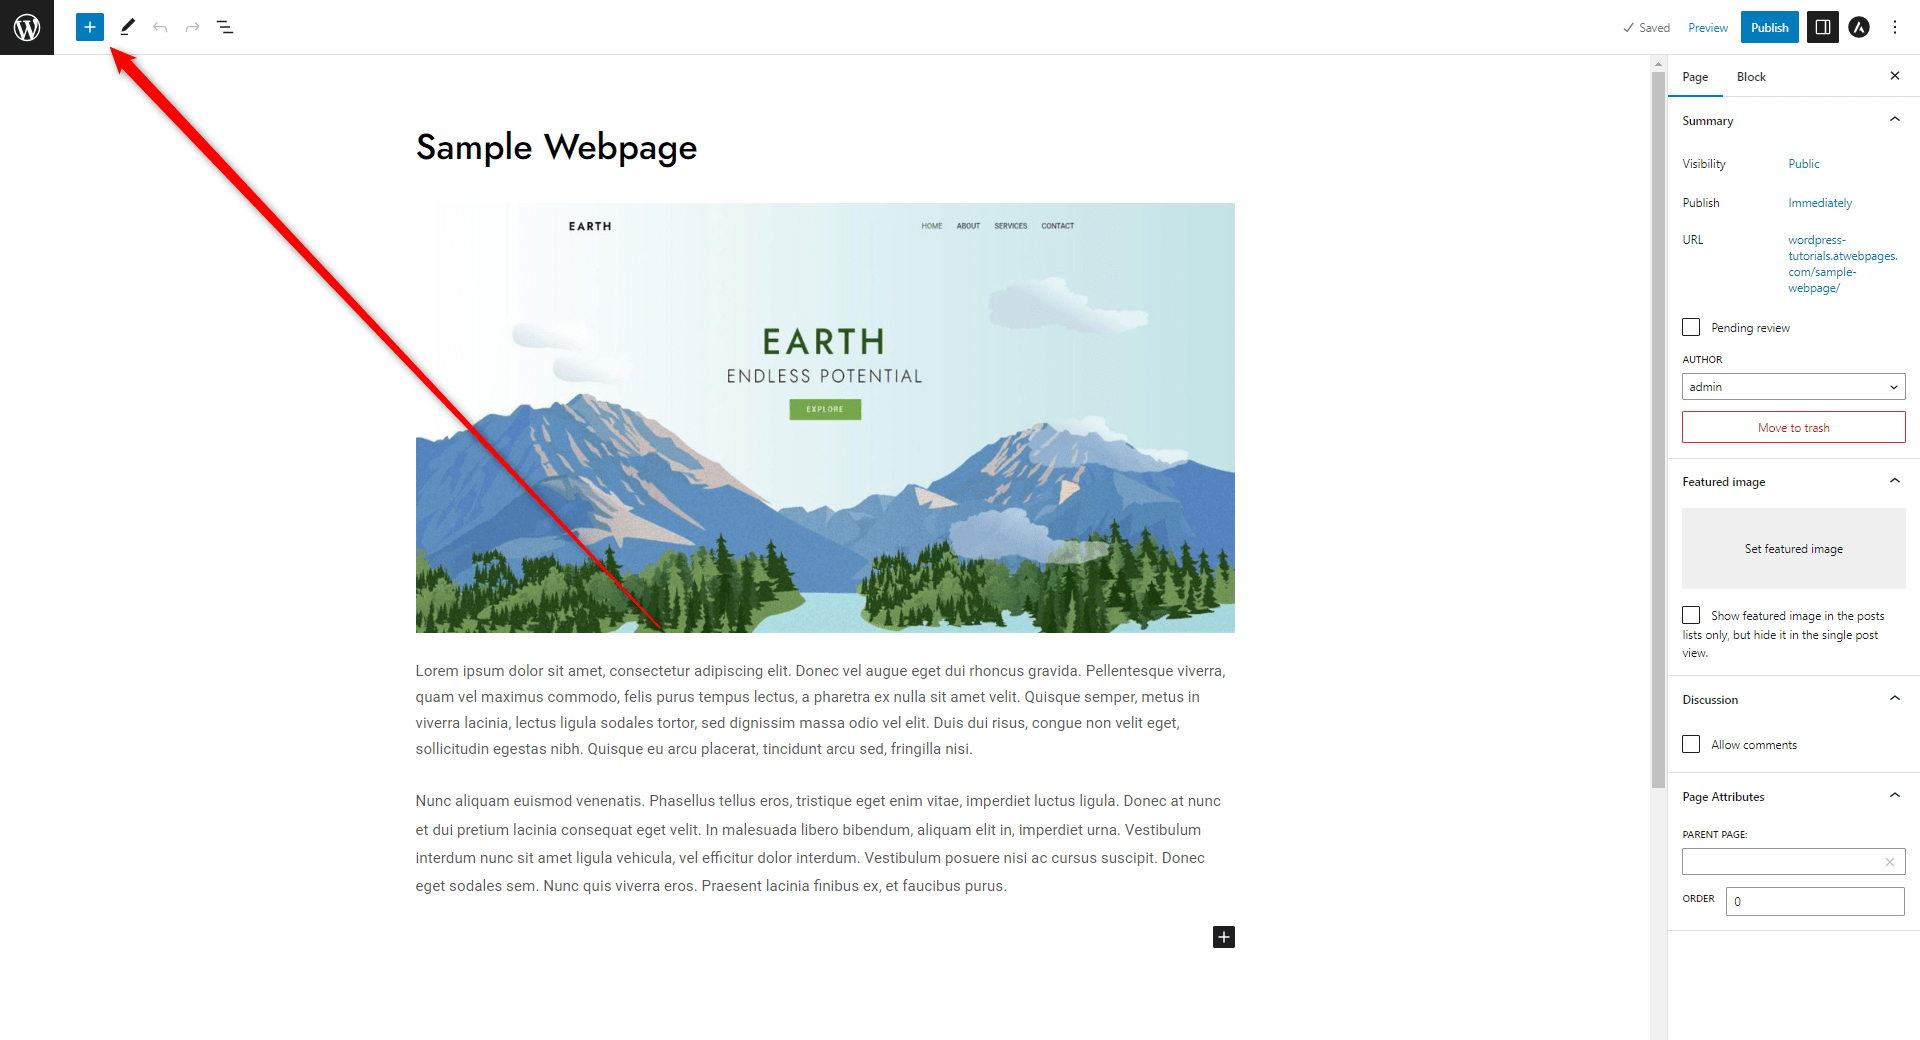
For this demonstration, we created a new WordPress page and opened the Gutenberg editor:
Then we added a sample title tag and bulked up the content by inserting some Gutenberg blocks – two paragraph blocks and and we also added an image block:
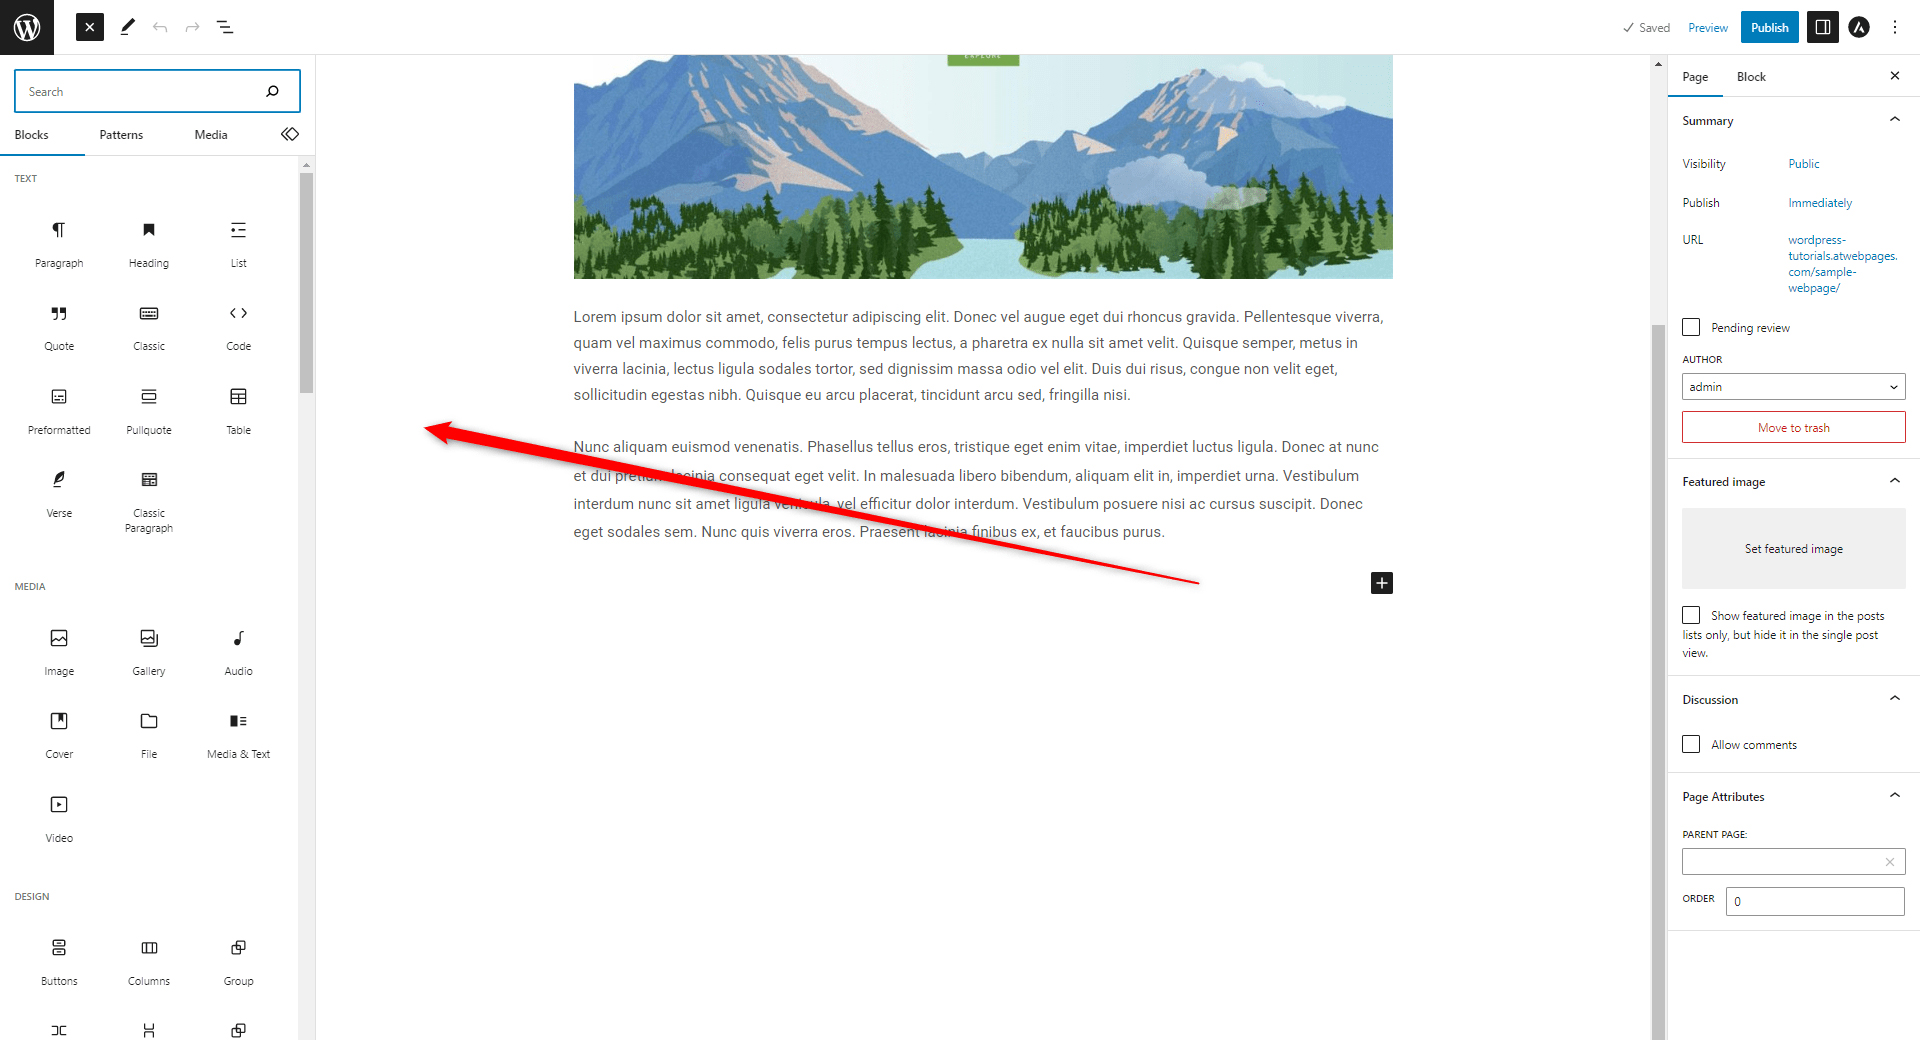
After we have added some content to our page or a blog post, it is time to insert a navigation block. To do so, click on the blue + button located at the top left of the screen:
Clicking the button will make WordPress open the full library of Gutenberg blocks:
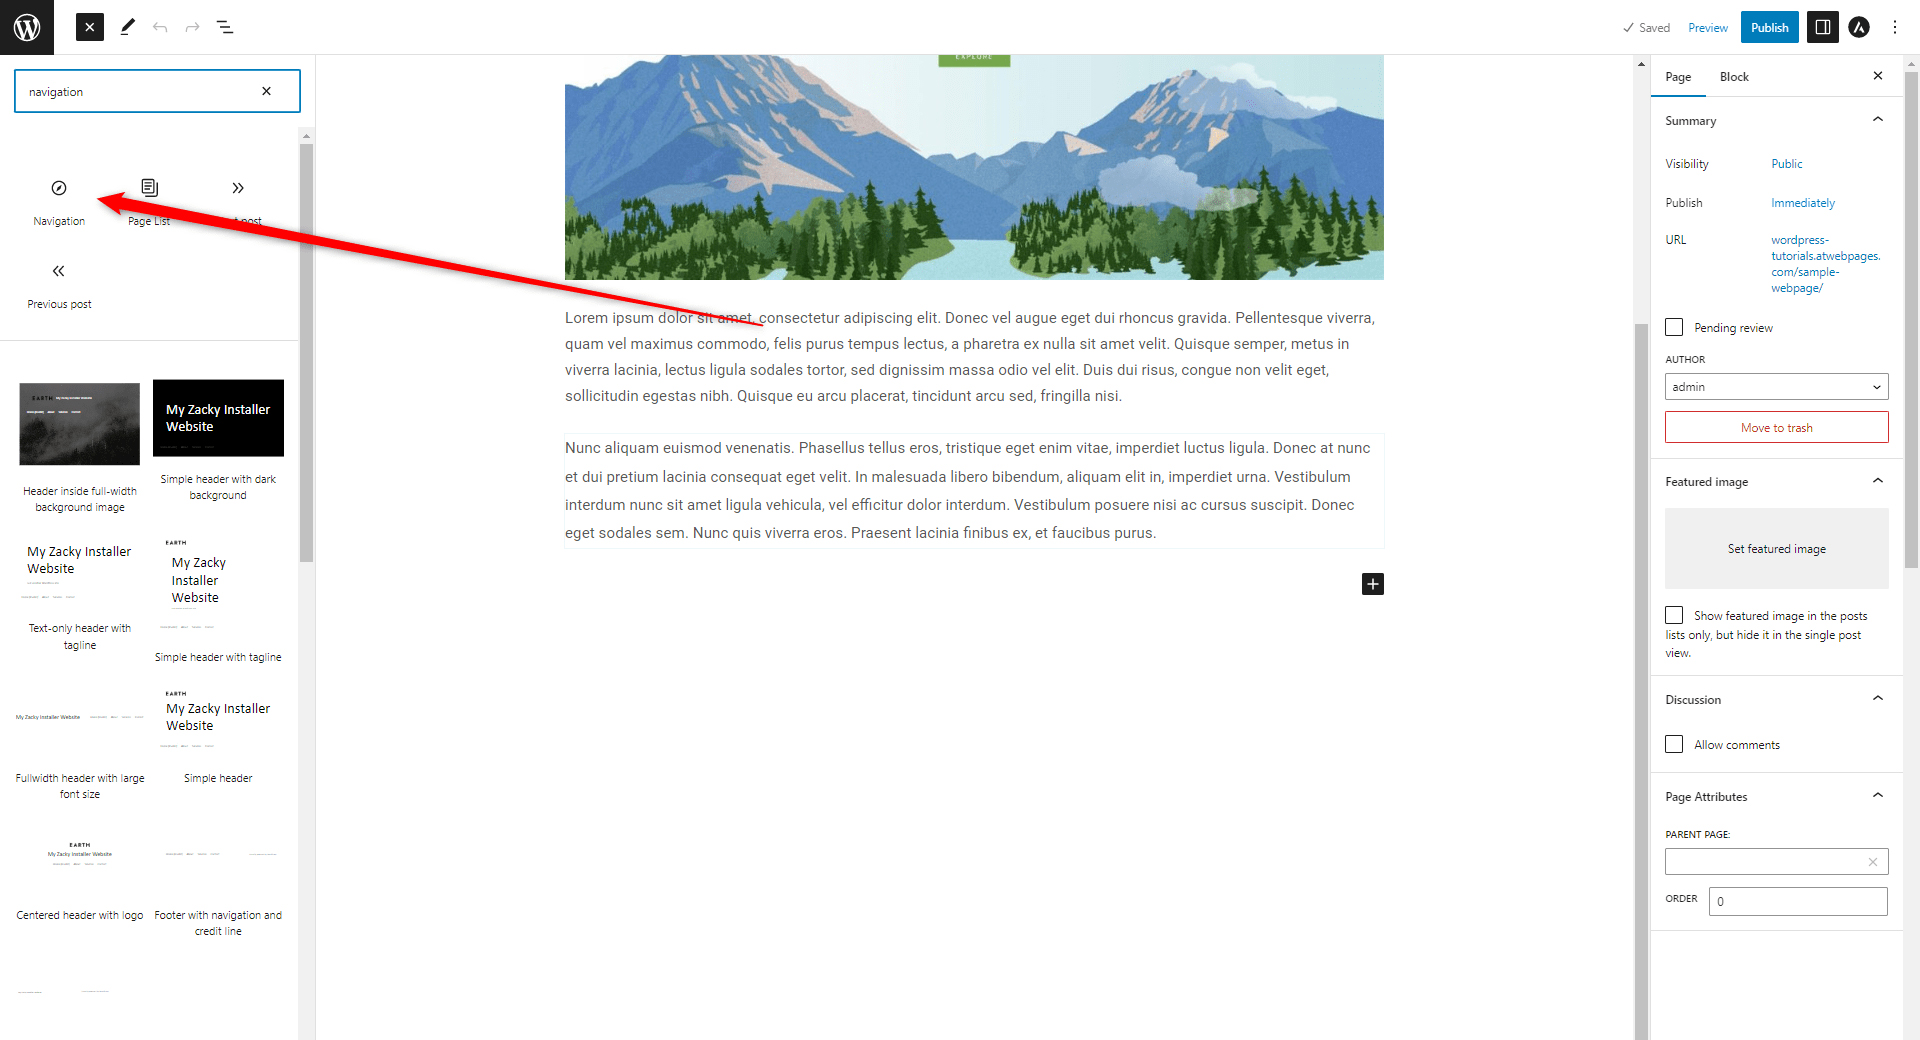
Once you open the Gutenberg block library, browse the list and find “Nav block”, or simply type in “Navigation block” in the search field on the top of the list of all available block options:

Now, locate the “Nav block” icon:
Once you find it, click on the icon, so WordPress inserts the block in your content area. It looks like this:
Now you have managed to insert the block in your content area. In the following paragraphs, you will read how to use it, so it best fits your site design and functionality requirements.
How to Set Up the Navigation Block
There are numerous ways you can set up the Navigation block – similar to the built-in WordPress menu, you can add links to your website pages, insert a brand logo, add a button, add a search function, or a link to your website’s blog section. Options are quite abundant.
In our example, we will add a sample logo, and links to Home, About Us, and Services web pages.
To add a logo, the first thing you should do is select the Nav block and then click on the black + button. Doing so grants you the opportunity to add a new item to your navigation block:
Once you click the button, a new menu with various options will appear:

From the suggested options, select Site Logo:
![]()
Clicking on this button will make Gutenberg automatically insert your website logo within the Nav block area:
![]()
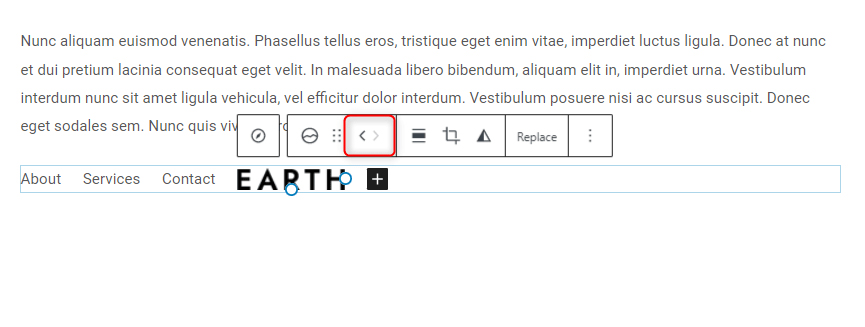
Now, once the logo is inserted, you can move it within the Navigation block area. To do so, click on the logo, so an options menu appears:
![]()
Now, while the menu is active, notice the two arrow buttons. They are used to move the Navigation block elements to the left or to the right:
For our example, we would want to move the logo to the far left of the Navigation block. To do so, we click the arrow pointing left until the item has moved to the position we want it to appear:
![]()
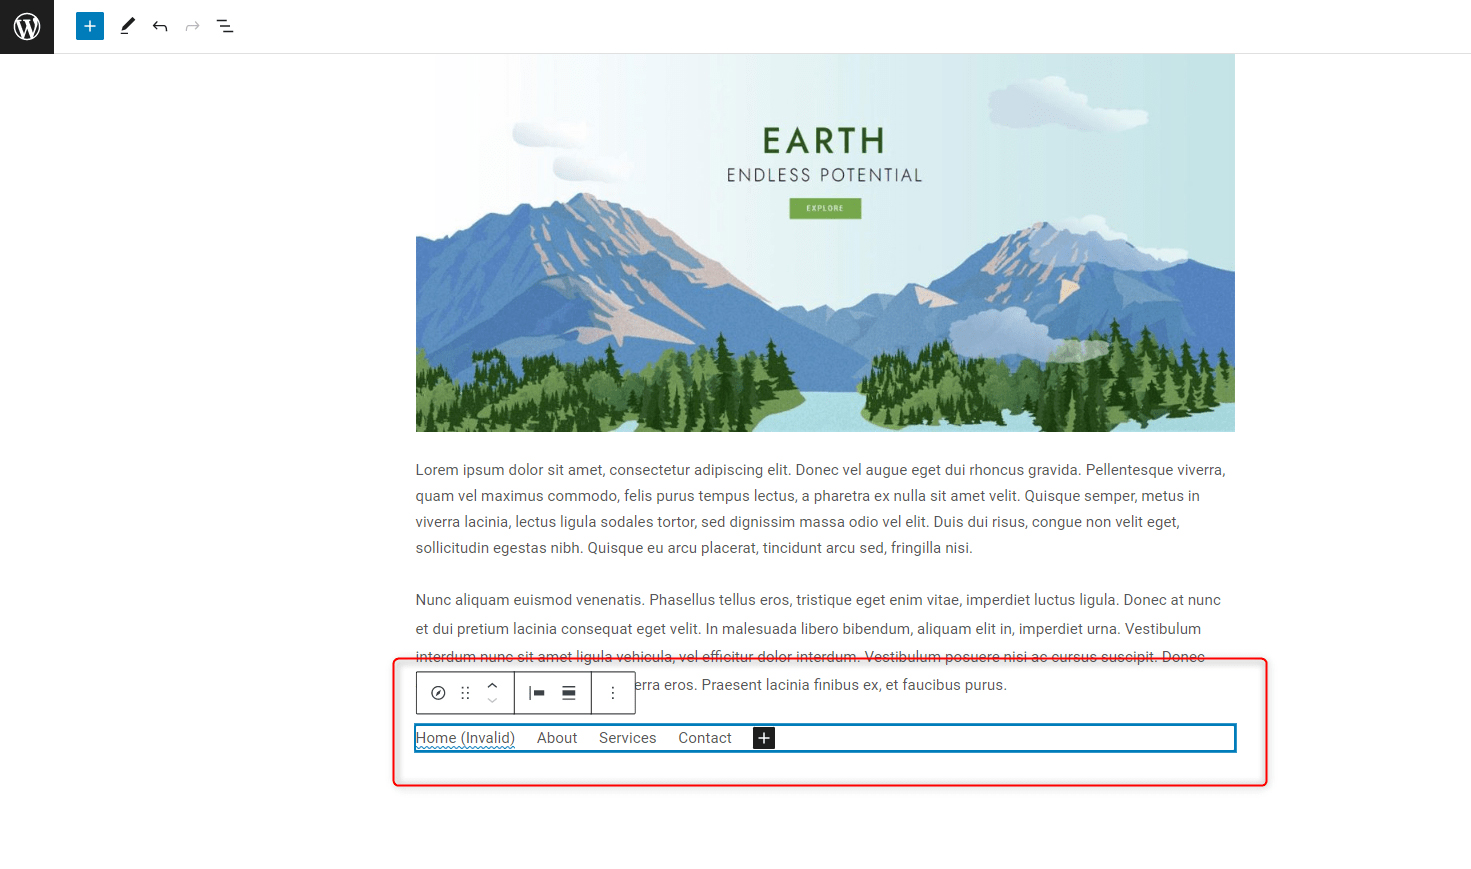
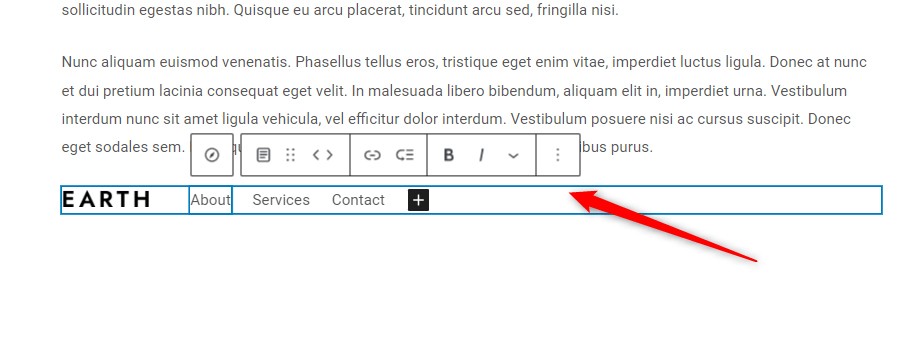
Once the logo is right where we want it, we can add links to our website pages. The first will be a link pointing to our About page. The navigation block has already inserted several items, one of which is an About link. You can edit this one, or simply add a new item by clicking on the plus button.
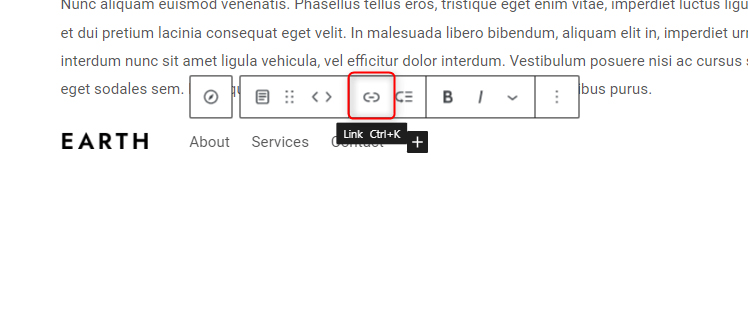
For this demonstration, we will edit the default suggestion. To do so, we simply click on the item named About within the Navigation block, so a menu appears:
From this menu click on the Link icon:
Clicking this icon will open more options that you can customize:
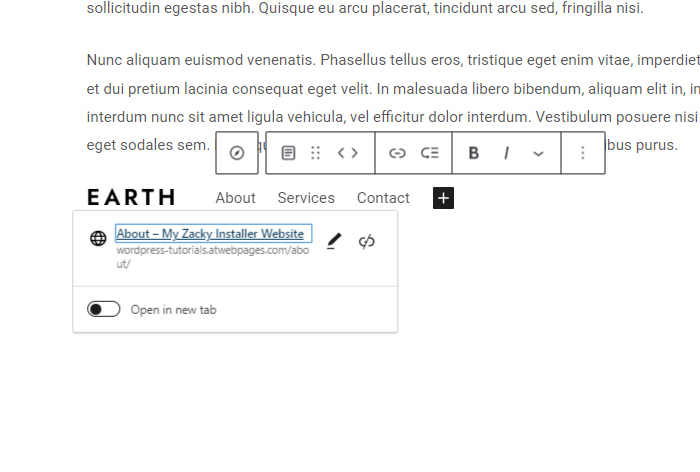
To add a link you want and a name within which you will encapsulate it, simply click on the Edit icon:
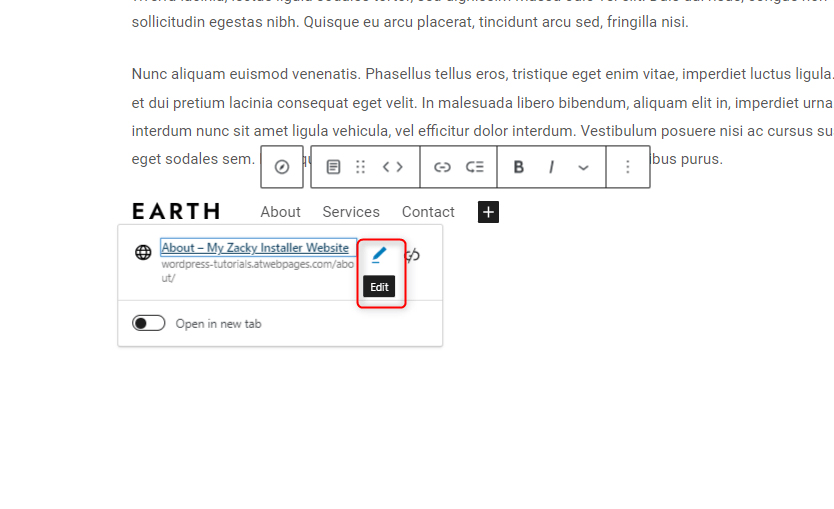
Once you click it, you can now insert a link to the page you wish this Navigation block item to lead to and its name:
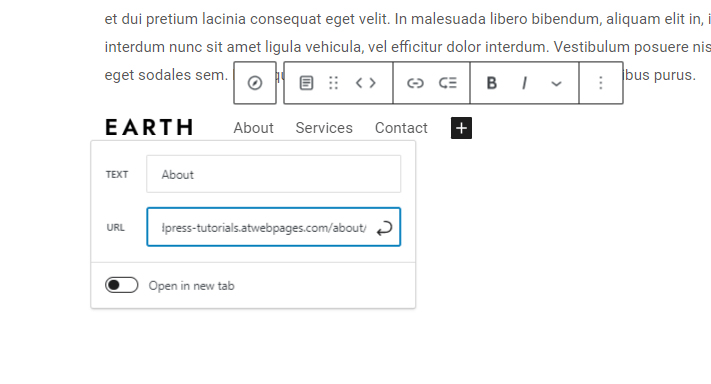
Add the text your URL will be contained in the TEXT area and the page URL within the URL area. Once you do, Gutenberg will save the settings.
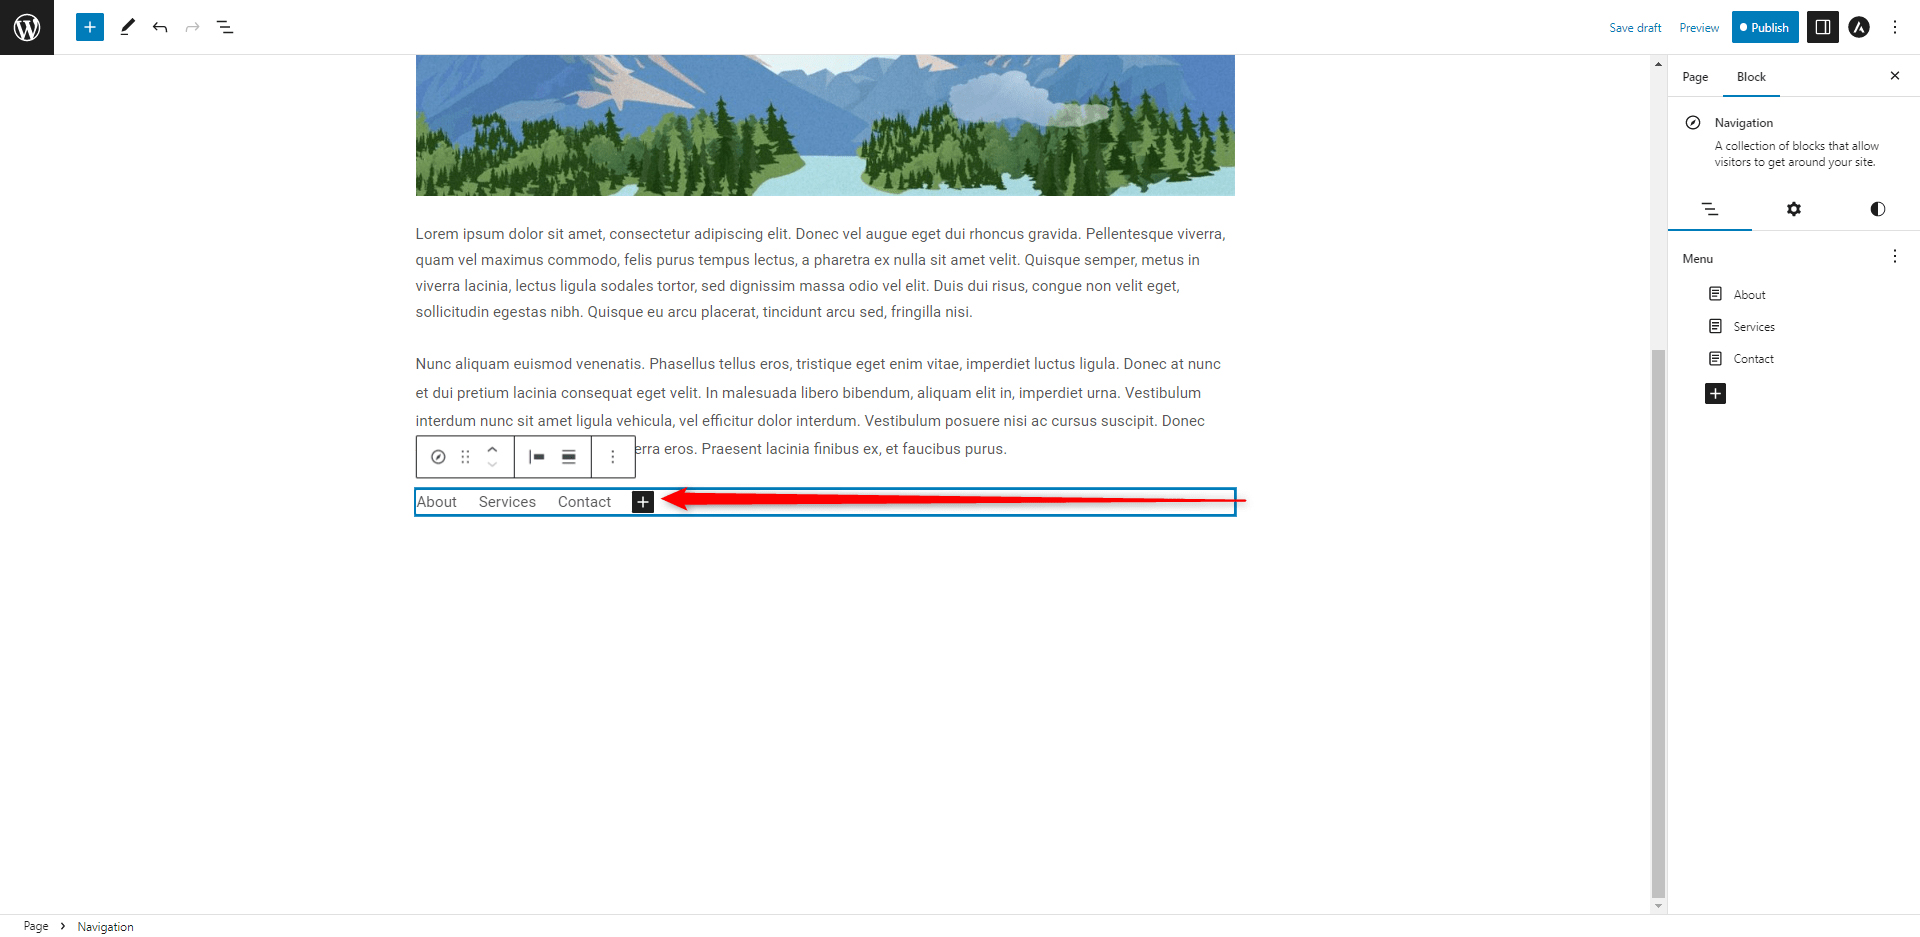
Now we have managed to include a logo and a single URL in our Nav block.
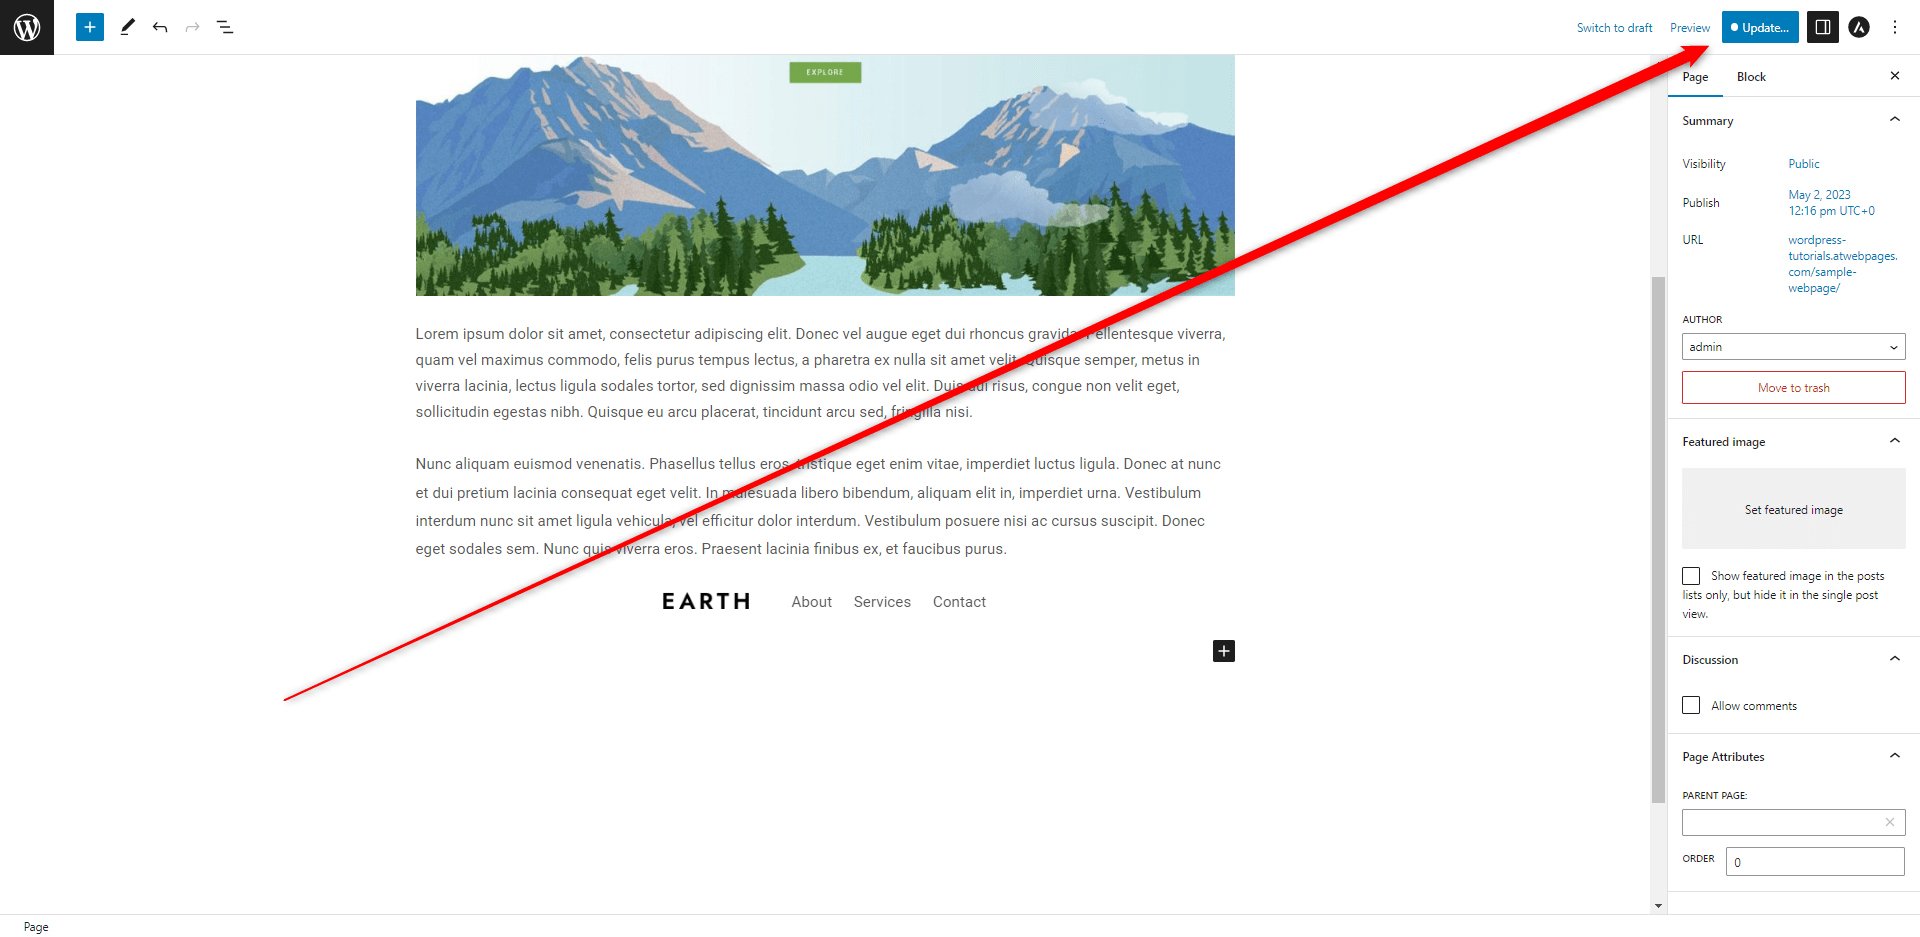
Follow these steps for each item you wish to include in your Navigation block and once you are done editing it, click on the blue Update button, so WordPress saves your changes and preferred settings:
Tips and tricks for using the Navigation Block
Although there are many ways you can use the Navigation block, there are some rules of thumb that can you can follow:
- The Navigation block should contain just the right number of items, so it becomes useful for your website visitors, so don’t fill it with too much information.
- This block is oftentimes used at the top or at the bottom of the web page. When placed at the top, it can be used as a quick guide to the content that follows right after it, or as a section that contains your most important site pages. When placed at the bottom of the page, the Nav block is used to showcase related pages, articles, and links to Social Media sites.
- For optimal results, try out different alignment settings – see whether it fits your overall design layout when you align it to the left, or right or keep it in the center.
Conclusion
The Navigation block, or simply the Nav block allows you to create navigation for your website and include logos, page links, custom links, and Social Media links.
To see whether the Nav block will be suitable for your website needs and preferences it is highly advisable to experiment with different layouts and ideas, as working with this particular Gutenberg block is not necessarily a linear process – the possibilities are quite abundant.
Related:
- Create a WordPress Website – The Ultimate Guide
- 17 Things You Need to Do Right After You’ve Installed WordPress
- How to Create a New Page in WordPress
- 10 Best WordPress Themes for Gutenberg
- 5 Best Gutenberg Plugins for WordPress
- How to Create Tables in WordPress Using Gutenberg Editor
- How to Use WordPress Gutenberg Block Editor
- How to Insert Gutenberg Blocks in WordPress
- How to Copy a Page with WordPress Gutenberg Editor
- How to Add Tabs to Your WordPress Site with Gutenberg
- How to Display Code with WordPress Gutenberg Code Block
- How to Use WordPress Reusable Blocks
- How to Change Text Color With WordPress Block Editor
- How to Change Text Color With WordPress Block Editor
- 5 Best WordPress Slider Plugins for Gutenberg
- How to Design a Website Header with Gutenberg
- How to Add a Contact Form with WordPress Gutenberg Editor
- How to Add Images in WordPress with Gutenberg
- How to Add a Site Logo Block in WordPress with Gutenberg