Creating a table in WordPress with the Gutenberg Block Editor is a straightforward task.
Should you need to add one or several tables to your pages, the following paragraphs explain how to do so.
How to Create Tables in WordPress using Gutenberg Editor
To add a table with the Block editor, the first thing you should do is enter your WordPress dashboard.
Once you have entered your admin panel, make sure that Gutenberg is selected as your default editor. To do so, head to Settings->Writing:
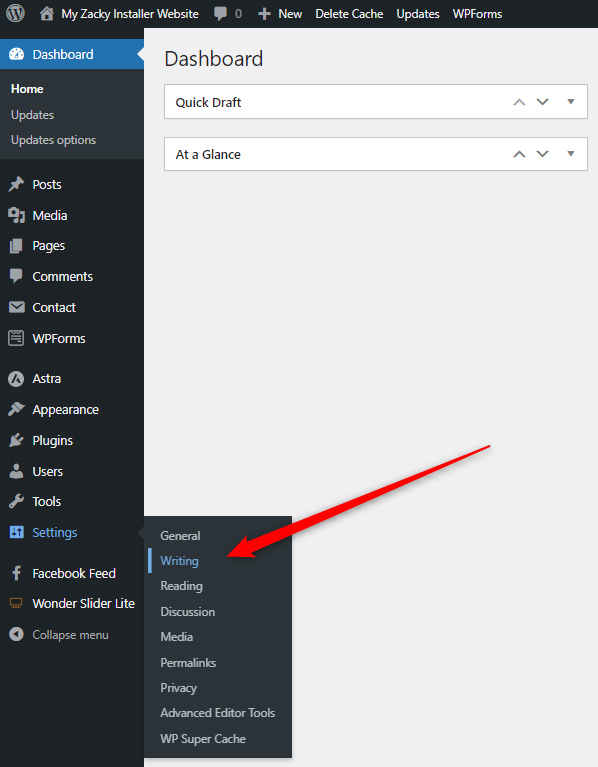
Once you do, WordPress should open a page such as this:
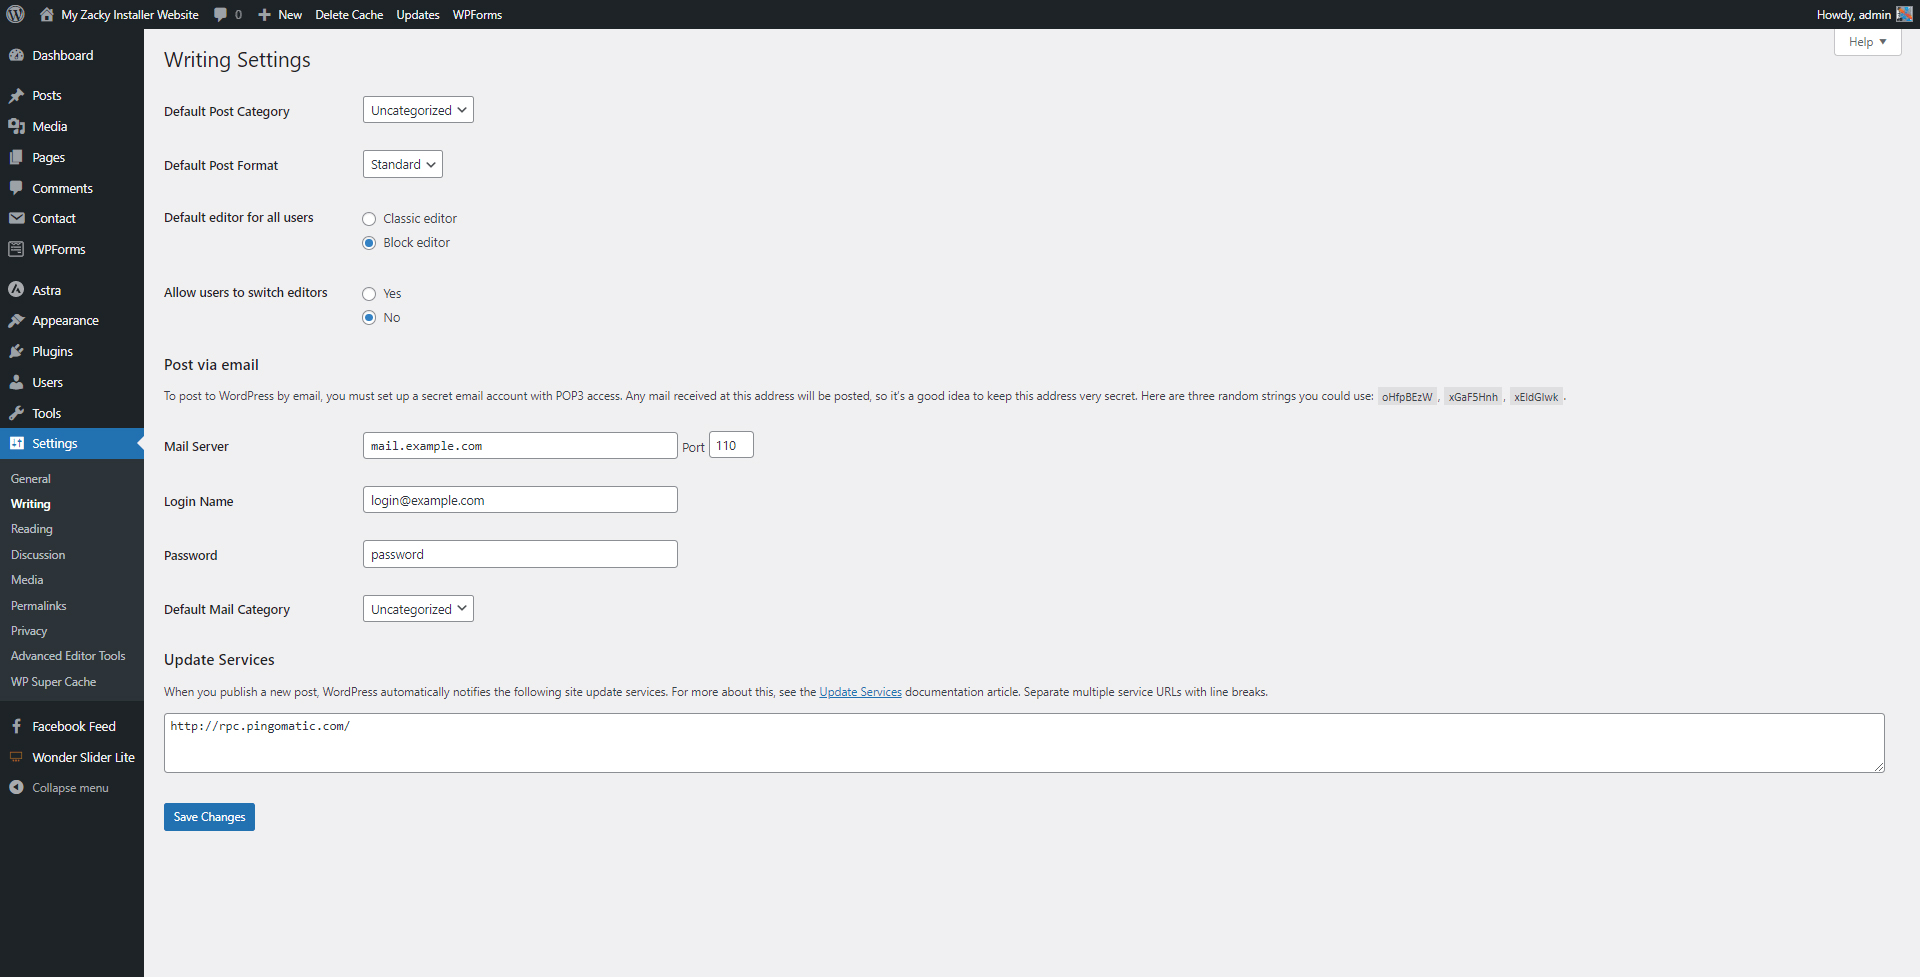
Once there, have a look at the Default editor for all users option and make sure to select Block editor:
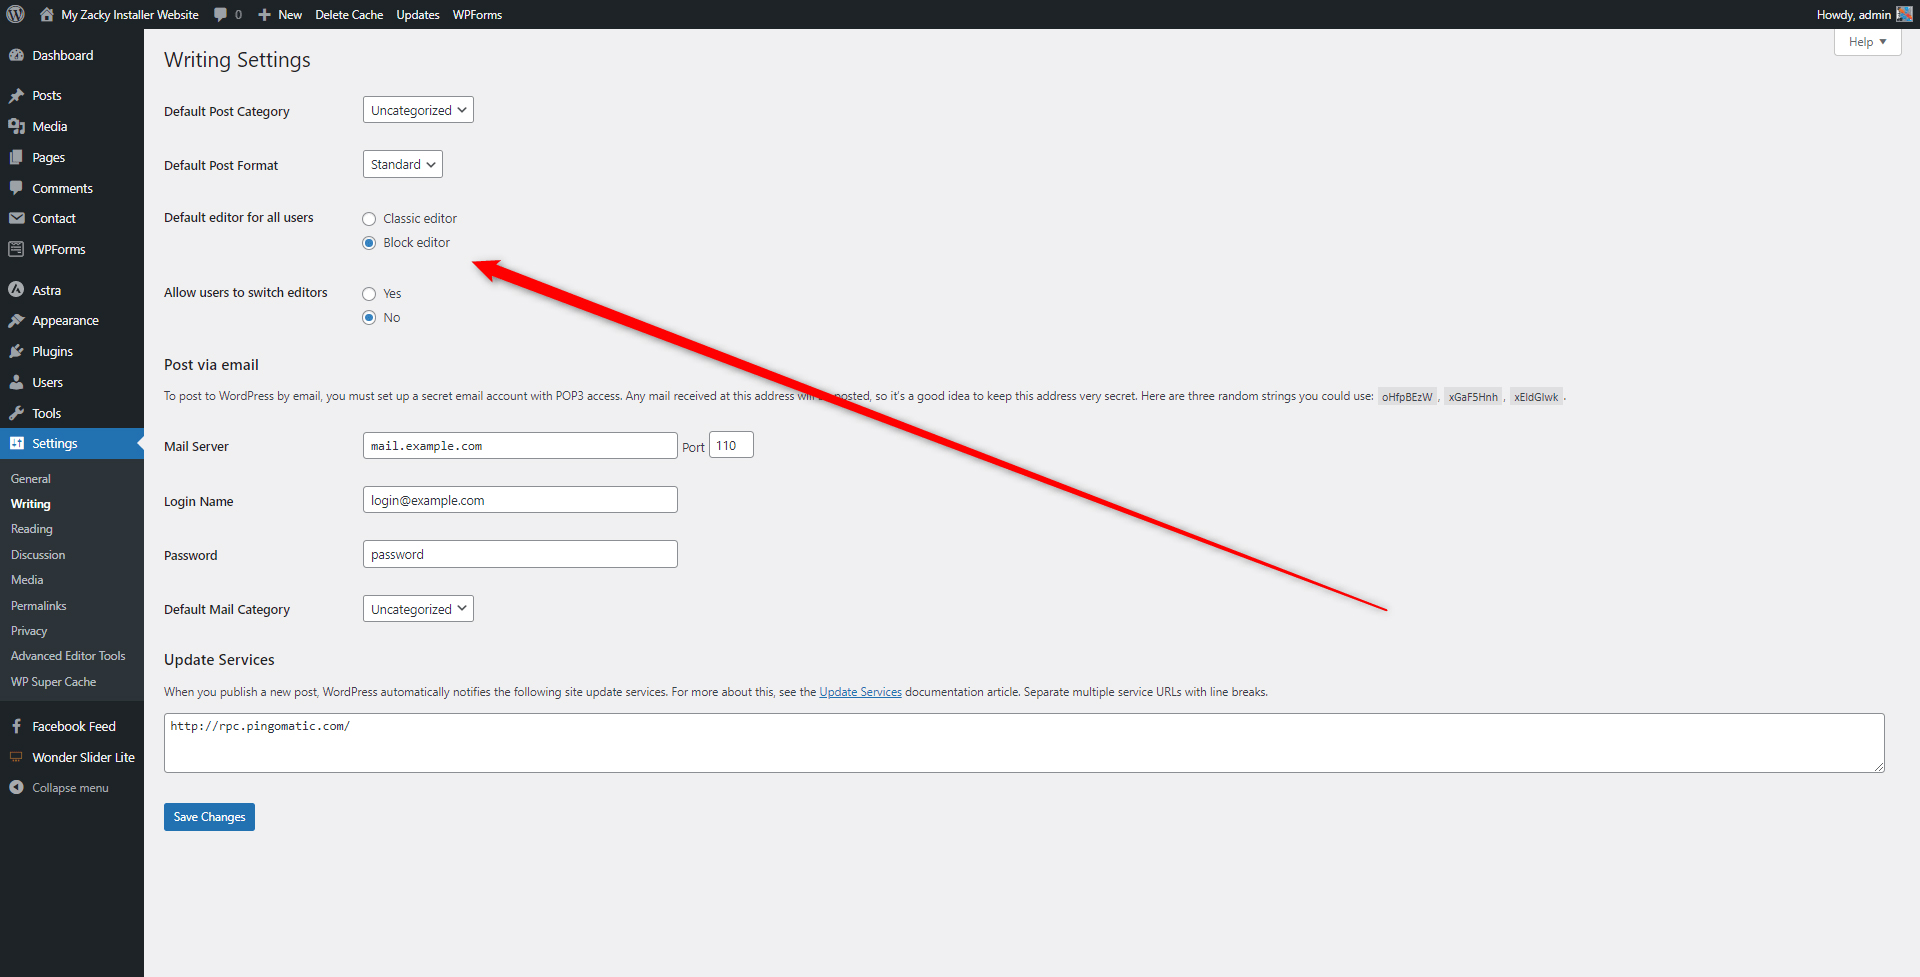
Once you select Block editor, click on the blue Save Changes button, so WordPress applies and saves your preferences:
After you have selected Gutenberg as your preferred editor, open the page or blog post to which you wish to add a table to.
Also, keep in mind that the process of adding a table with Gutenberg is the same whether you wish to work on a blog post or a static page.
For this demonstration, we will add a table to a static page. Once we create a webpage, Gutenberg will automatically be activated:
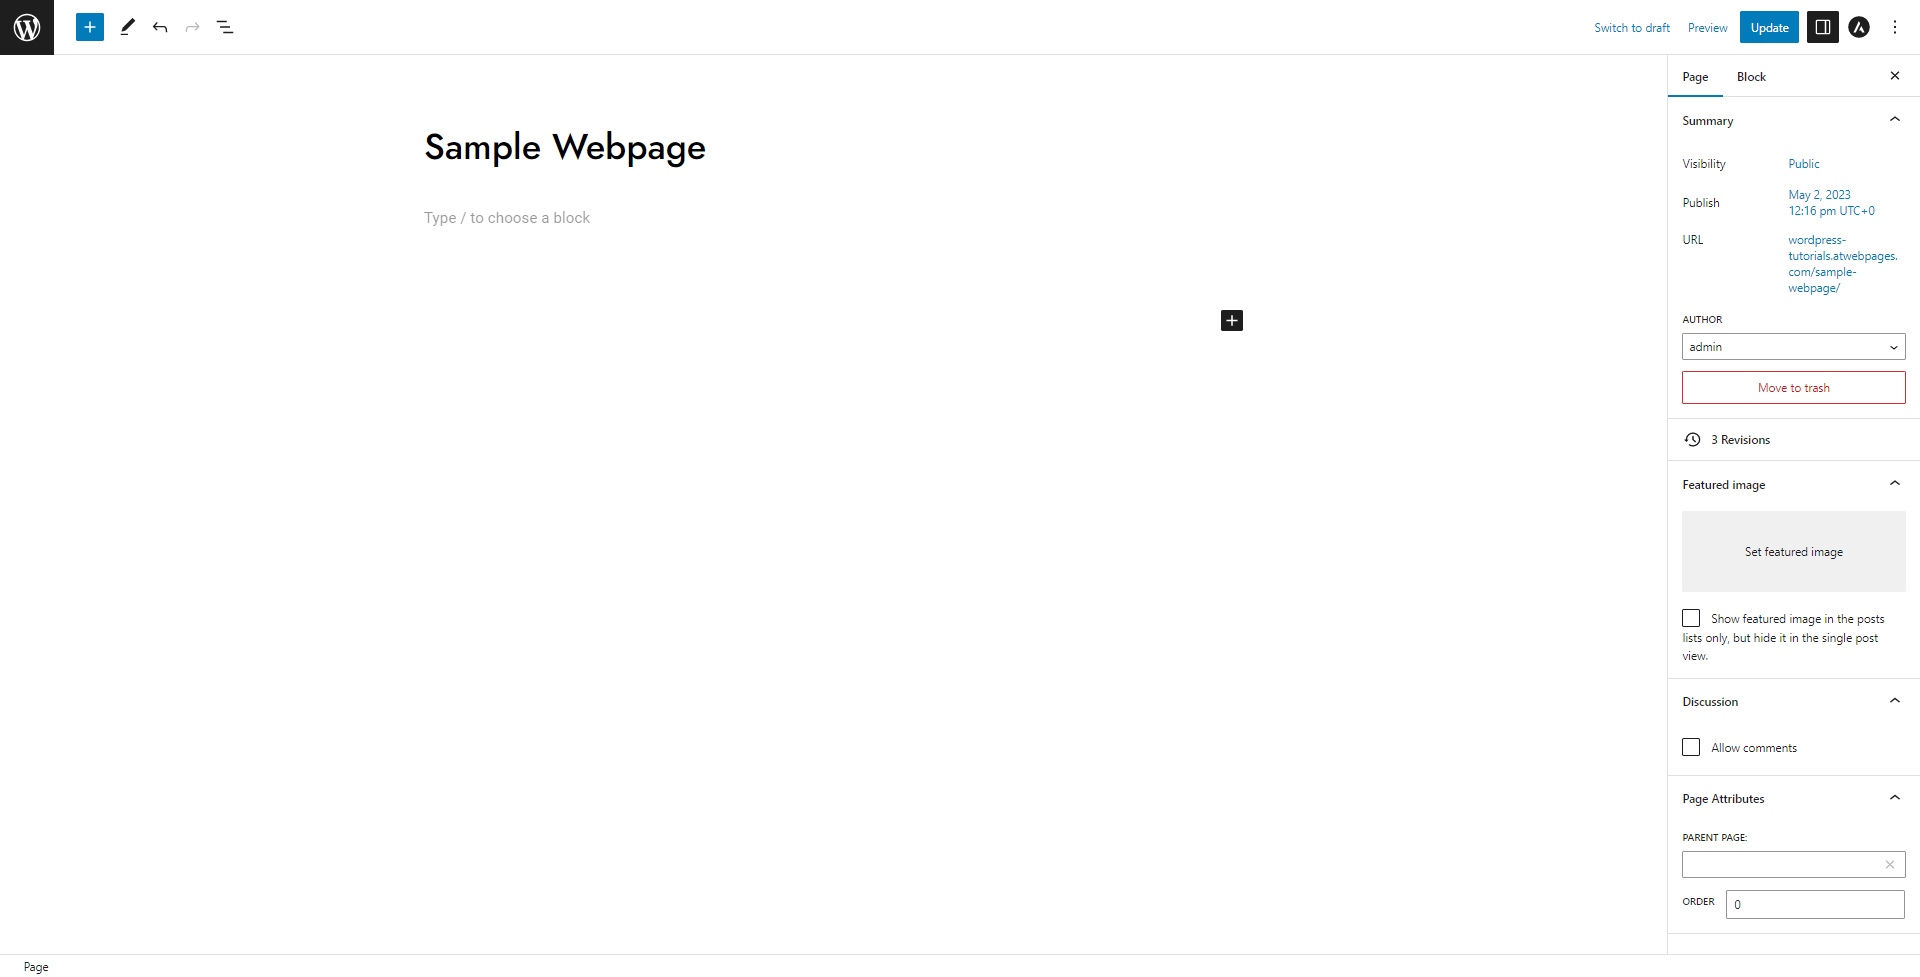
Now, click the black + sign, so you can browse the list of suggested Gutenberg blocks:
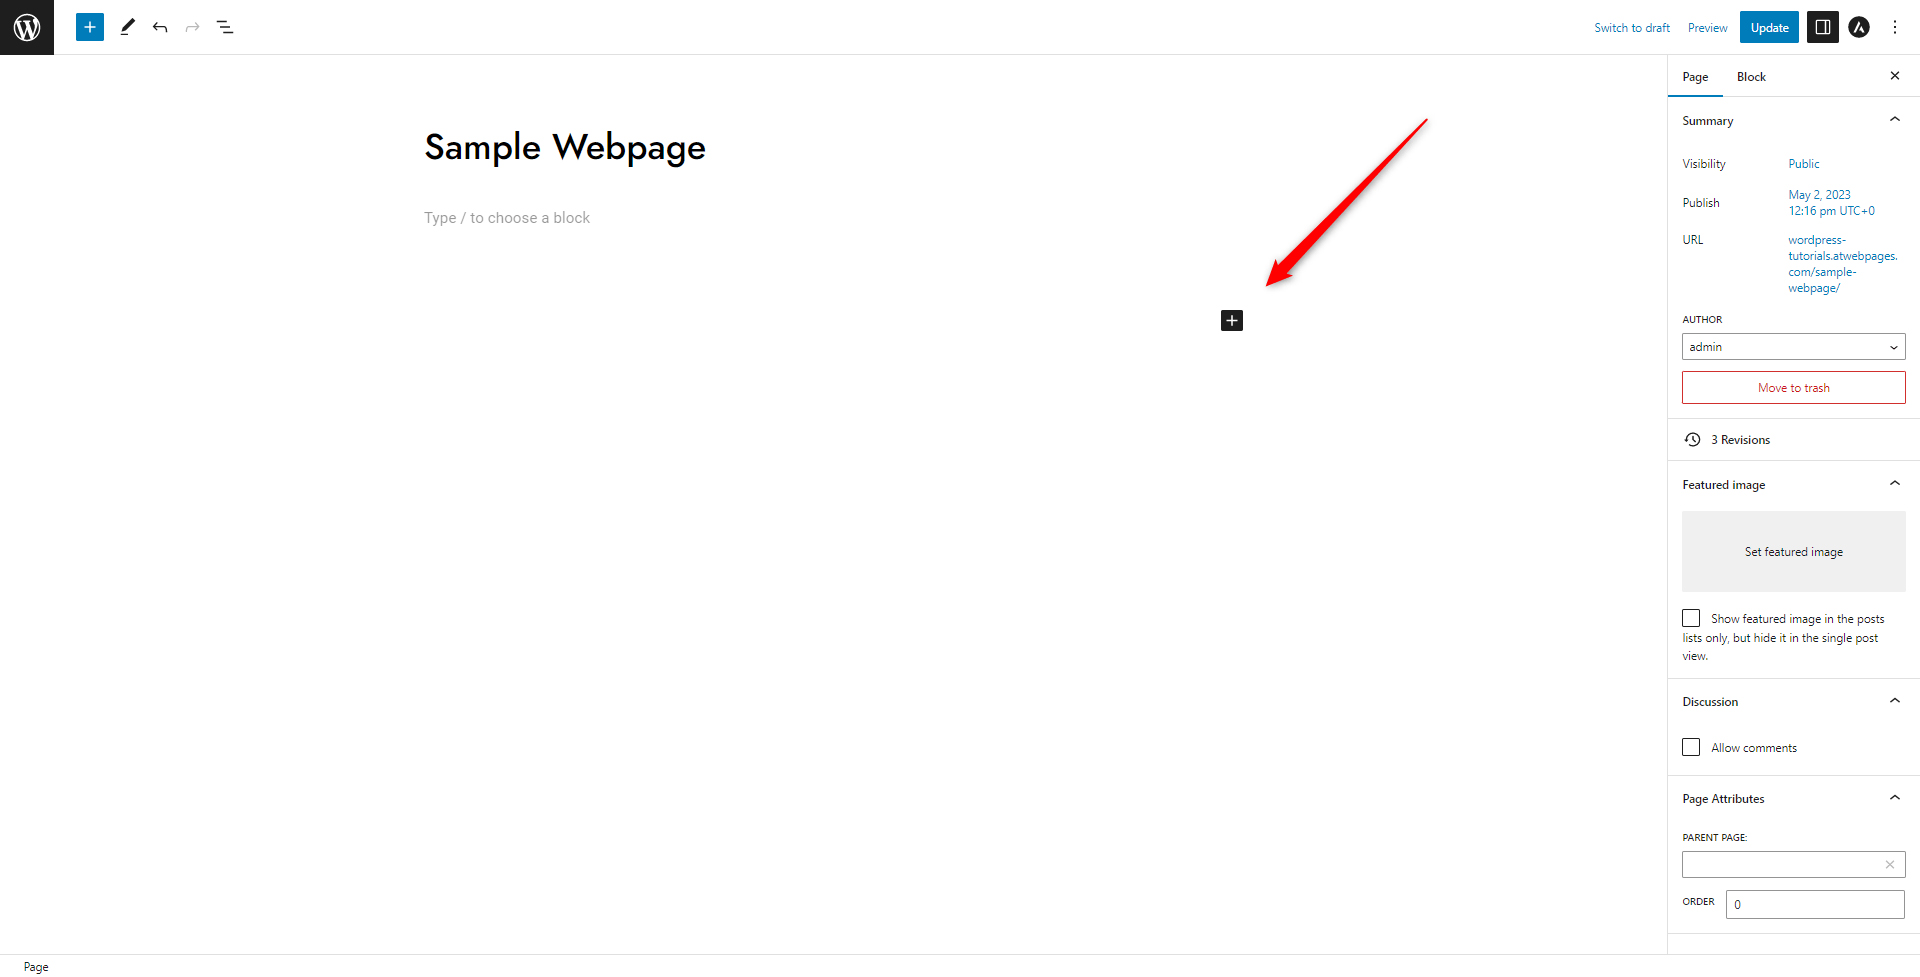
Clicking the button will open a menu such as this one:
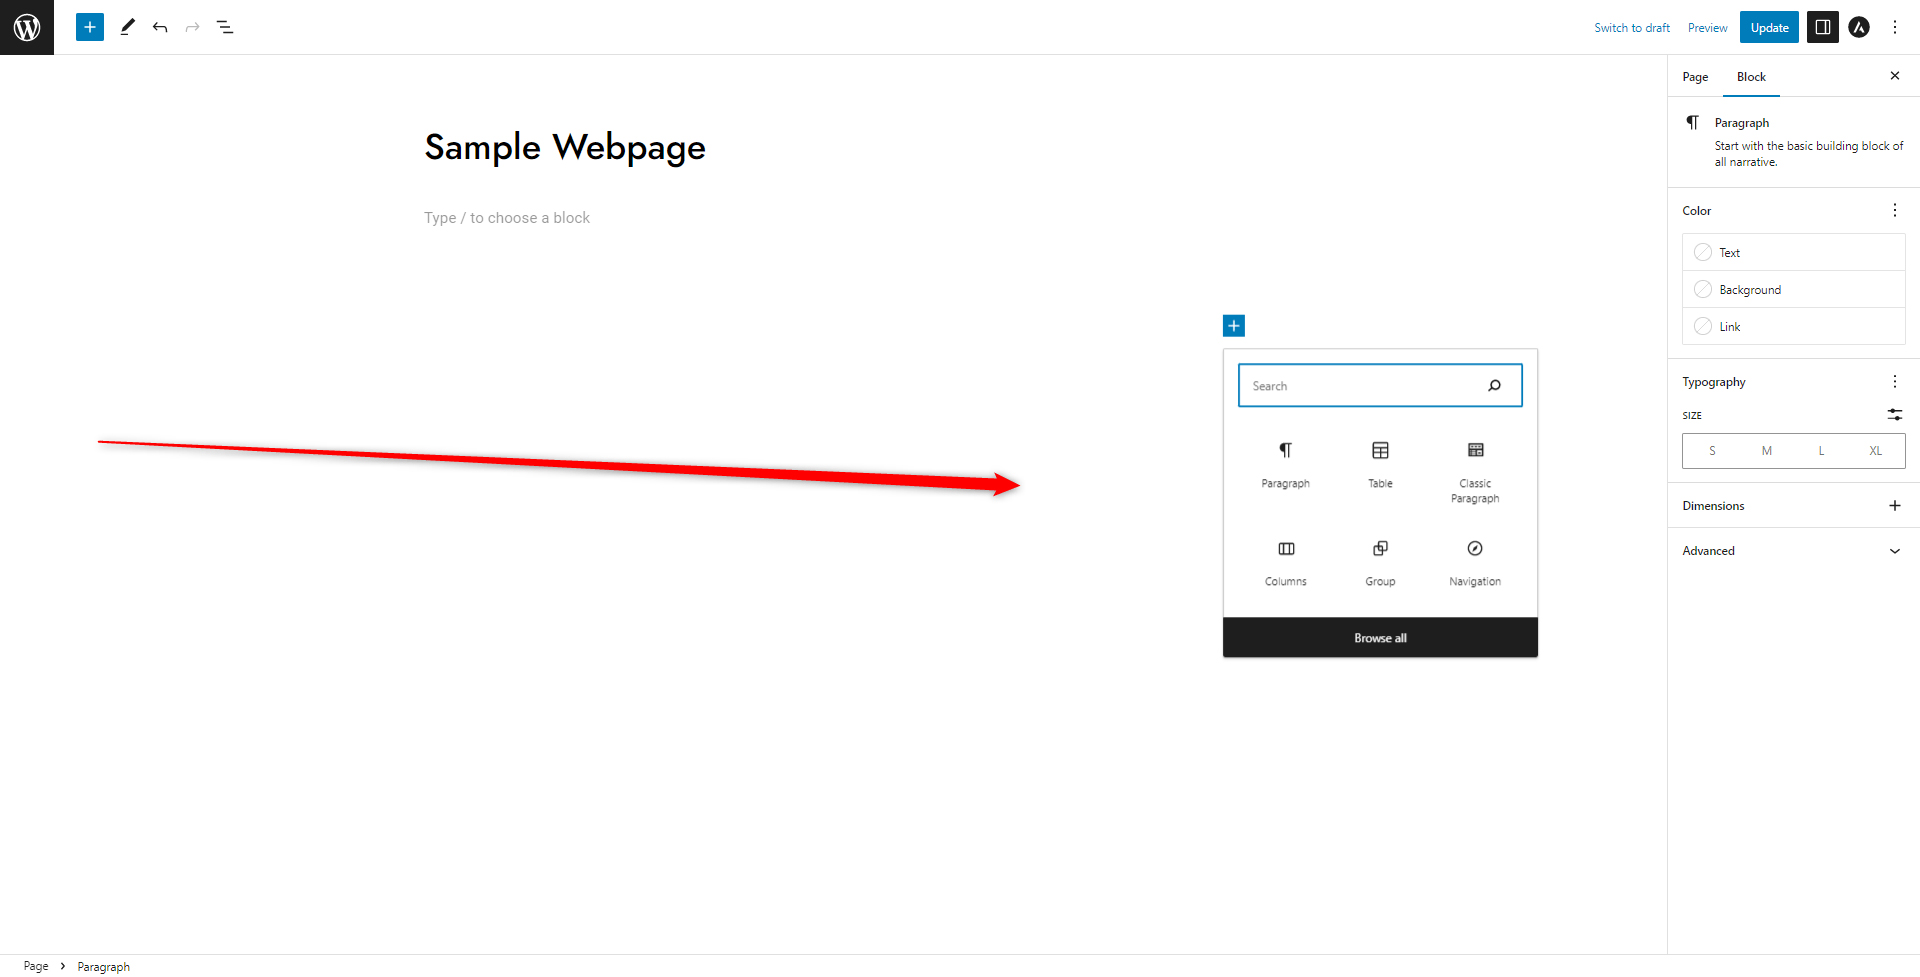
To find the Table block, simply type down “table block” in the search area, and find the Table icon:
![]()
Now, click on the Table icon, so you insert the element in the content area:
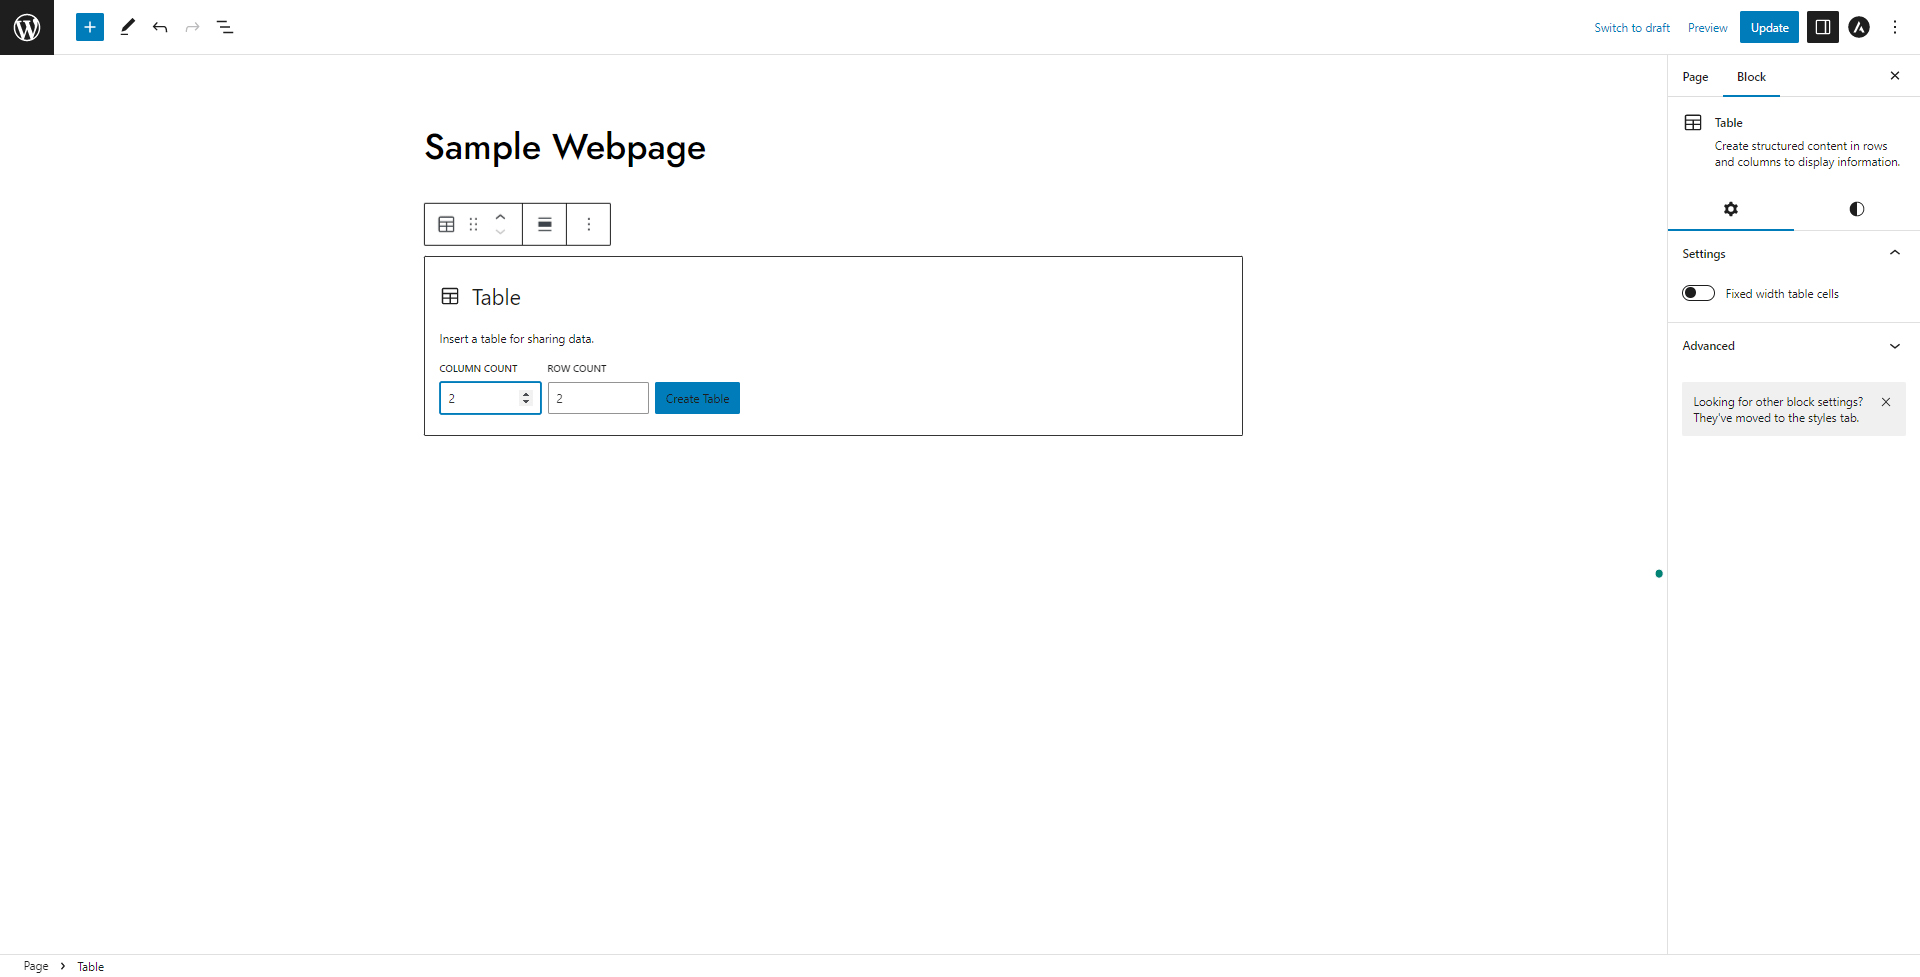
Once you click on the Table icon, notice that a new box with options will appear. Via the options within the box, you can decide the number of columns and rows:
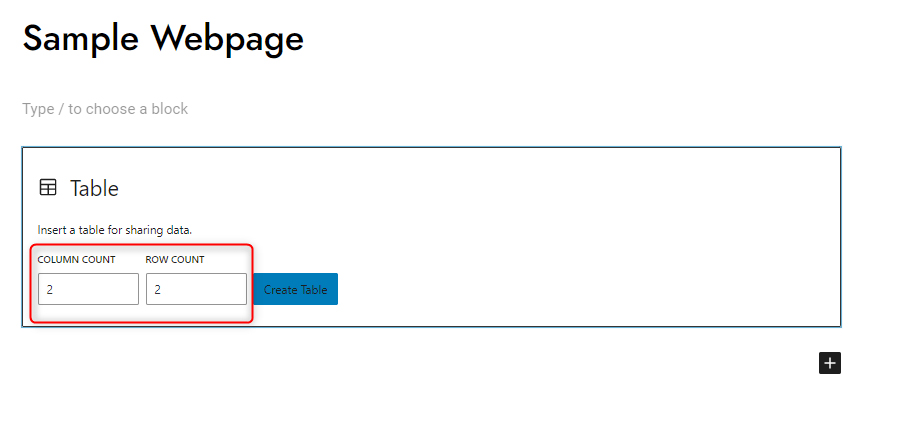
Add as many columns and rows as you wish and then click the blue Create Table button:
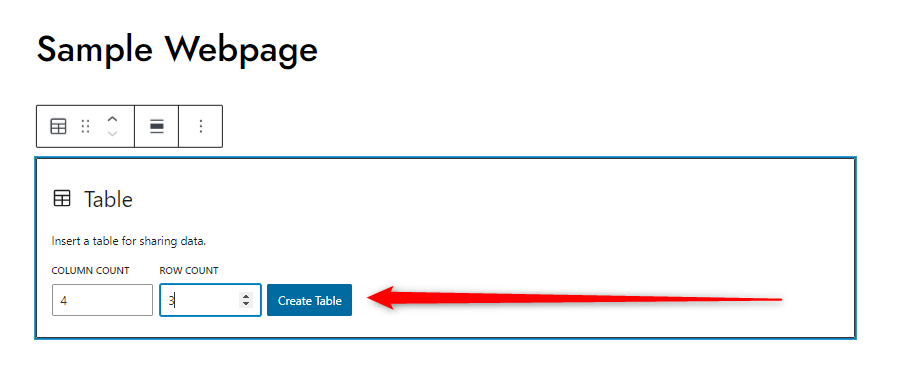
Clicking this button will create a table with the parameters you just entered:
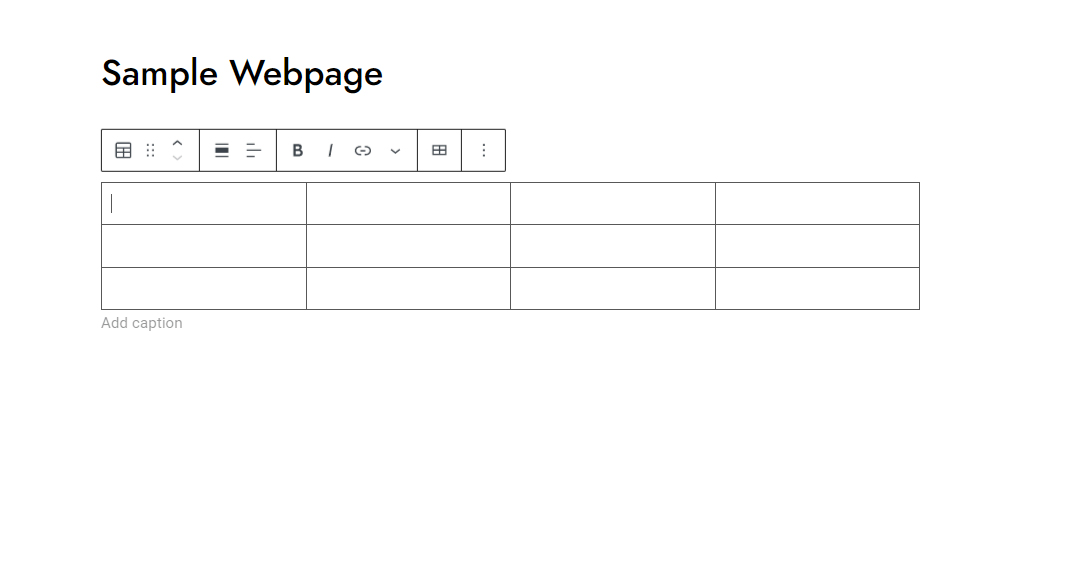
Now you have managed to insert a table in your blog post/web page.
In the following paragraphs, you will read how to customize the table, so it best fits your site design and your personal preferences.
How to Customize Tables in WordPress Using Gutenberg Editor
Now that you have inserted a table in your site content, it is time to see all the options that help you customize it just the way you want.
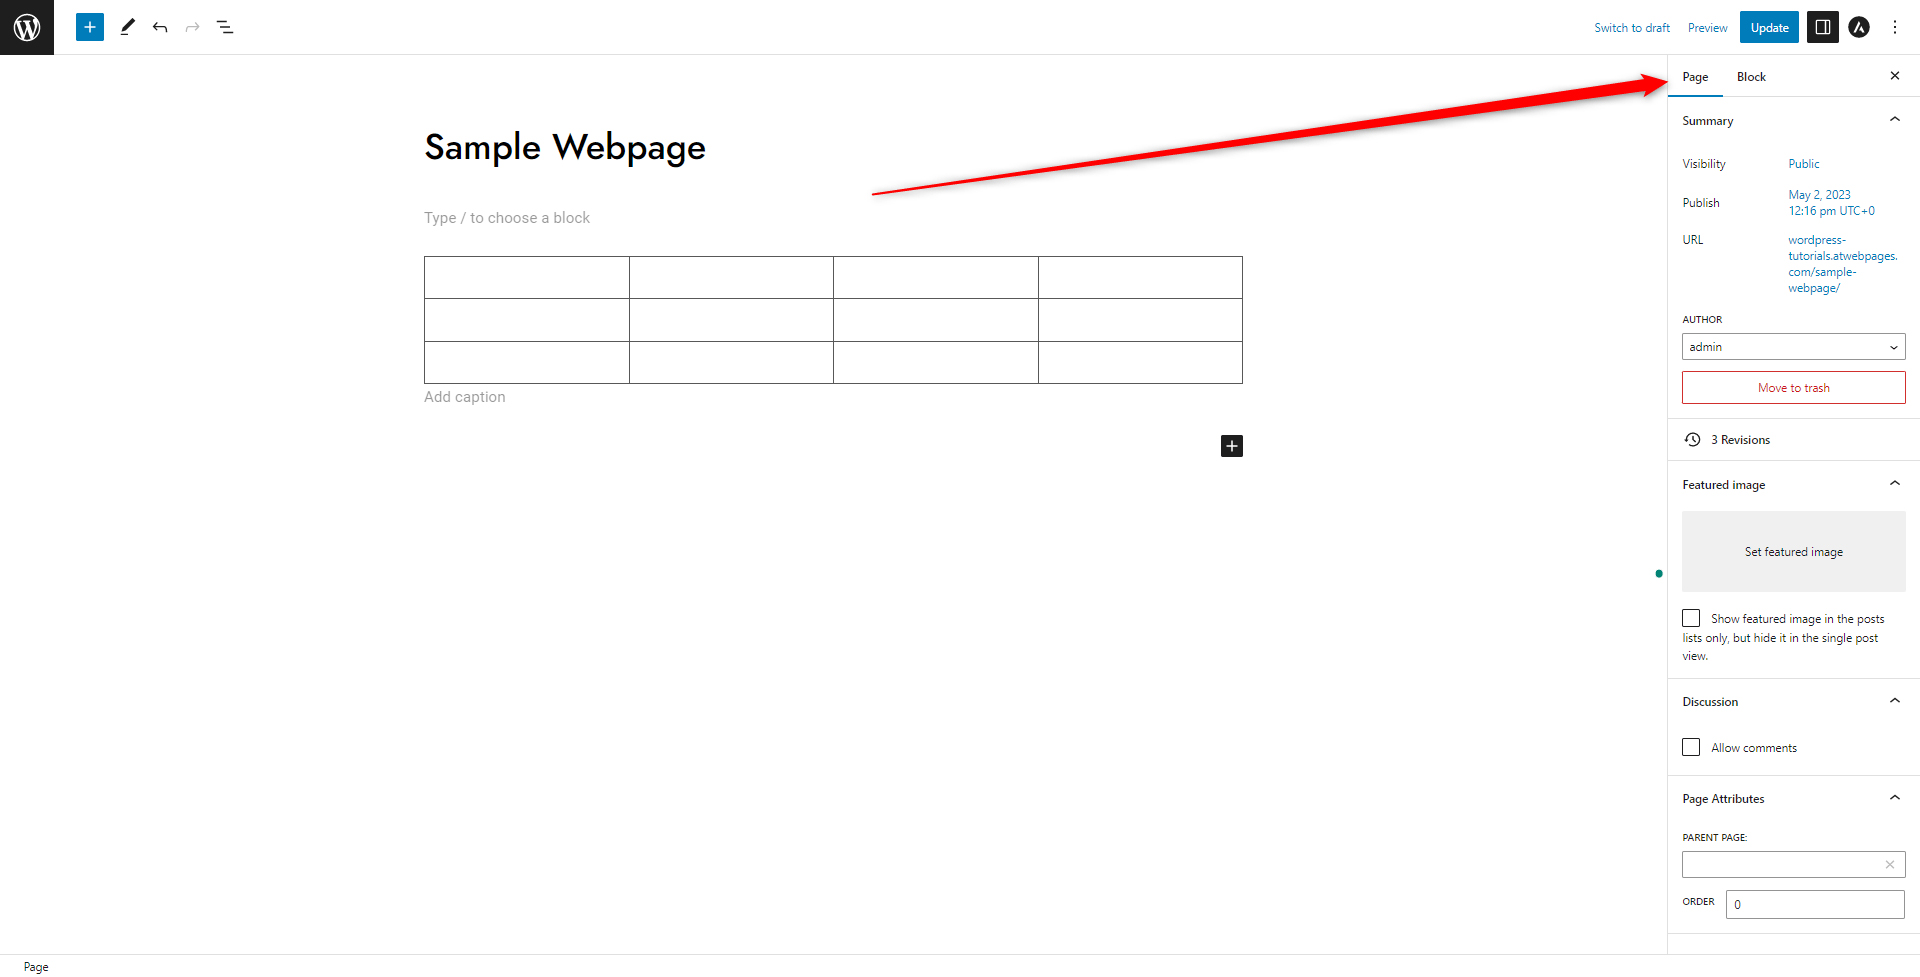
To see the customization options, click on the Table block and have a look at the sidebar located at the right of the screen:
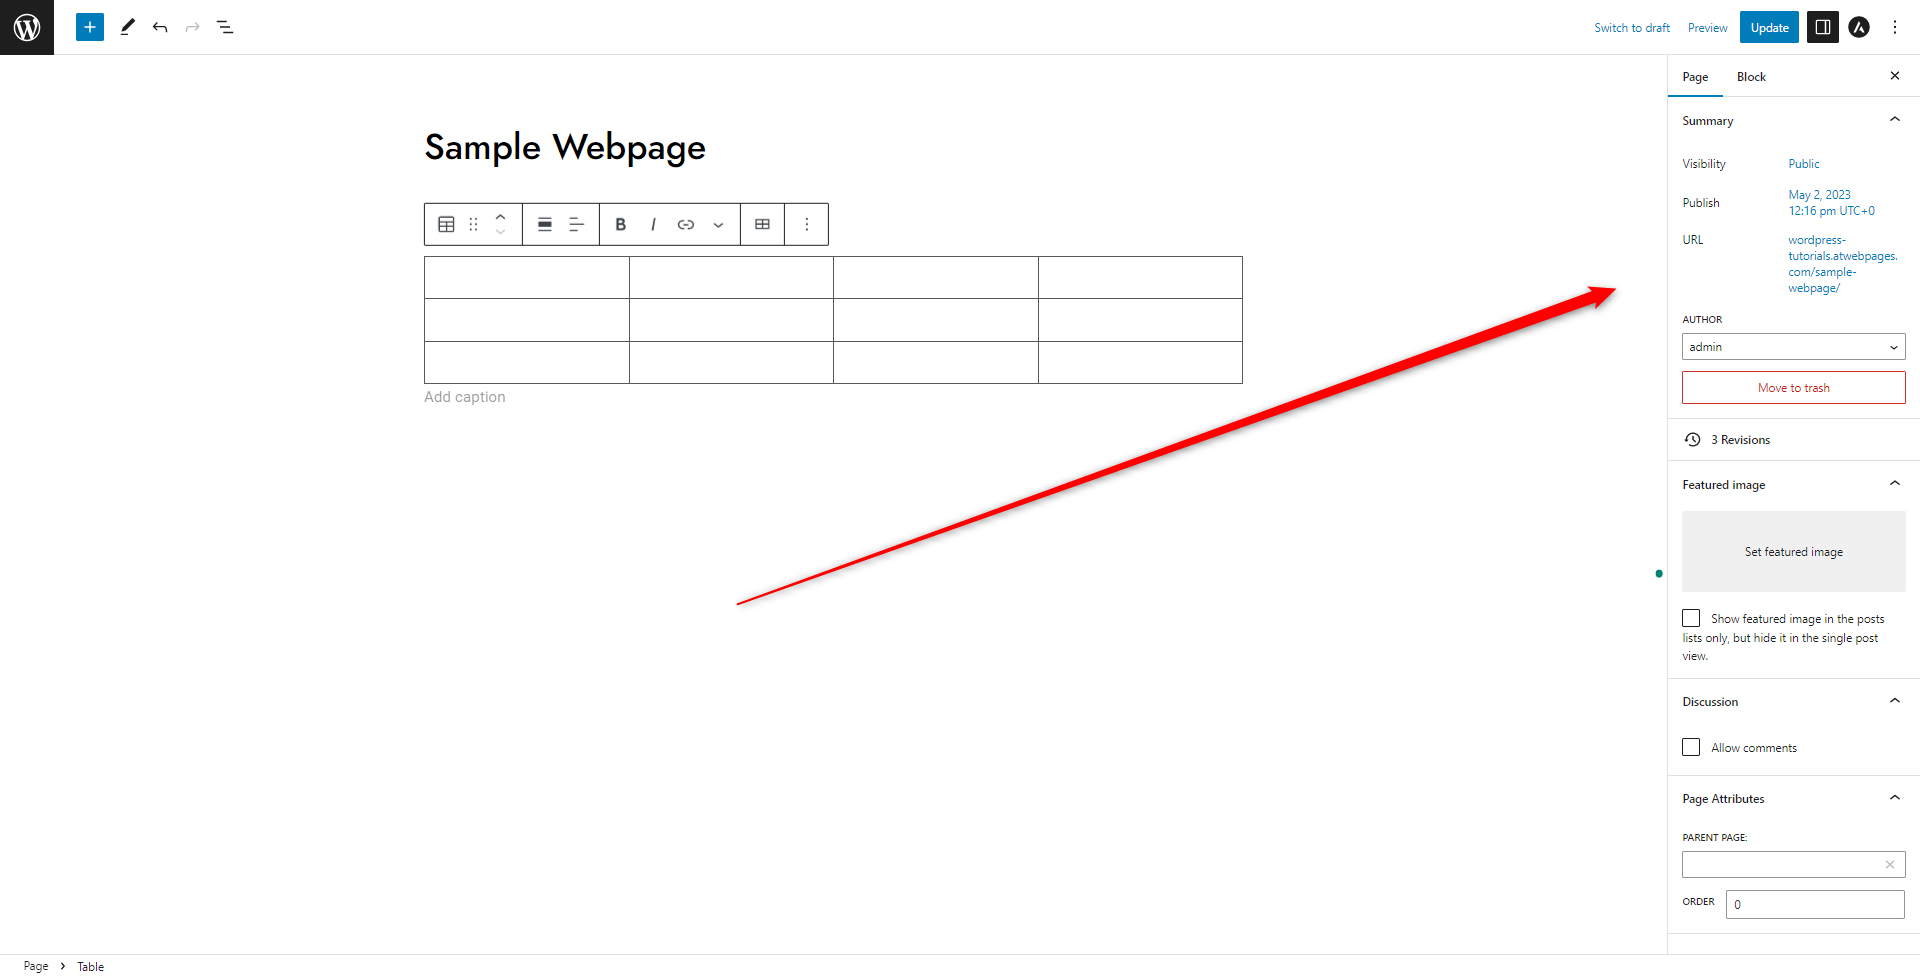
Then, have a look at the top of the sidebar and see that there are two sets of options that you can browse – Page options and Block options:
To be able to tweak the options of your table, click on Block:
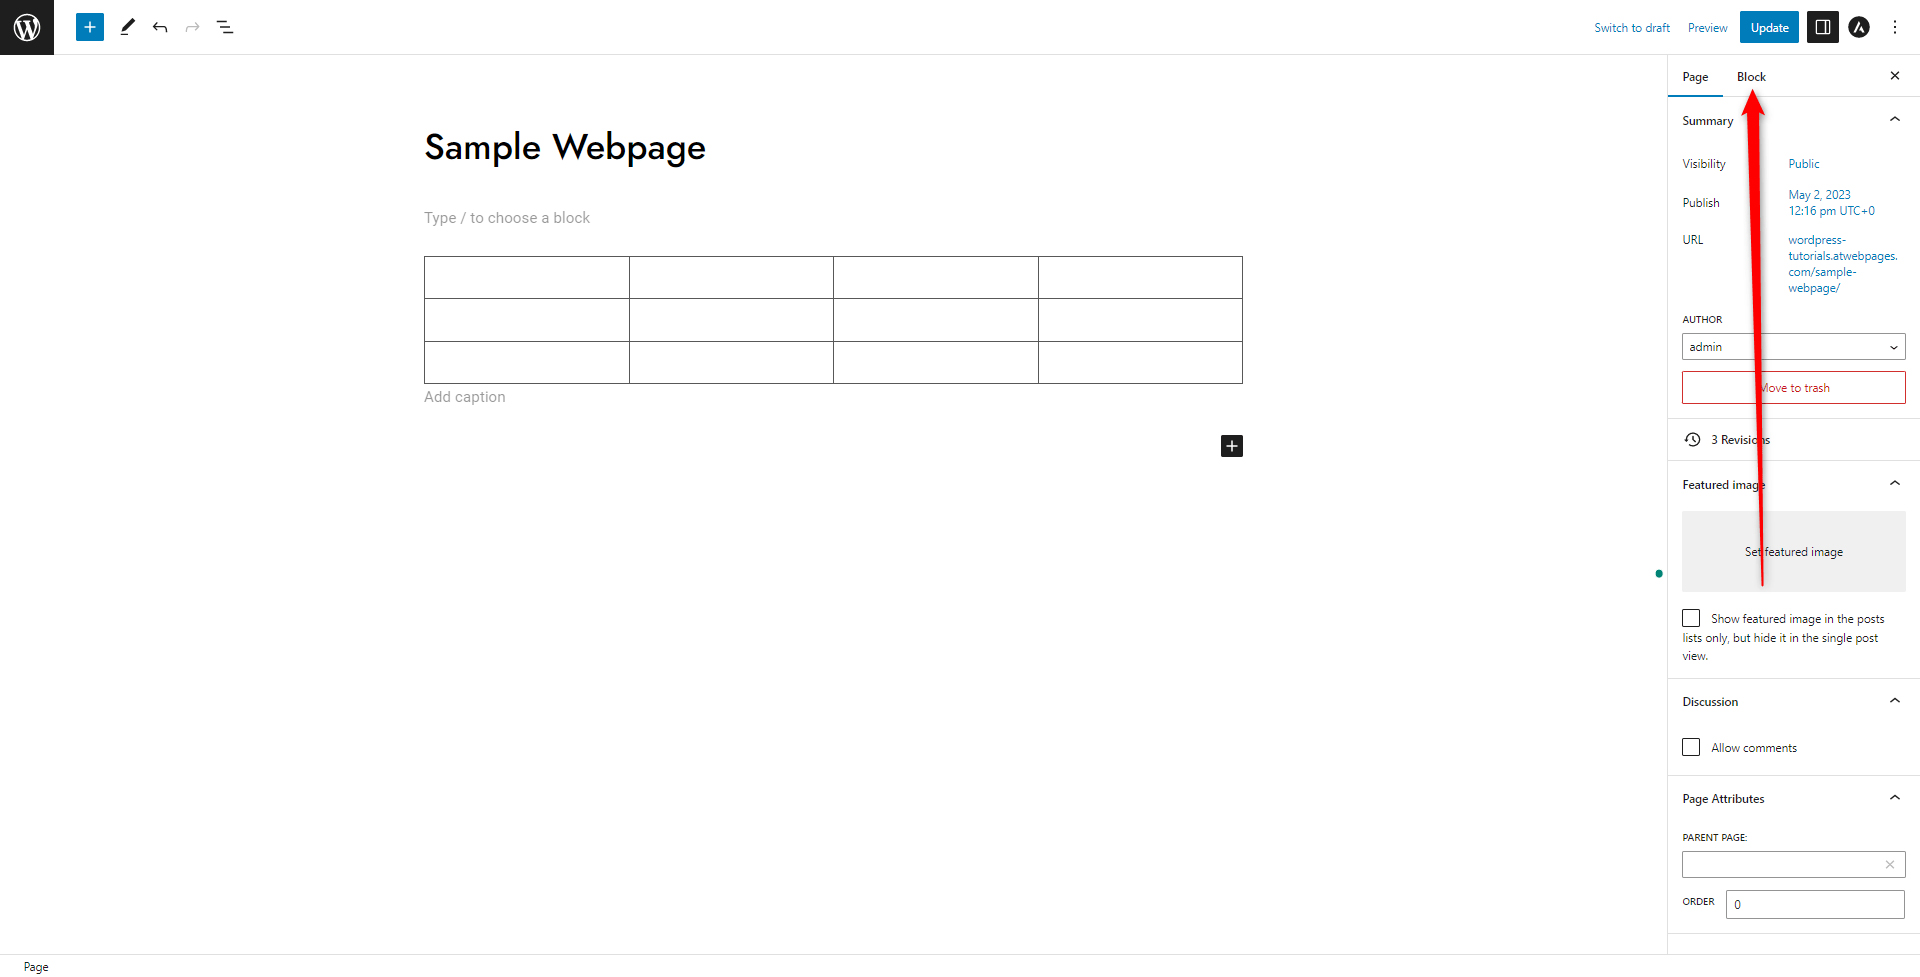
This will open the options that are available for each Gutenberg block. In the case of a Table block, the options look like this:
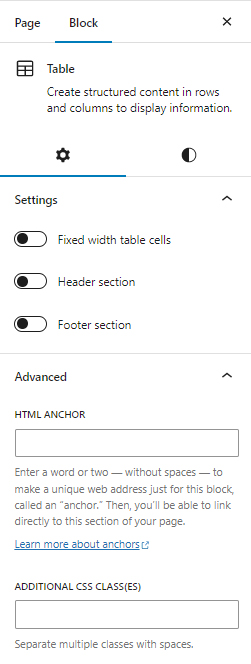
In detail, these options are:
- Fixed width table cell – engaging this will stop the cell from expanding once the text reaches the right corner of the cell.
- Header Section – Adds a set of cells at the top of your table that can be used as headings for your table rows.
- Footer Section – When engaged, add an additional row of cells at the bottom of your table.
- HTML Anchor – This field allows you to create hyperlinks that point directly to this cell.
- Additional CSS Class – This field allows you to add CSS code snippets, so you can further customize your table.
You can also change the color palette of the table, along with text colors and text typography. To access these settings, simply click on the Styles icon:
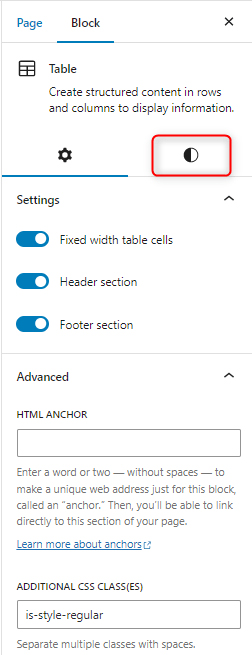
Clicking this icon will open the various color and typography options for your page. With these settings, you can format your text any way you want:
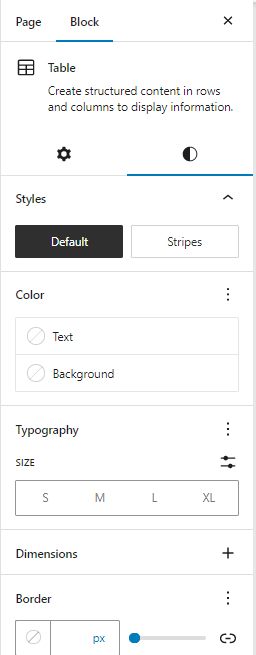
With these options, you can add various colors to the texts and cells, along with choosing text size, typography, and border size and colors:
- Color: this option allows you to browse and select colors for your text and cells.
- Typography: Allows you to change text font and text size
- Border: Allows you to select the width and color of the border between cells.
Conclusion
Inserting tables in your WordPress website is quite easy when using Gutenberg. With a few simple steps, you can add various types of tables on your web pages and customize them any way you want with the numerous built-in Gutenberg styling options.
Related:
- How to Use WordPress Gutenberg Block Editor
- How to Insert Gutenberg Blocks in WordPress
- 5 Best Gutenberg Plugins for WordPress
- How to Display Code with WordPress Gutenberg Code Block
- How to Use the Navigation Block in Gutenberg
- 5 Best WordPress Slider Plugins for Gutenberg
- How to Copy a Page with WordPress Gutenberg Editor
- How to Add Tabs to Your WordPress Site with Gutenberg
- How to Create Posts in WordPress via the Block Editor (Step By Step Guide)
- How to Change Text Color With WordPress Block Editor
- 10 Best WordPress Themes for Gutenberg
- How to Design a Website Header with Gutenberg
- How to Add a Contact Form with WordPress Gutenberg Editor
- How to Add Images in WordPress with Gutenberg
- How to Add a Site Logo Block in WordPress with Gutenberg