The WordPress Gutenberg Editor, known also as the Block editor comes with numerous features that can make the creation of your WordPress website and its maintenance as easy as possible.
One of the handy features Gutenberg includes is reusable blocks. With them, you can select and save various block settings and instantly use them on a different page or a blog post.
What are the WordPress Reusable Blocks
The idea behind reusable blocks is to save time and effort when adding the same content structure across several pages and blog posts. This feature eliminates the need to insert and individually set up each block you use for your site content.
How to Use WordPress Reusable Blocks
To benefit from the Gutenberg reusable blocks, you should first create some.
To create a reusable block, the first thing you should do is enter your WordPress admin panel.
Then, you should open a webpage or a blog post you wish to edit (Page->All Pages->Edit Page or Posts->All Posts->Edit Post).
The process of creating reusable blocks is the same regardless of if you are editing a page or a blog post.
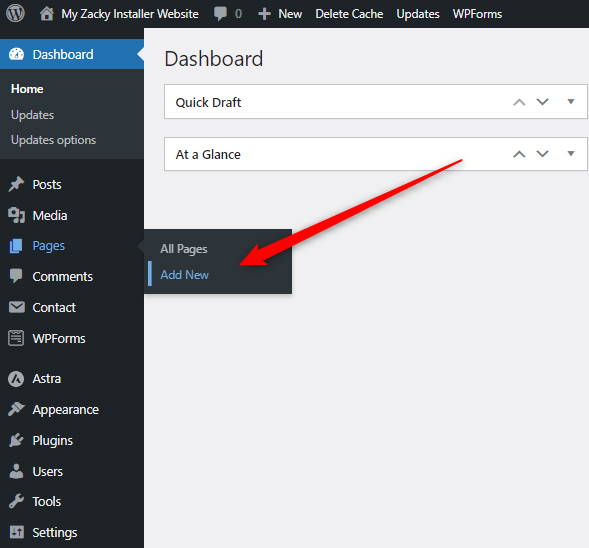
For this demonstration we will create a new page (Admin Dashboard->Pages->Add New):
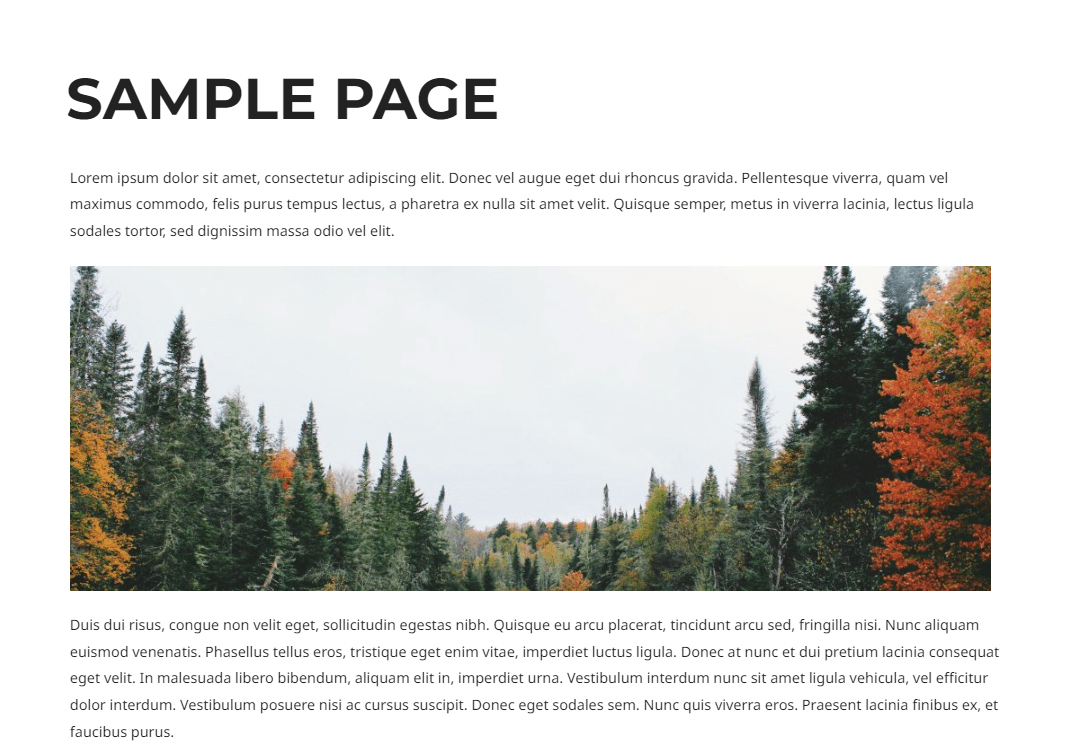
Once the Gutenberg interface is activated, you can start adding blocks with content. For this demonstration, we will create a sample page with a heading block, an image block, and two paragraph blocks. You can add any kind of blocks to your content, such as adding image blocks and codes containing code snippets.
If you are new to the Block Editor, then check out how to insert blocks with Gutenberg. Also, have a look at how to Set Full-Width Alignment in the WordPress Gutenberg block
Here’s how the layout turned out to be:
Now, tweak each block the way you want it to look. For example, change the font in the paragraph blocks, add text highlights, change the text color, and change the image formatting and size.
Once you have finished with the setup, it is time to make these Gutenberg blocks into reusable ones.
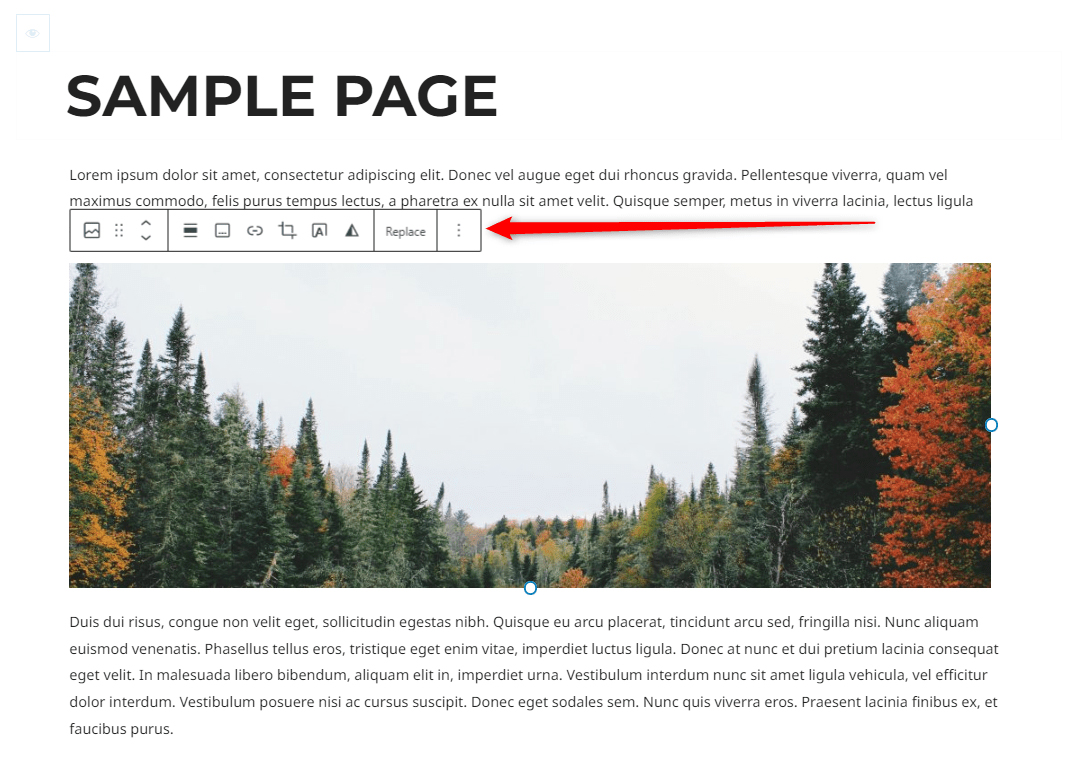
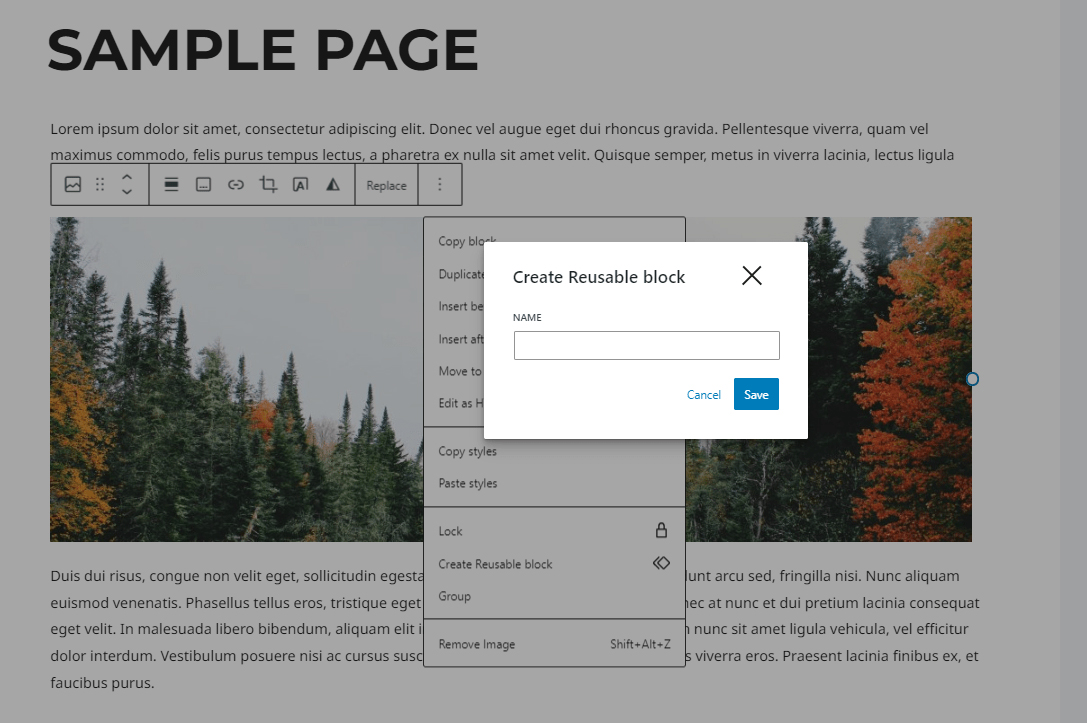
To make any of the blocks reusable, first click on one of them, and from the menu that pops up, click the three dots:
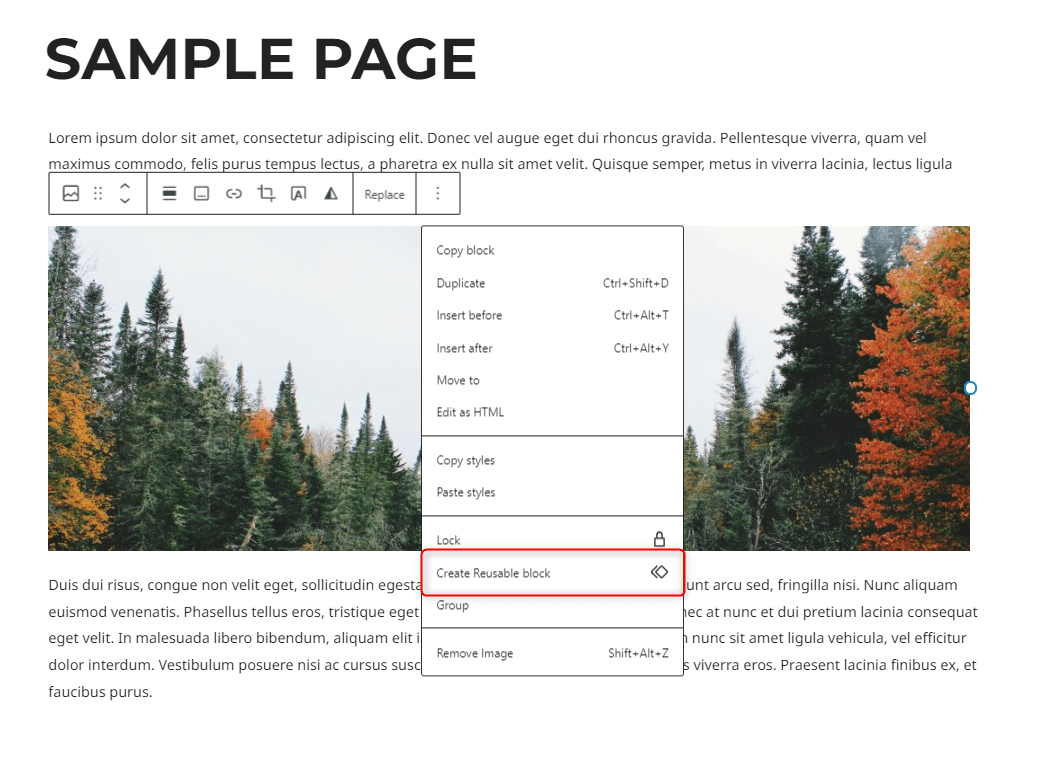
Clicking the three dots will open more menu options. From there select Create a Reusable Block:
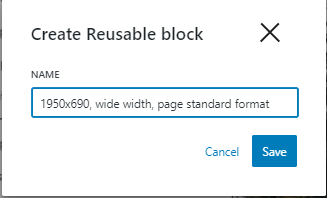
After you click on Reusable Block, Gutenberg will prompt you to come up with a name for the soon-to-be reusable block. As a rule of thumb, add a description that includes more details about the settings you choose for this particular block. This will help you identify reusable blocks faster when there are more of them:
Then, do the same with the rest of the blocks you would wish to reuse across your website.
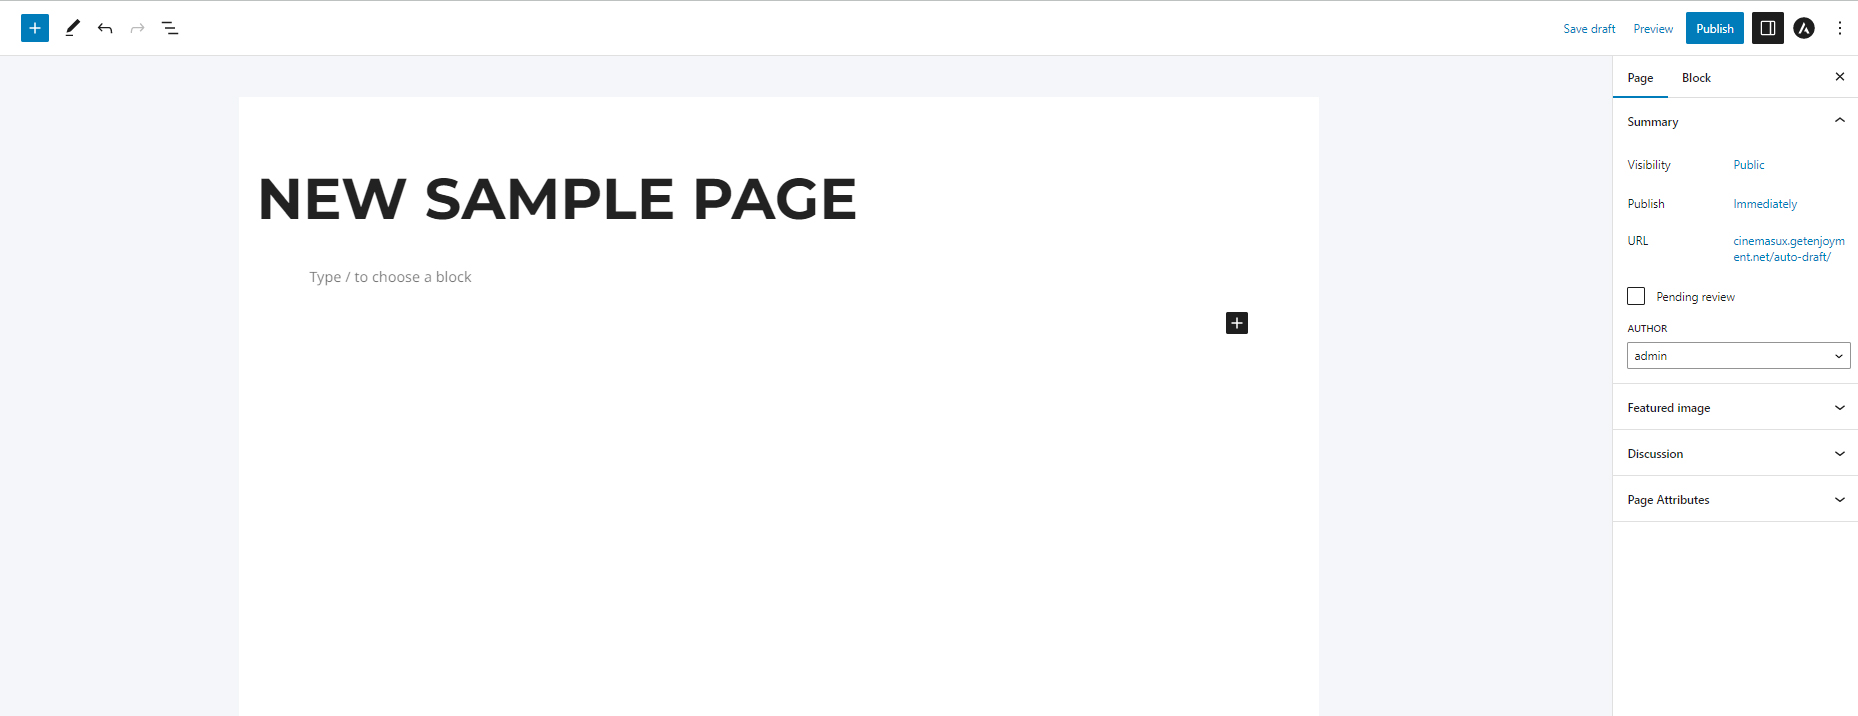
Now, to use the newly-created reusable blocks, create a new page or a blog post you wish to edit:
Now, click the black + button to add a new block within the page/post:
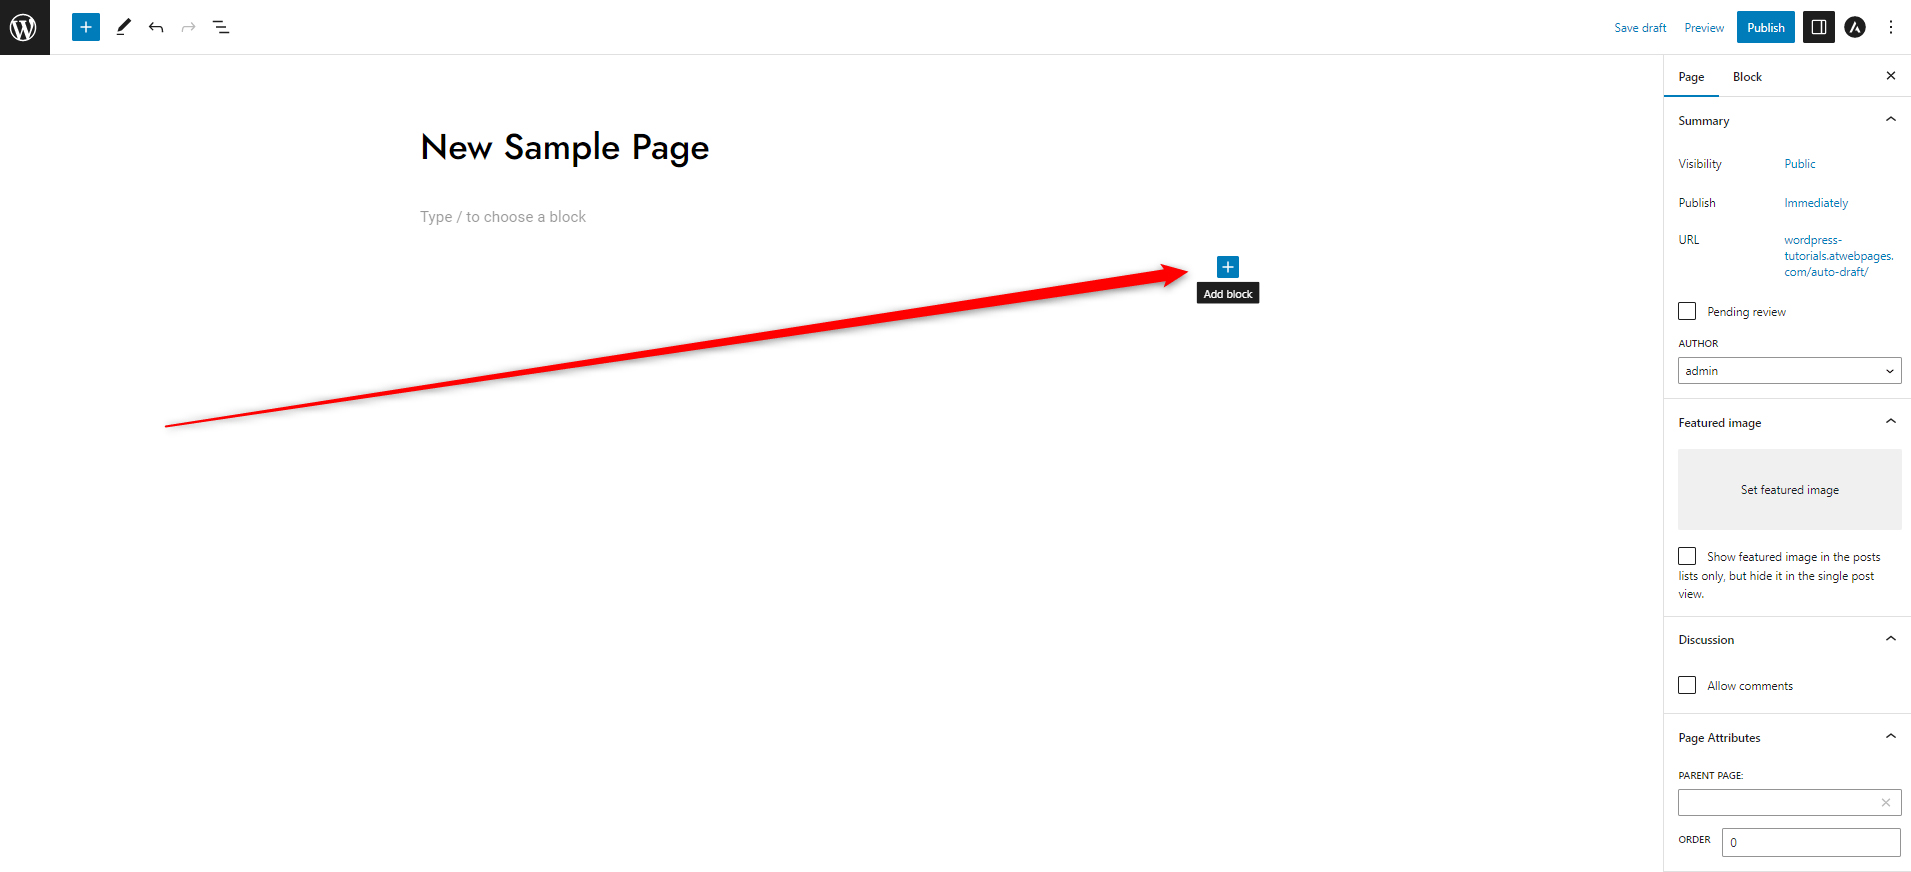
This button allows you to quickly insert Gutenberg blocks that are being used the most:
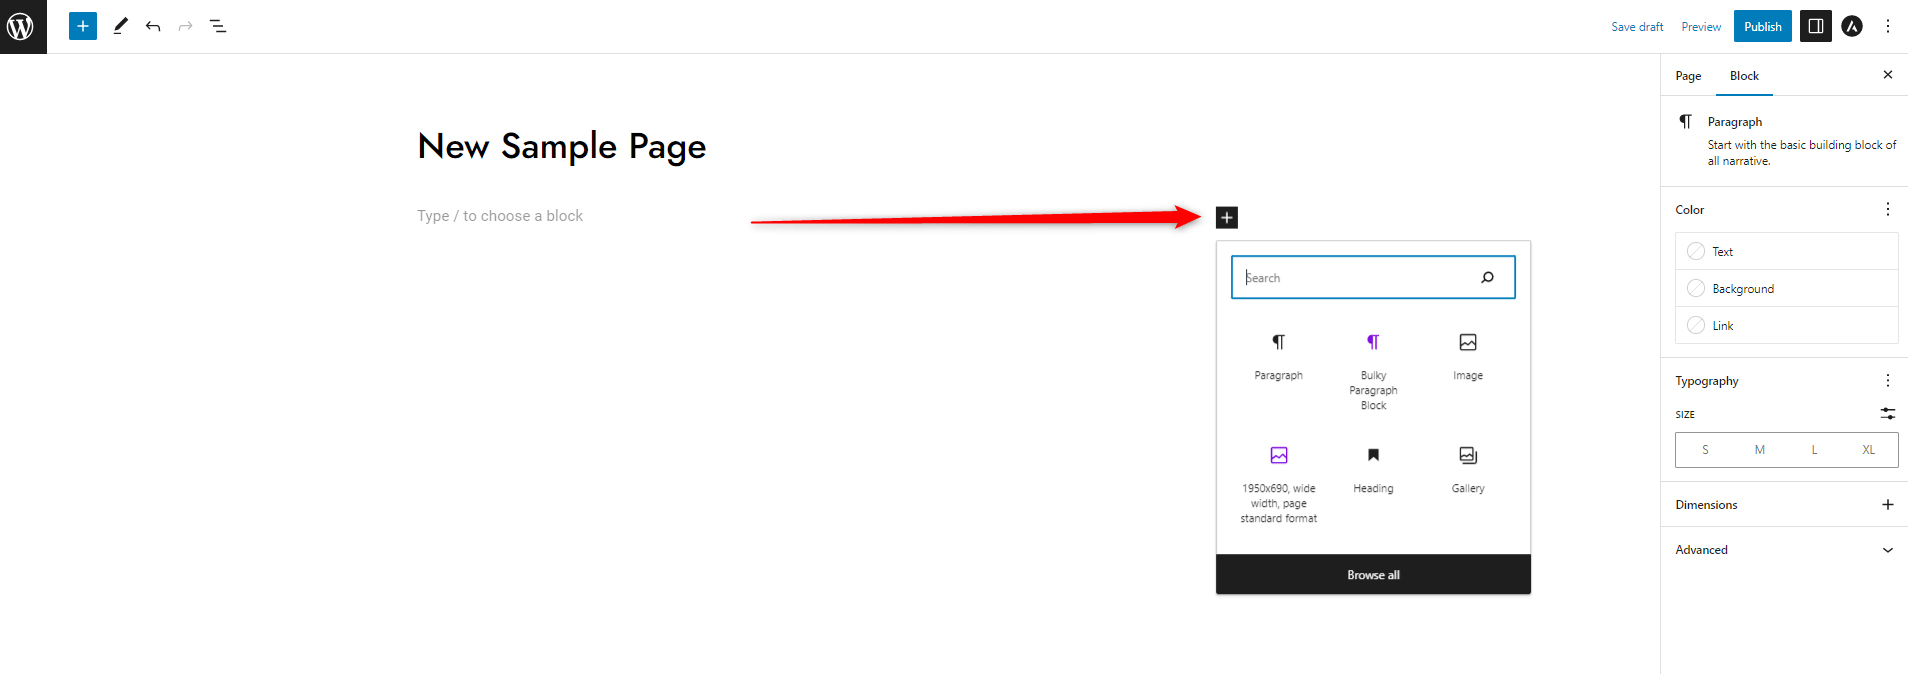
Within this list, you can see the reusable blocks you already set up, colored in purple and bearing the names you gave them:
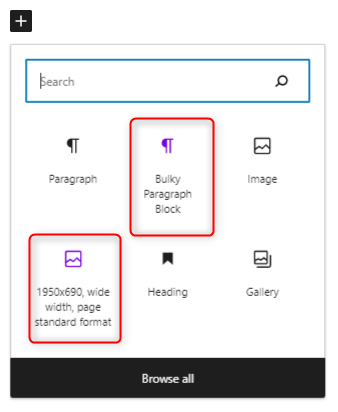
You can include them in your page/post right away by clicking on them. Once you do, they will appear with all the settings you made when creating the reusable blocks:
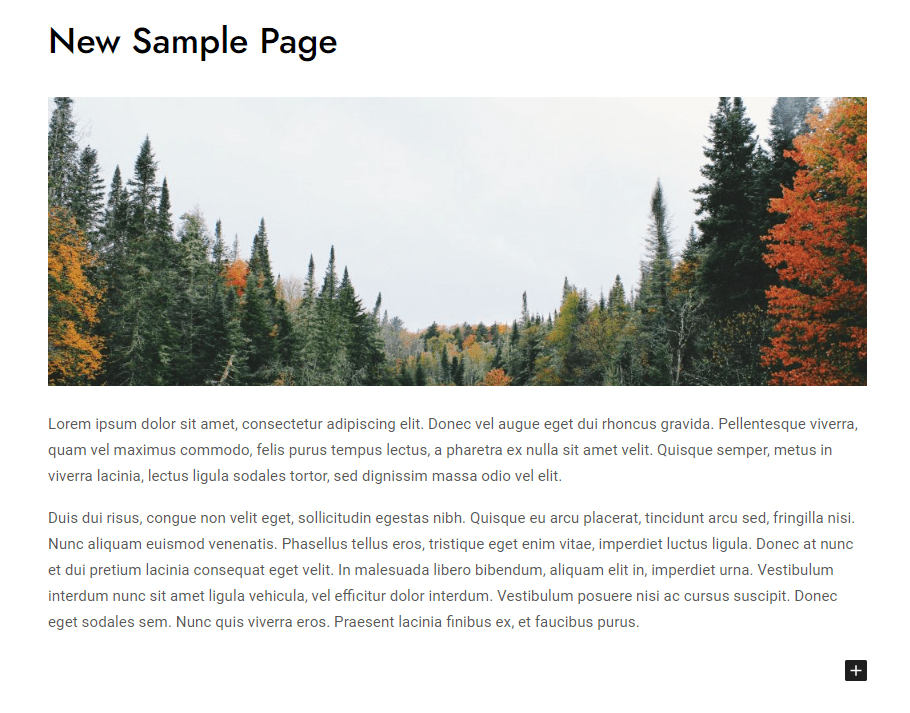
Without any additional setup and effort, these blocks appear in your content structure with all the settings you made and saved when creating the reusable blocks.
Conclusion
By making reusable Gutenberg blocks, you can save time and effort when crafting web pages with similar content structures.
Luckily, Gutenberg Block Editor makes the process simple and intuitive.
Related:
- Create a WordPress Website – The Ultimate Guide
- How to Change Text Color With WordPress Block Editor
- 10 Best WordPress Themes for Gutenberg
- How to Display Code with WordPress Gutenberg Code Block
- how to Set Full-Width Alignment in the WordPress Gutenberg Block
- How to Create Posts in WordPress via the Block Editor (Step By Step Guide)
- WordPress Basics Pt.1
- WordPress Basics Pt.2
- How to Create a New Page in WordPress
- How and Why to Set Up a WordPress Blog Page
- How to Use the Media Library in WordPress
- How to Add Images in WordPress with Gutenberg
- How to Add a Site Logo Block in WordPress with Gutenberg