When you create a post in WordPress, typing down the words is only a part of the job. Once written, you should format the text – separate paragraphs, include subheadings where needed, bold words and phrases, underline others, and include numbering and bullet point at certain places. This is especially important if you wish to create a WordPress website focused on news, or set up a blog, where posts are the center of the website.
Formatting can make your texts aesthetically more appealing and considerably easier to digest by your readers – things that you would want in your WordPress blog.
In the following paragraphs, you will read why formatting your texts matters and how to do so.
How to Format Text in WordPress
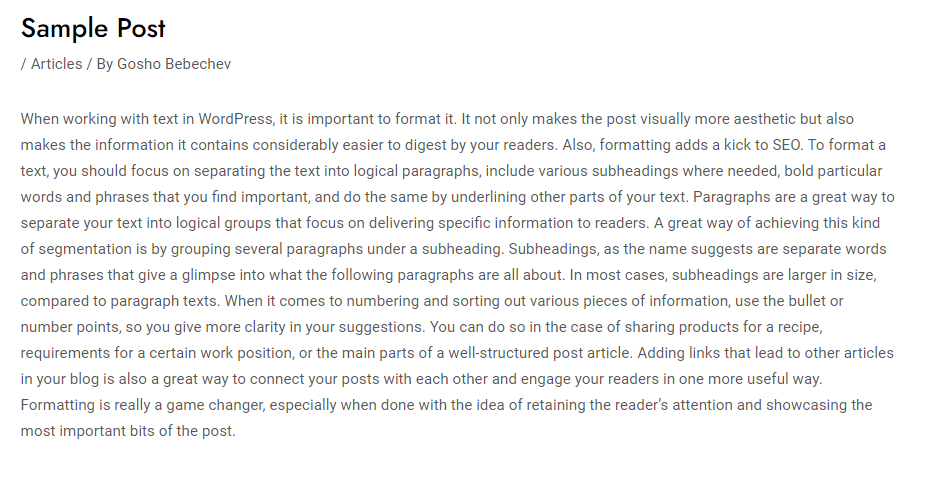
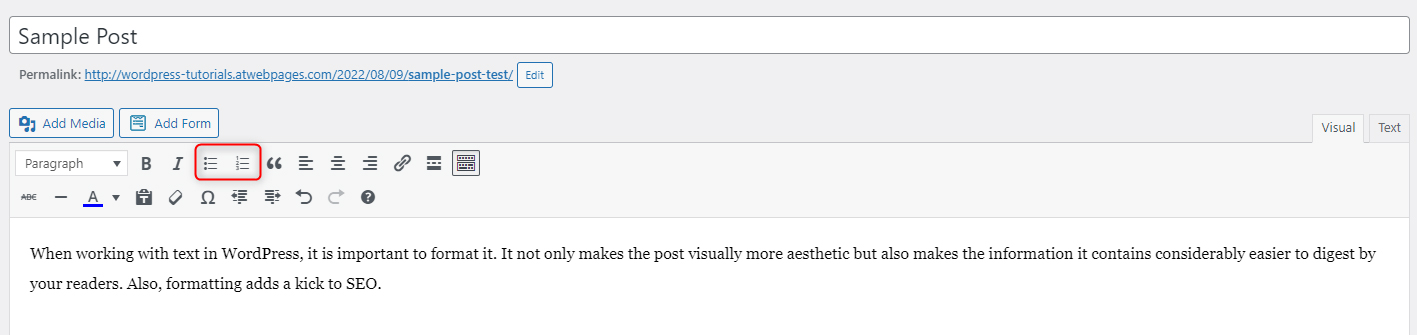
Look at this short sample post that hasn’t undergone any formatting:
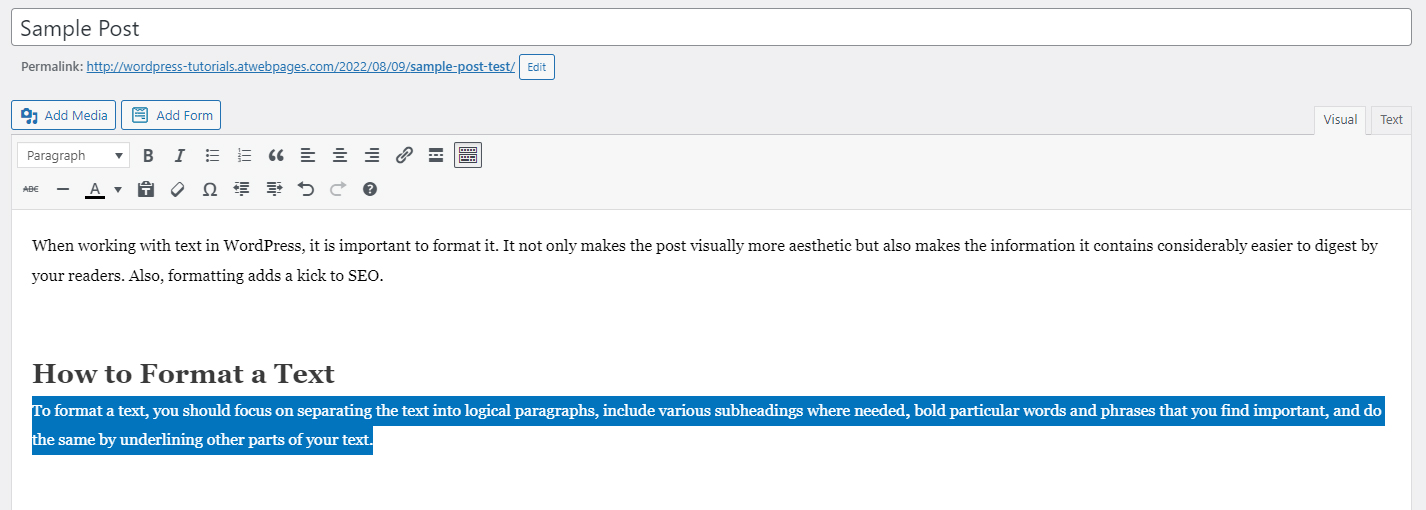
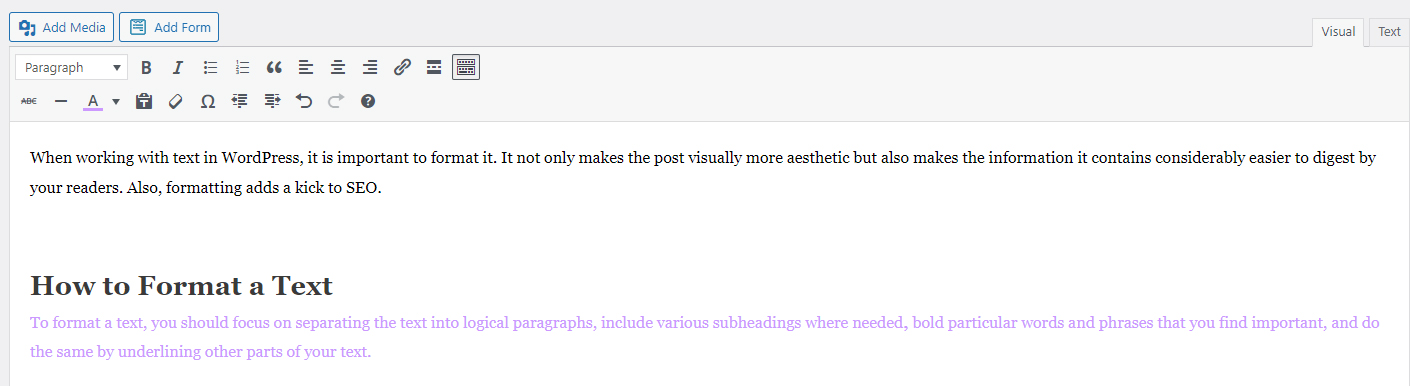
Now, take a look at the same text, but this time after we spent some time formatting it:
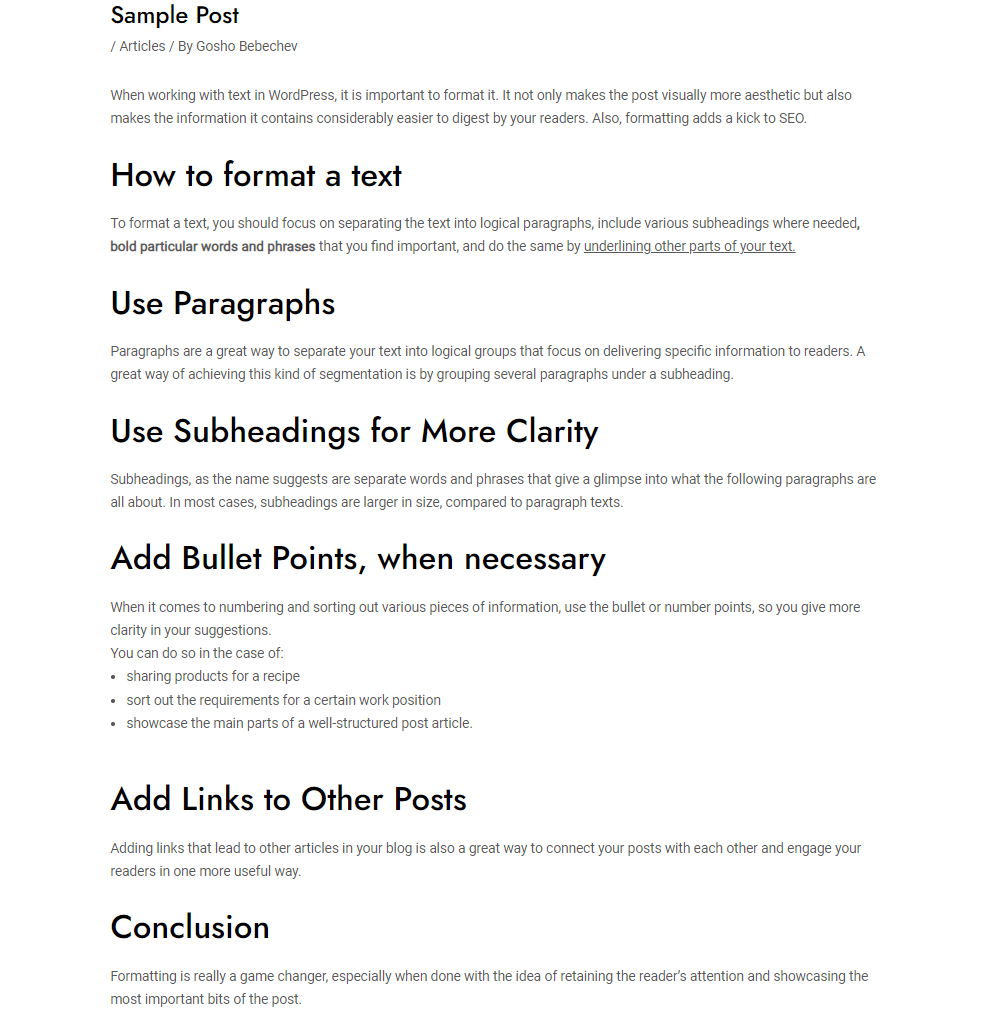
The change is noticeable right away. For optimal results, you can add media files such as images, videos, and audio, so the information you share really catches the eye and adds value for readers.
In the following paragraphs, you will read more about each formatting approach and how to incorporate it into your blog posts.
Separate Text Into Paragraphs
Separating the entire text block into several paragraphs gives you the chance to divide ideas into sections and make the entire text easier to read.
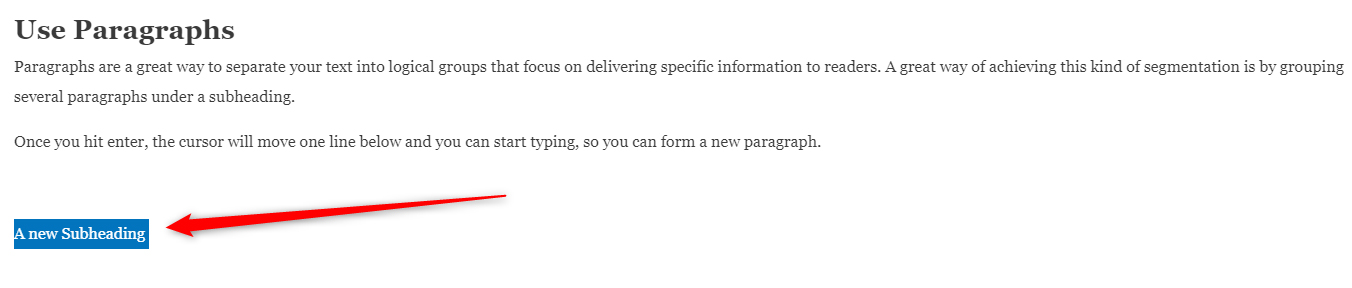
To start a new paragraph in the WordPress Post, simply move the text cursor to where a paragraph should end. Then, hit Enter. This will move the cursor to the next line, which is how you start a new paragraph.


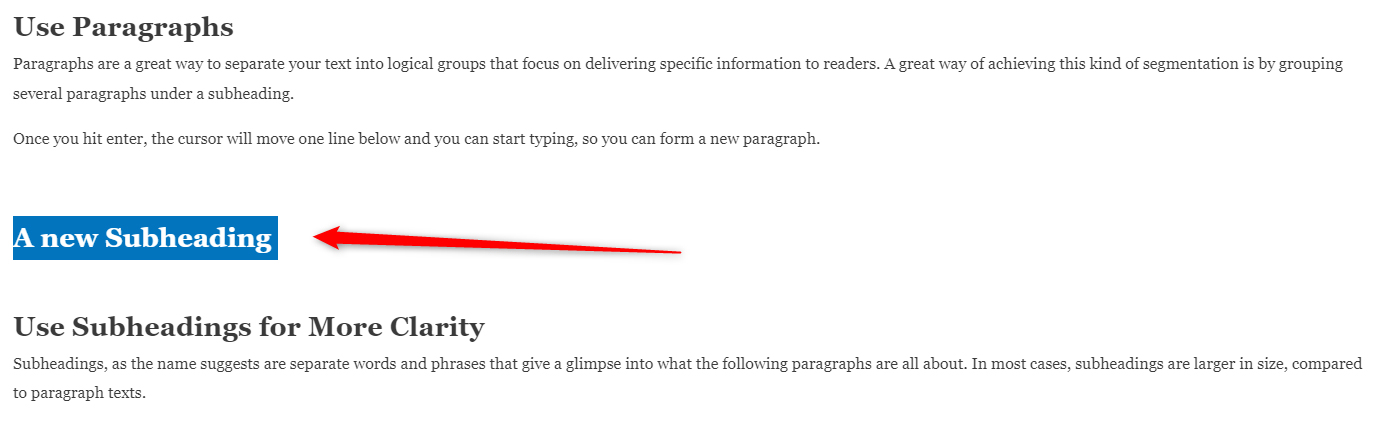
Add Subheadings
As mentioned, subheadings are a great tool to give more insight into what the following paragraphs are all about. They also help people navigate easier and faster through the text.
To add a subheading in WordPress, you should do the following:
- Type down the name of the subheading:

- Then, mark this text with your mouse:
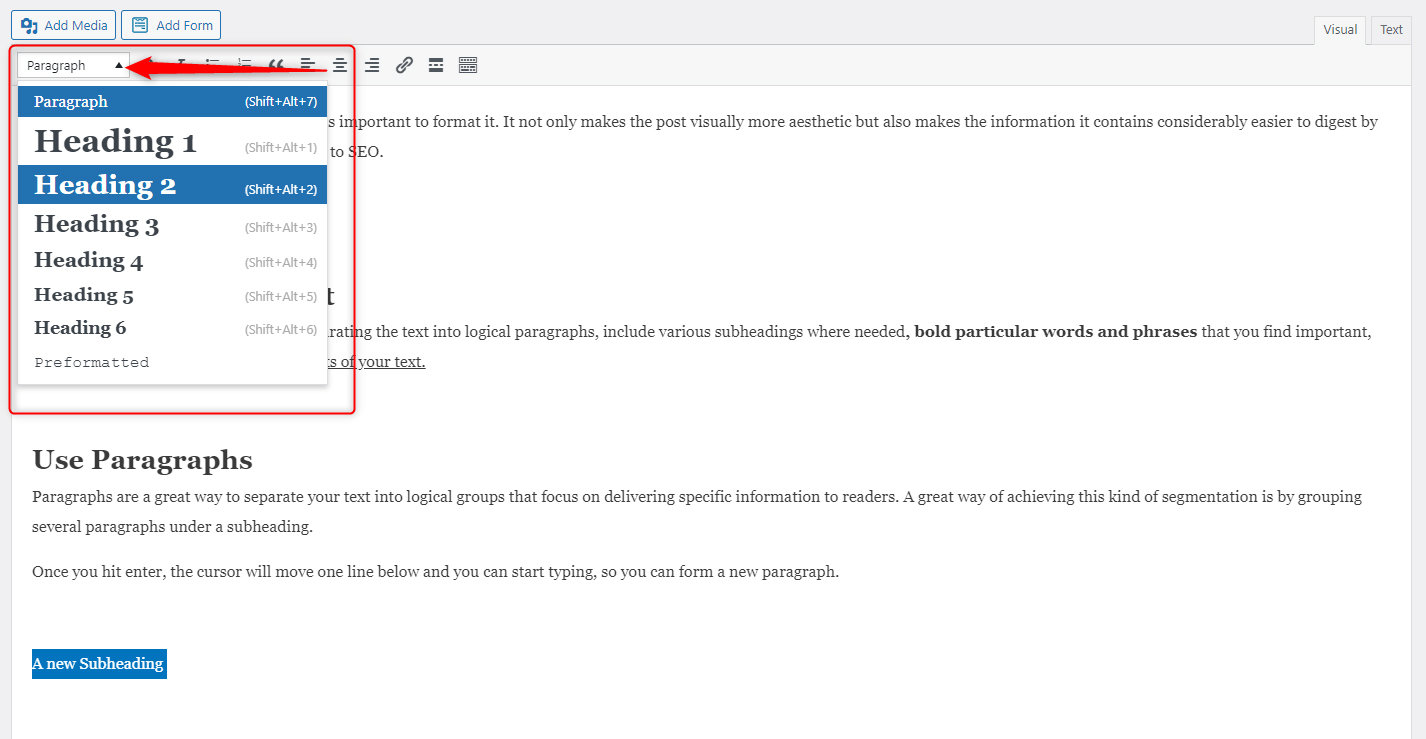
3. While the text is selected, head towards the top of the screen to the Paragraph drop-down menu, click it and select any Heading from 2-6:
This will mark the selected text as a subheading and will also make it larger and bolded:
As you may notice, in the Paragraph drop-down menu, there are several options for headings and subheadings:

As a rule of thumb, Heading 1 is the title of your post. It is the same as the posts’ titles and is always on top.
Headings 2-6 are called subheadings, because they are smaller than Heading 1 and are placed below it. Keep in mind that each following one is smaller than the previous one. Use these to group your text paragraphs and give short information about what follows next in the text.
Use Bold Text for Implying Importance
Bolding parts of your text get the attention of readers and are used to indicate something important. To bold a word, phrase, or entire sentence, first, select it with your mouse cursor:

Then head to the top of the screen where you will see various formatting options. There locate the B symbol and click it:
![]()
This will bold the selected text. You can also use the key combination of ctrl + B to bold the selected symbols – both methods work the same way and you should use whichever feels more comfortable for you.
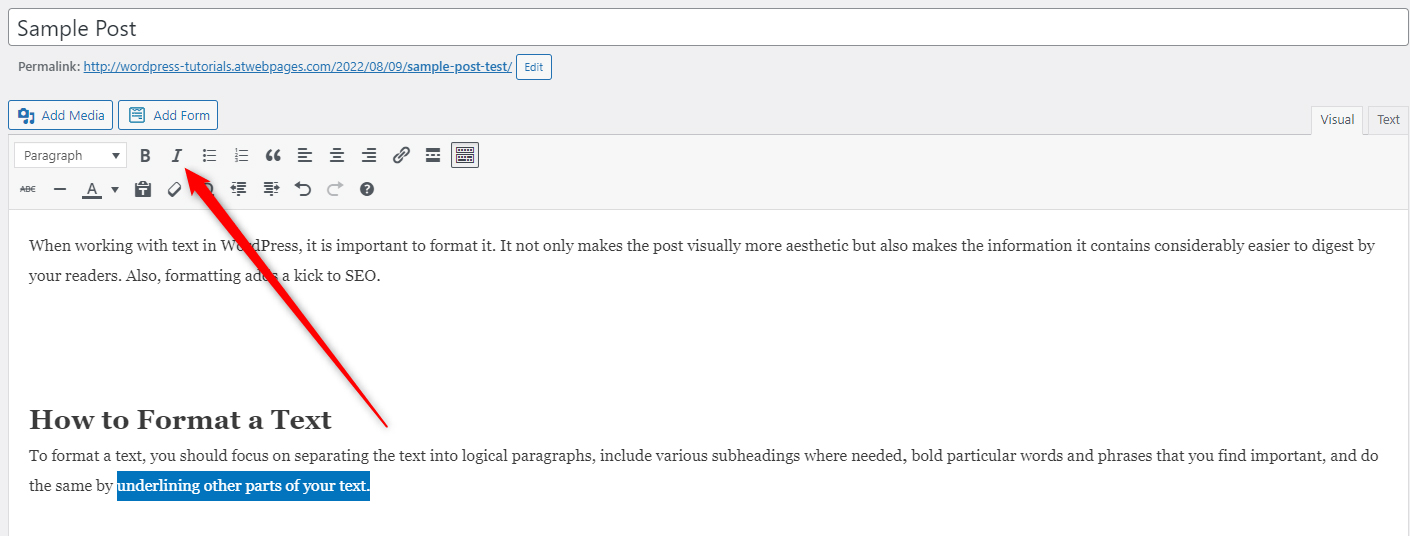
Underline Text For More Clarity
Underlined text is not as commonly used as bolding, but it is nonetheless very handy in numerous situations. If you wish to underline a word, phrase, or an entire sentence, simply select it with your mouse cursor and then press Ctrl + U on your keyboard:

How to Make Text Italic
Making text italic is another great way to show your audience that a word or phrase is important. To do so, select what you want to make italic, select it with your mouse cursor, and head to the top menu where you will find the I symbol. Click it:
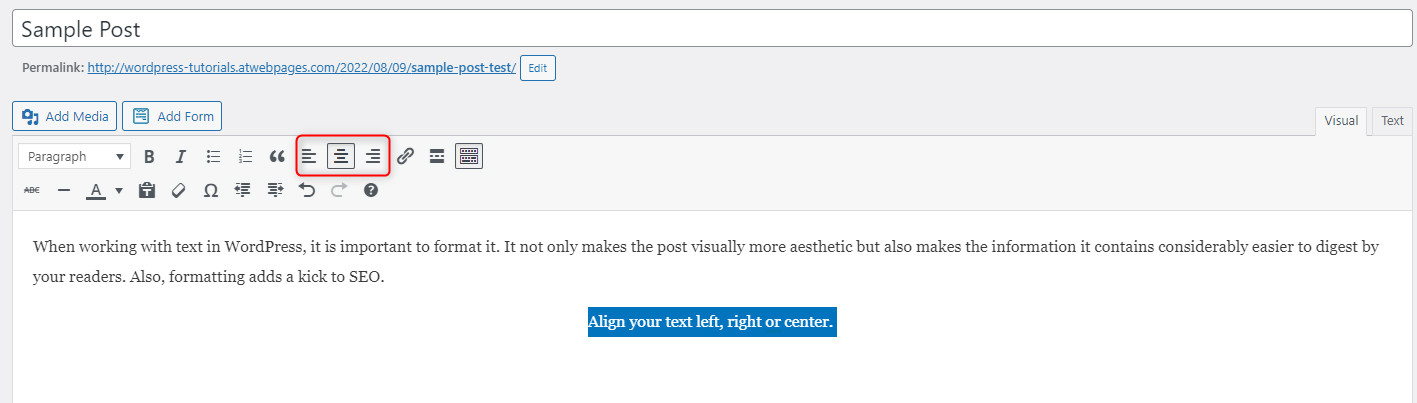
Align Text Left, Right, or Center
For various reasons, you might want your text, or parts of it, to be displayed on the left, right, or in the center. Regardless of your preferences, there’s a quick way to do so.
First, select which part of the text you want to align and select it with your mouse cursor (you can select the entire text if you wish).
Then, go to the formatting menu and notice the Align icons:
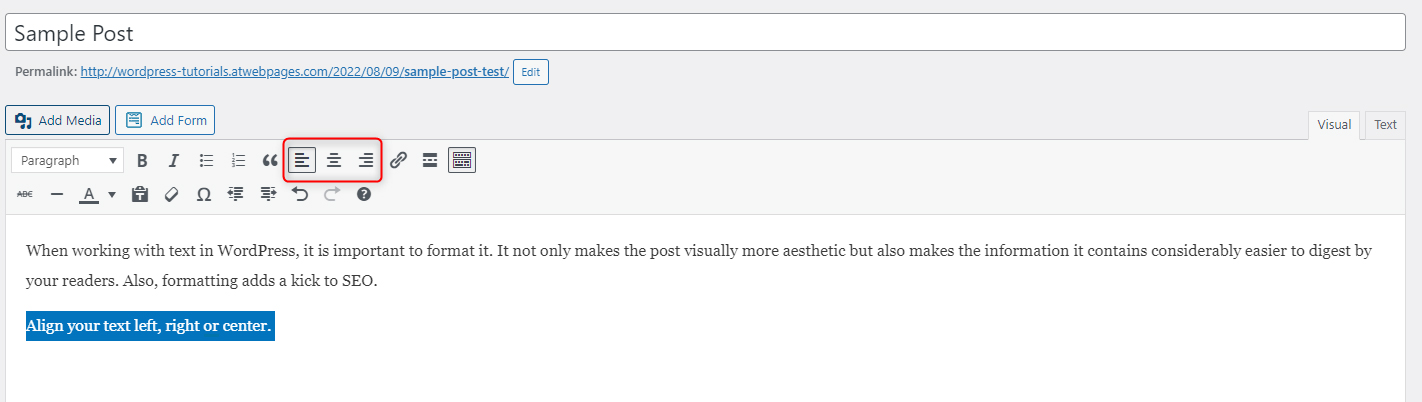
Click any of the options, so you see how your text turns out to be:

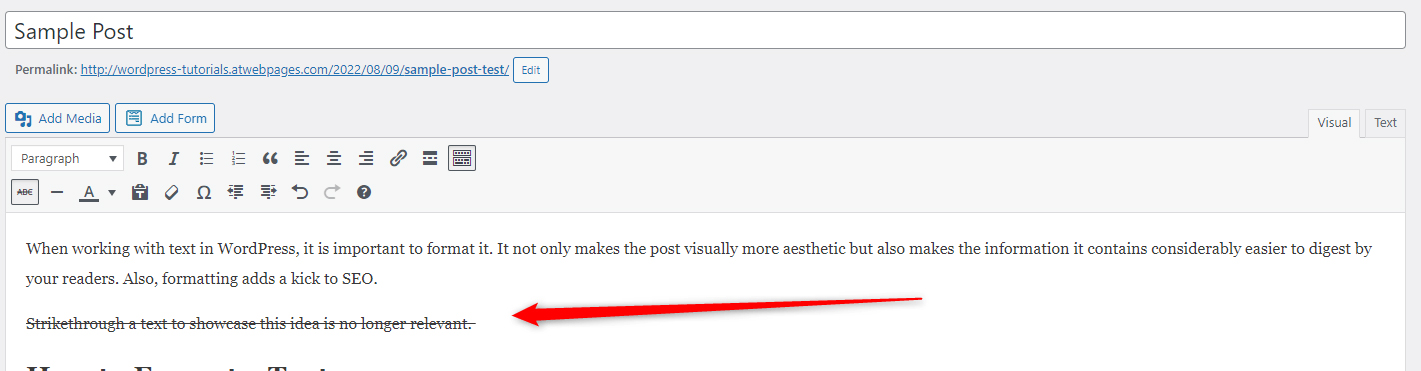
How to Strikethrough Text
Strikethrough is a great way of showing something is no longer true or relevant. To strikethrough a word, phrase, or sentence, select it, and via the formatting options select Strikethrough:

Change the Text Color
There are various reasons why you would want to change the color of your text. Regardless of what they are, you can do so quickly and easily.
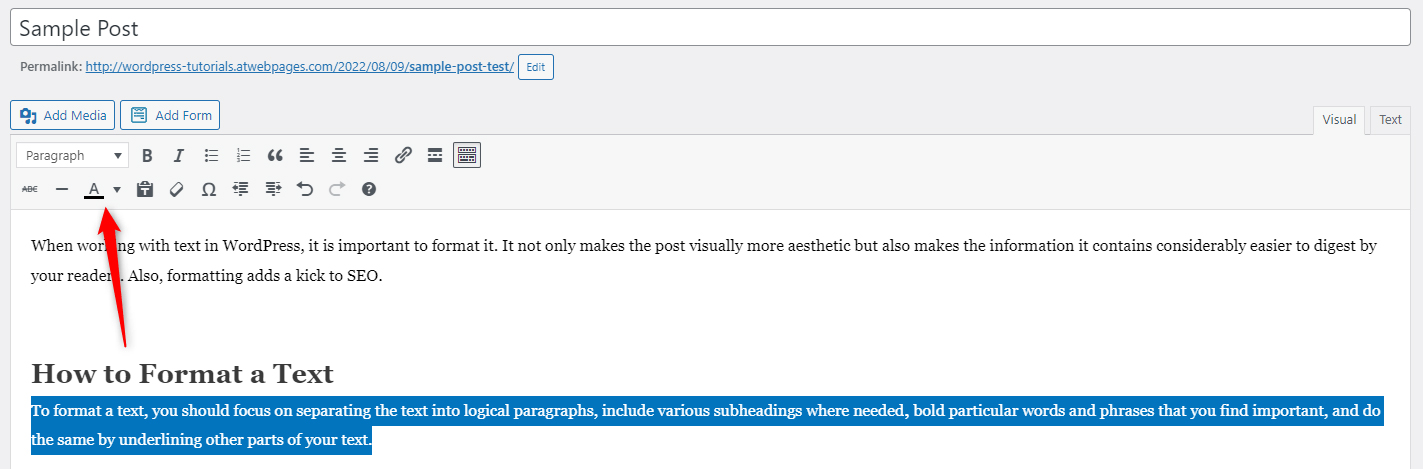
First, select which part of your text you want to work with. You can use a single word, phrase, sentence, an entire paragraph, or the entire text.
For this demonstration, we will change the color of a paragraph:
Once you have selected what you want to change, head to the formatting menu and the A symbol:
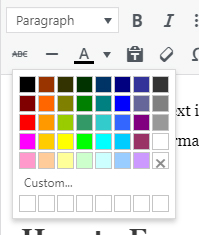
From this menu you can select pre-set colors or create new custom ones and select whether to change the color of your text:
Once you’ve chosen your color, select it by clicking on the A symbol. This will change the color of your text:
Highlight Text for Focusing Attention
Highlighting text remains one of the most popular and effective approaches to grab the attention of your readers. Vastly used to showcase various promotions and offers in online stores and interesting facts in blogs, this technique can be seen in numerous types of WordPress websites.
Because of how popular highlighting is, we created a separate article explaining how to use it on your website. Check it out:
How to Highlight Text in WordPress
Insert a Permalink in Your Text
Adding permalinks in your publications is a great way to retain visitors’ attention and show them some more relevant articles which they can jump into right away.
To insert a link in your text, select the phrase you wish to feature it. Then, from the formatting menu select the Insert/Edit link icon:
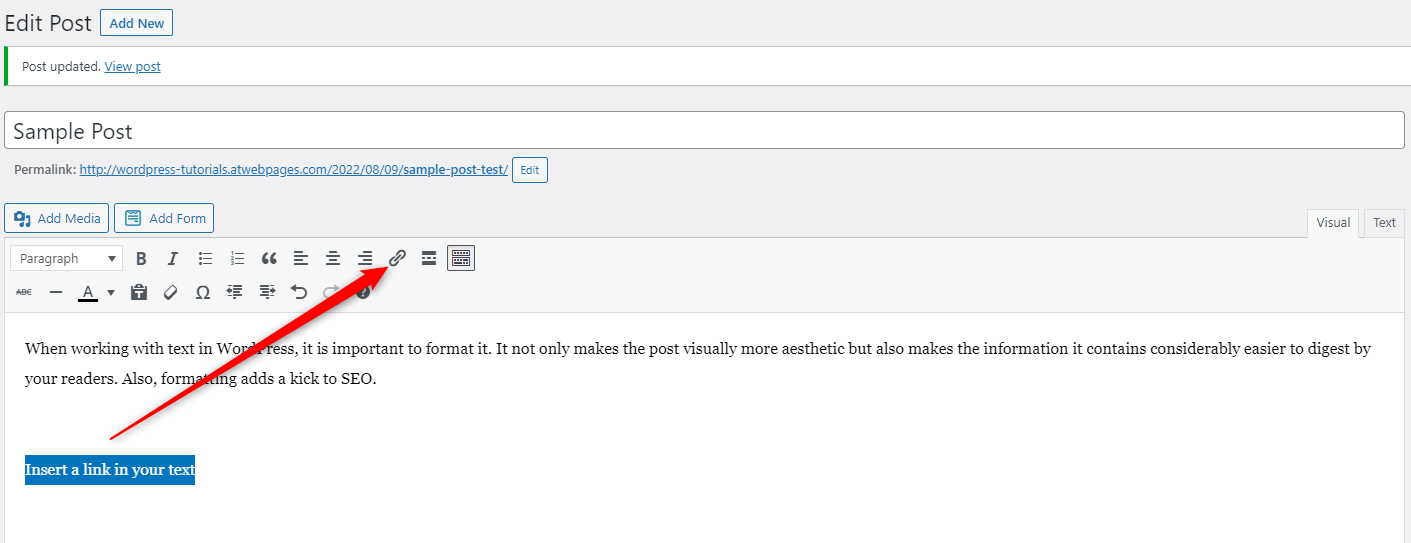
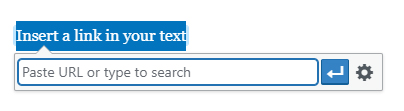
Once you click it, a new text field will appear right below the selected text. There you should place the URL you wish visitors open once they click on the inserted item:
You can also adjust various settings by clicking on the wheel icon. Once you do, a new window with options will appear:
Once you are satisfied with your preferences, click on the blue Add Link button. Once you do, notice how the phrase that contains the link has turned blue and is now underlined:
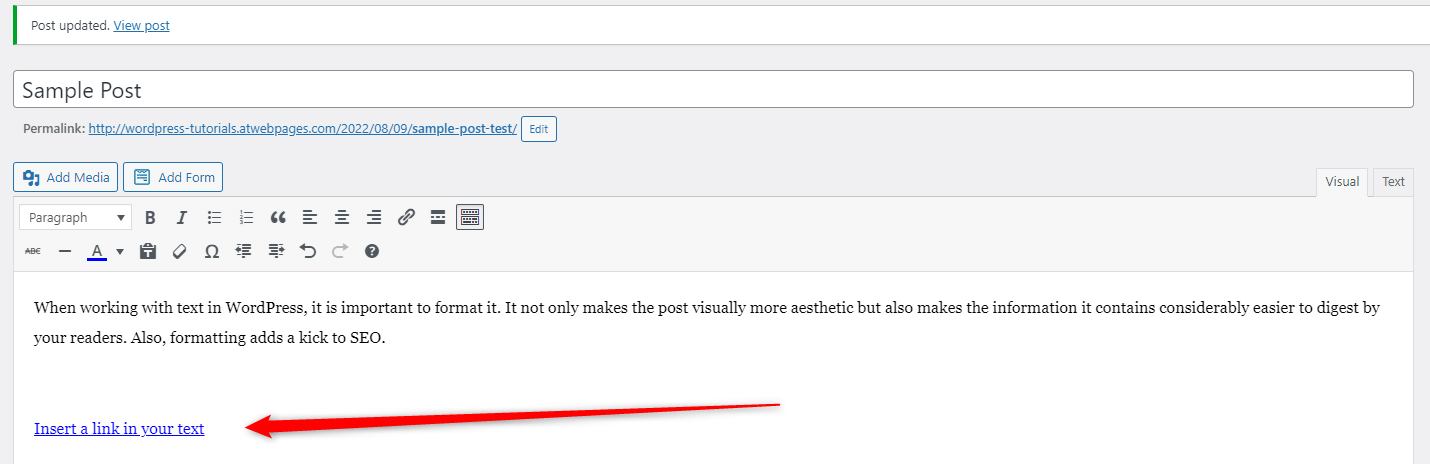
It is also clickable – once you click on it with your mouse, your browser will immediately follow the URL inserted and open the content it leads to.
In another ZETTAHOST article, we follow the process in detail, check it out:
How to Add Links to Your WordPress Posts
Text that contains a link and is clickable is called Anchor text.
You can use anchor texts across your publication, so to direct visitors to other contextual articles, or to other website areas – product pages, Contact Us information, and similar.
Add Bullet Points/Numbered List
Sometimes, the best way of sharing information is by using a bullet or numbered list. These are great for:
- Pointing out various ideas
- Making various kinds of lists
Numbered lists are also very handy to showcase the following steps for a certain procedure. For example, if you wish to create a numbered list, you should:
- Select the option from the formatting menu.
- Star typing down the information you want to be numbered.
- Use the Enter key to separate the different numbers.
Let’s see how this is done in detail.
First, locate both options in the formatting menu, then select whether you wish to use bullet points or a numbered list. Once done, click the icon:
Once clicked, WordPress will make the line on which your text cursor is either a bullet point or a numbered list. Start typing and once you wish to move to the next point/number, simply hit Enter. By doing so, WordPress will move your cursor to the following line and will keep the formatting options, and will follow the numbers automatically.
Once you are finished with your lists, deactivate the function by clicking on the icon.
Conclusion
Formatting is very important, as it gives you the options to make your texts more visually appealing and easier to read – two great advantages that keep your readers interested in your content and willing to get back to your website.
Related: