Maybe it is time to delete your WordPress website – you learn how to build a website, but want to start the process from scratch, or maybe your business endeavor has come to an end, or you simply want a break from building and maintaining websites.
Regardless of the reason, you can quickly and effectively delete your entire site with only a few clicks here and there.
Read how in the following paragraphs.
How to Delete Your WordPress Website
The process of deleting your website is a different one from deleting your web pages and is comprised of two main steps:
- Delete your website content and files via the ZETTAHOST hosting panel
- Delete the database related to your website
However, if you wish to save your site content without showing it across the web, you can always backup your WordPress site. By doing so you can still remove your site from the Internet and the hosting server, but you will always have a saved copy you can use in case you wish to publish your pages on the Internet again.
Delete Your Website Content and Files via the ZETTAHOST Hosting Panel
First, you should delete all the files that comprise your WordPress site.
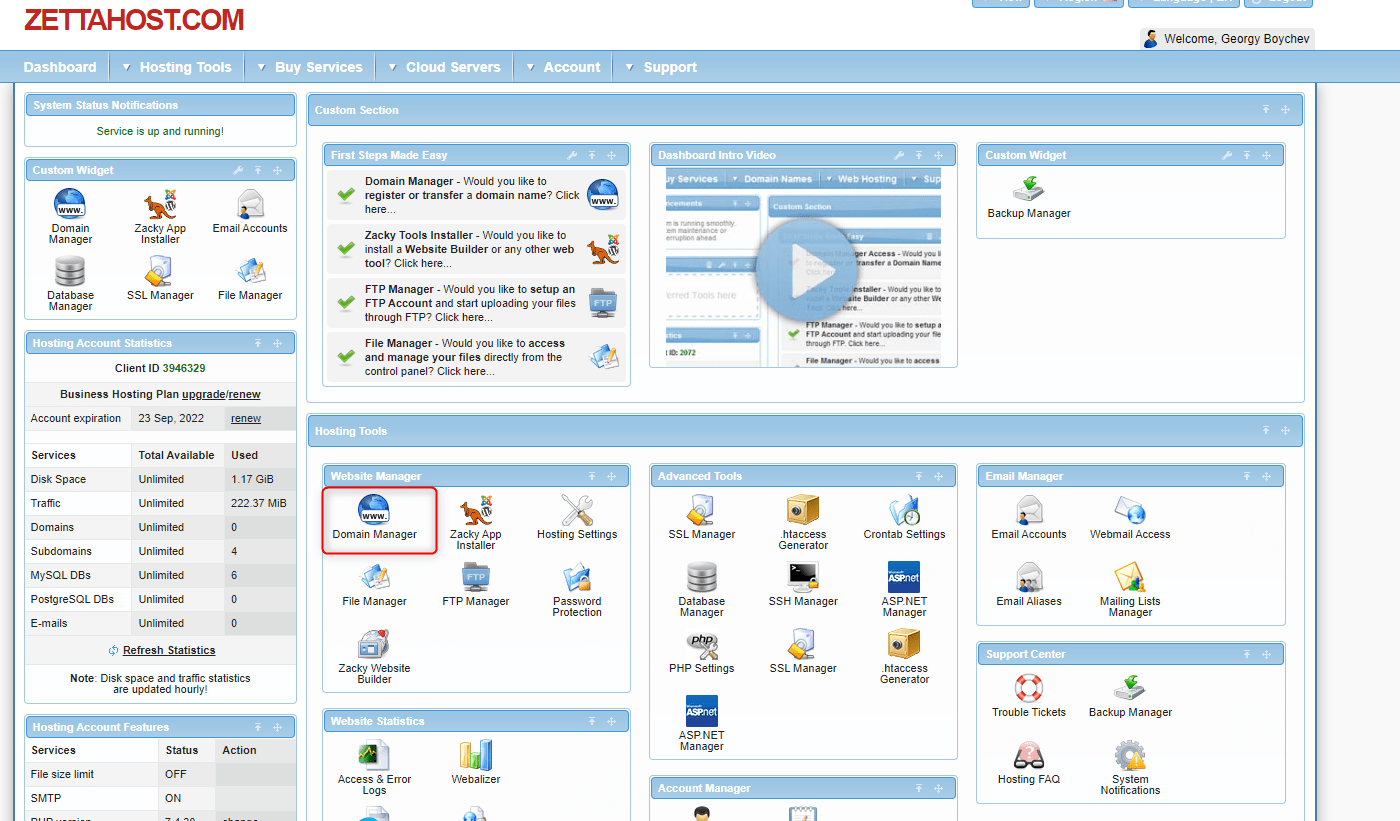
To do so, enter the ZETTAHOST panel.
Then, head to File Manager and find the folder bearing the name of your website.

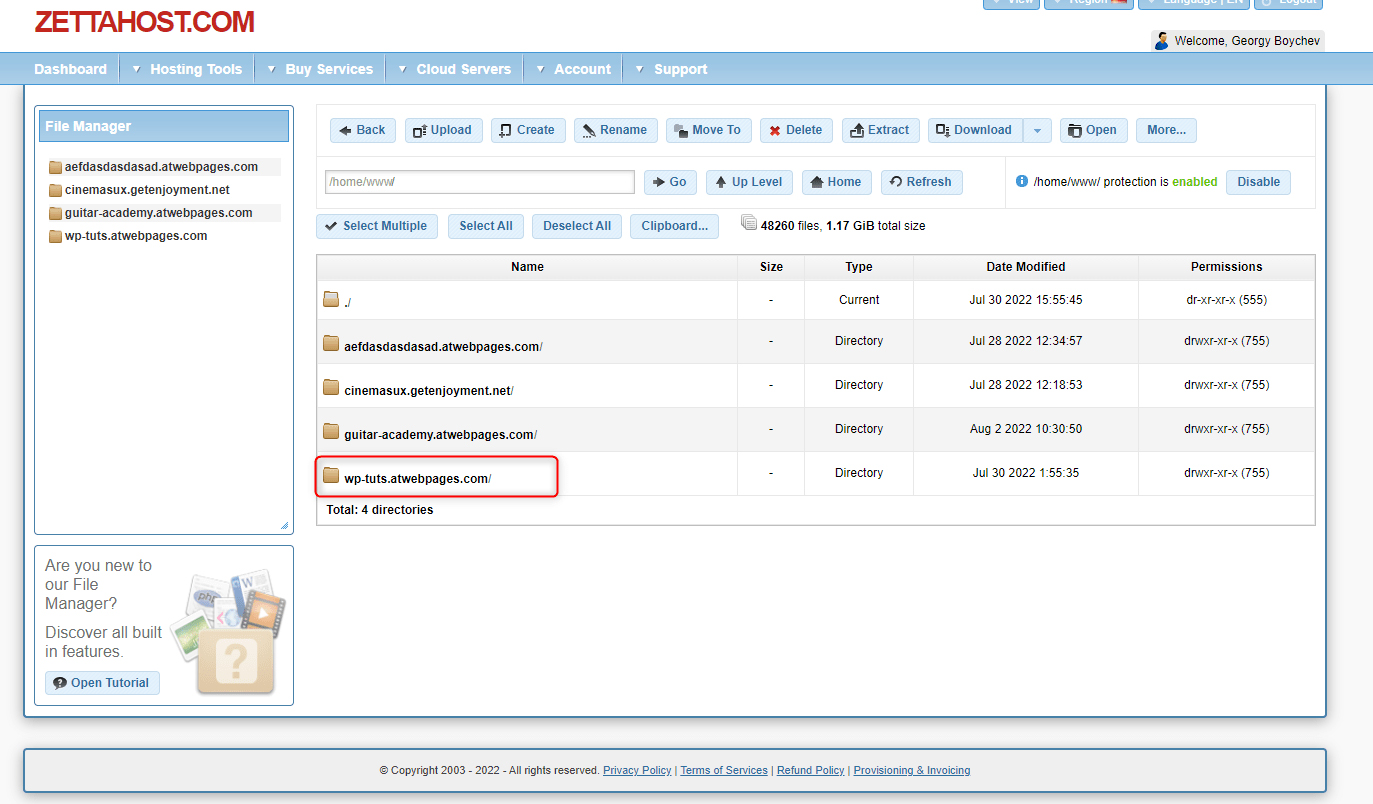
Then, open this folder. Inside, you will find all files comprising your website:
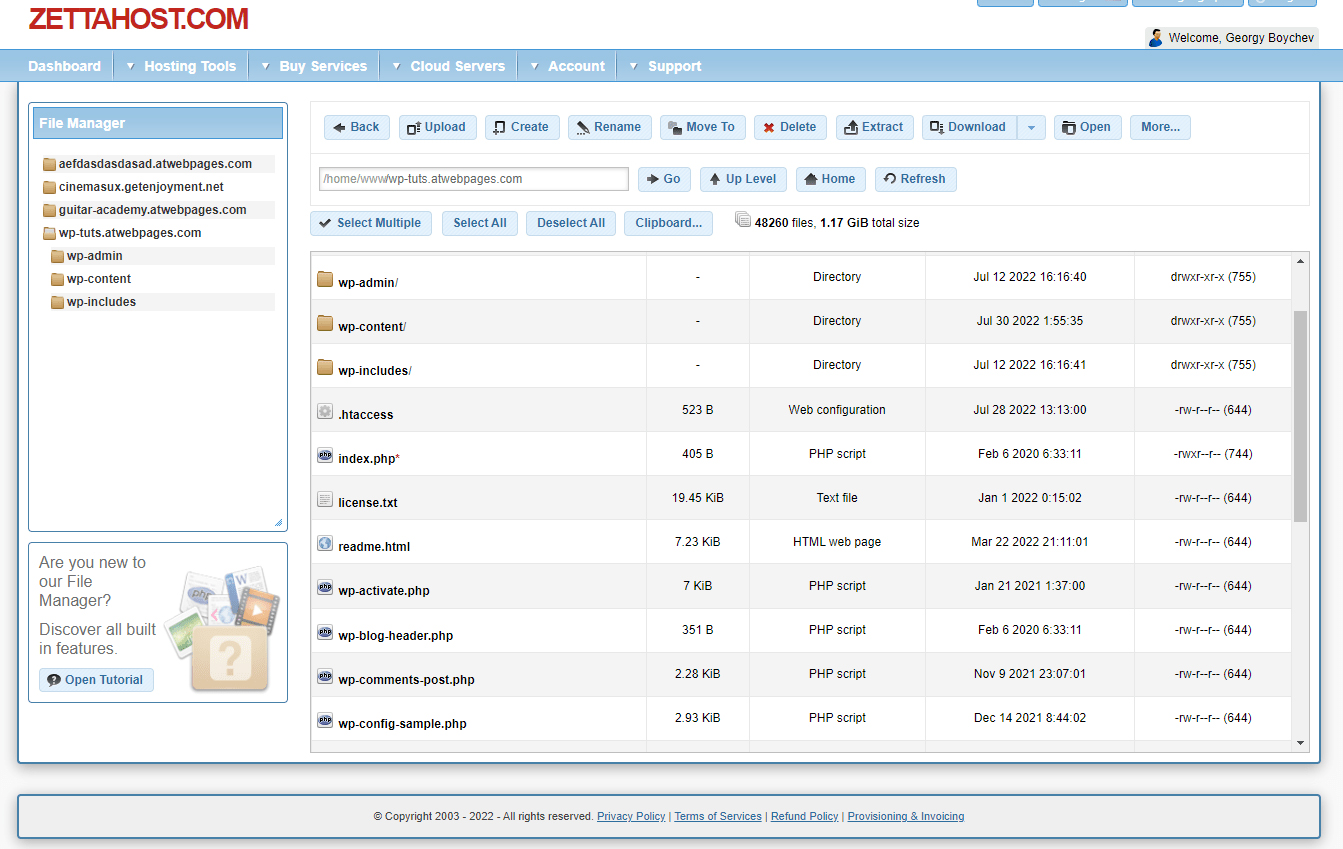
To delete your website, select all and delete them. The fastest way to do so is by clicking Select Multiple->Select All->Delete:
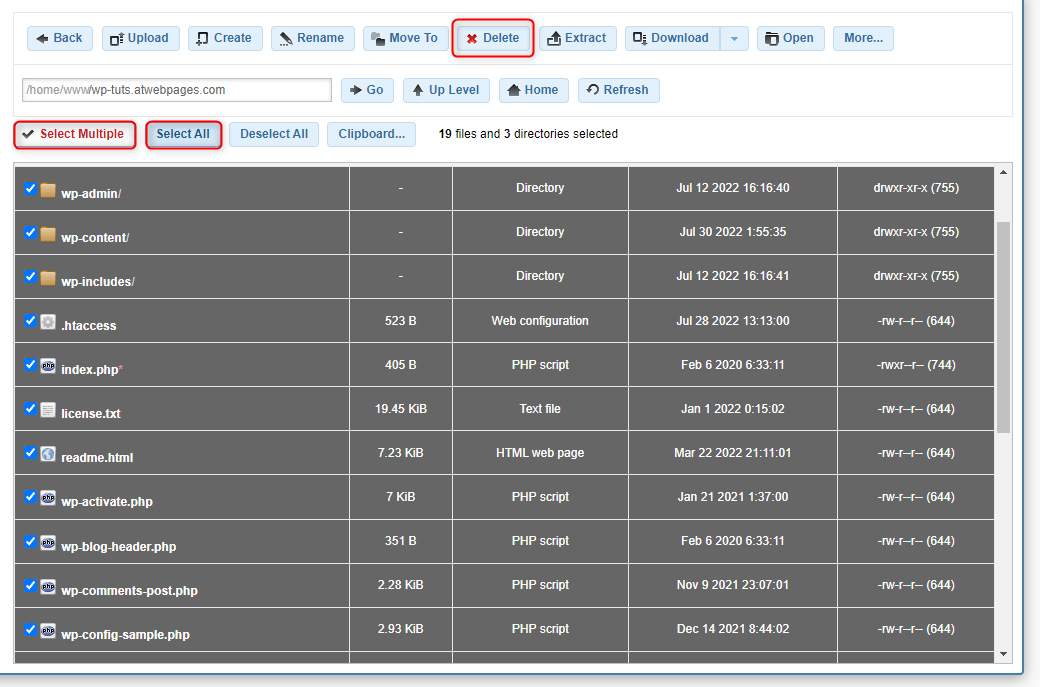
Then, wait a few moments until the process is finished.
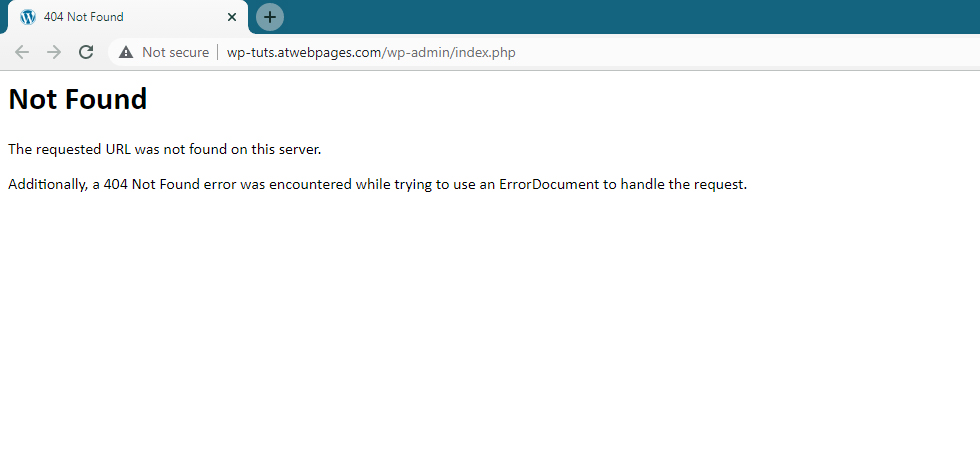
Now, you’ve managed to permanently delete all your site files and content. Now, if you or any other Internet user tries to open your site, this is the message that will be permanently displayed:
Delete the Database Related to Your Website.
The site database is the system that contains some technical information for your website, for example, a list of user names and passwords.
In most cases, websites are linked to a database, and if you wish to completely wipe out any information about your site, it is best to delete the database related to this site.
To do so, once again enter your hosting panel.
Then, go to Database Manager:
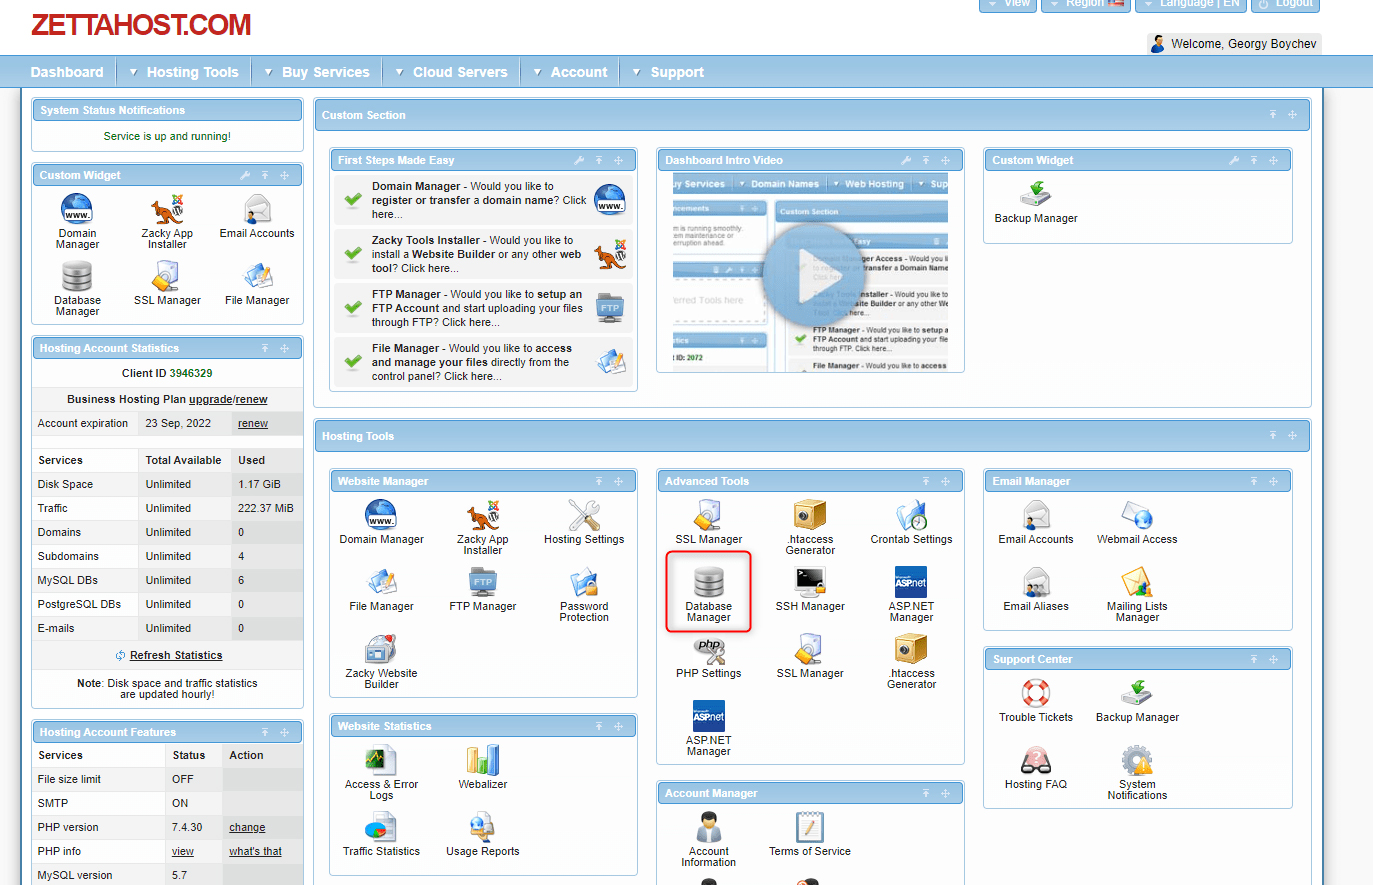
Once you open the page, you will see a list with already working database structures:
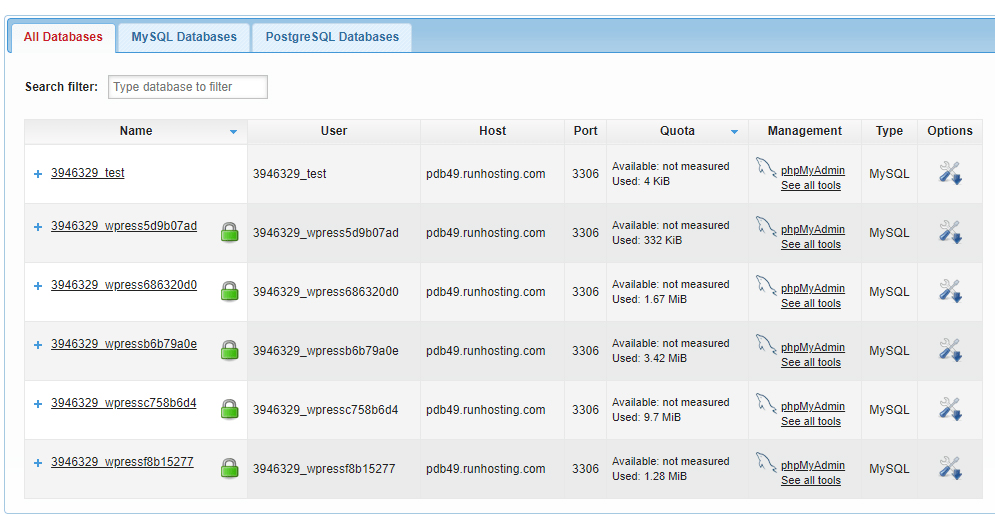
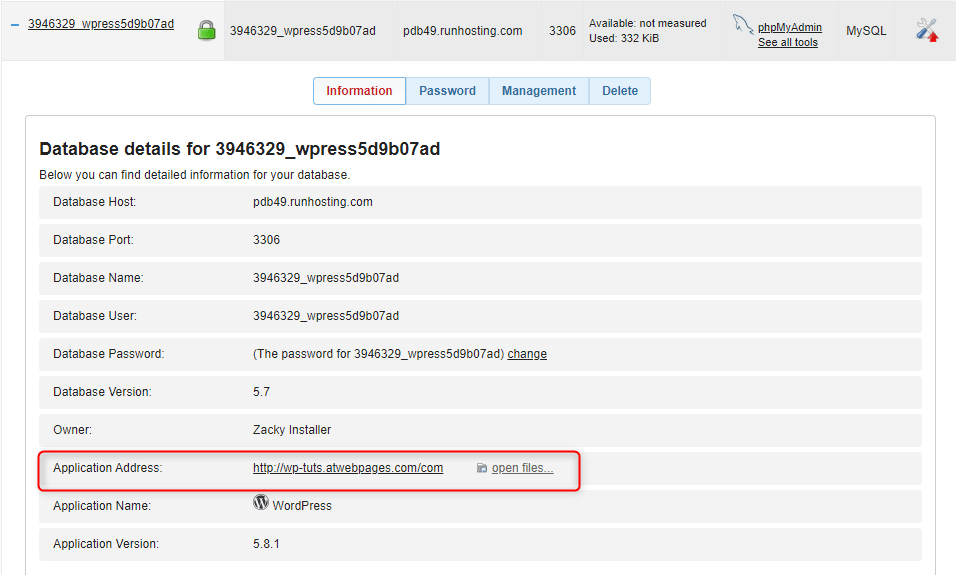
Find the one that is related to the website you just deleted. To do so, simply look at which one contains the same domain name:
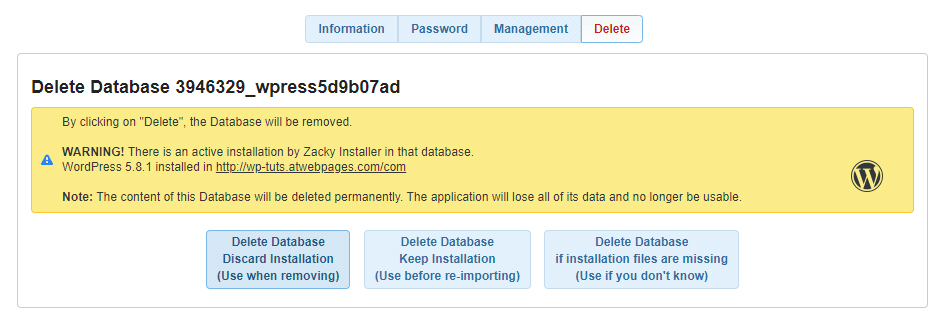
When you have found it, simply click on Delete at the top of the page. This will delete the username and database related to that domain name:
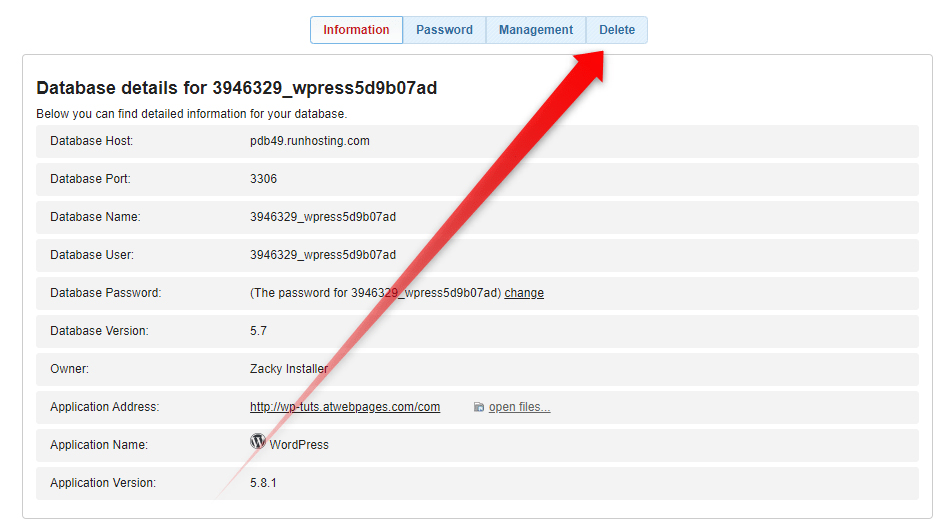
A warning message with three options will appear. Click on the third one – Delete Database if installation files are missing:
When the process has finished, you will have completely removed your website from the Internet.
Bonus Step: Delete Your Domain Name
When it comes to the domain name, you can either delete it or leave it, so you can use it with new site-building projects in the future.
If you decide to delete it, here’s how to do so:
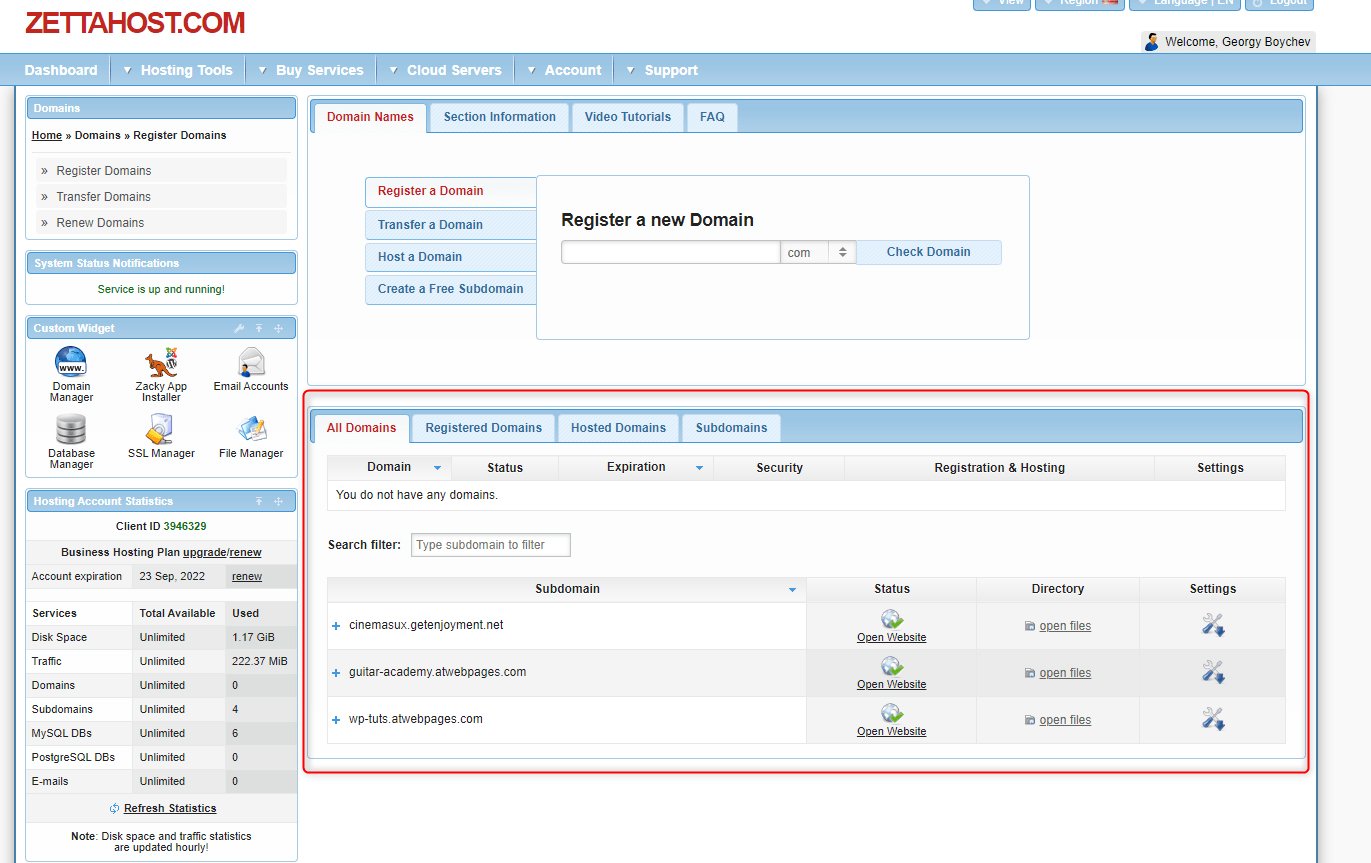
Via the ZETTAHOST hosting panel, click on Domain Manager:
You will see a list with all your registered domain names:
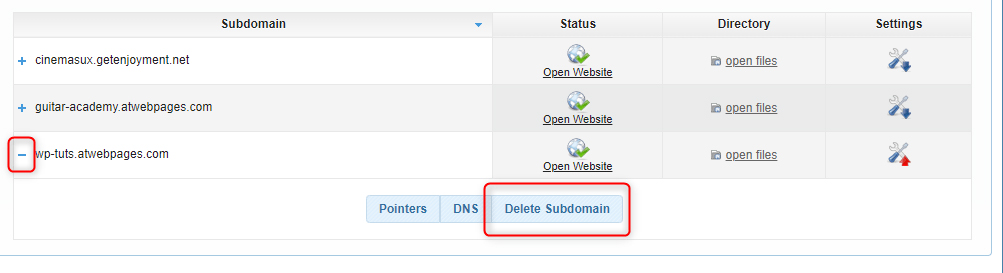
Now, locate the one you wish to delete, and click on the “+” symbol right on the left of the domain name. This will show a new menu. From there click on Delete Subdomain:
You will be prompted to confirm deletion:
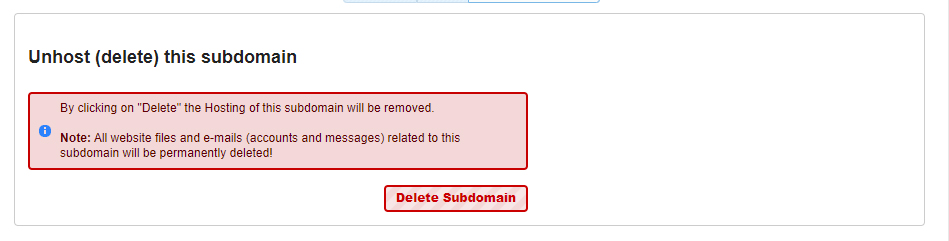
Once you click on the red Delete Subdomain, the system will begin the process.
Now, you have completely deleted your website and everything it contained from the hosting server and the web.
Conclusion
Sometimes, you would want to delete your website from the hosting server and the Internet. Regardless of the reasons behind your decision, it is always a good idea to know how to do so.
Related: