If you wish to launch a blog and are not sure how to proceed, then this article is for you.
Although intuitive and user-friendly, WordPress can also be overwhelming for new users, as it comes with tons of features and options that can discourage users from using the platform.
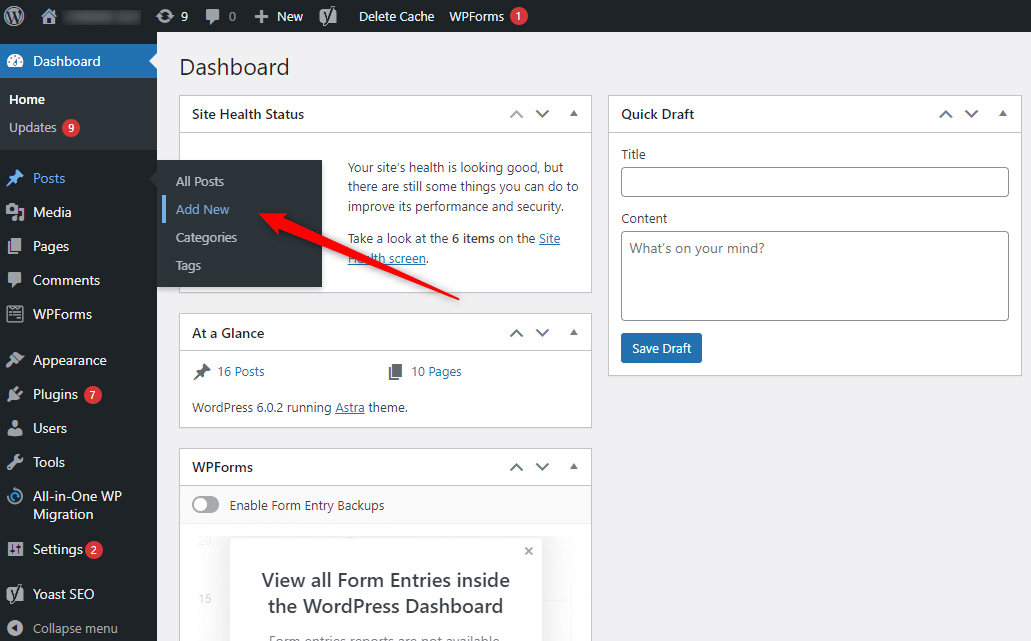
When you learn how to use WordPress, you will eventually want to try out how the blog section works and how it is created.
This is why, in the following paragraphs you will read how to create, modify and publish a blog post step by step.
How to Add Posts in WordPress via the Classic Editor
Before we proceed, you should know that for this demonstration we will be using the WordPress Classic Editor. In another article, we discuss how you can manage your blog via the WordPress Block Editor.
To access the post creation page, via your WordPress dashboard go to Posts->Add New:
This will open the page with all the tools you need to create, modify and publish a blog post:
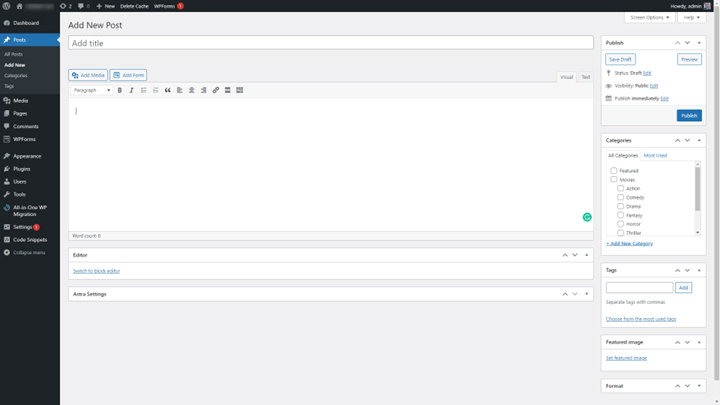
Let’s see what is what on this page:
- Type down the heading of your post here.
- This is the section in which the main content of your post is created. Here you include text, photos, other media items, links, and everything that comprises your blog post.
- This is the Publication Settings box – from here you can save drafts, publish and schedule your posts.
- Category box – from this section, you select which categories this post will belong.
- Like the categories section, from here you choose suitable tags for your post.
- This is the box that allows you to include a thumbnail (featured image) for your post.
These are all components of your blog section. If you want to find out more about them, then check out our article which explains everything in detail.
Now, to start building your post, think of a heading, and then add some text:
Then, add some subheadings above some of your paragraphs – by doing so you can separate different ideas and topics, and also you will make the post look visually better:
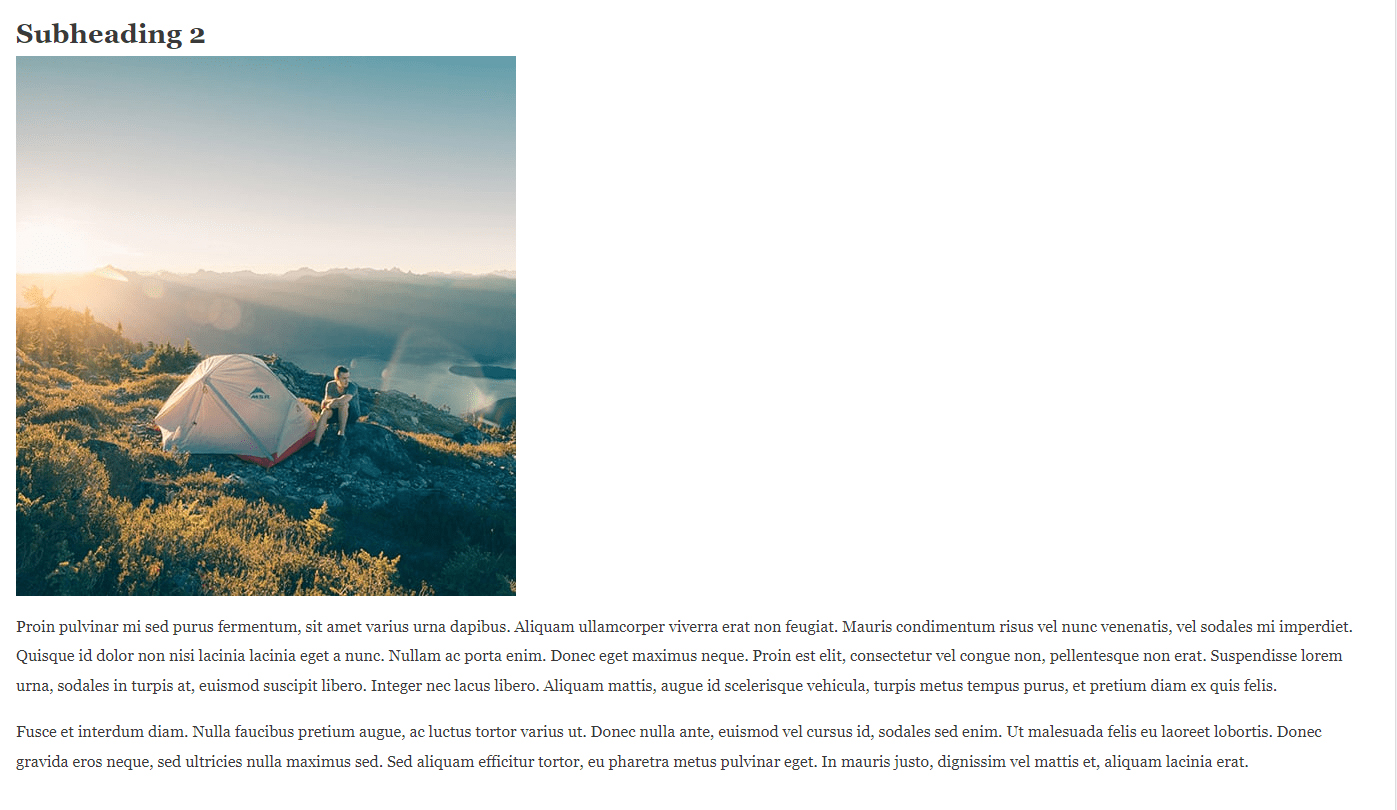
Then, add some images for even greater visual impact. Do so by using the WordPress Media Library. If you are not sure what this is, learn more about the Media Library.
For this demonstration, we added an image right below each subheading:
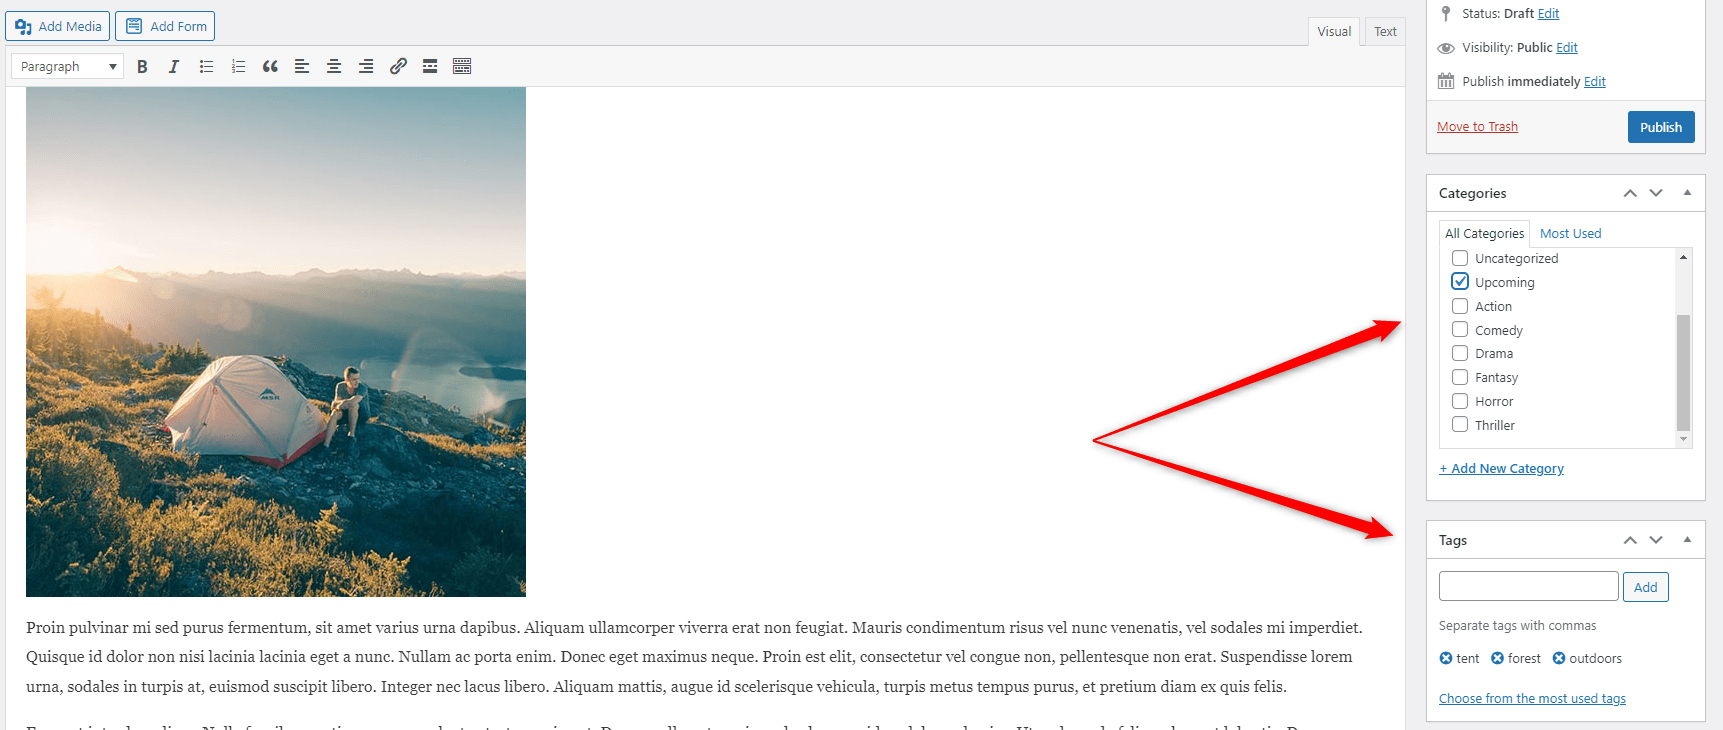
Then, add the categories and tags to your article:
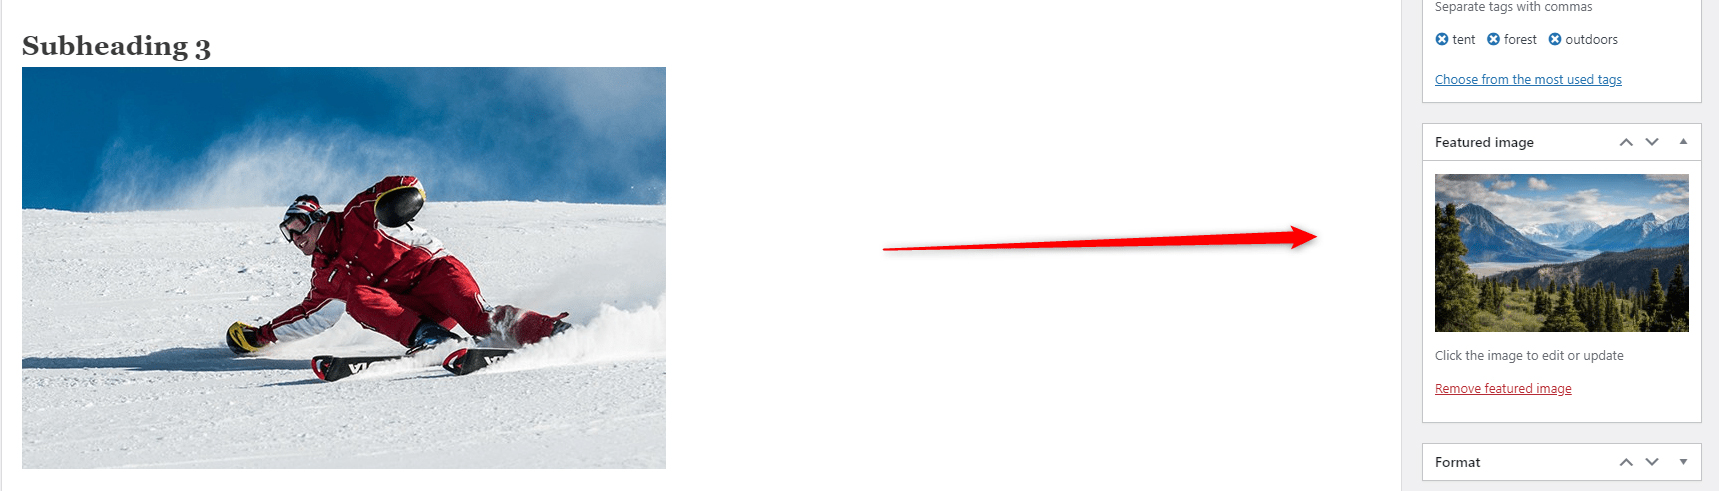
After that, add a featured image. It will help your visitors associate this image with the article:
If you want to know more about the featured images, then check out what are thumbnails in WordPress and how you can edit them.
Now, after you’ve added everything needed for your post, head toward the Publication options box:

Via this panel, you can either save your work and return later to finish it by clicking Save Draft, see how the post turned out to be without publishing it via the Preview button, or simply publish the piece via the blue button. Also, via the Publish immediately section within this box, you can schedule the post for a later date – once the due time has come, WordPress will automatically publish your post.
Conclusion
Adding a Post in WordPress is quite an easy and straightforward process. Along with being informative for your visitors, a blog section can also be very fun for both you and your audience.
Related:
- WordPress Basics Pt.1
- How to Change Author in WordPress Blog
- How to Add Instagram to WordPress
- What is an Anchor Text in WordPress