In this article, you will understand how to create and include a menu in different sections of your site.
The process is divided into two main segments:
- Creation of a menu
- Including this menu in a particular section of your site.
How to Use the WordPress Menus
We will start with the first phase and create a menu. To do so, you should first open your Menus panel.
How to Create a New Menu
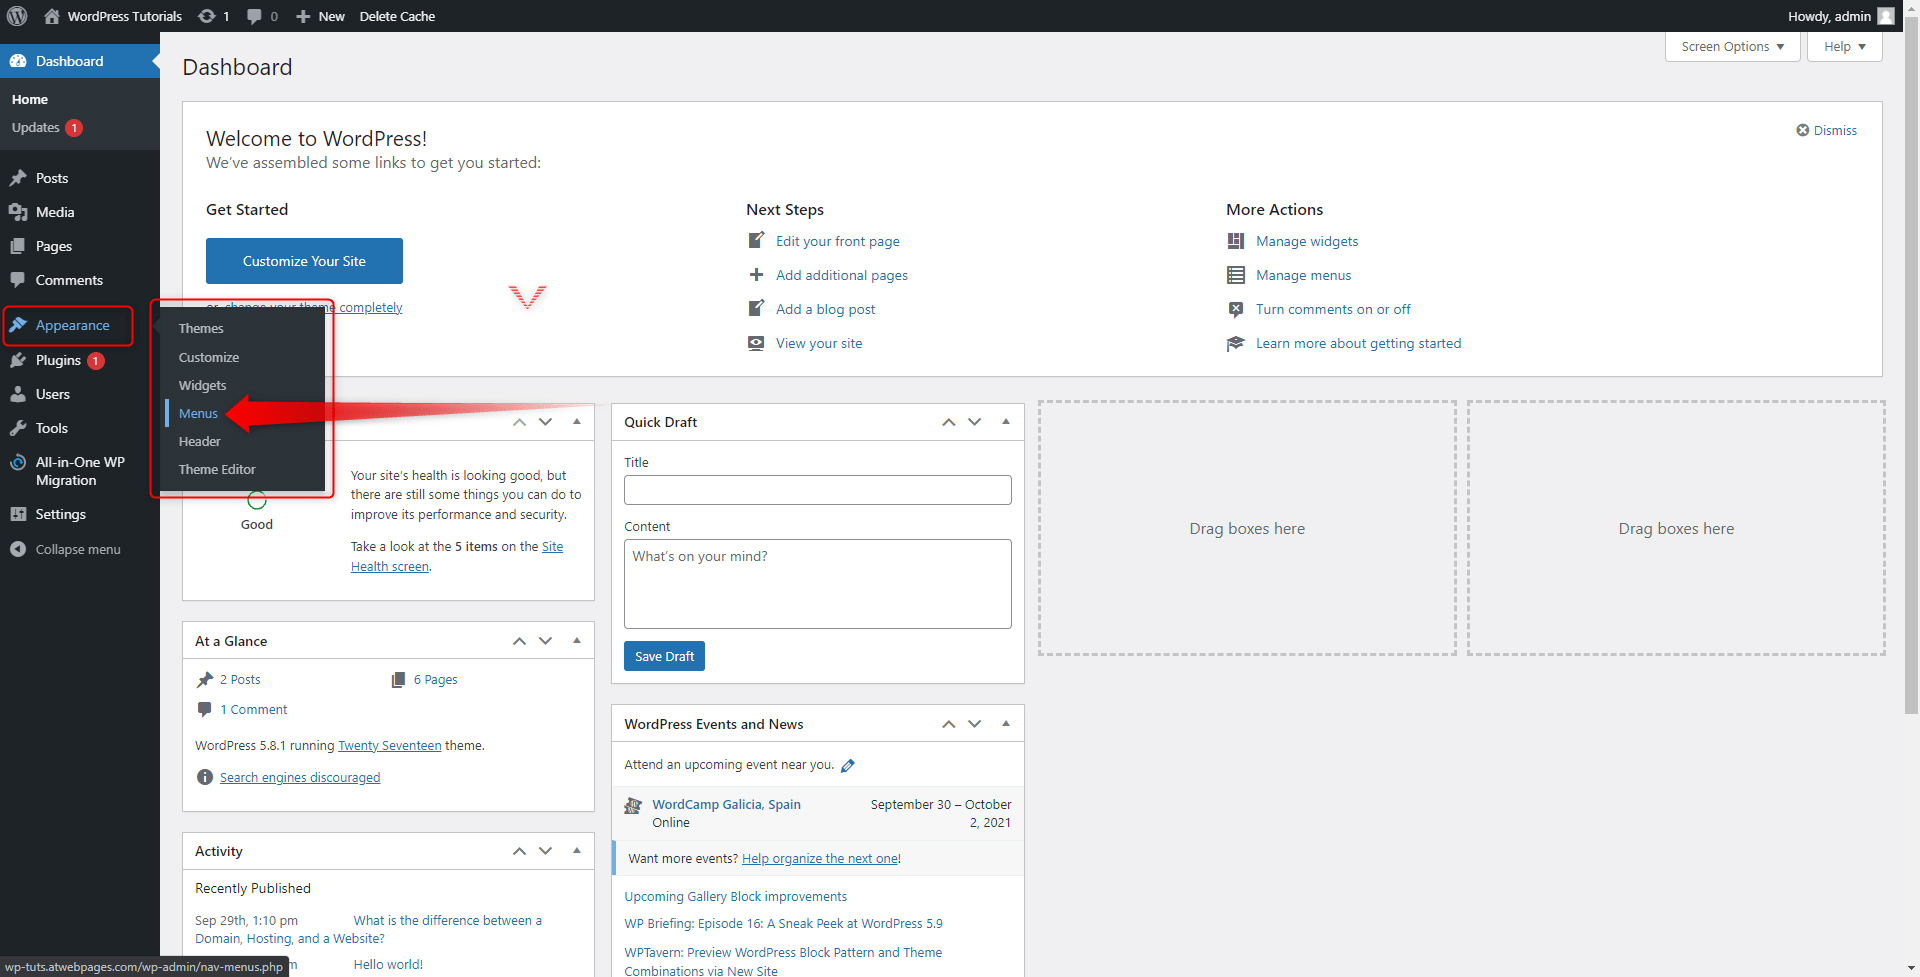
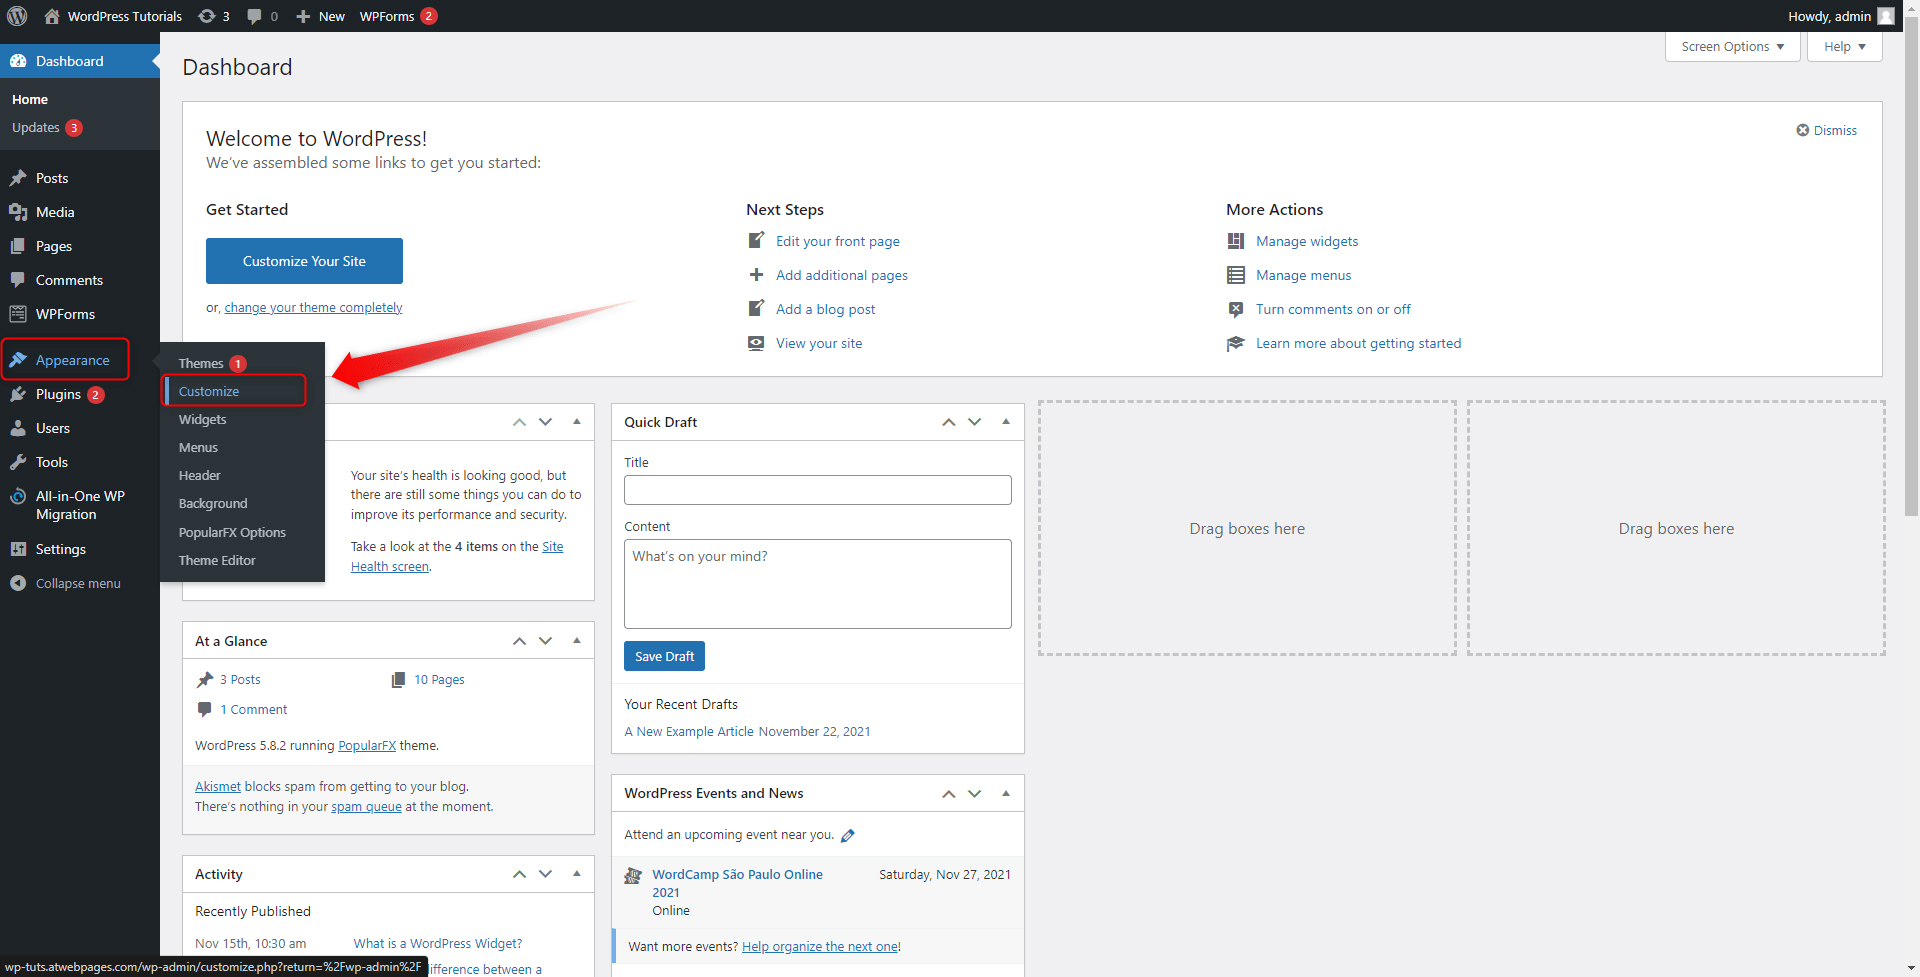
Step 1: To access the Menus panel, enter your WordPress Admin Panel and head towards the Appearance menu located in the Sidebar, and then choose the Menus option:
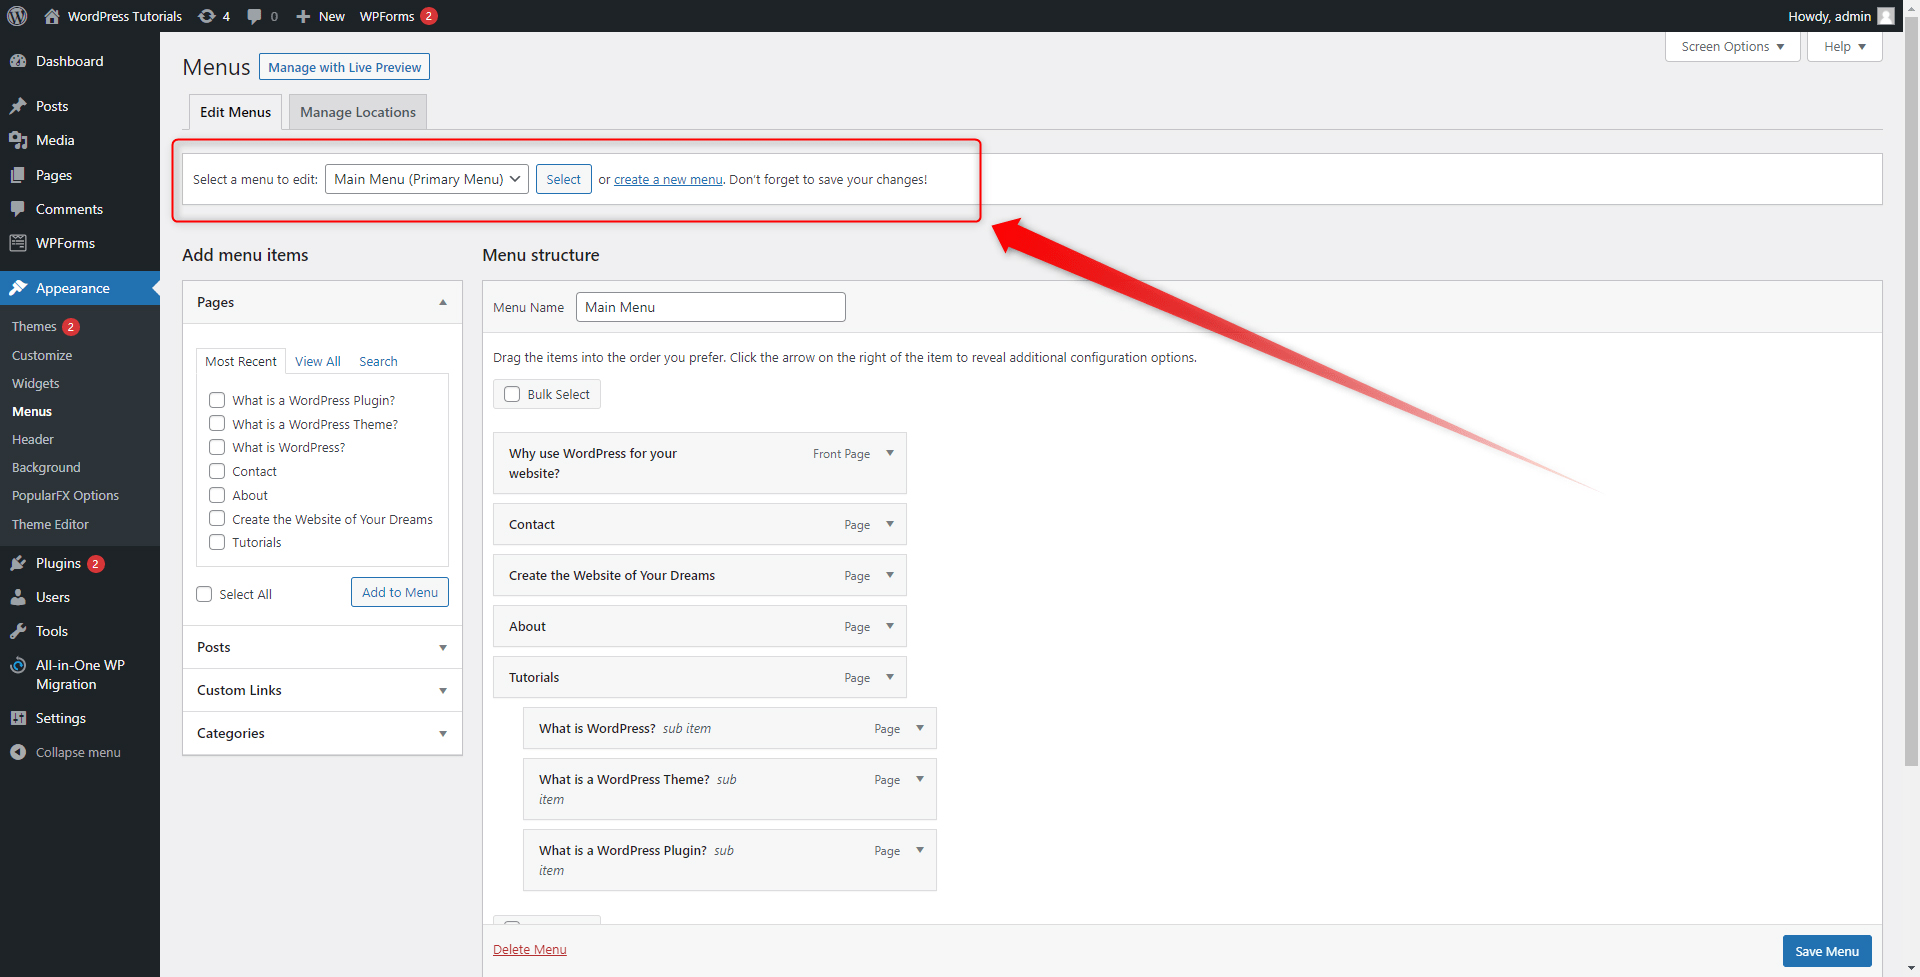
In the new page, notice the button that allows you to choose whether you wish to edit an already existing menu, or you wish to create a new one from scratch:
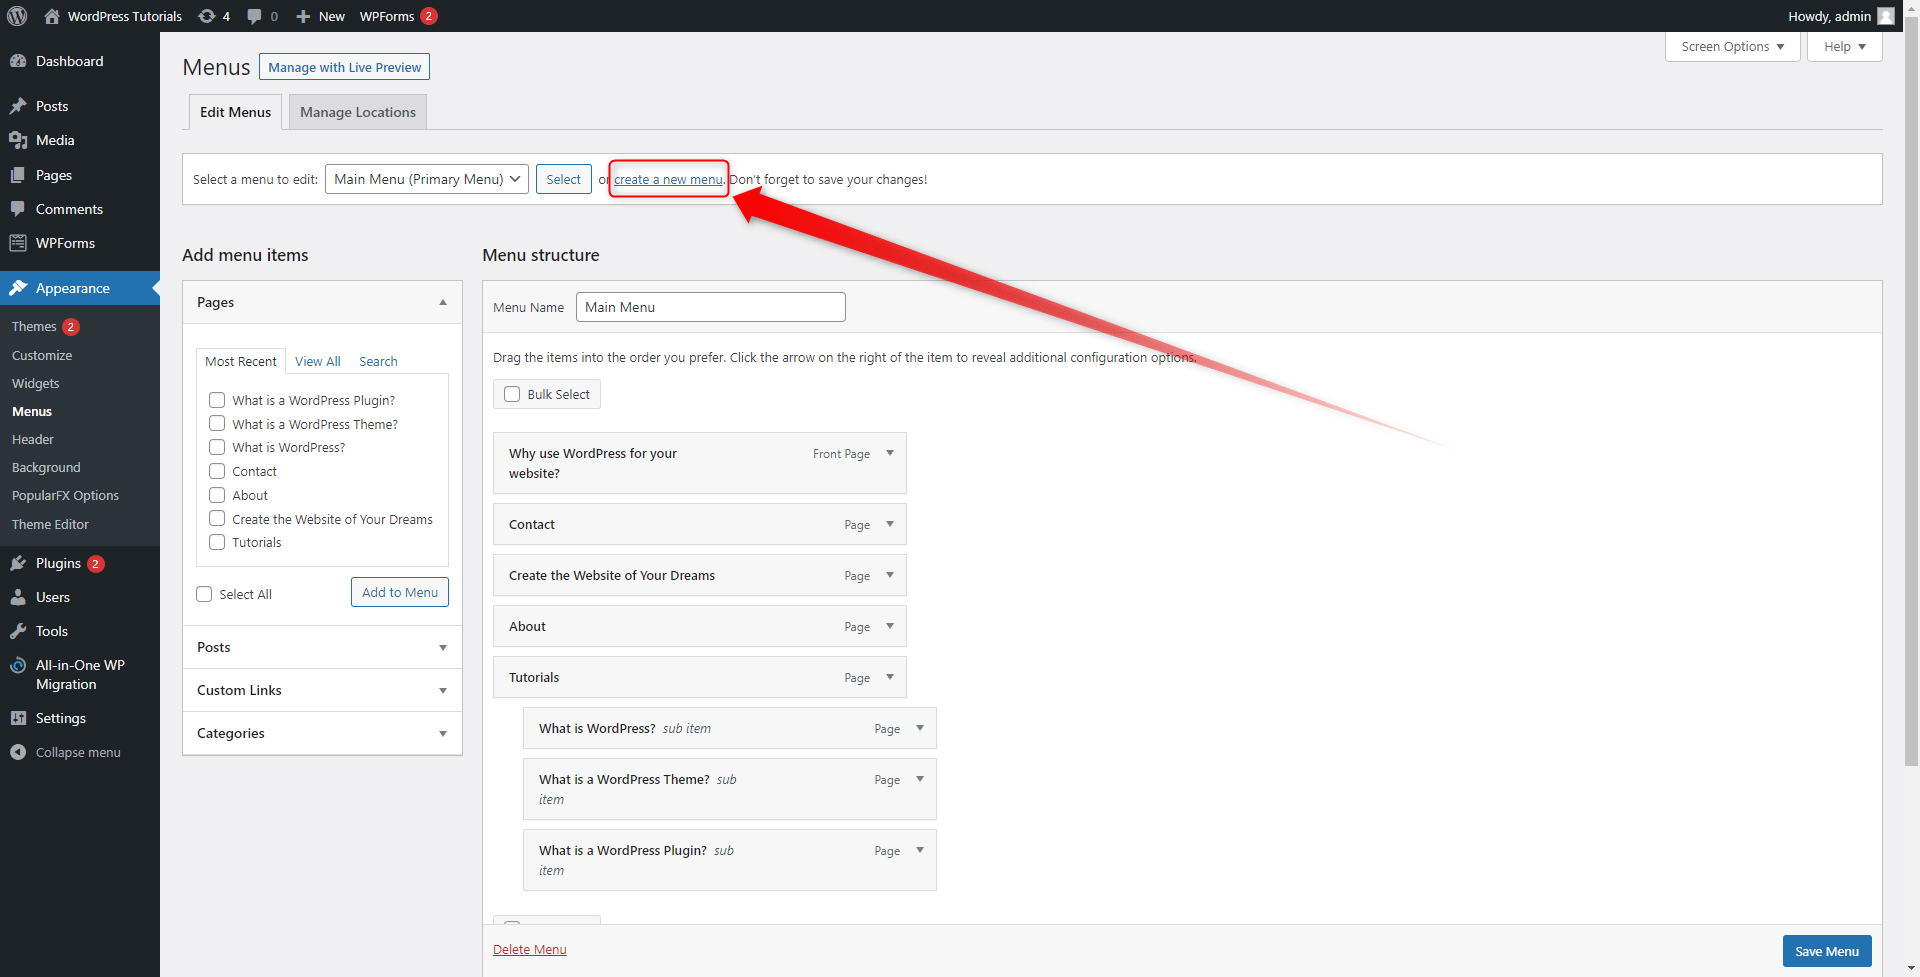
Since we are aiming to create a new menu, click on the blue “create a new menu” text:
This will open the page via which you will start the creation process:
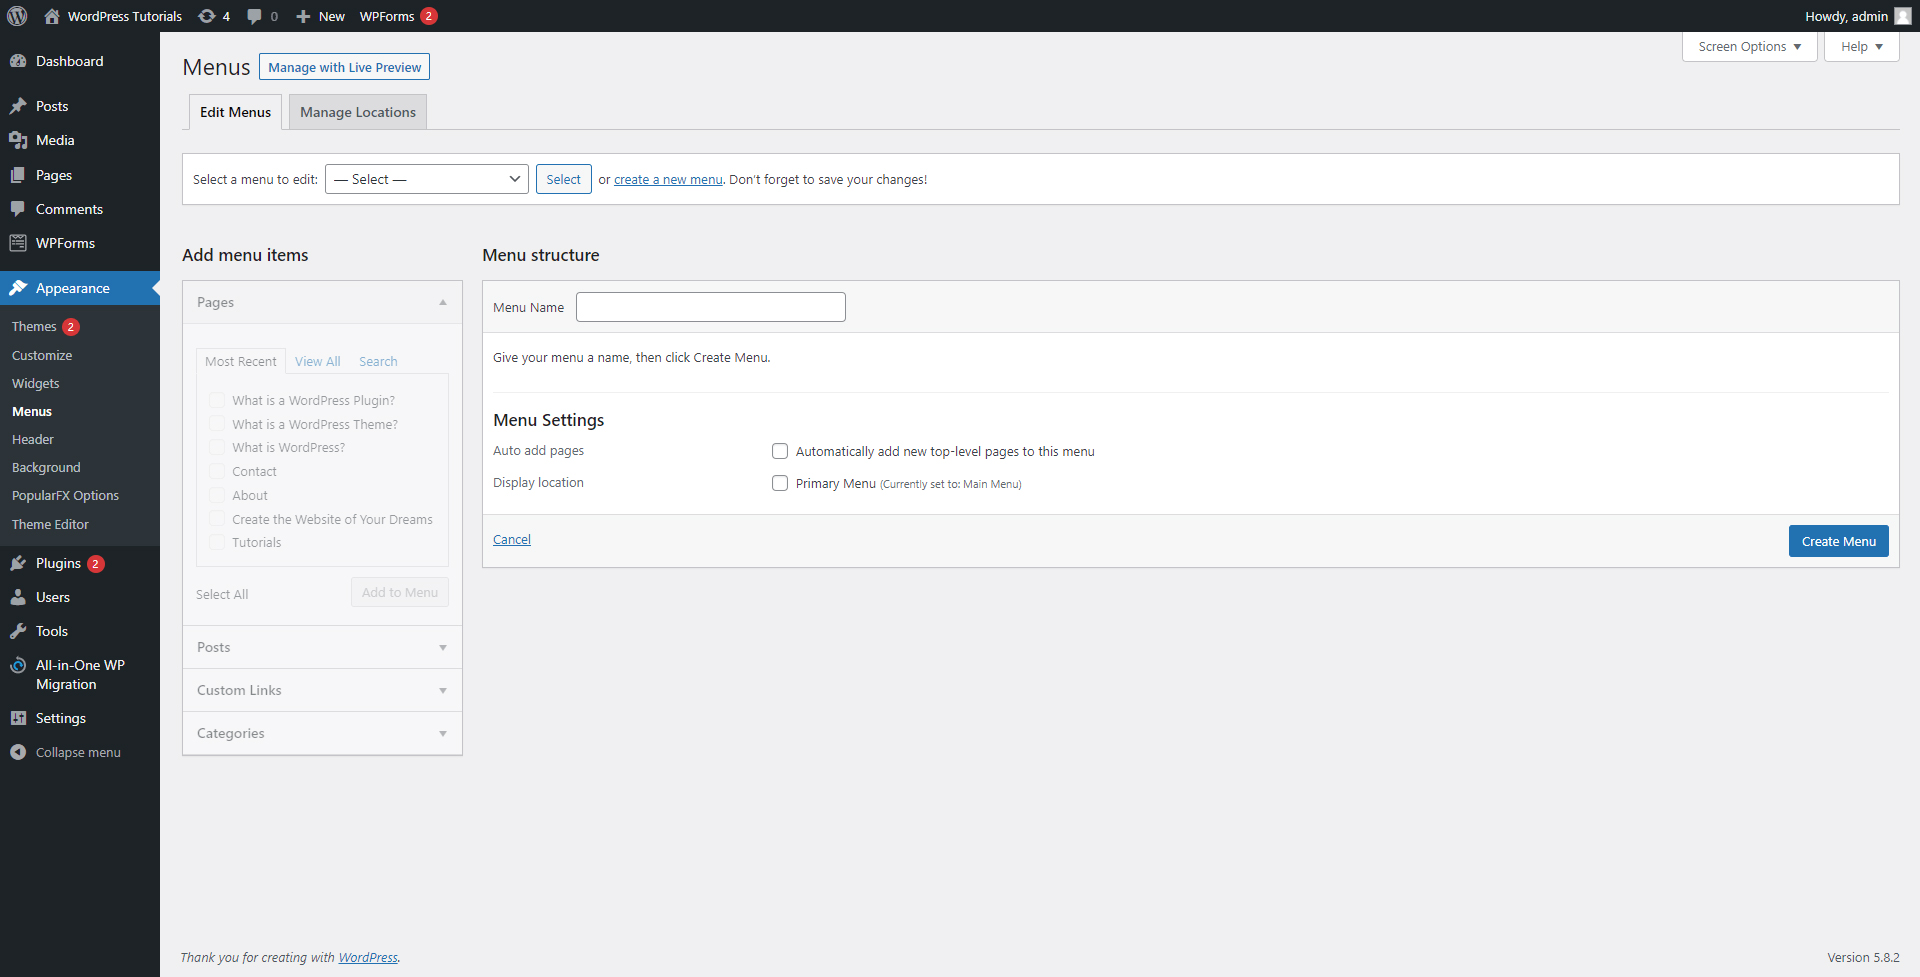
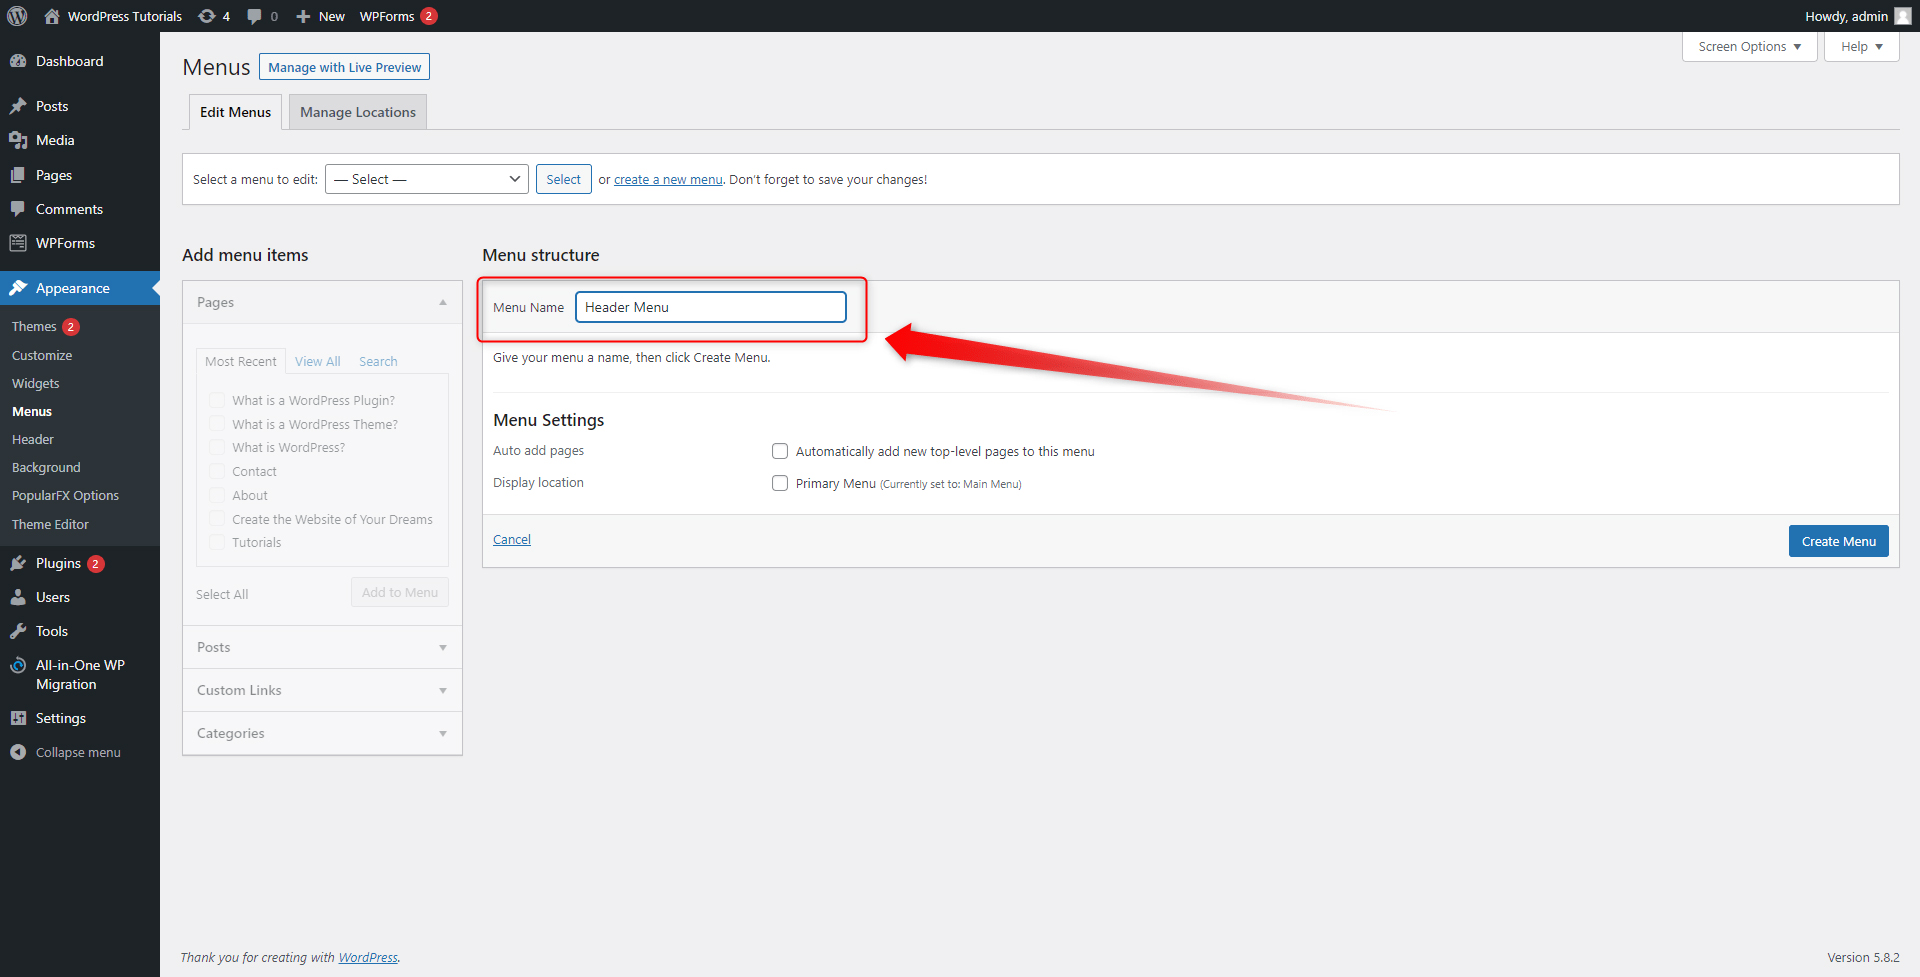
To be able to use all the options, think of a name for your menu. As a rule of thumb, name it after the section in which you wish to place it – for example, a “Header Menu”, or “Footer Menu”:
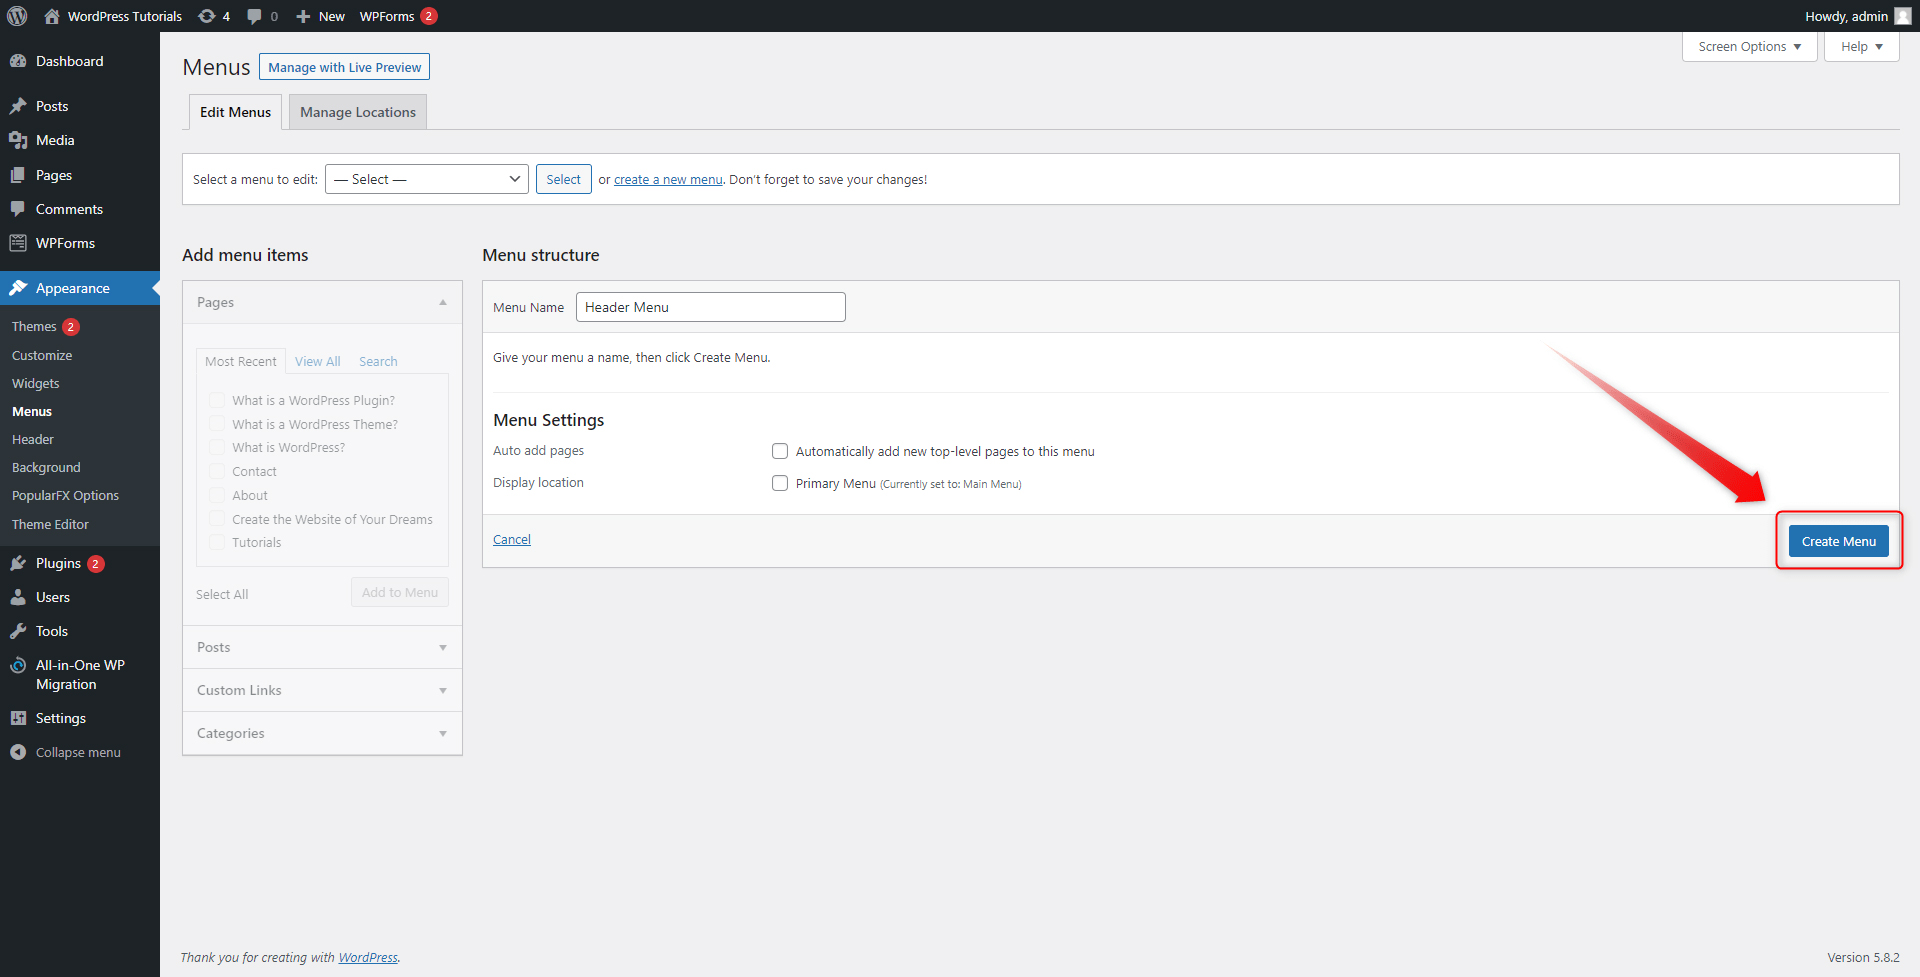
Now, click on Create Menu on the bottom right. This will create and save your new menu:
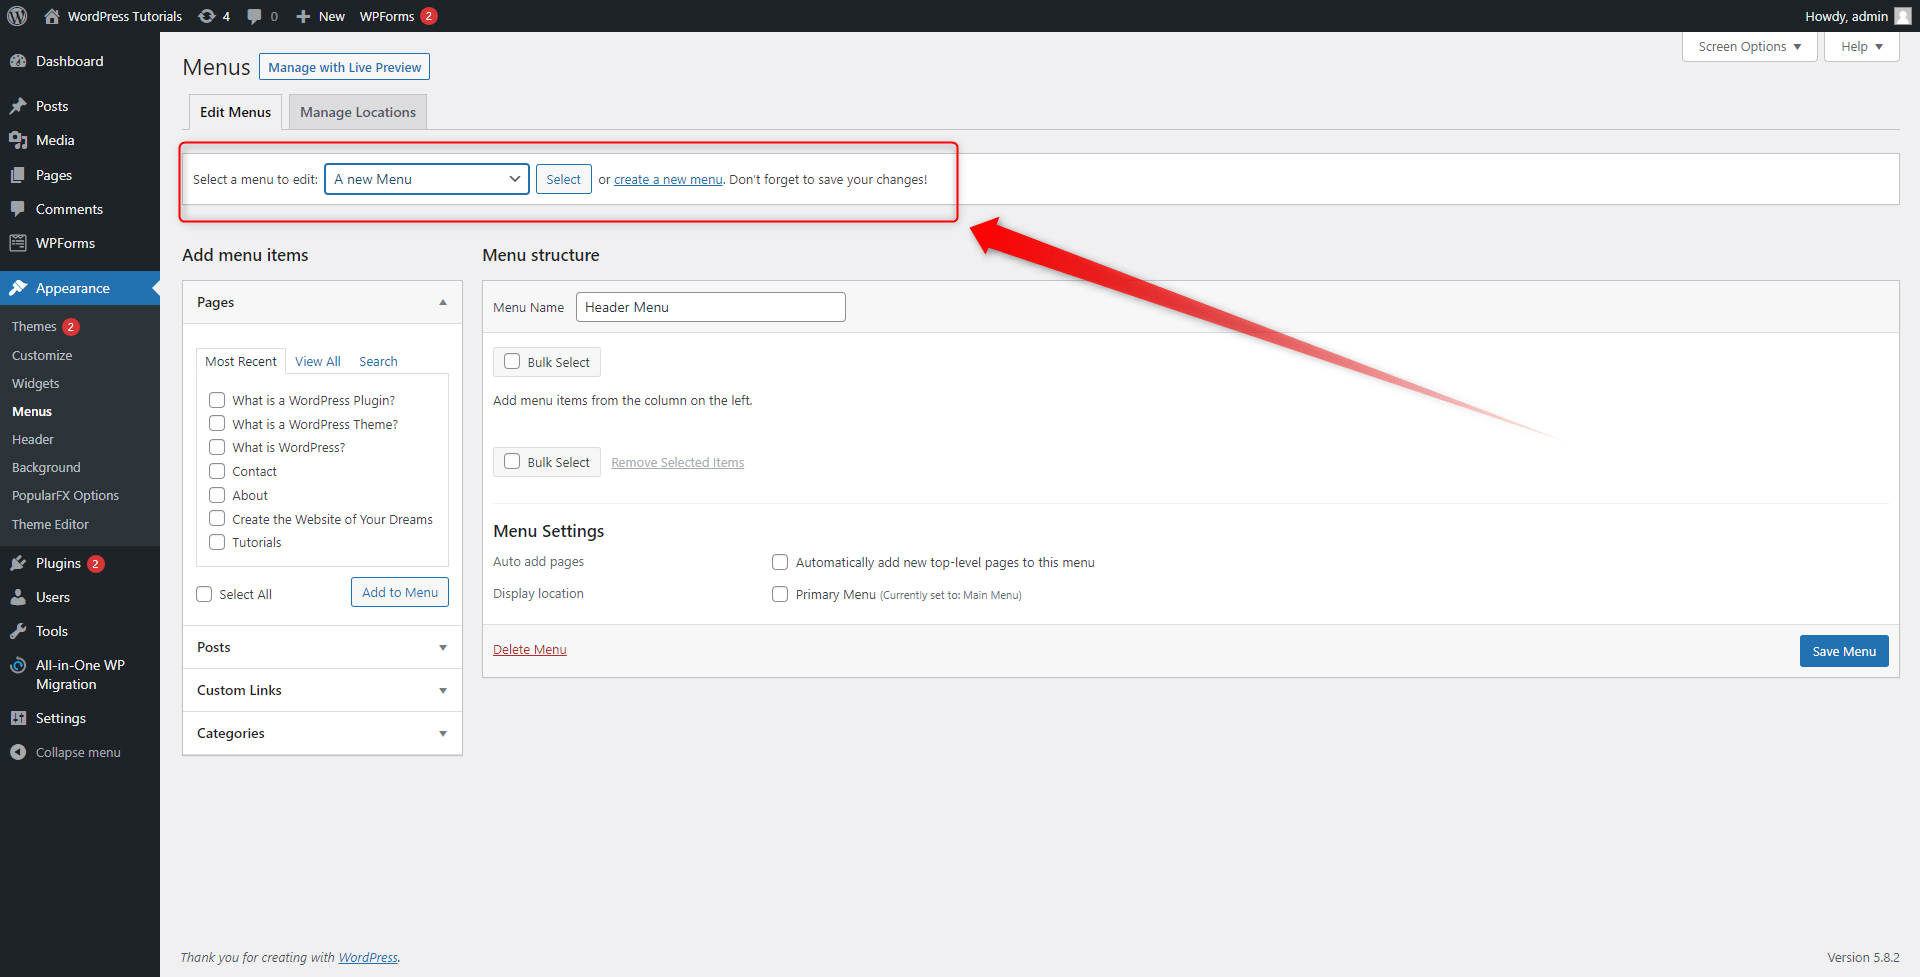
Once you’ve created the new menu, you will be able to make all kinds of changes. To do so, first, select which menu you wish to edit, and click select. Since you will be editing your new menu, choose this particular one from the Select a Menu tab:
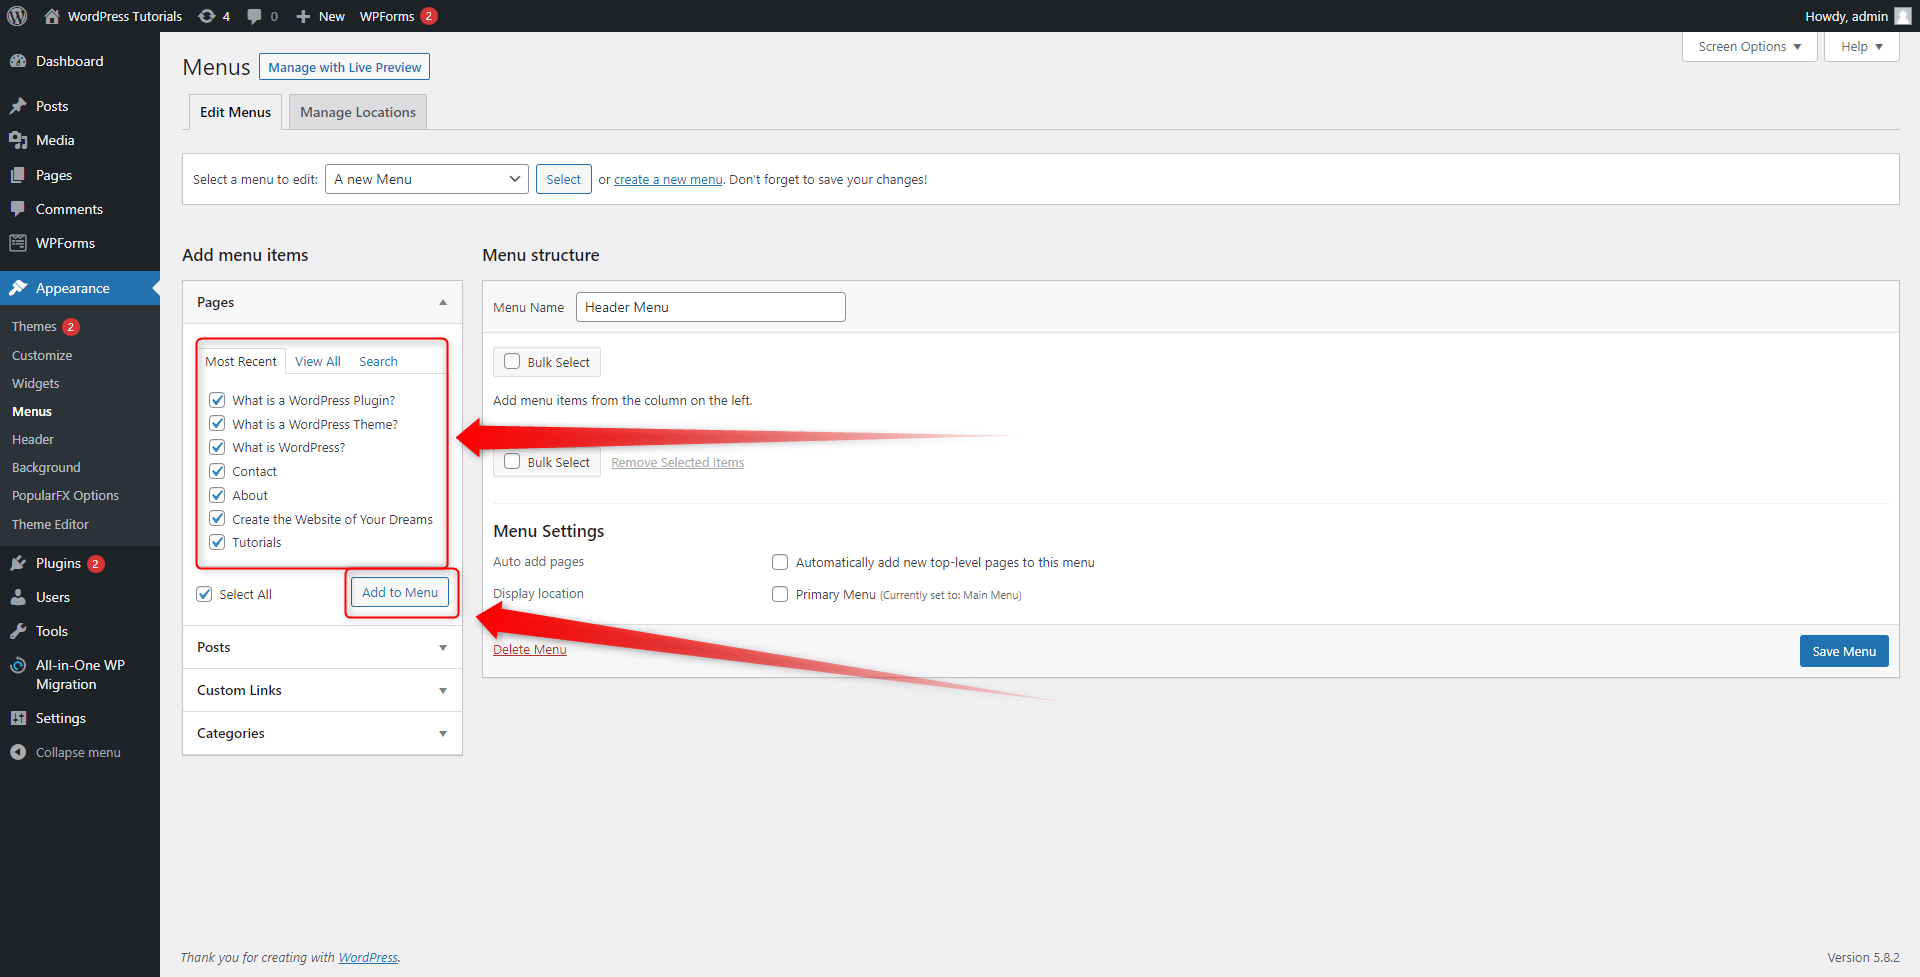
On the left of the screen, you will see the Add Menu Items box. This section contains a list of all your website pages, posts, categories, and custom links, and via the tick boxes, you can decide which components will be included in the new menu section. For this demonstration, we will include only redirections to our pages:
Step 2: Tick the page that you wish to be included in the new menu. You can include as many pages as you wish. Then click on Add to Menu:
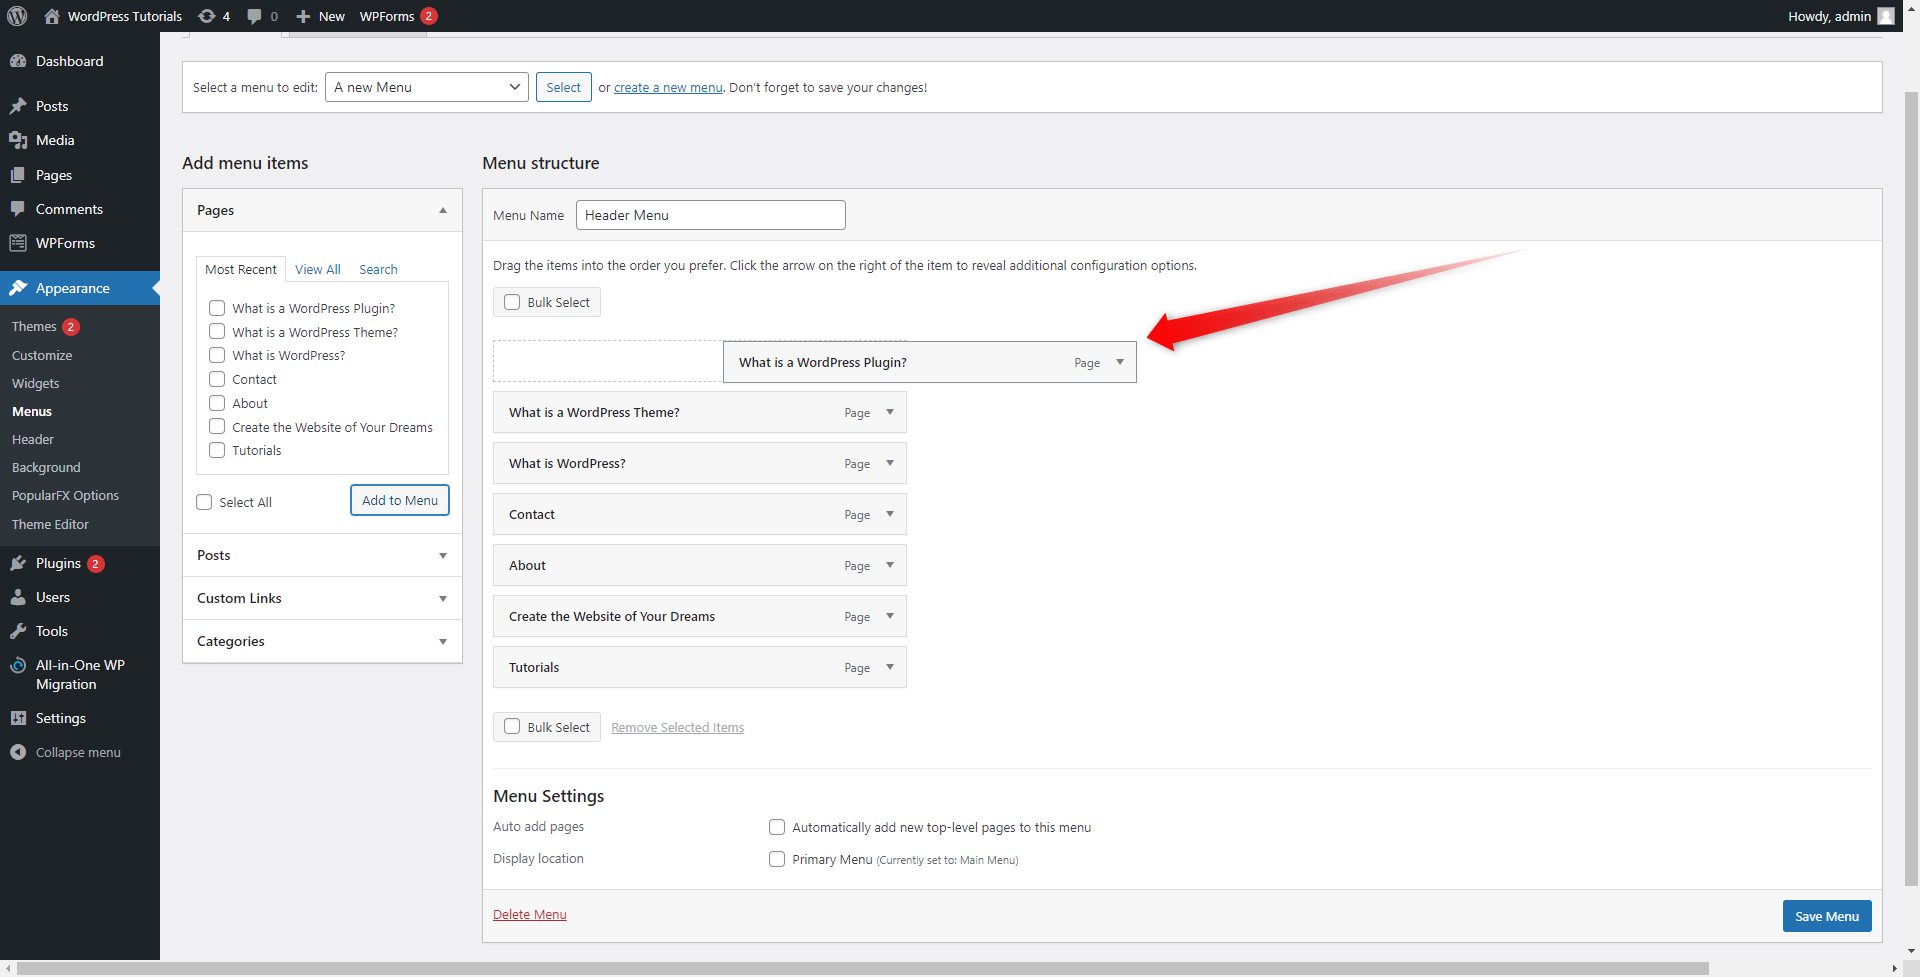
Once you’ve selected which pages to include in the menu section and click Add to Menu, they will appear on the right side of the screen. This is the panel that shows the list of pages, posts, categories, and custom components that are included in the menu section: You can change the order of your boxes in any way by simply clicking and dragging a particular box:
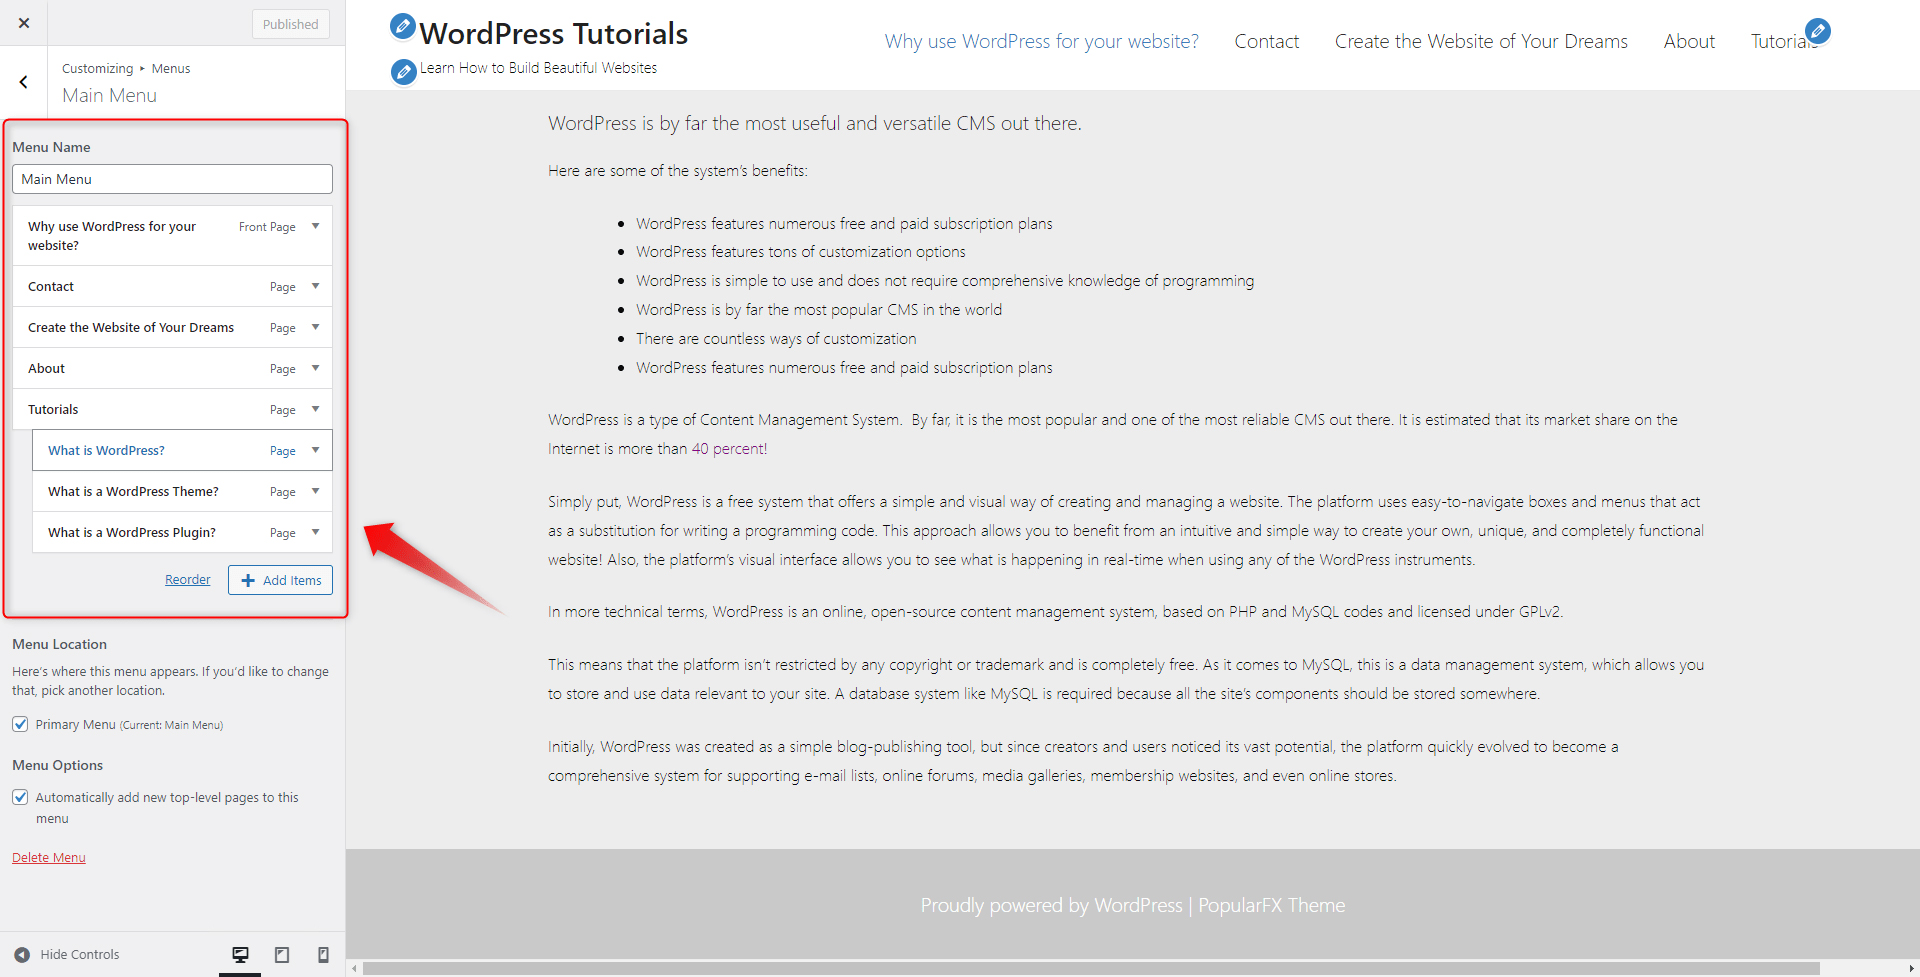
Step 4: Keep in mind that you can also create sub-menus. This means that a menu section can contain another menu section. For example, we have created a main Tutorials menu section and within it, we included more menus as follows: What is WordPress, What is a WordPress Theme and What is a WordPress Plugin:
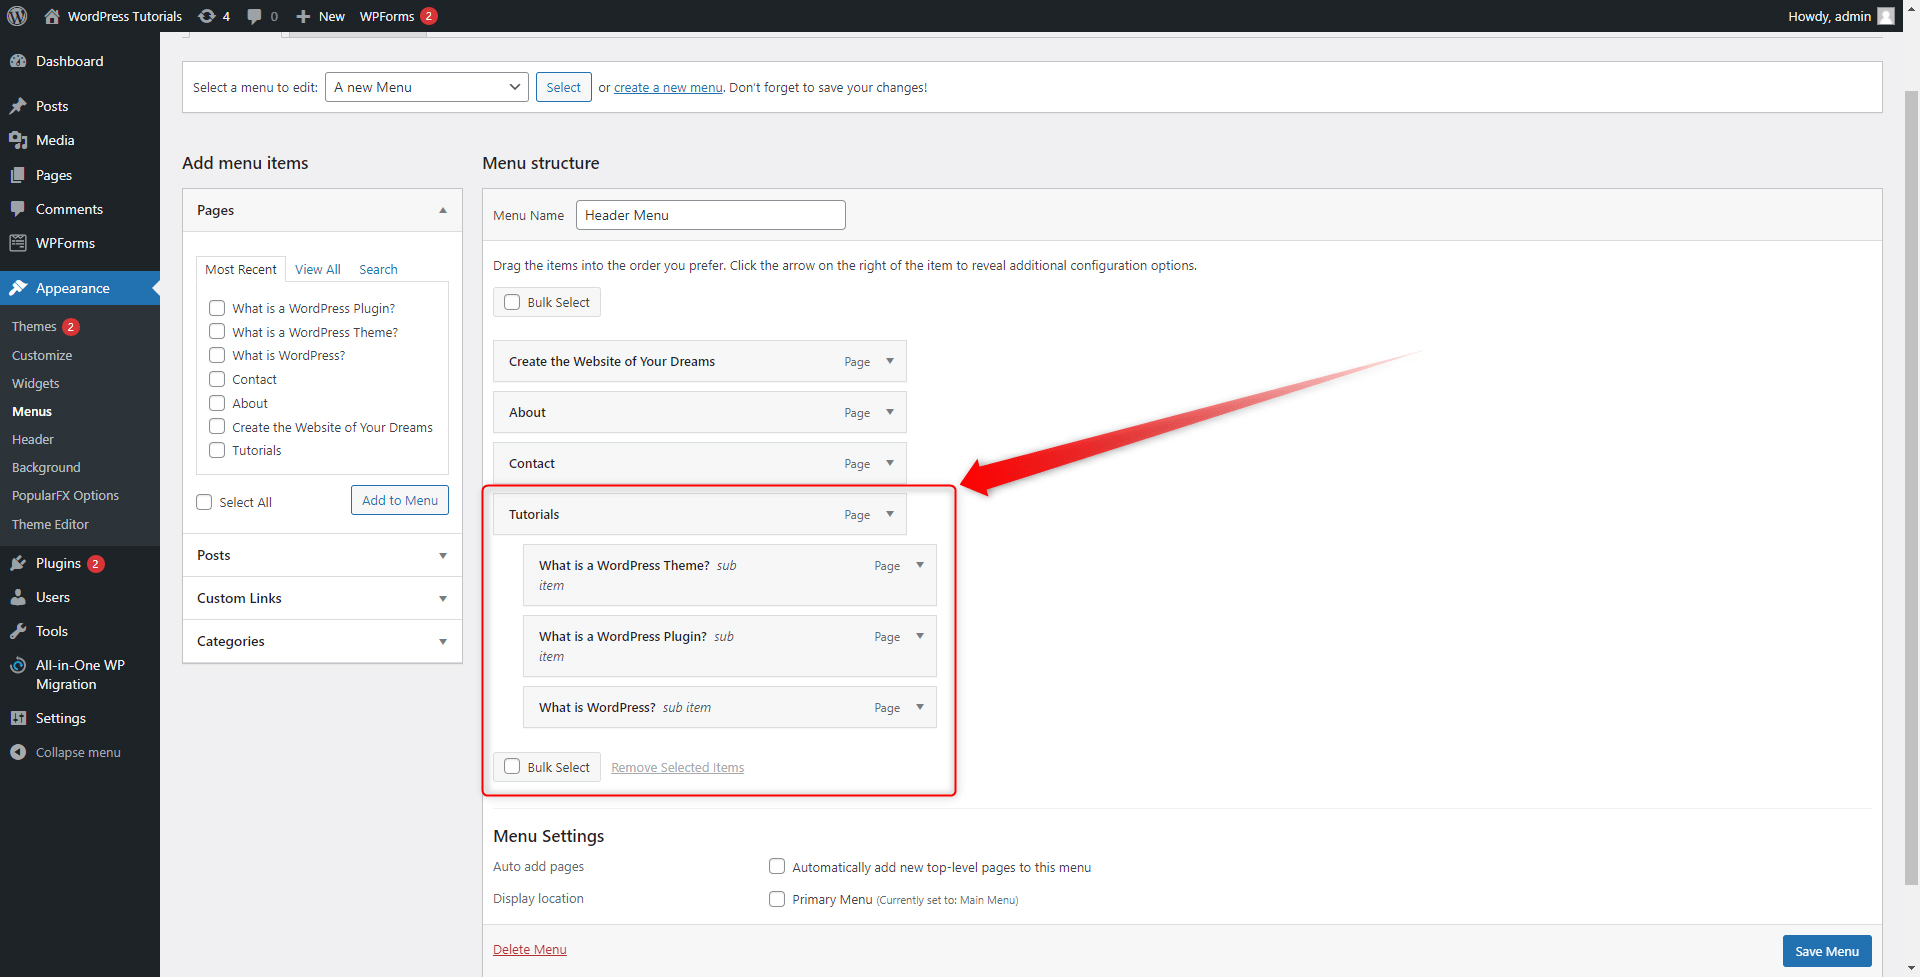
To do so, simply click and drag the menu section that you want to make a sub-menu and place it below the one that would become the main menu section. However, move the box a bit to the right of the screen. This will indicate that you have created a sub-menu.
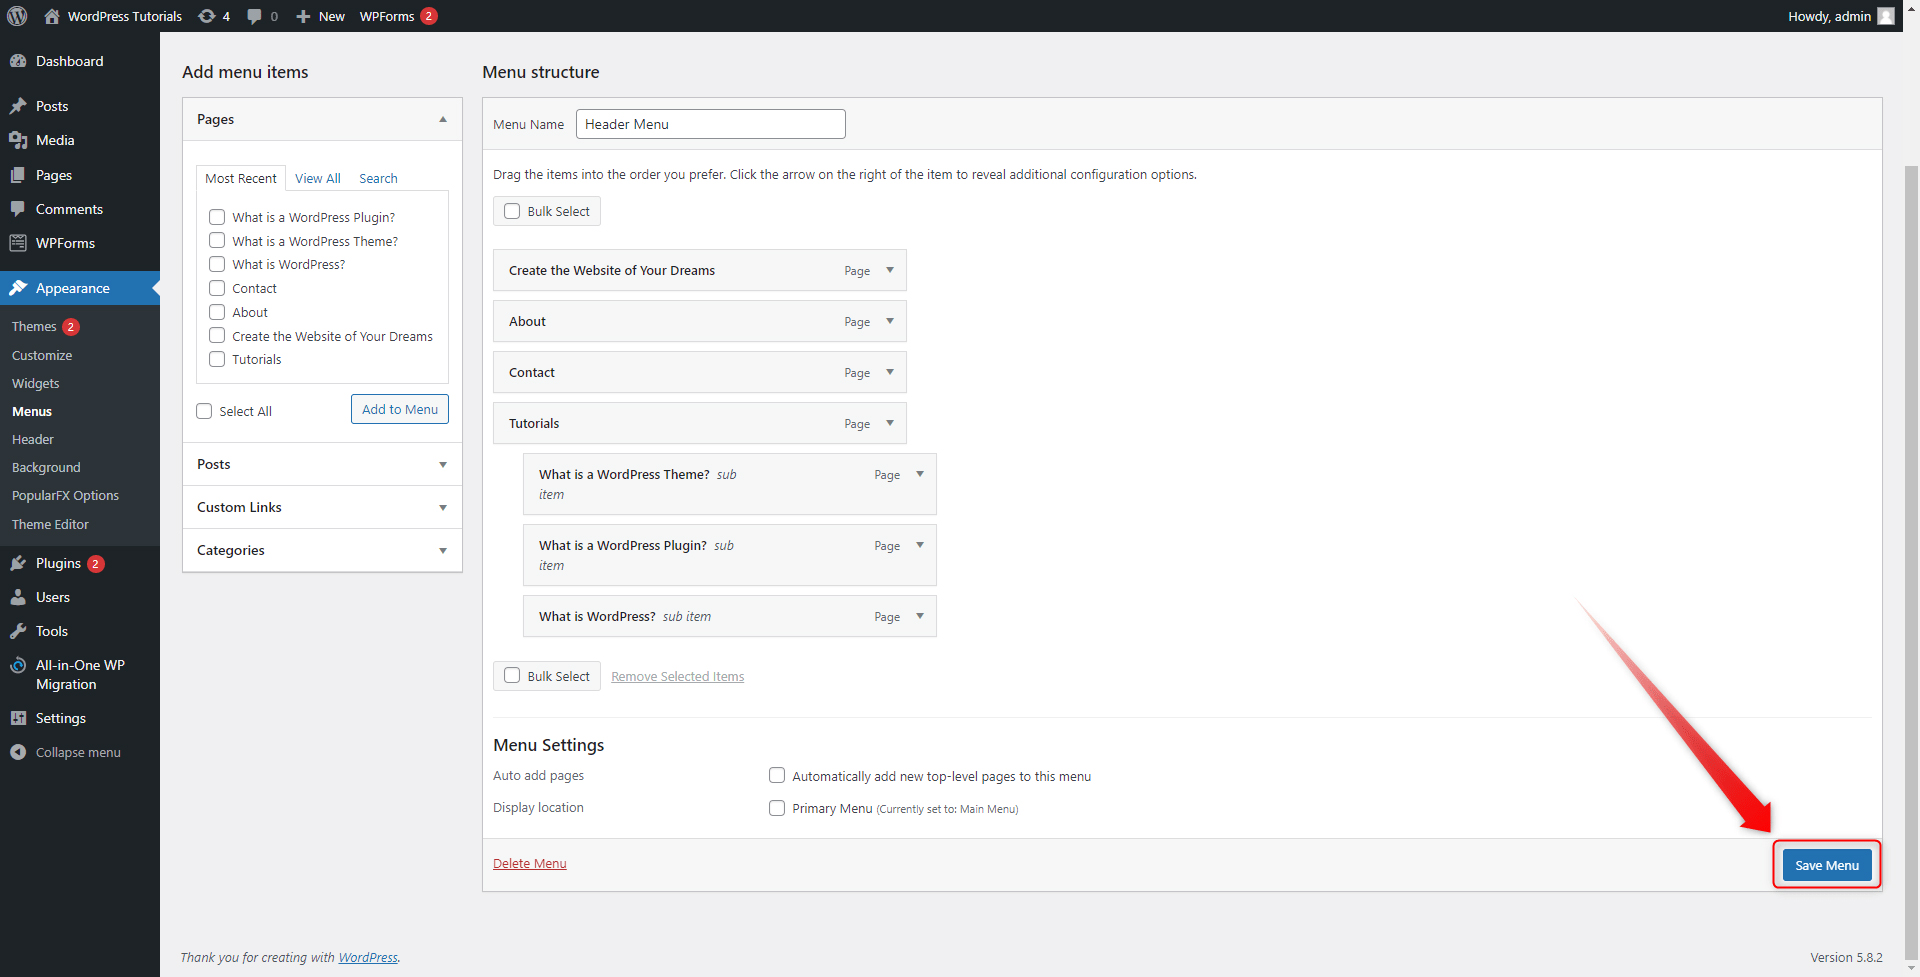
The Menu section is a powerful tool that can make your website not only tidier but also more functional. Spend some time tweaking it and find out for yourself which final result best fits your needs! When you have finished editing, click on Save Menu.
This will apply and save all the changes that you’ve just made:
How to Add the New Menu to your Pages
Now that you have created a custom menu section, let’s see how to include it within your header or footer. Later in this guide, you will understand how to add even more menu sections across your web pages.
First, enter your Customization tab:
Within the Customization page, take a look at the blue pencil icon within the Header at the top right of the screen:
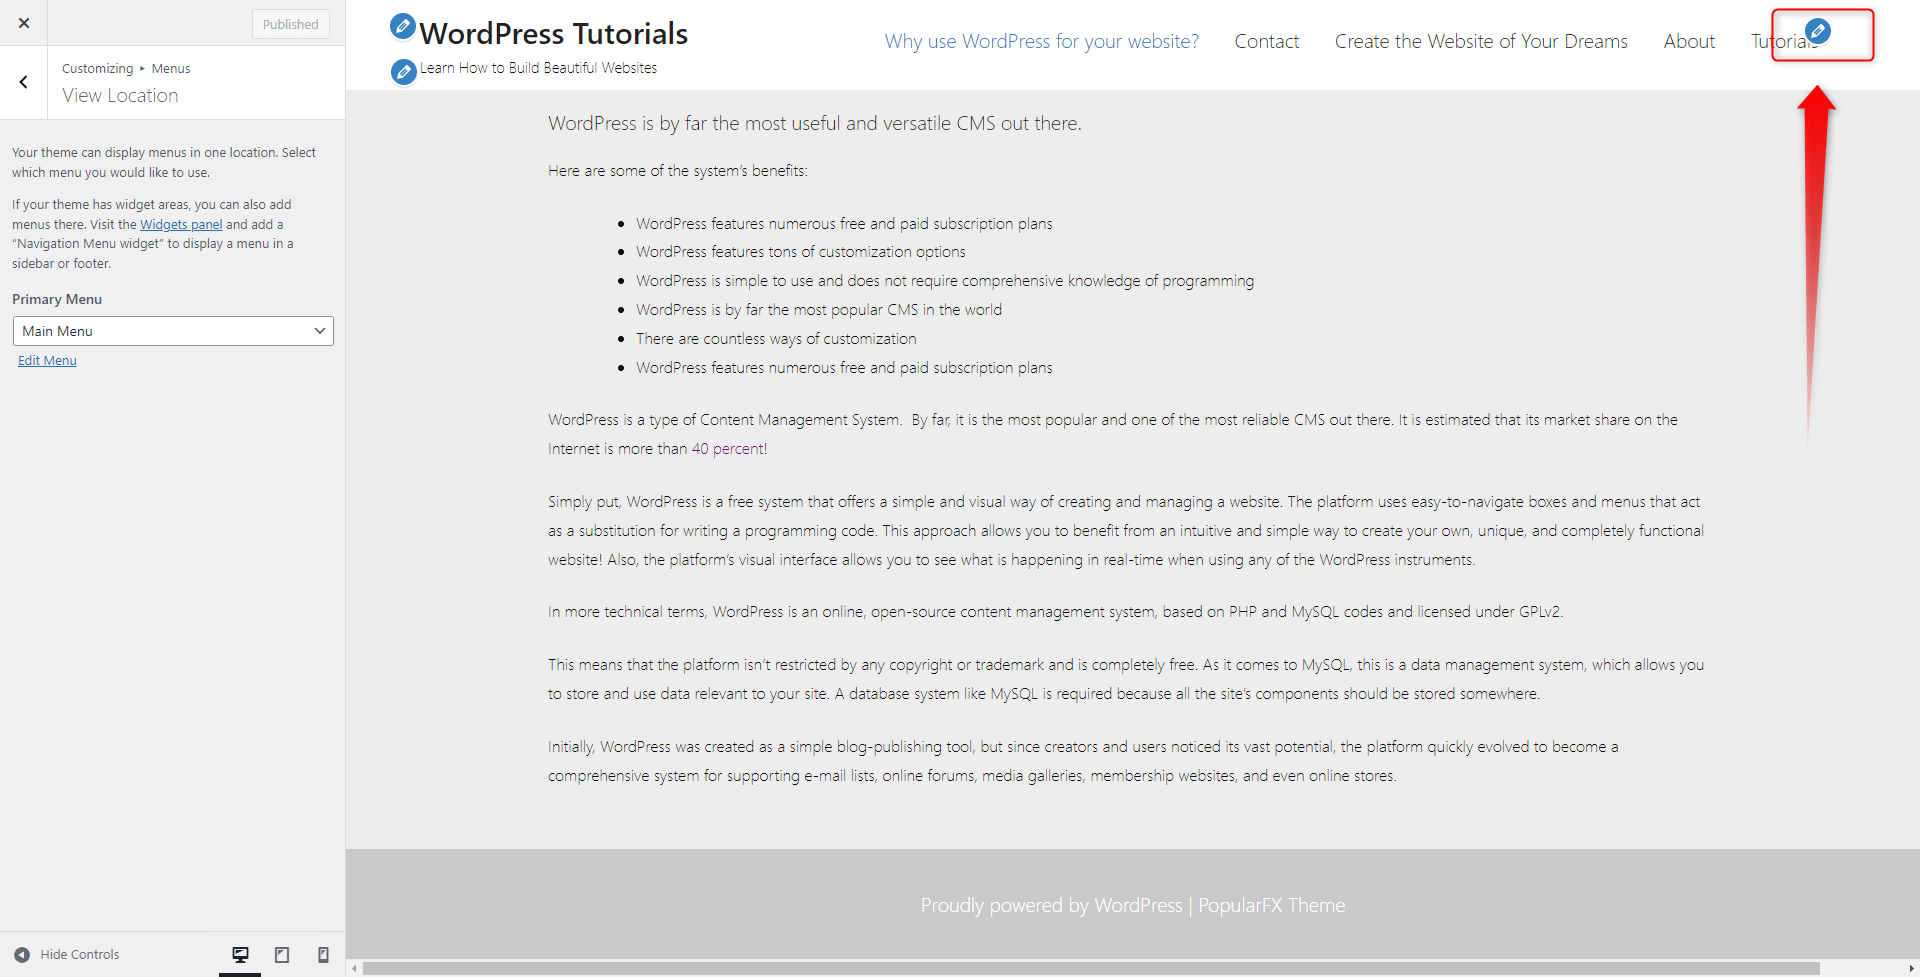
This icon allows you to customize what the header contains, or in other words, the menu section that will be contained within the header. WordPress has already included a default menu for you, however, it is always a good idea to add to customize the section, just like the one you’ve just created.
Click on the pencil and have a look at the new options:
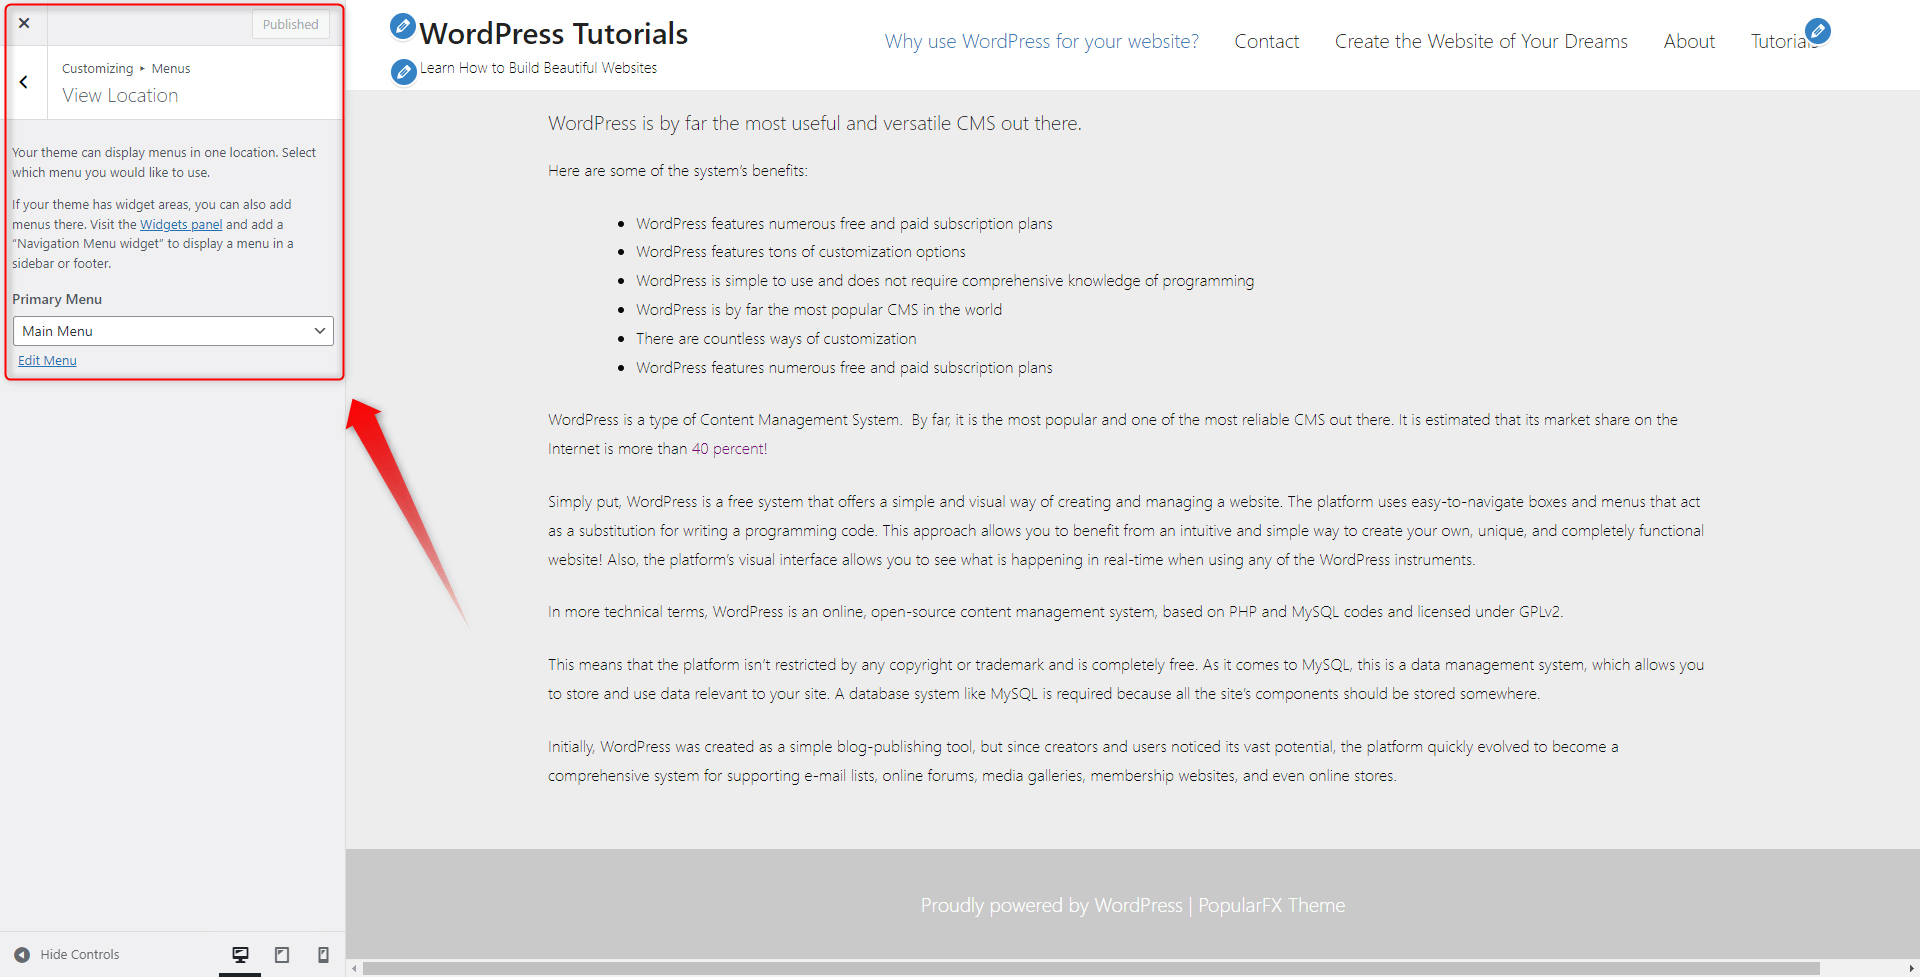
Within this box, you can find a list with all existing menus and an Edit Menu option. Before we apply a different menu in the header section, let’s have a quick look at the Edit Menu option. When you click it, a new section appears. This is a dedicated instrument that allows you to quickly make changes to your menus:
This section completely mimics the Menus tab in your Dashboard, so you can make changes via a familiar interface.
As it comes to changing the menu in the header, go back to the Menu selection segment, and via the Primary Menu list, choose a menu you wish to include in the header:
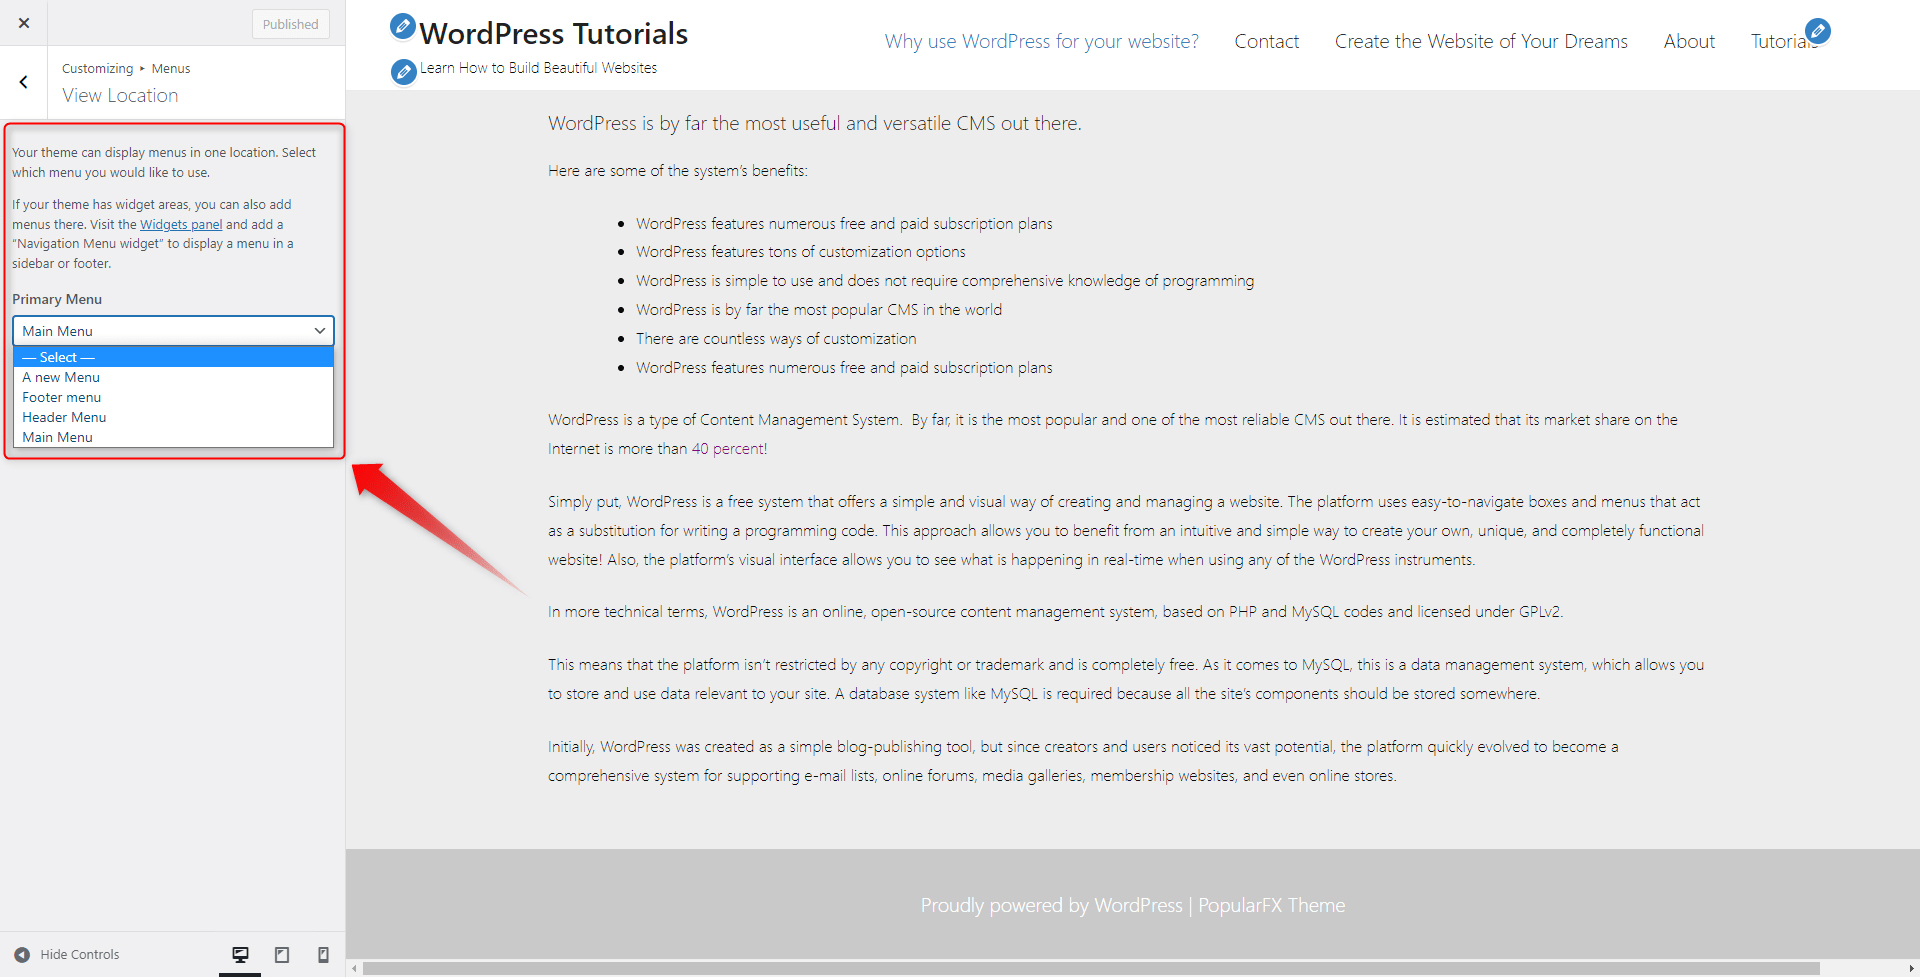
We will select the menu we simply named “A new Menu”.
When you’ve made your choice, click on the blue Publish button at the top left of the page:
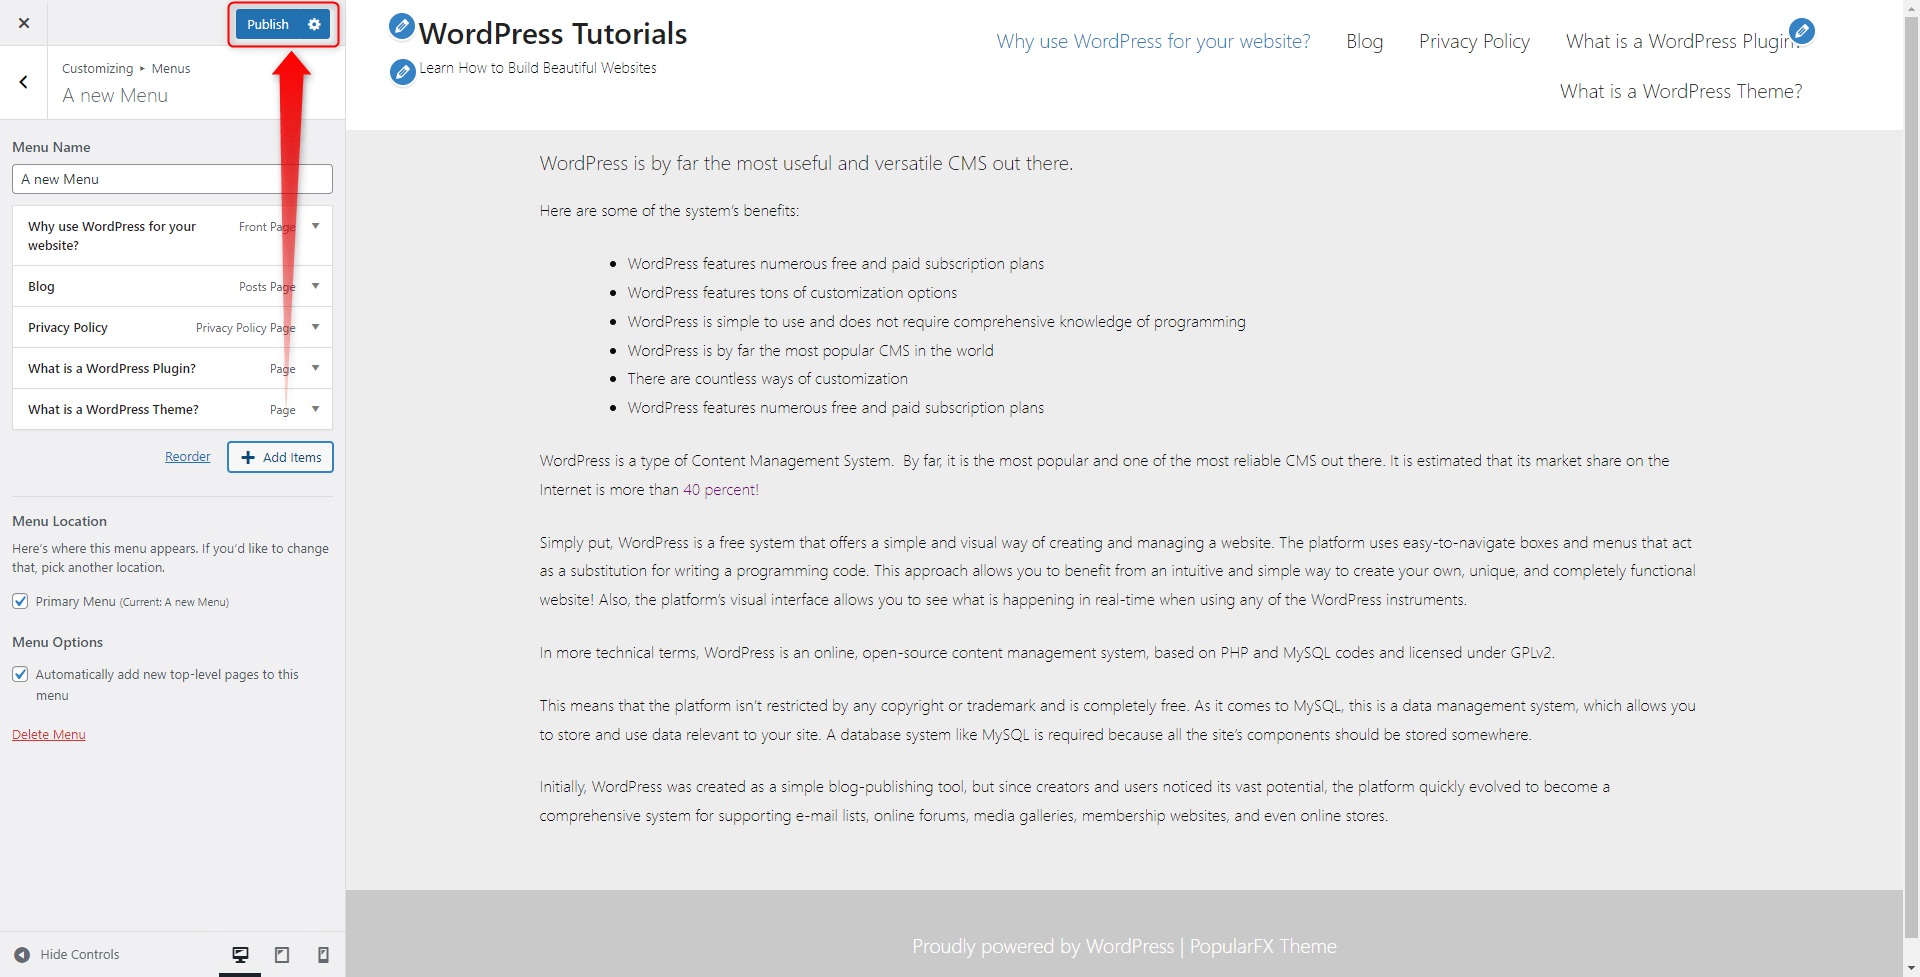
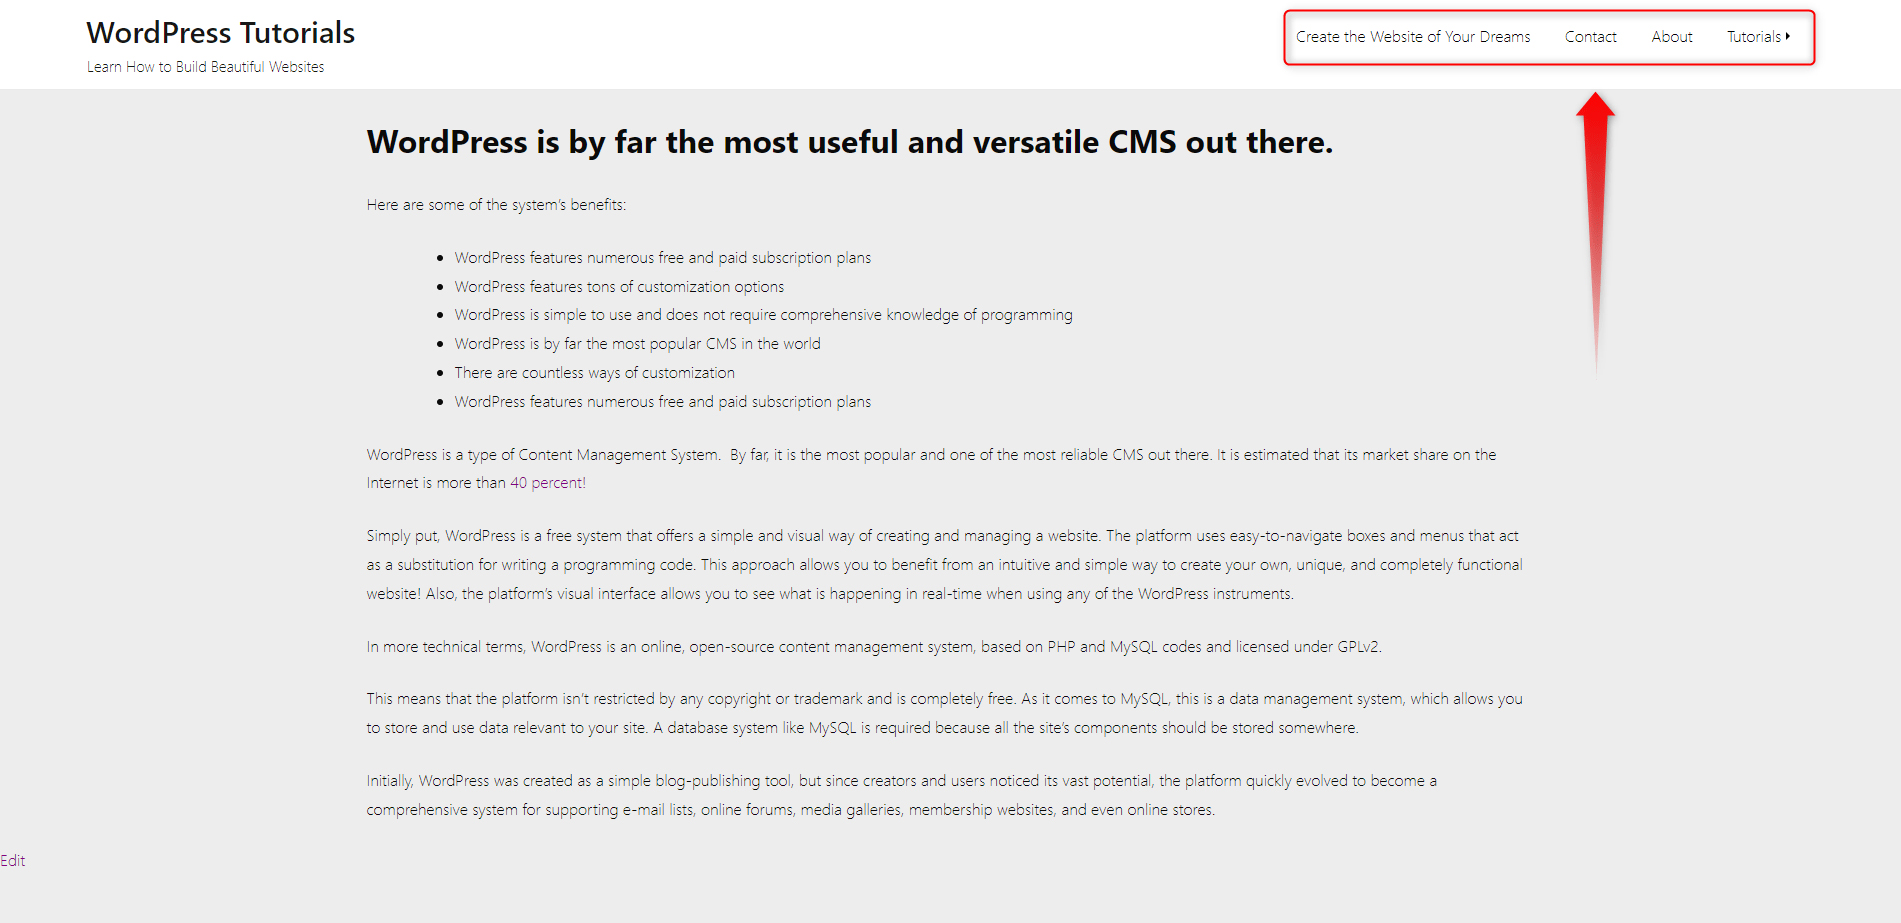
Now, all the changes will be applied to your site. Here’s how ours turned out to be:
How to Edit your WordPress Menus via the Customize Tab?
While in the Menu selection tab, have a look at the Add Items button. By clicking it, you will open a box that contains all the components you wish to add to your menu – pages, categories, and similar:
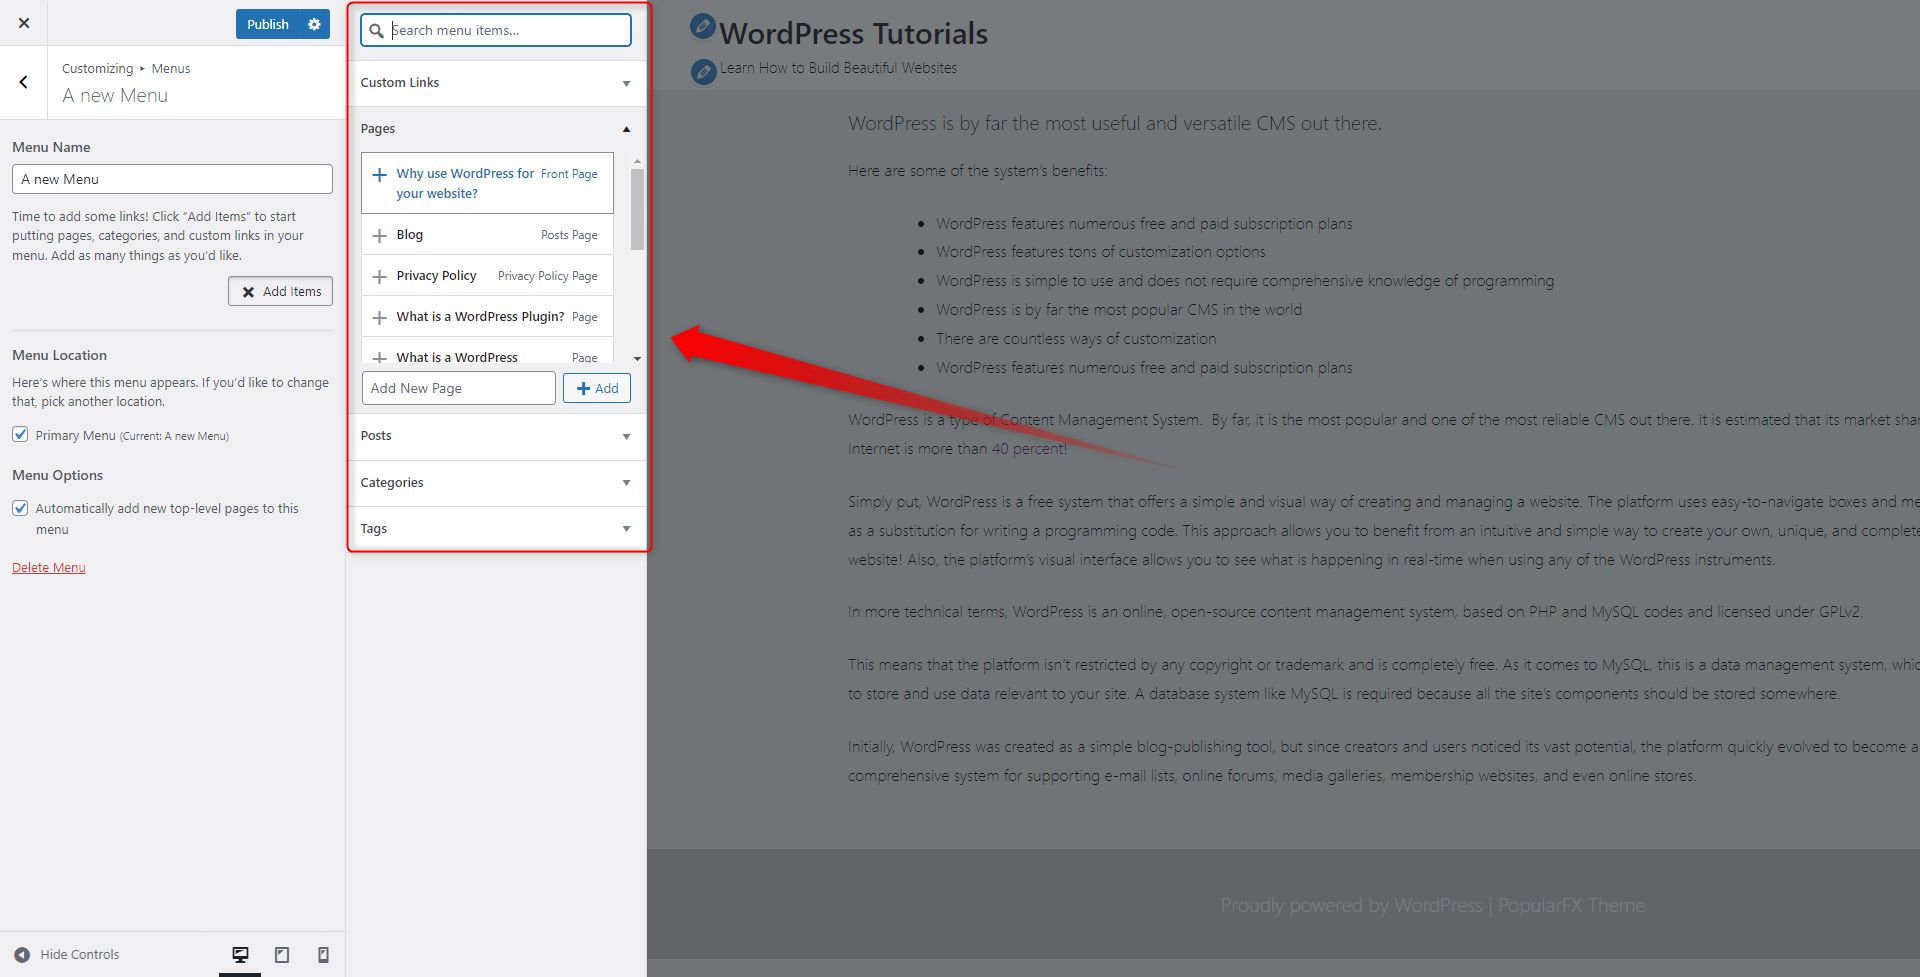
Add elements by simply clicking the “+” button located at the left of each component. When you’ve added the ones that you need, click on the blue Publish button located at the top left of the screen. This will apply and save all the changes you have just made:

You can apply this process for every segment which can contain a menu – footers, sidebars, and widgets.
Conclusion
The WordPress Menu is the primary tool your visitors use to navigate through your site. It is visible on all of your pages and at all times. At their core, menus are hyperlinks that lead to a certain page and area of your site.
When designed and used correctly, the menus can make a great impact on the site’s UX, and positive feedback and can also contribute to greater conversions and more satisfied customers. In the next paragraphs, you will read how to create and add menus to your pages.
If you are new to WordPress and want to learn everything about the platform, then our WordPress guide is just for you. Learn how to create a completely functional website step by step and page by page. Also, check out the ZETTAHOST Hosting Services
Related: