If you are planning on running, or already have an online store or any other kind of online business, it is highly recommended that you include a review section. Showing social proof and being transparent with your audience can bring you numerous benefits such as more traffic to your pages, more satisfied customers, and better search engine rankings.
How to Add Reviews to Your WordPress Website
One of the easiest and most prominent ways of adding a review section to your WordPress website is by using a review plugin. For this demonstration, we will be using Site Reviews. It provides your site visitors with a star rating system and a review section.
First, install and activate the plugin.
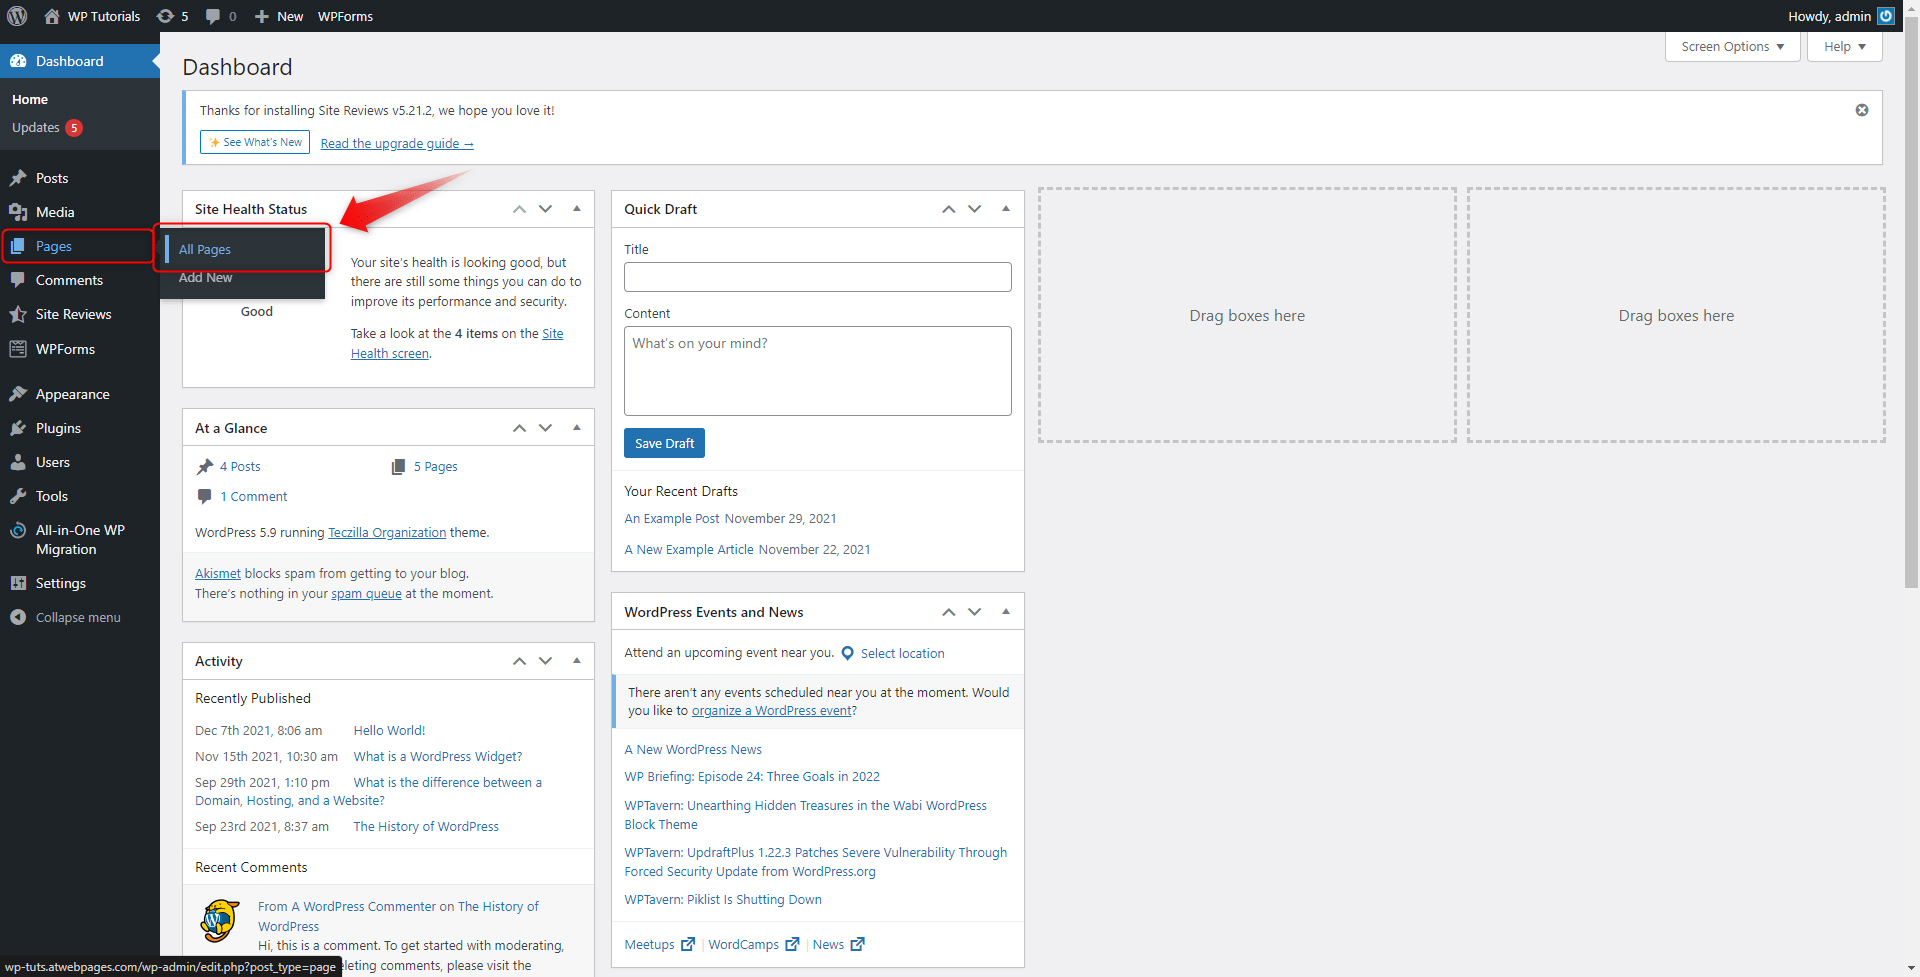
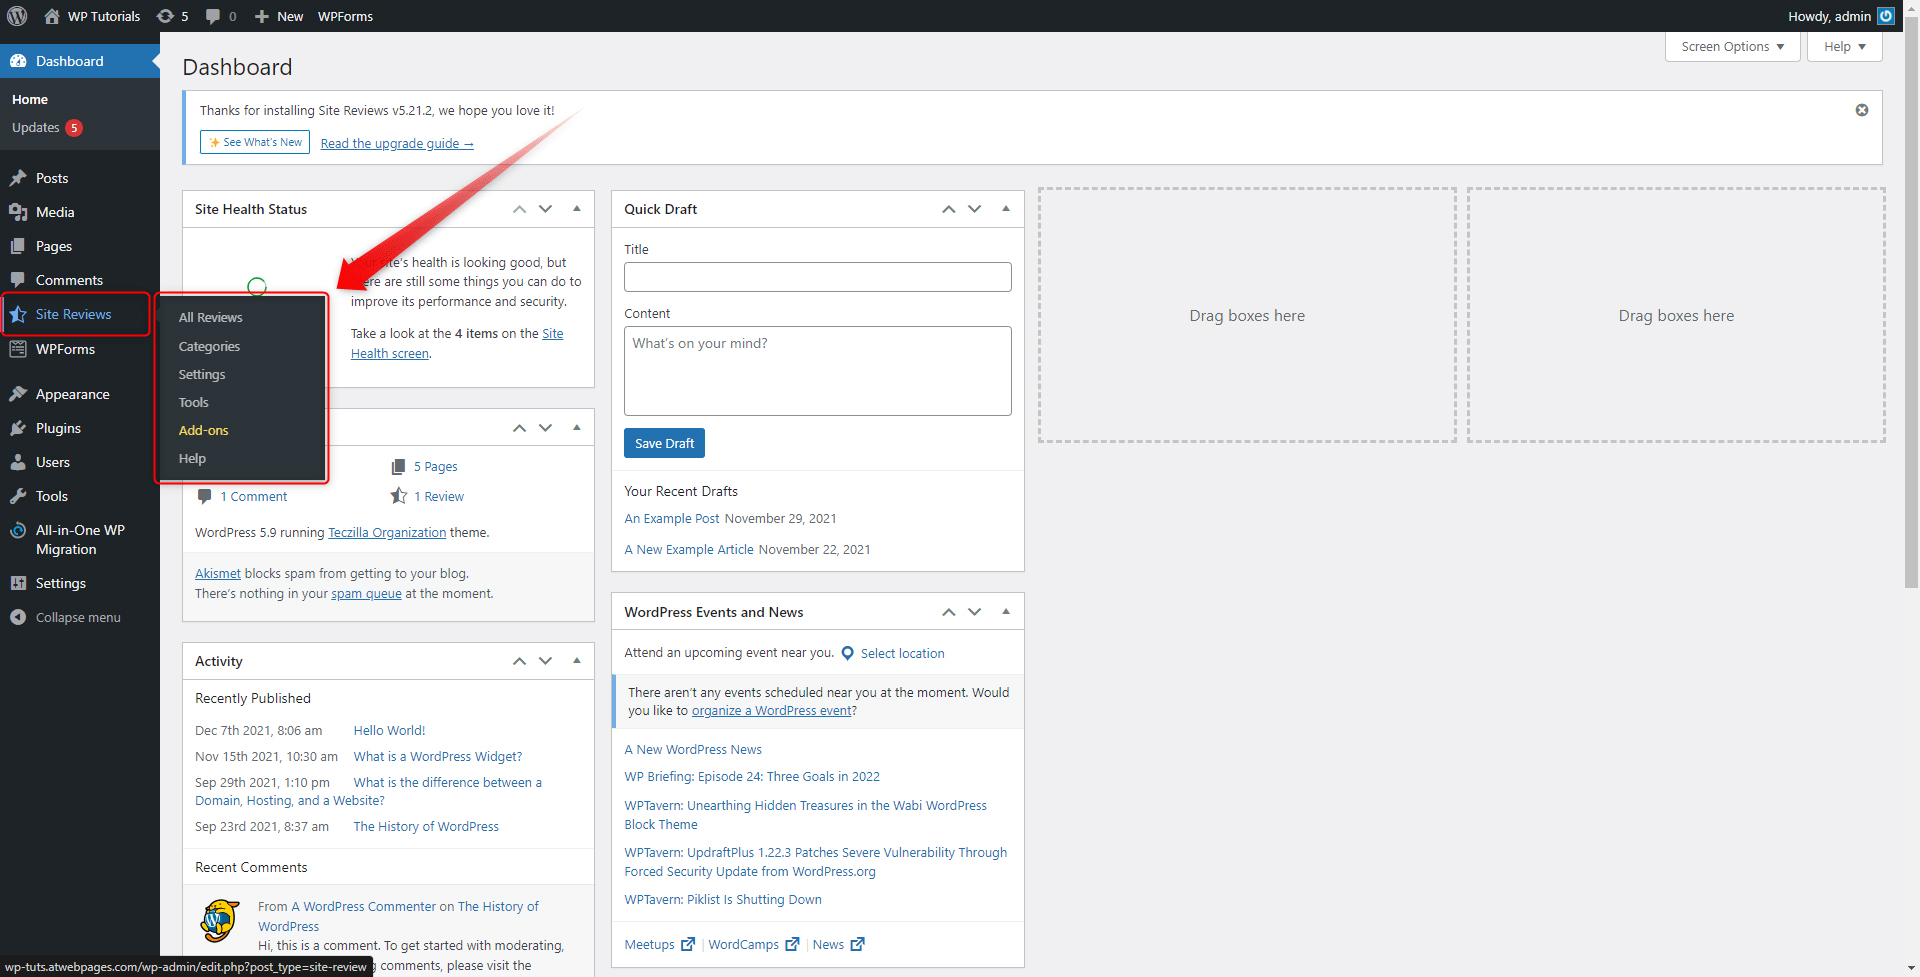
Once you do so, a new menu will appear in the sidebar of your WordPress Dashboard:
![]()
Now, open the page you wish to include your review section. Usually, businesses include such below their product descriptions. Whichever page you choose, the process is the same:
First, go to the All Pages page via the Pages menu:
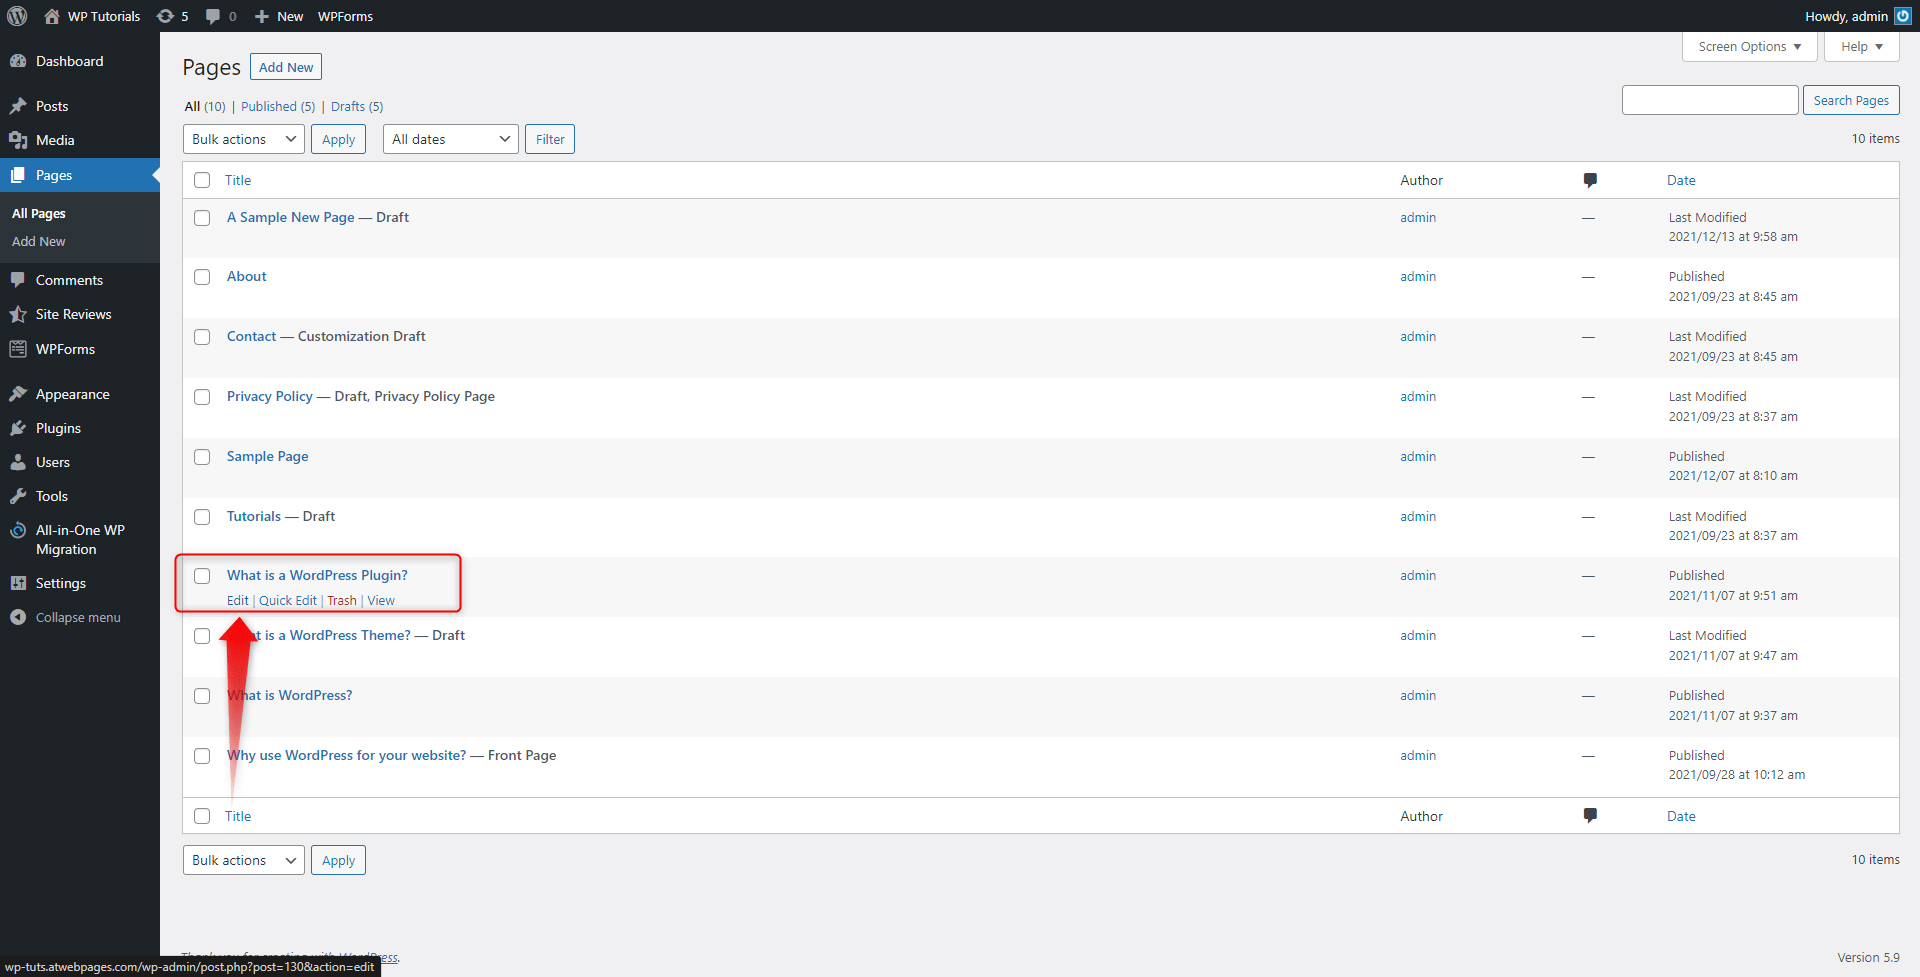
From the list with all your web pages choose the one you wish to include a review section and open its edit page:
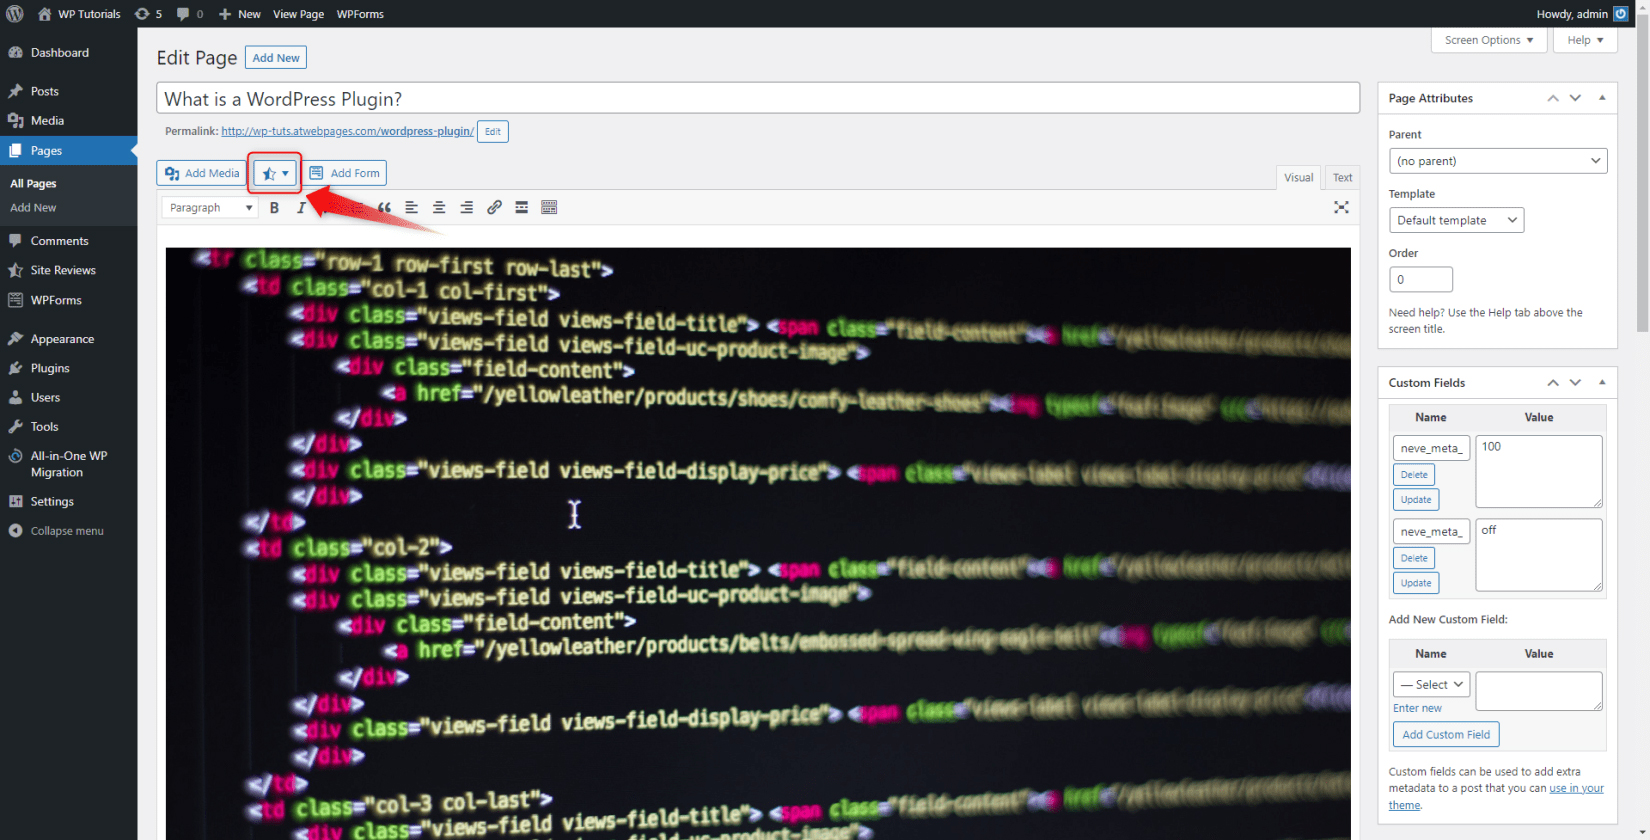
Then, locate the Site Reviews icon at the top of the page:
Click it and then click on Submit a Review:
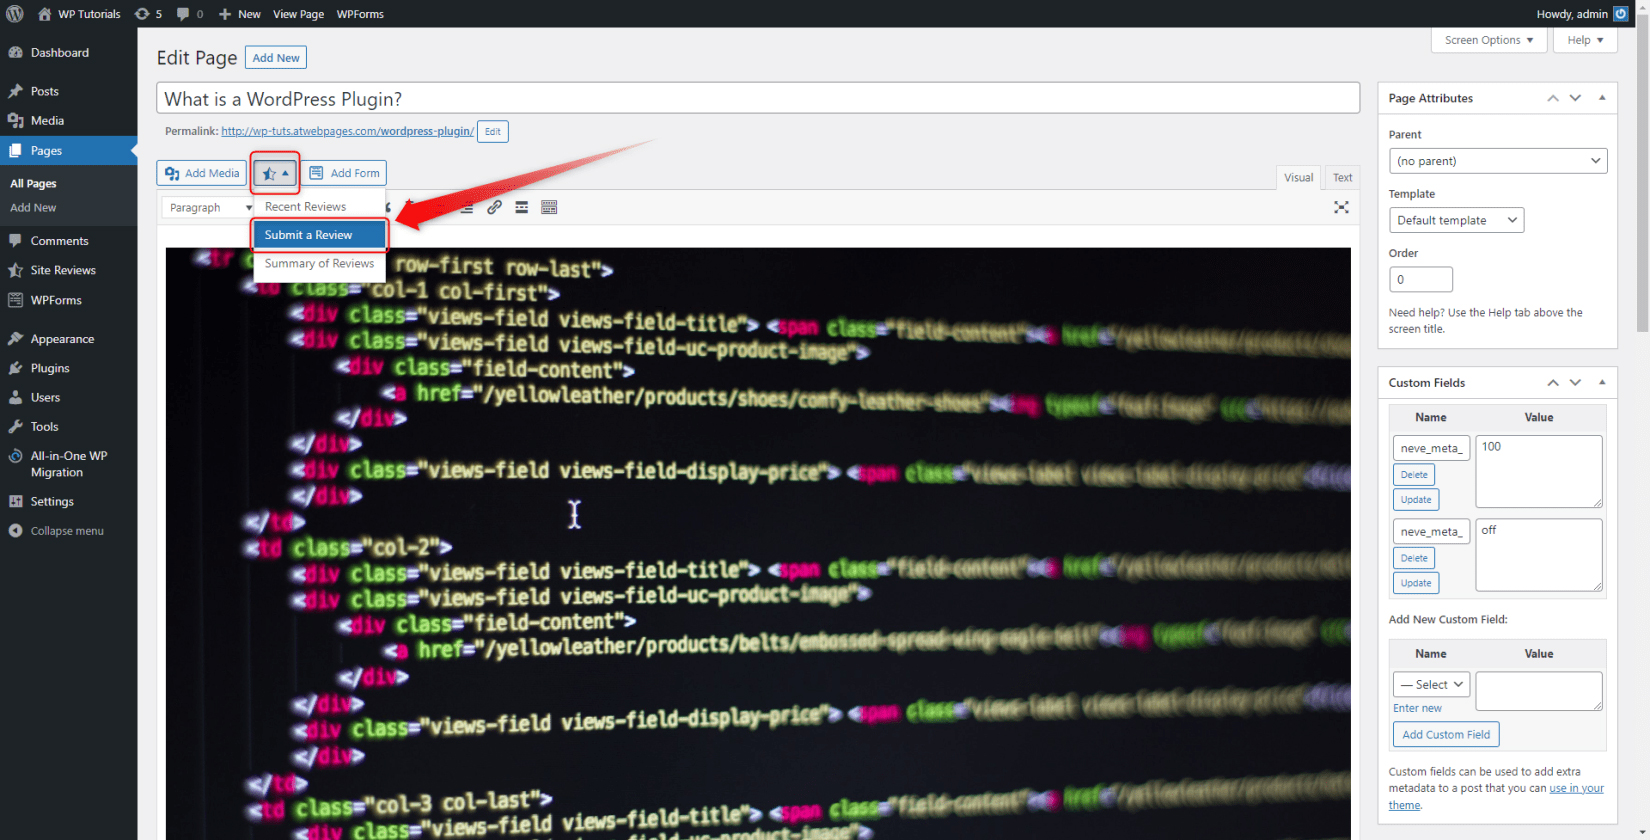
This will open the settings of the new review section:
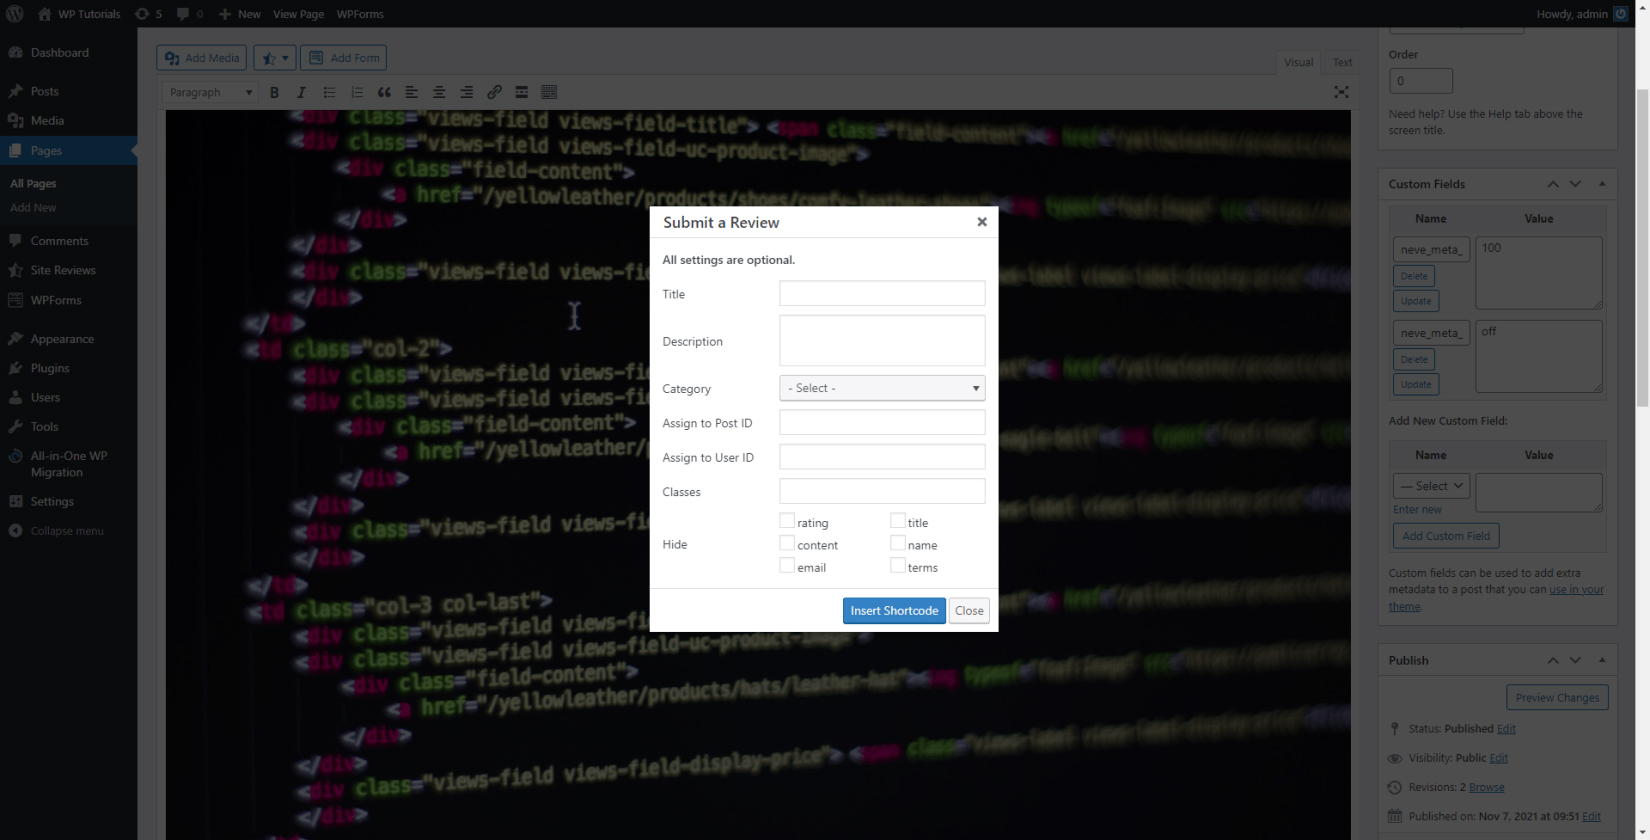
Fill in the fields and then click on the blue Insert Shortcode button. This will add a piece of code within the page, which will prompt the review section to appear on the front end of your website. In our case, we placed the code (which will appear as a review box) right after the article, at the bottom of the given page:
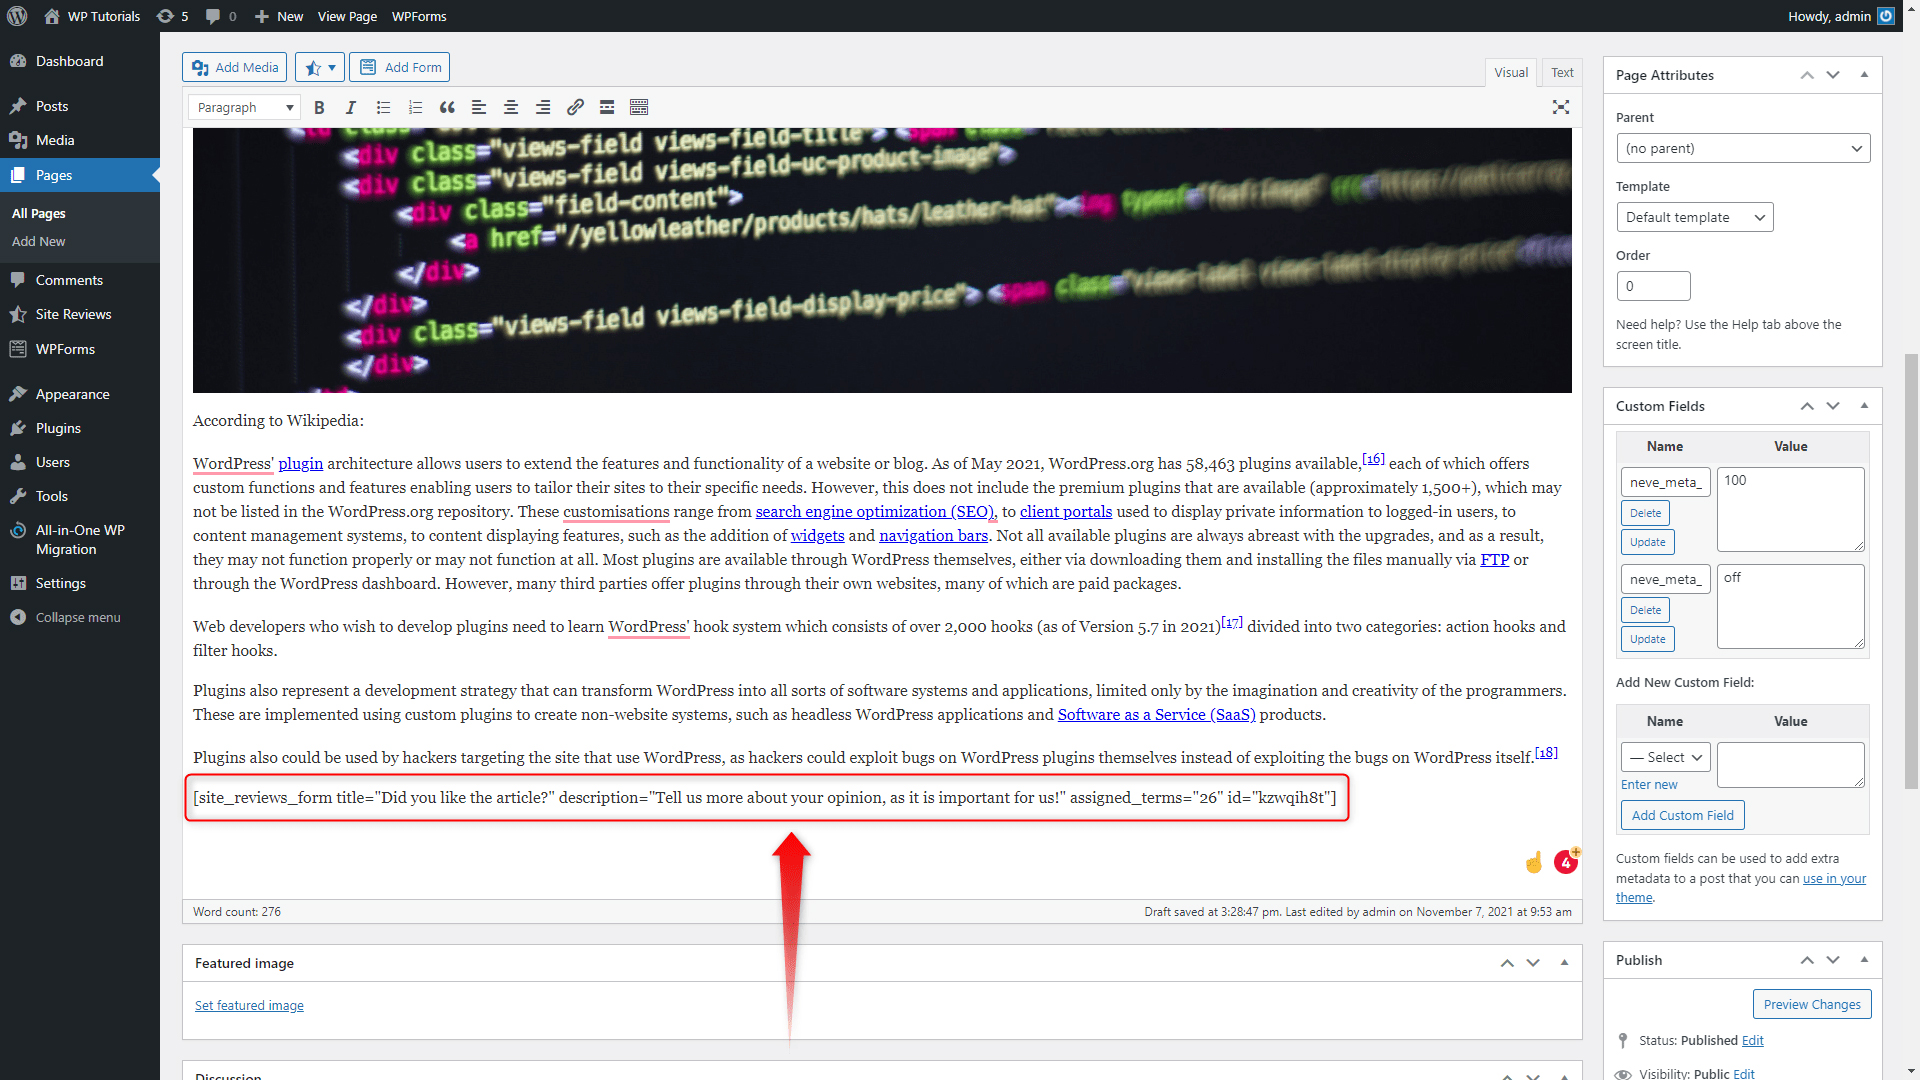
Remember – whenever you place this string of code, there the review section will appear.
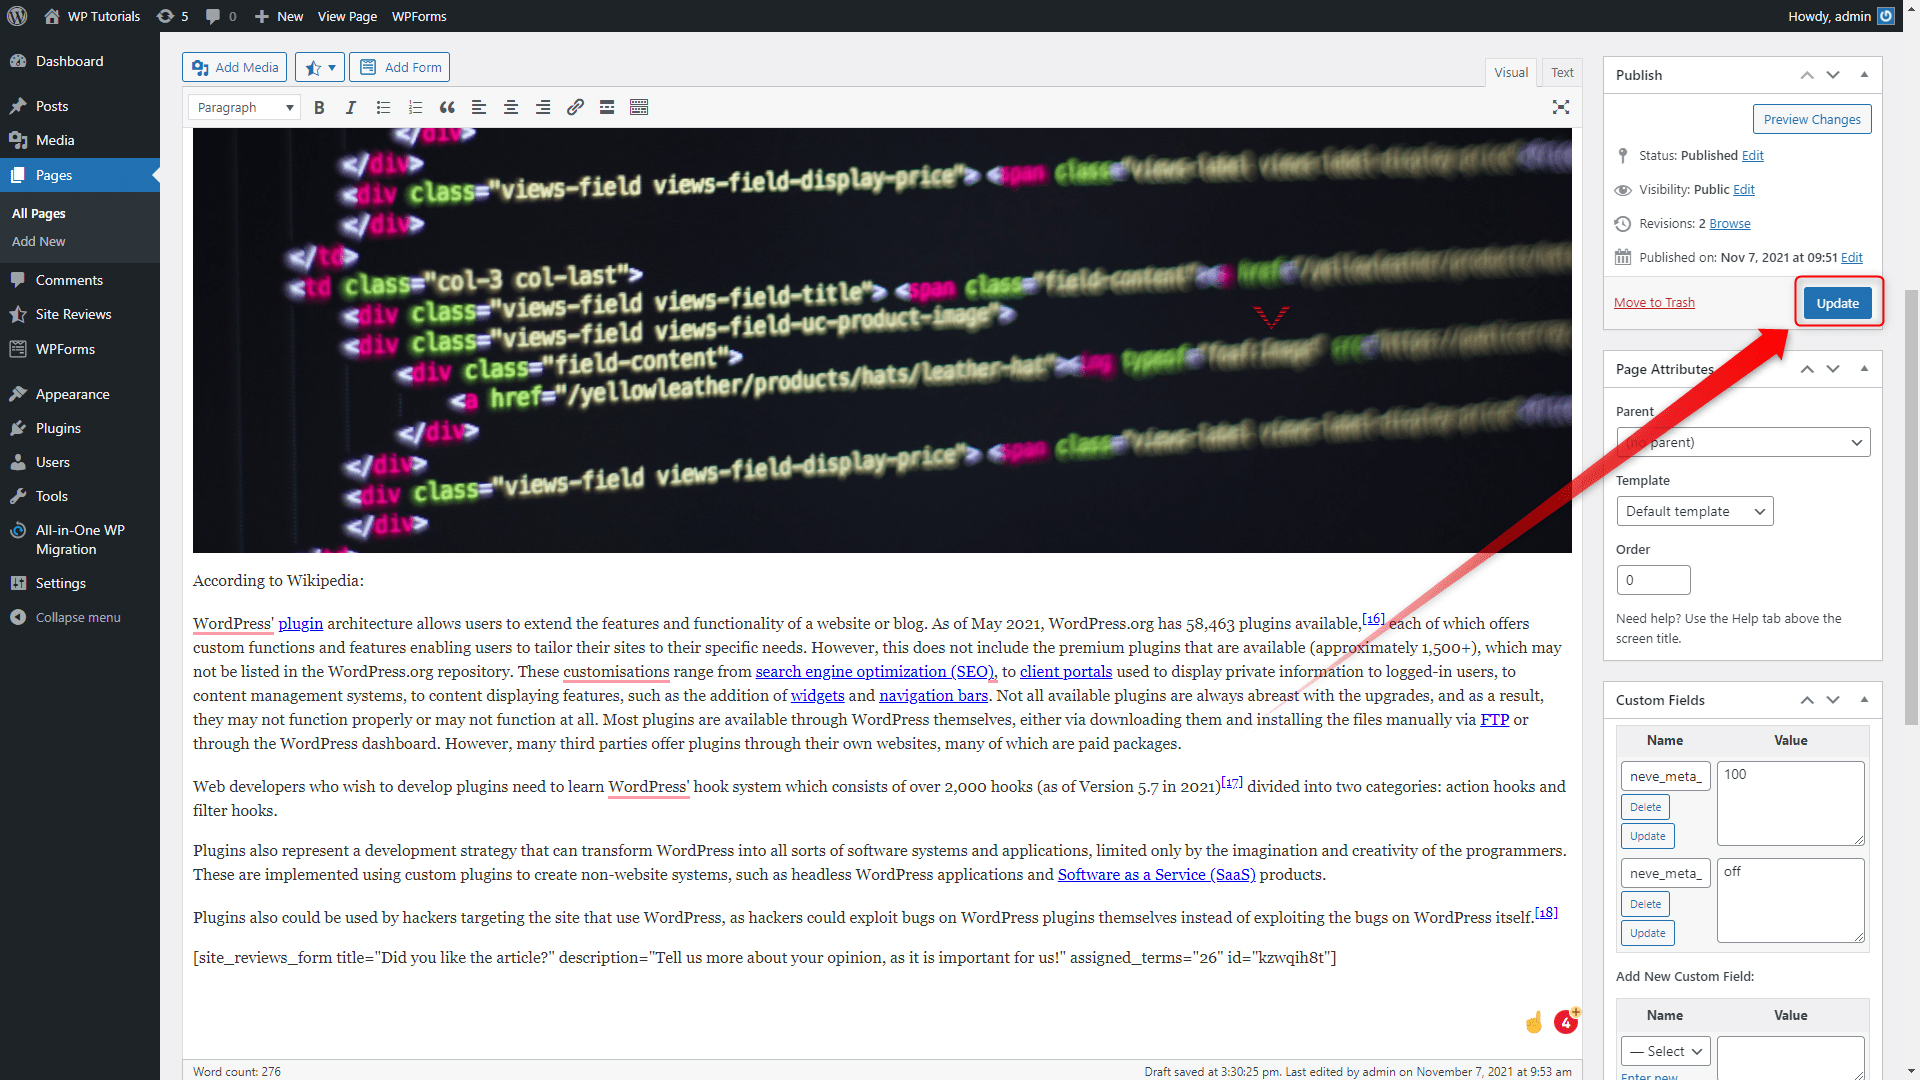
Now, hit the blue Update button and visit the page to have a look at how the review section appears:
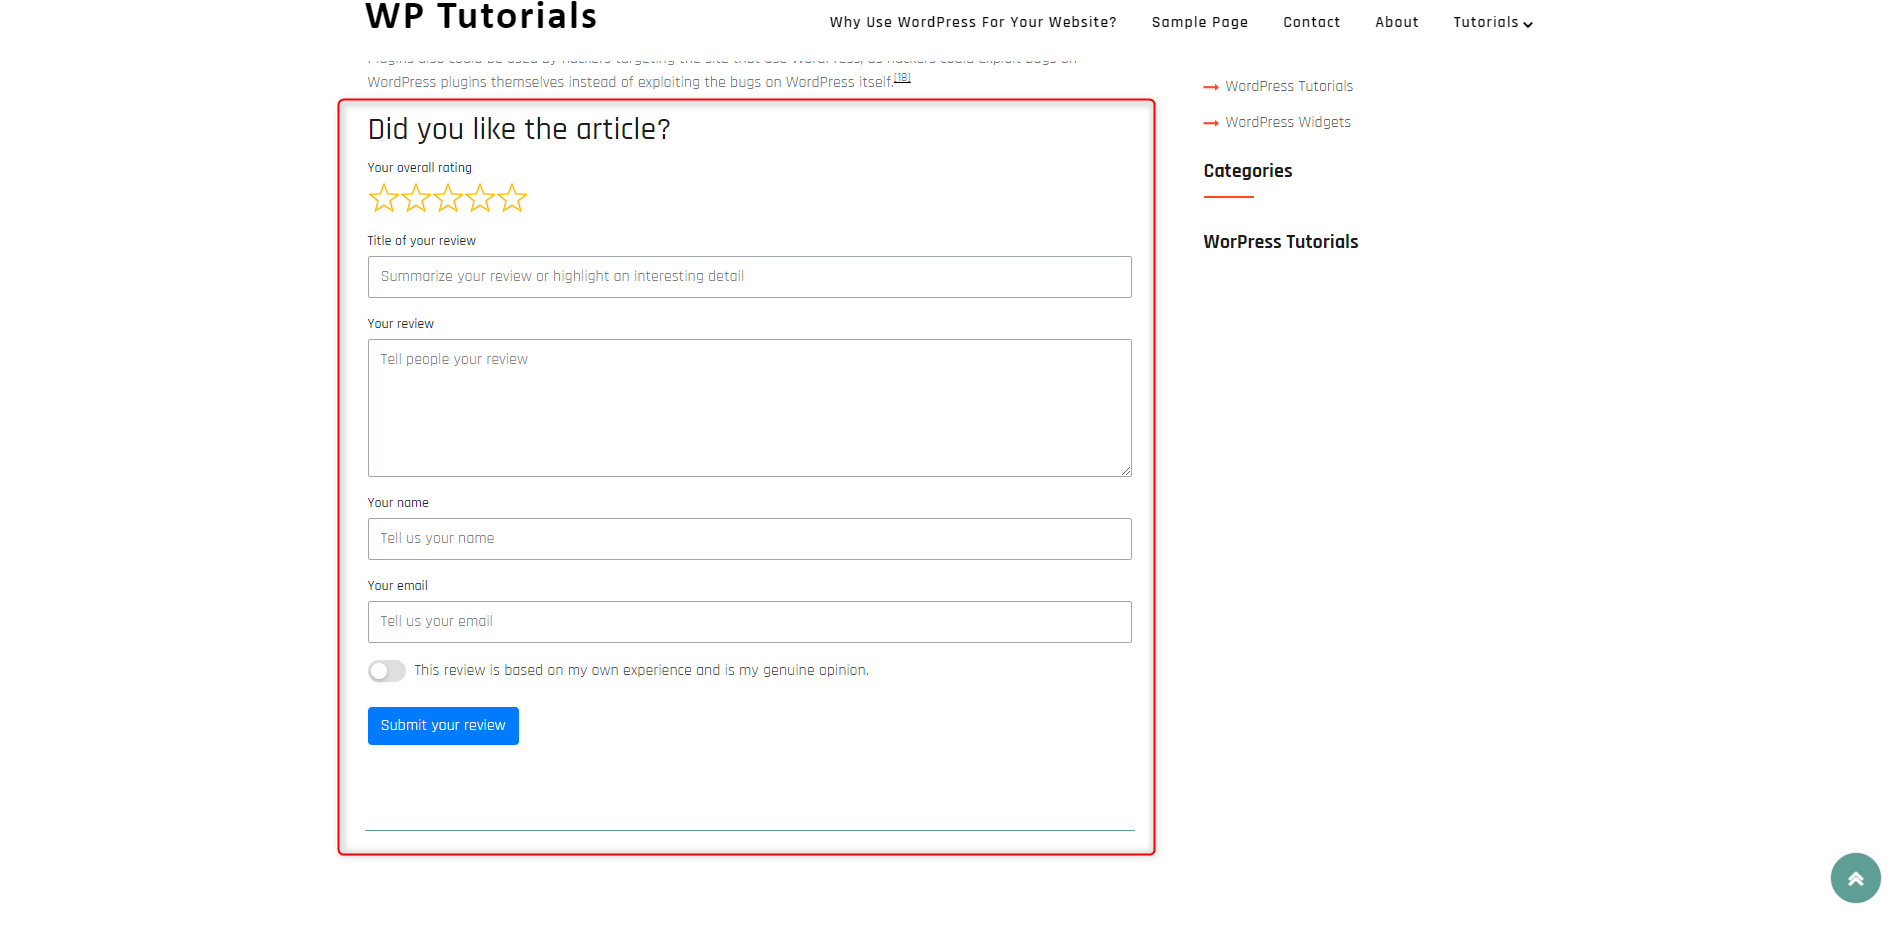
In our case, this is the final result:
Also, have a look at the new menu for Site Reviews. From there you can manage your preferences and the style and format of your review sections:
3 Tips on How to Use the WordPress Review Platforms for Your Advantage
1. Prompt Your Site Visitors to Give Their Review for your Product/Service
By doing so, you will be able to see what your audience likes about your business and what – not. Their comments and ratings are a valuable asset, as it gives you ideas on what you are doing right and what needs improvement.
2. Respond to Reviews
Don’t forget to check for new reviews on your pages and make sure you respond to them. If someone has spent time and effort to leave a comment, don’t ignore it – answer. If it is a positive review, thank them, and if it is a negative – be proactive and try to reach the customer, so you understand what issues has he encountered and think of what you can do to improve his satisfaction with your brand.
3. Share the Reviews With Your Audience
Any shared rating and review can prompt your audience to find out more about your products and services and therefore enhancing their chance to make a purchase.
Also, share your customers’ stories and show how your services have solved their issues.
Conclusion
Customer reviews are quite common in today’s world. Not only do they provide users with the possibility to share their side of the story, but also provide the chance for stronger relations with your customers.
If you are focusing on expanding your online presence and enhancing the security of your business, then check out our SSL Certificate services and protect your site today!
Also, have a look at the ultimate guide, which will help you learn everything about the platform in no time!
Related:
- What is a WordPress Favicon?
- How to Set Up a Homepage in WordPress
- How to Make Your WordPress Site Private
- How to Update a WordPress Theme