When learning how to create a WordPress site, one of the first things you should read about is how to update your themes, how to update your plugins, and how to update the whole system itself.
Updating WordPress is a standard maintenance task and should be performed regularly, so you get the most out of the platform.
How to Update WordPress
There are three ways you can use to update WordPress:
- Automatically via the platform’s dashboard updates page
- Via WordPress Plugin
- Manually via the ZETTAHOST hosting panel
In the following paragraphs, you will read how to use all three methods. They are equally useful and handy.
However, before you proceed with the updates, it is advisable to make a backup of WordPress – when working with the platform’s core, it is always a good idea to secure your site by all means.
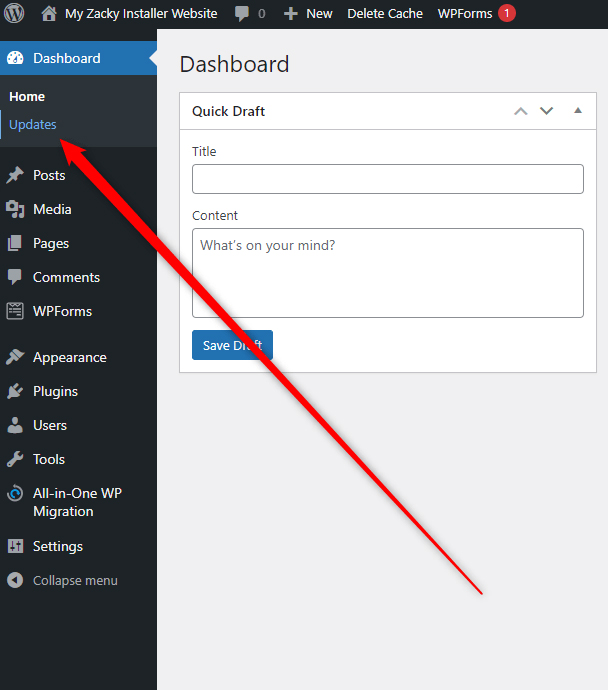
Update WordPress Automatically
To use this method, go to your WordPress admin panel and head to Updates:
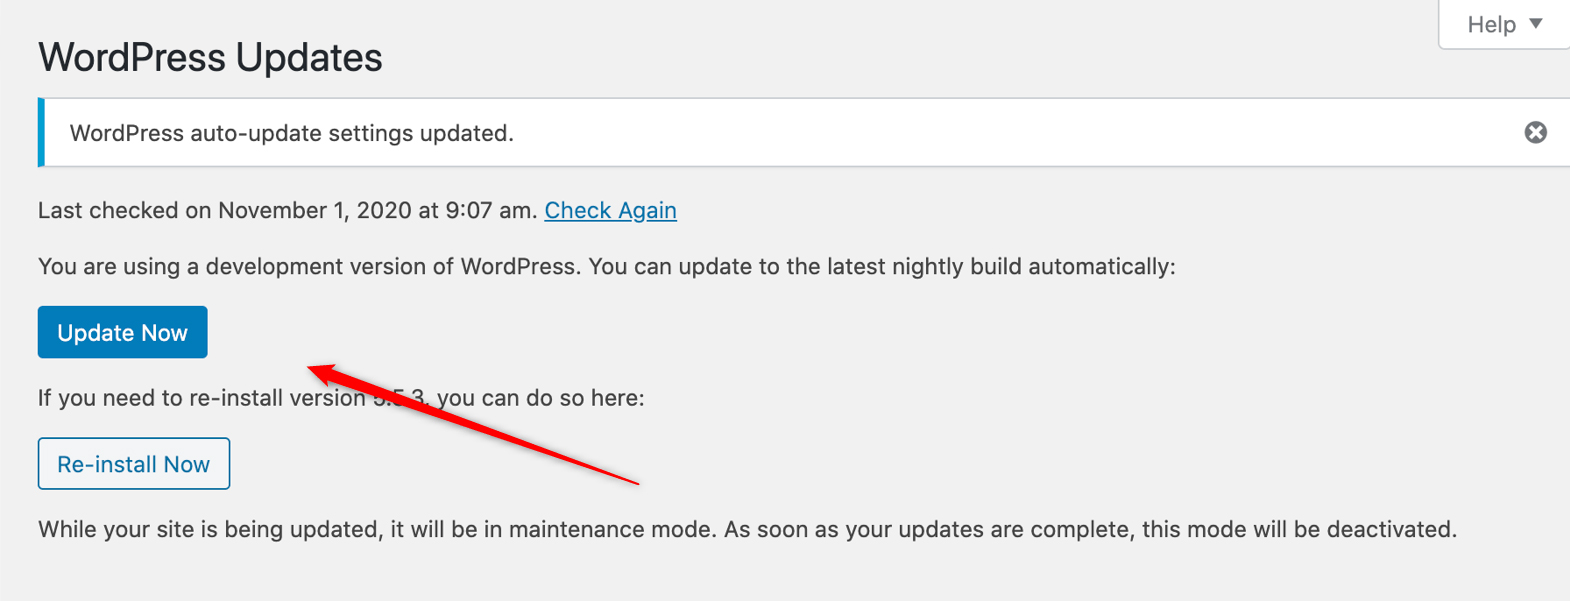
You will see text informing you about which version is currently installed. If this is not the latest one, there will be a button prompting you to update the system. Click it, so the updating begins.
Once the process is completed, this page will inform you that you have the latest version of WordPress and can prompt you to reinstall WordPress:
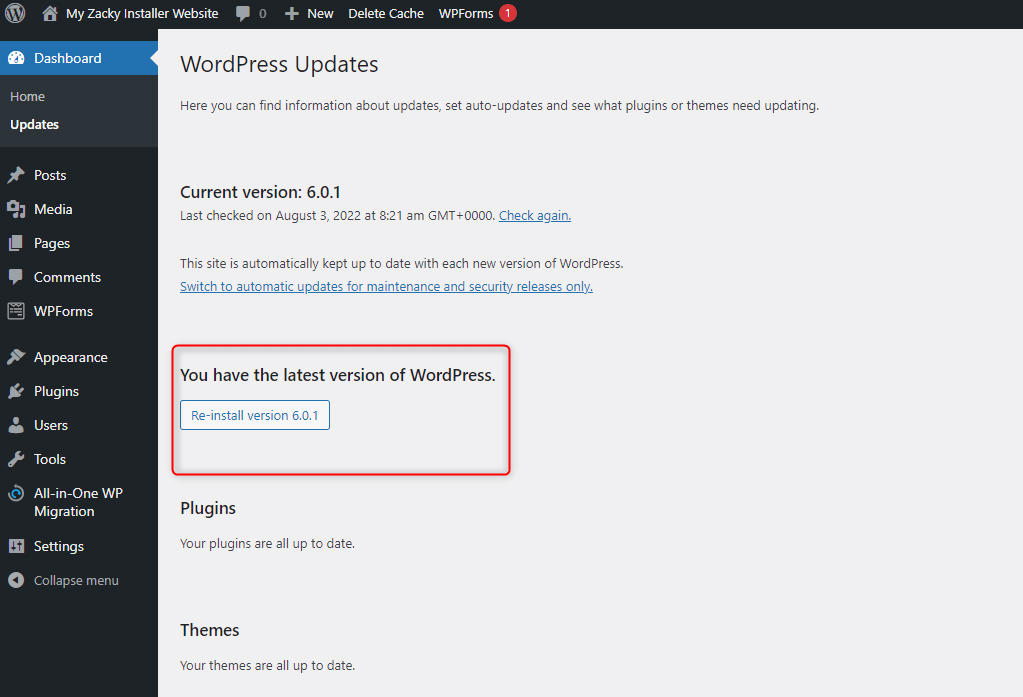
Now, you’ve managed to update WordPress.
Update WordPress via Plugin
Using WordPress plugins is also feasible, as it gives you plenty of customization options.
For this demonstration, we will use Easy Updates Manager, as it comes with tons of features and is also pretty straightforward to use. However, browse the plugins library and choose the one that fits your needs the best.
When you made your choice, install and activate the plugin.
Then open the plugin’s setting. In the context of Easy Updates Manager notice the WordPress core updates section:
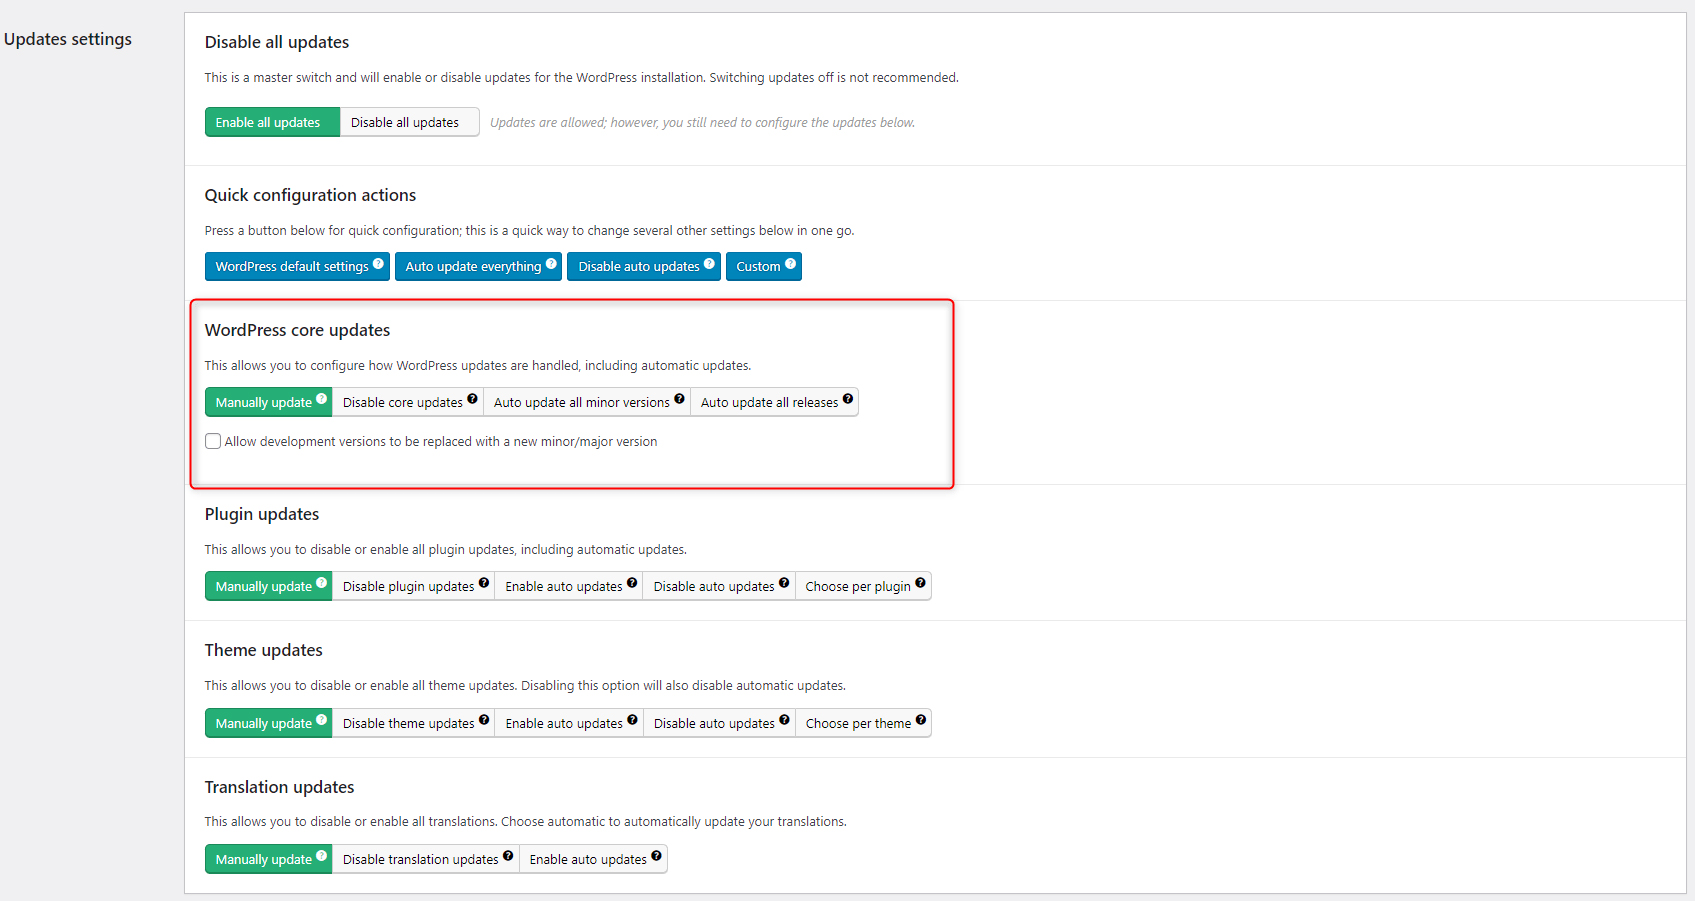
From this section, you can choose various options. For example, you can set up auto-updates or completely disable the core updates.
As a rule of thumb, always allow automatic minor and major updates, so you can use WordPress to its full potential.
Update WordPress Manually
This process is very simple and requires only a few minutes of your time.
The process in a nutshell:
You will enter your site’s root directory and will add a string of code to a file, which will enable the system automatically update WordPress.
You can do this via the ZETTAHOST hosting panel.
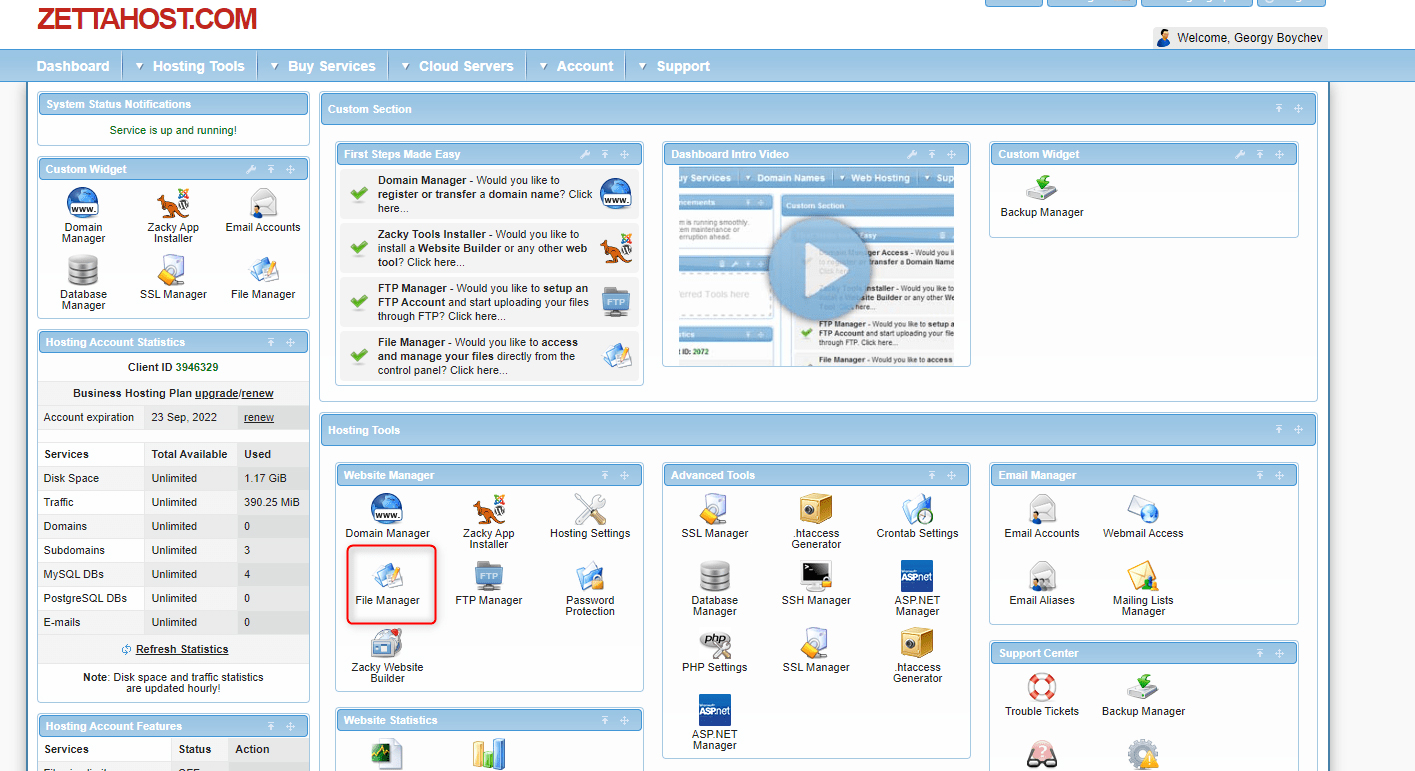
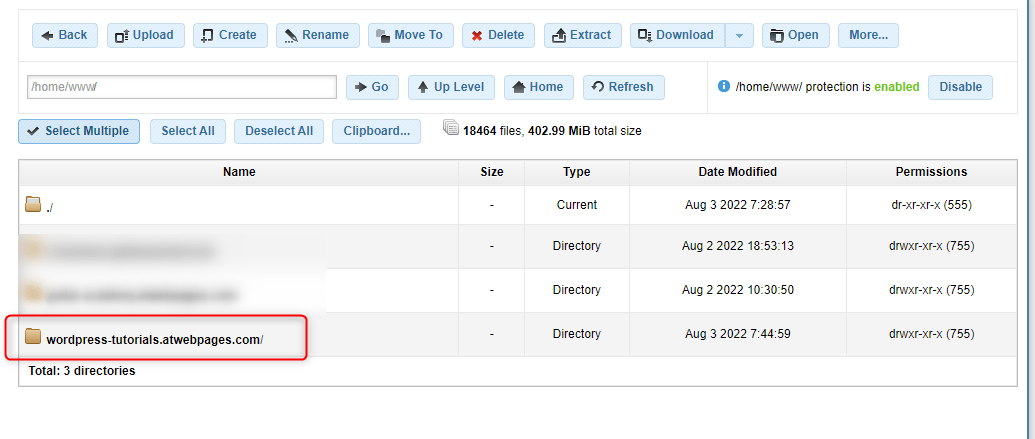
When you open the panel, head to File Manager:
Then, find and open the folder with your site’s domain name:
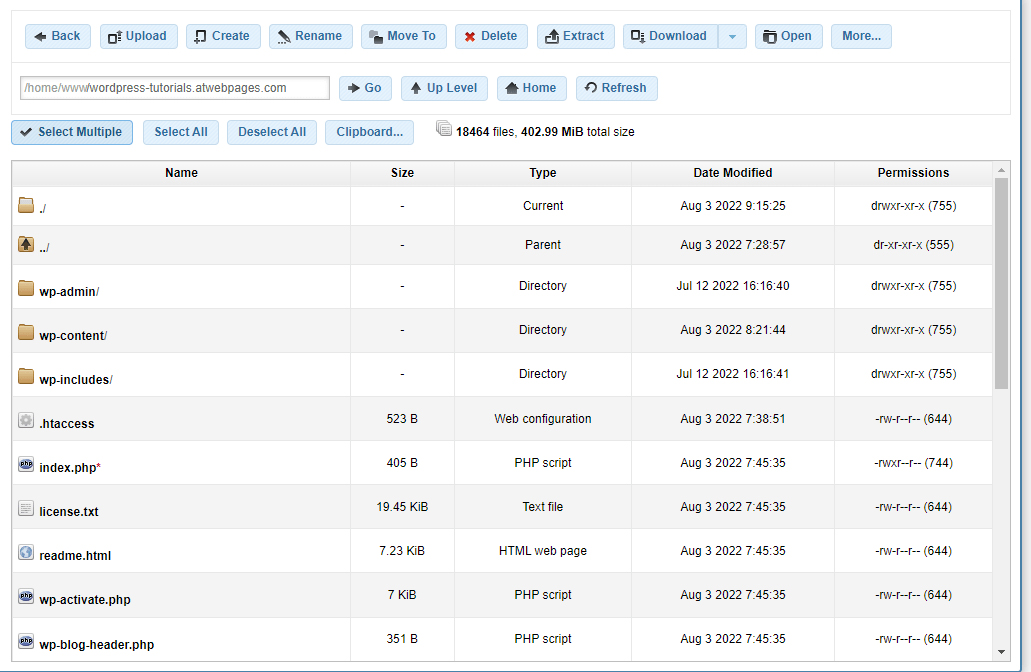
Inside, you will find all your website files:
While in this directory, search for wp-config.php file and open it:
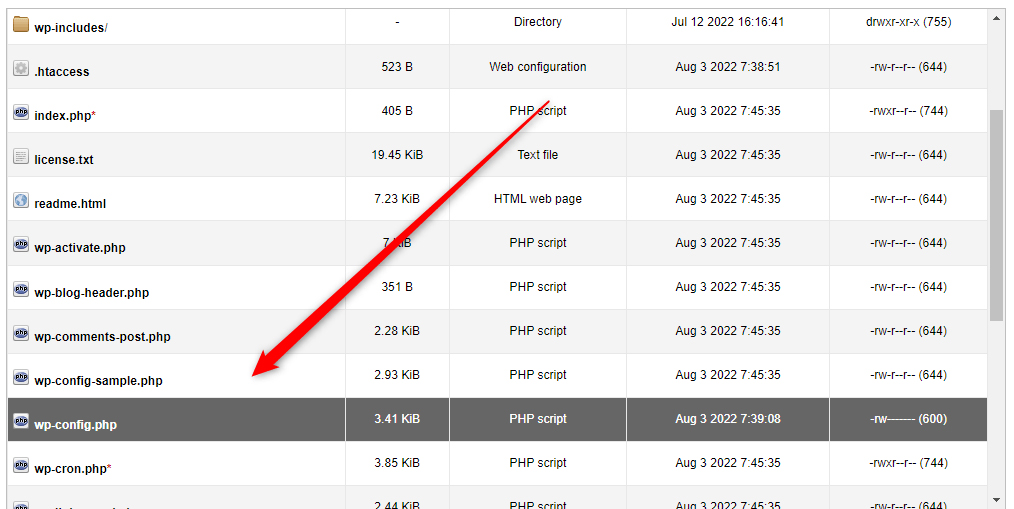
Then, at the bottom of the text add this line:
define(‘WP_AUTO_UPDATE_CORE’, true);
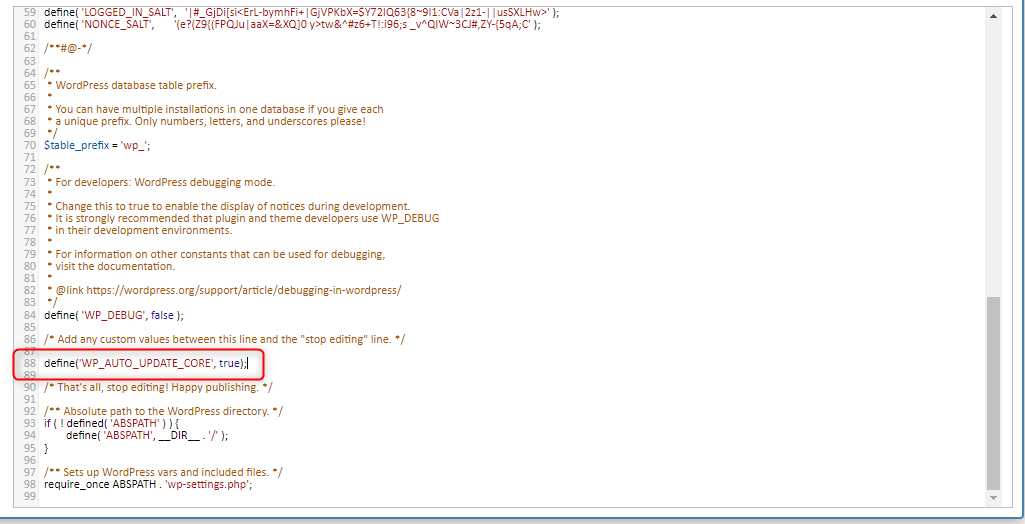
Then, click Save and refresh your website. The system should update automatically.
Conclusion
Updating your WordPress core helps you enhance site security and fixes various compatibility issues.
It is important to learn how to update your system, as it allows the seamless function of your entire site – remember that well-maintained and issues-free pages are vital for your site’s popularity and success.
More precisely, some of the benefits of using the latest version of WordPress include:
- Improved security. Every new version of WordPress comes with updated security features that protect your website from hacking attacks and malware.
- Better speed. New versions oftentimes come with various speed improvements that altogether make your website faster and therefore more user- and search engine-friendly.
- Better compatibility. Latest WordPress updates ensure that you can use different plugins and themes without stumbling on various technical issues due to incompatibility.
Related: