If you have dates in your WordPress post URLs and want to remove them, but don’t know how, this is the right article for you.
Being a very versatile content management system (CMS), WordPress allows you to personalize your website in numerous ways.
One such way is to change the structure of permalinks of your blog posts and remove the dates in URLs in a few quick steps.
How to Remove Dates from WordPress URLs
Before we see how this is done, however, it is first important to consider a few things.
If you are still learning how to make a WordPress website and you haven’t published any posts, then you shouldn’t worry about changing the URL structure and removing dates. Simply proceed with the next steps.
However, if you already have published posts, changing their structure can make visitors stumble on a 404 Error Message. This happens in cases in which site visitors use the old URL to open posts that are already bound to a new URL. For example, they have saved the old URL or clicked on an old URL from another website.
This is why you should know how to fix Error 404.
Also, you should set up redirects that lead visitors to the new URL once they click on the old one. You will read how to do so further in this article.
Furthermore, it is important to make a backup of your website. This is will help you retain all your website information safely and revert back to it in case of issues.
Remove Dates from WordPress URLs
First, log in to your WordPress dashboard and head to Settings->Permalinks:
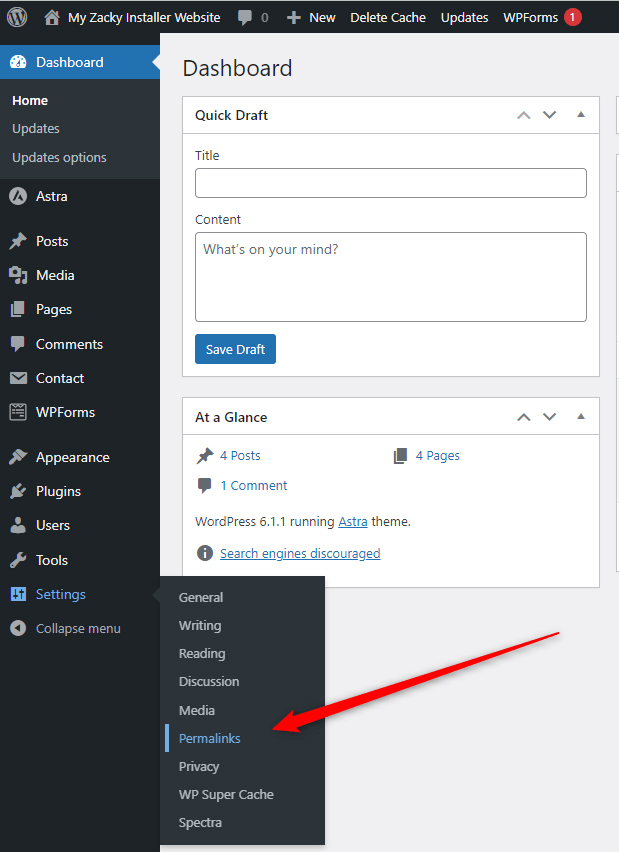
This will open the options page for your WordPress permalinks. Since you have dates in the URLs, you have used either Day and name structure, or the Month and Name. To change that, you should select a structure that doesn’t contain dates. The last two from the list are suitable, as they don’t contain dates and are informative enough:
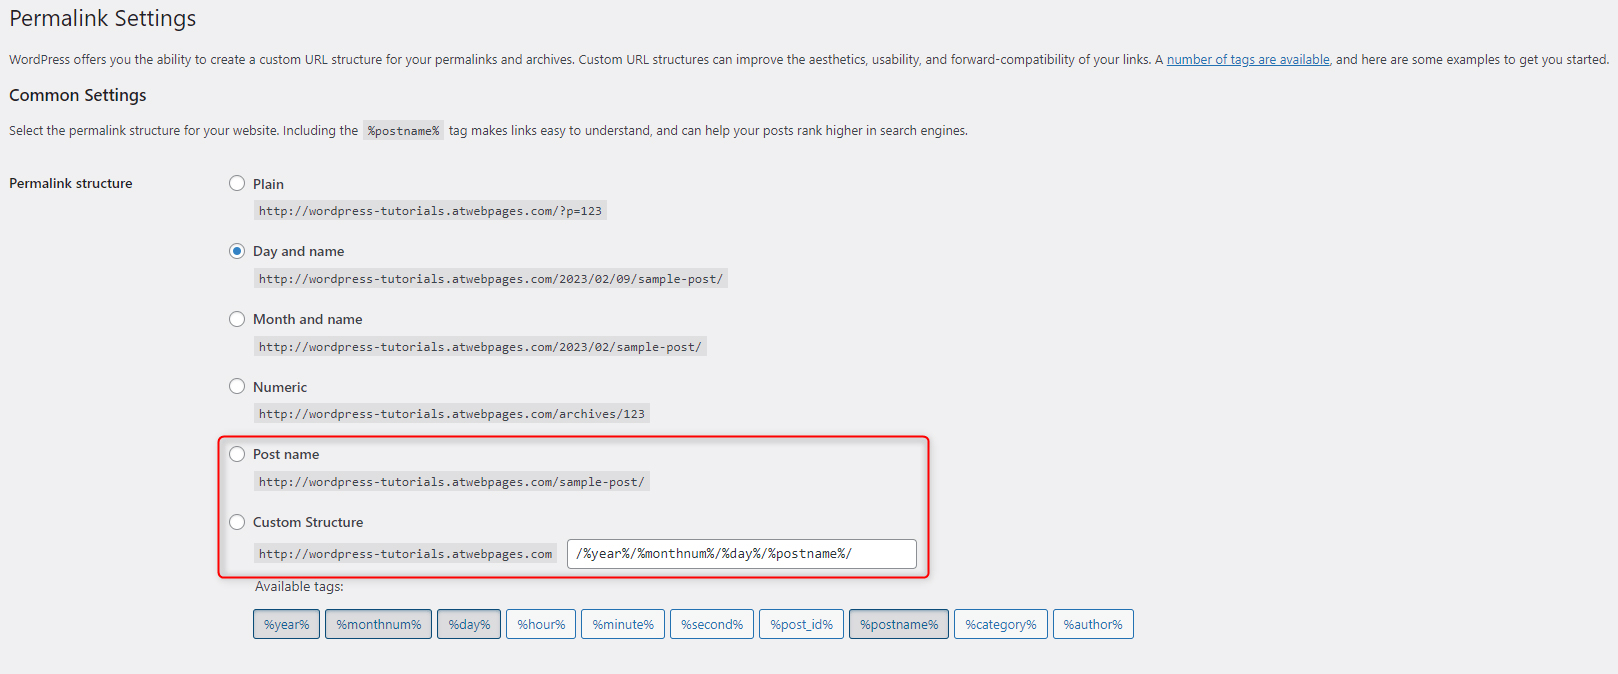
- Post name: this is a great option, as it would display the post name in your post URLs, right after the domain of your website – for example, https://www.examplewebsite.com/blog-post-name/.
- Custom structure: personalize the structure with suggested tags. For example, add a category before the post name: https://www.examplewebsite.com/category-name/blog-post-name/. This gives more information to search engines and site visitors and is widely used by bloggers.
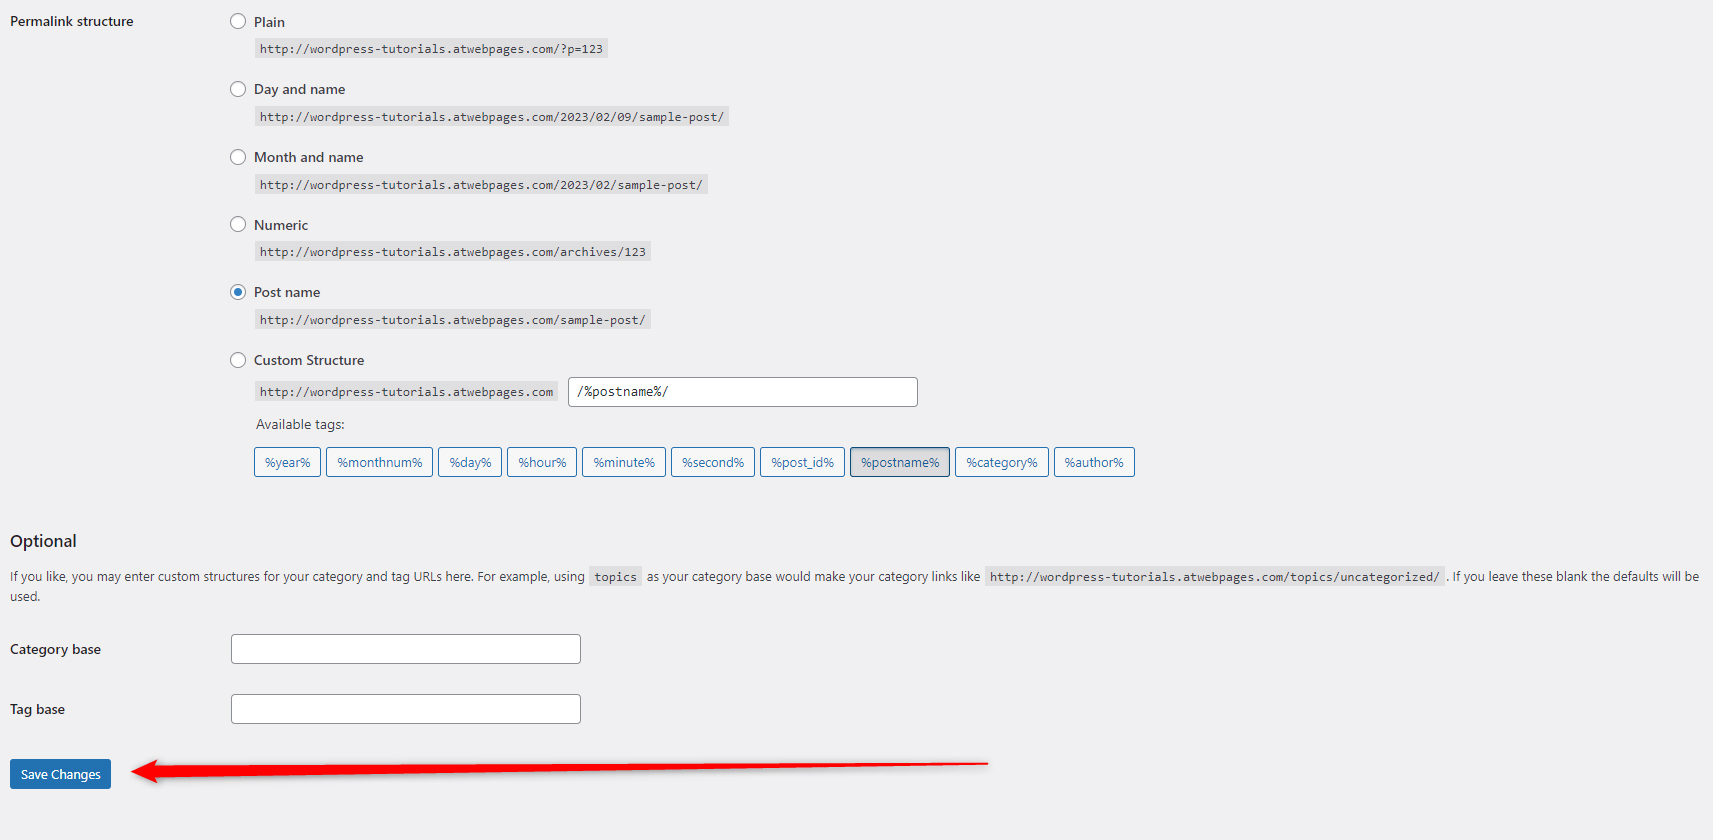
Once you selected a new structure, save the settings by clicking the blue Save Changes button in the lower left corner of this page. This will apply and save all the changes:
Now you’ve managed to remove the date from your blog post URLs.
However, there are a few more tweaks you should do, so to retain your SEO score and traffic.
Set Up Redirects
Redirects are a widely used technique in WordPress, as they reduce the negative effects of the 404 Error Message. When you use redirects, your visitors will open the right page even when they follow the wrong URL.
The concept is simple – although you change your URLs, old versions can still exist on your and other websites. If visitors click on these old links, they won’t open a relevant page, but rather will stumble upon the annoying 404 Page Not Found message.
However, when you use redirects, and users click on an old version of an URL, the redirect technique will automatically follow the new link, instead of the old one, and WordPress will open a fully functional webpage with the relevant content.
Redirects are very important to retain your visitors’ satisfaction, site traffic, and SEO score, when changing details in URLs, such as removing the date.
Because of how important redirection is, you should set it up immediately after you removed the dates from your post URLs.
To do so, follow the next steps:
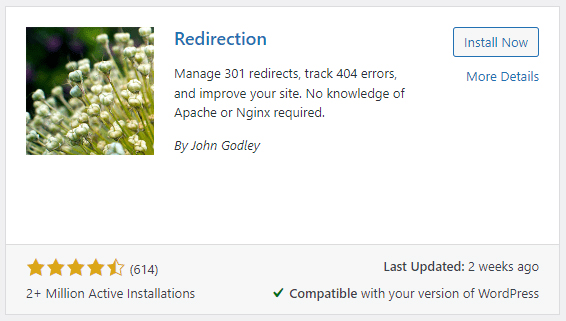
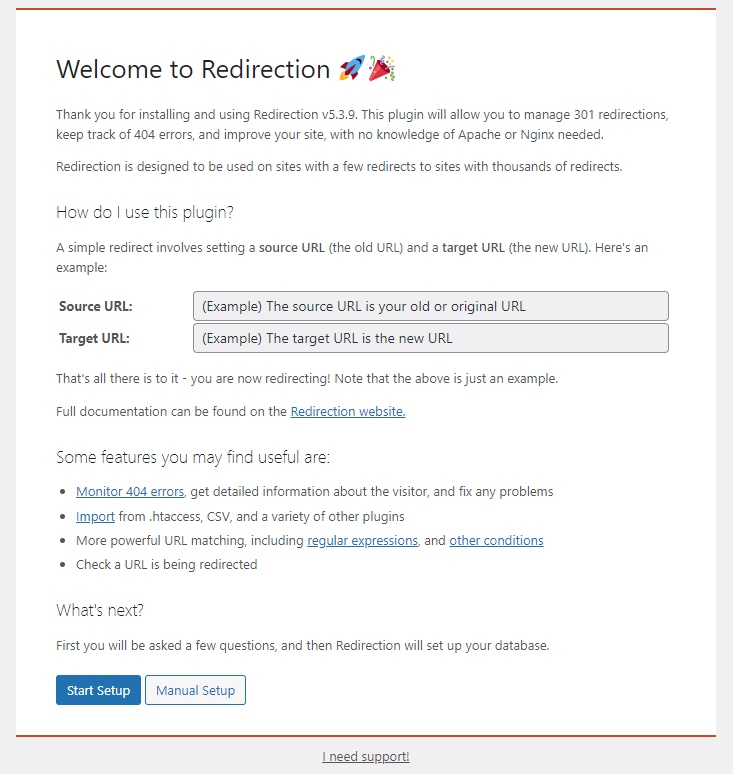
First, install a WordPress plugin for redirecting. For this demonstration, we will be using a simple one called Redirection:
Then, follow the plugin’s setup process:
Once the process is finished, you can access the redirection options:
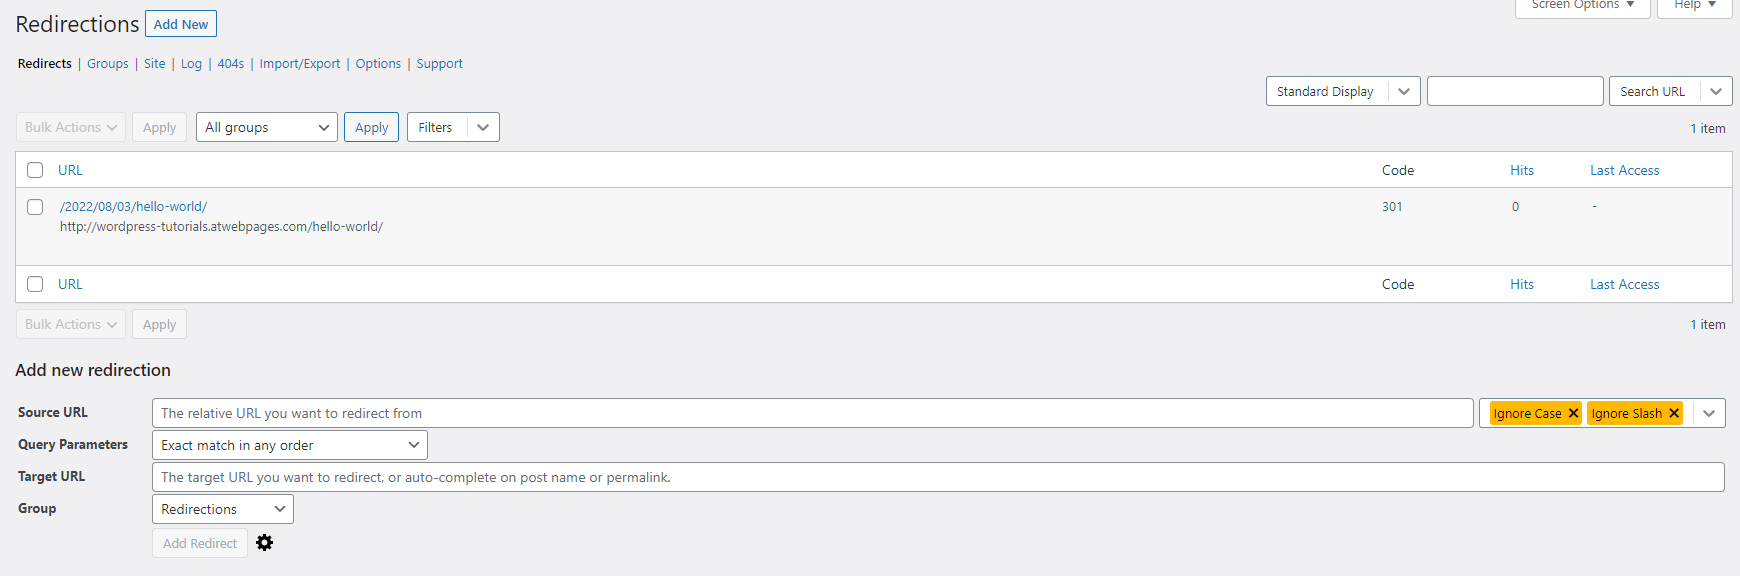
To add redirects, place the old link (the one that contains a date) in the Source URL field, then add the new address (the URL without dates) in the Target URL field, then click on Add Redirect.
Follow this process for each URL in your blog section.
Now you have managed to add redirects and retain your traffic and SEO rankings.
Conclusion
Removing the date from URLs is a great way to make a blog piece relevant for a longer time. This is very useful if you want to focus on evergreen content on your WordPress blog.
Now you know how to do so and make your blog posts more useful for your visitors, and also retain SEO score and traffic, as you will avoid dealing with 404 Error messages.
Related:
- What are the components of the WordPress Posts?
- How to Add Categories in WordPress and Assign Posts to Them
- How to Schedule WordPress Posts?