Adding a title tag to your WordPress webpages and posts is not only important to help search engines find and rank your pages in search results, but it is also important for site visitors, as the proper title tag helps them understand what your site content is all about.
In fact, adding a site title is one of the first things to do after you’ve installed WordPress.
What is a Title Tag in WordPress
At its core, the title tag is an HTML element that contains the heading of each web page and blog post on your website.
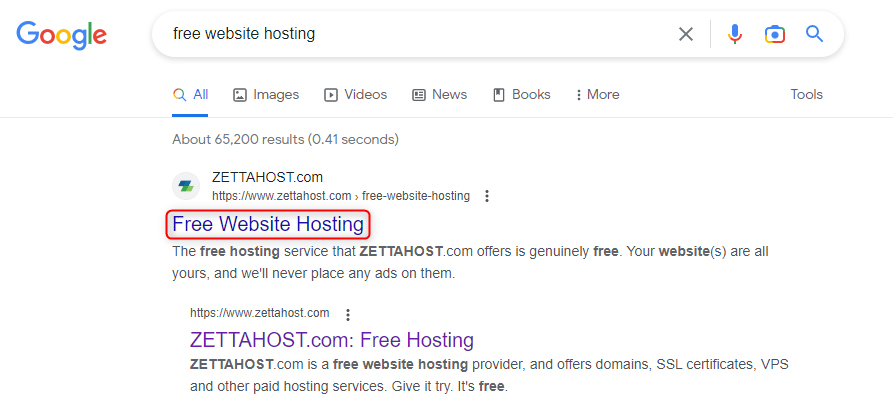
When displayed among others in the results list, a properly set up title tag has the potential to persuade Internet users that this website contains the answer to their query and eventually prompt them to open your website and browse its content:
Also, title tags are very important for search engines such as Google, because crawling bots pay attention to whether the title tag is relevant to the search query and whether it is relevant to the website content.
Should search engines determine the title tag as more relevant to the search query and website content they lead to, they will rank your website higher in SERPs.
The title tag is also displayed within the Internet browser tabs with opened web pages:

Because of how beneficial title tags are for the success of your website project, it is important to know how to include them in your WordPress website.
How to Add a Title Tag in WordPress
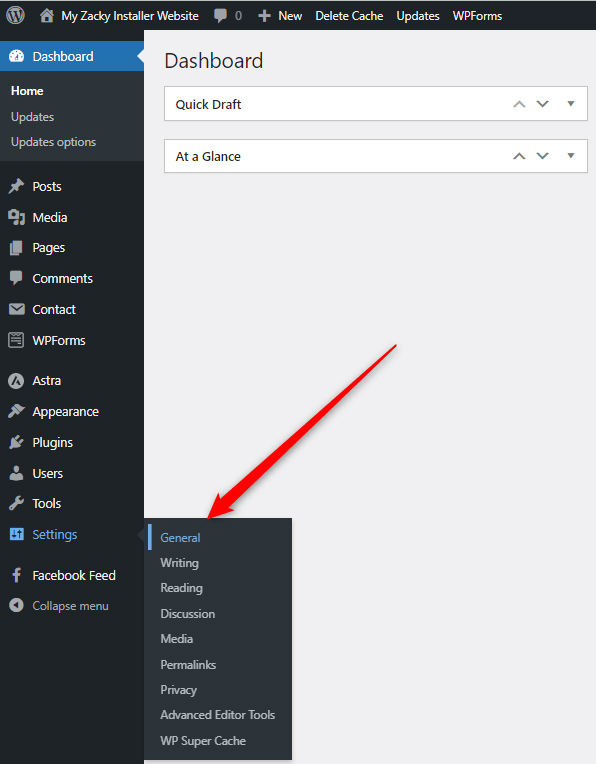
The first thing you should do to add a website title tag is to enter your WordPress admin dashboard.
After you’ve logged in to your admin panel, head to Settings->General:
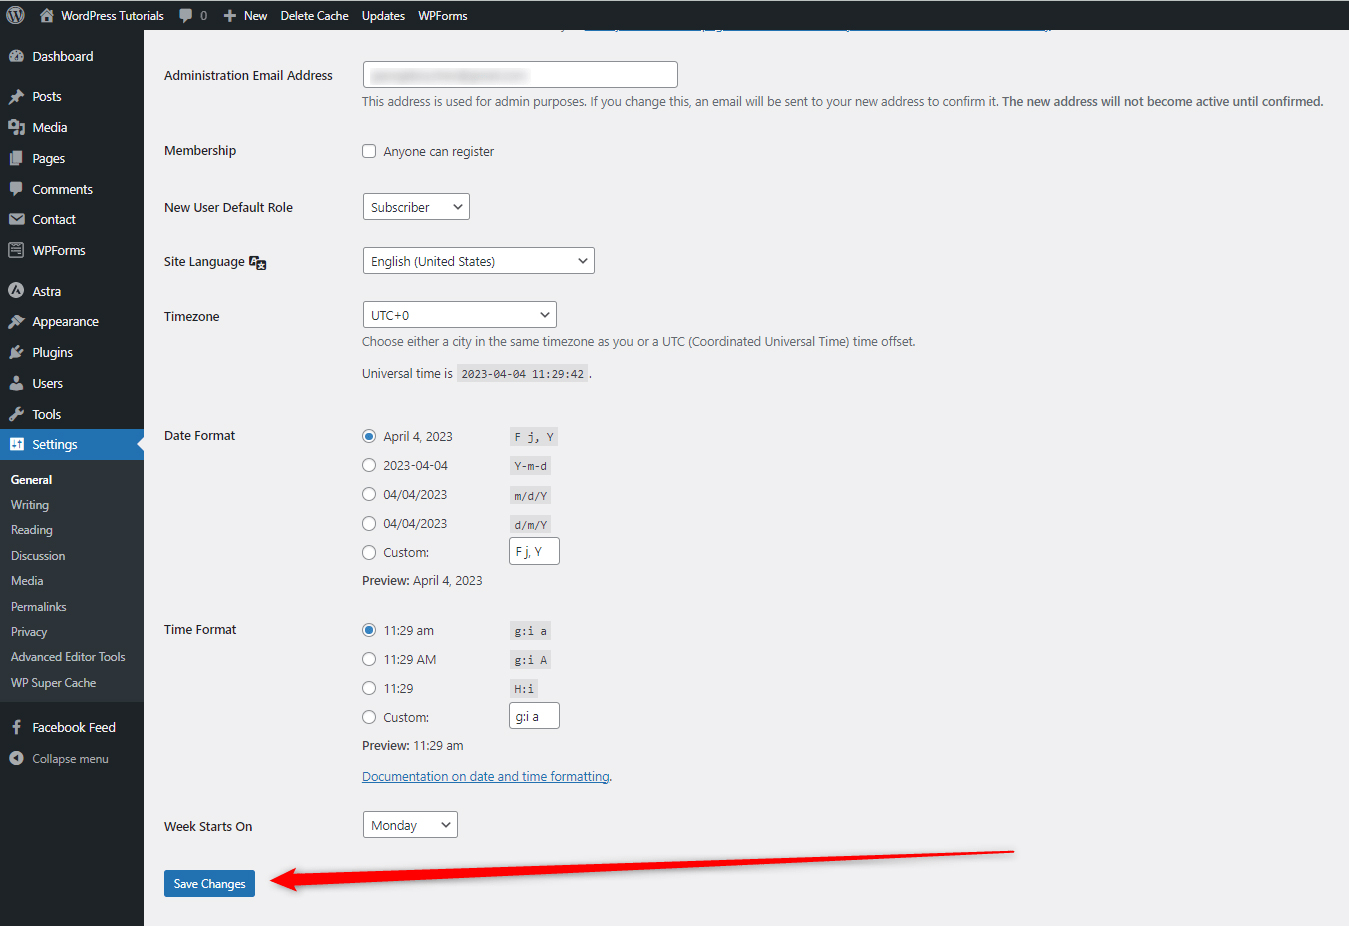
Once you open the general WordPress settings, you should be able to see a page such as this:
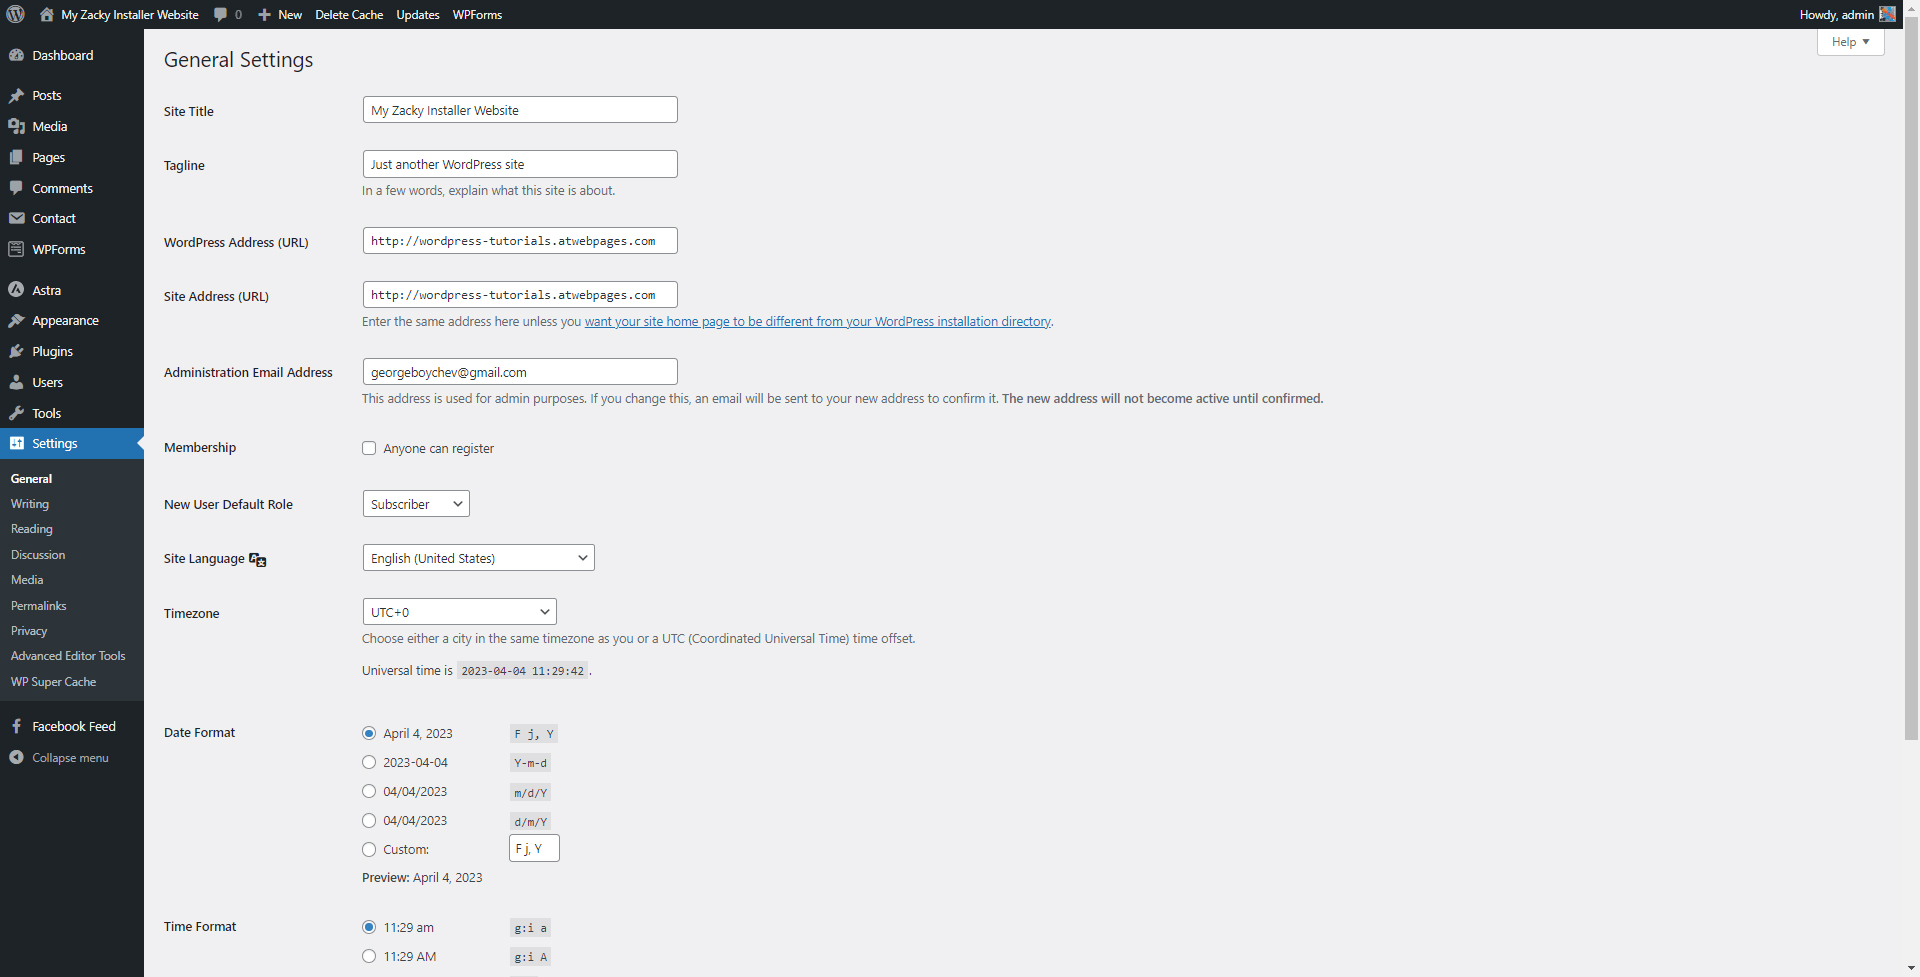
From this page, you can edit various website settings such as WordPress permalinks, time zone formats, and the site title tag.
To add or edit a website title tag, have a look at the Site Title option that is usually placed just below the General Settings heading:

To add or edit your site title tag, within the Site Title field type down your site title:
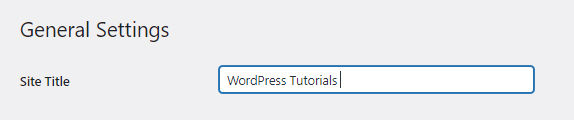
Notice how the title tag within the WordPress admin panel in the upper left corner is changing as you type in your title tag:

Once you are satisfied with your website title tag, scroll down to the bottom of the General Settings page and hit the blue Save Changes button. Clicking it will make WordPress apply and change your settings:
Now you’ve managed to add a title tag for your WordPress website.
Conclusion
Title tags are important for every WordPress website, as they allow search engines to find and crawl your site content and rank your pages in search engine result pages.
Adding a title tag to your site can greatly boost your SEO score and eventually contribute to more traffic to your website.
Related:
- Create a WordPress Website – The Ultimate Guide
- WordPress Basics Pt.1
- How to Install WordPress Using the Zacky Installer
- How to Create a New Page in WordPress
- How to Edit the Slug of the WordPress Permalinks
- How and Why to Set Up a WordPress Blog Page
- How to Use the Media Library in WordPress
- How to Update WordPress