WordPress plugins are the main feature that makes the platform so flexible and versatile. By using the right set of plugins, you can greatly enhance the functionality of your website and ease many technical processes.
Since we already discussed what a plugin is, it is time to see how you can install and use one within your site.
You can also check out how to update WordPress plugins and how to delete them.
How to Install a WordPress Plugin?
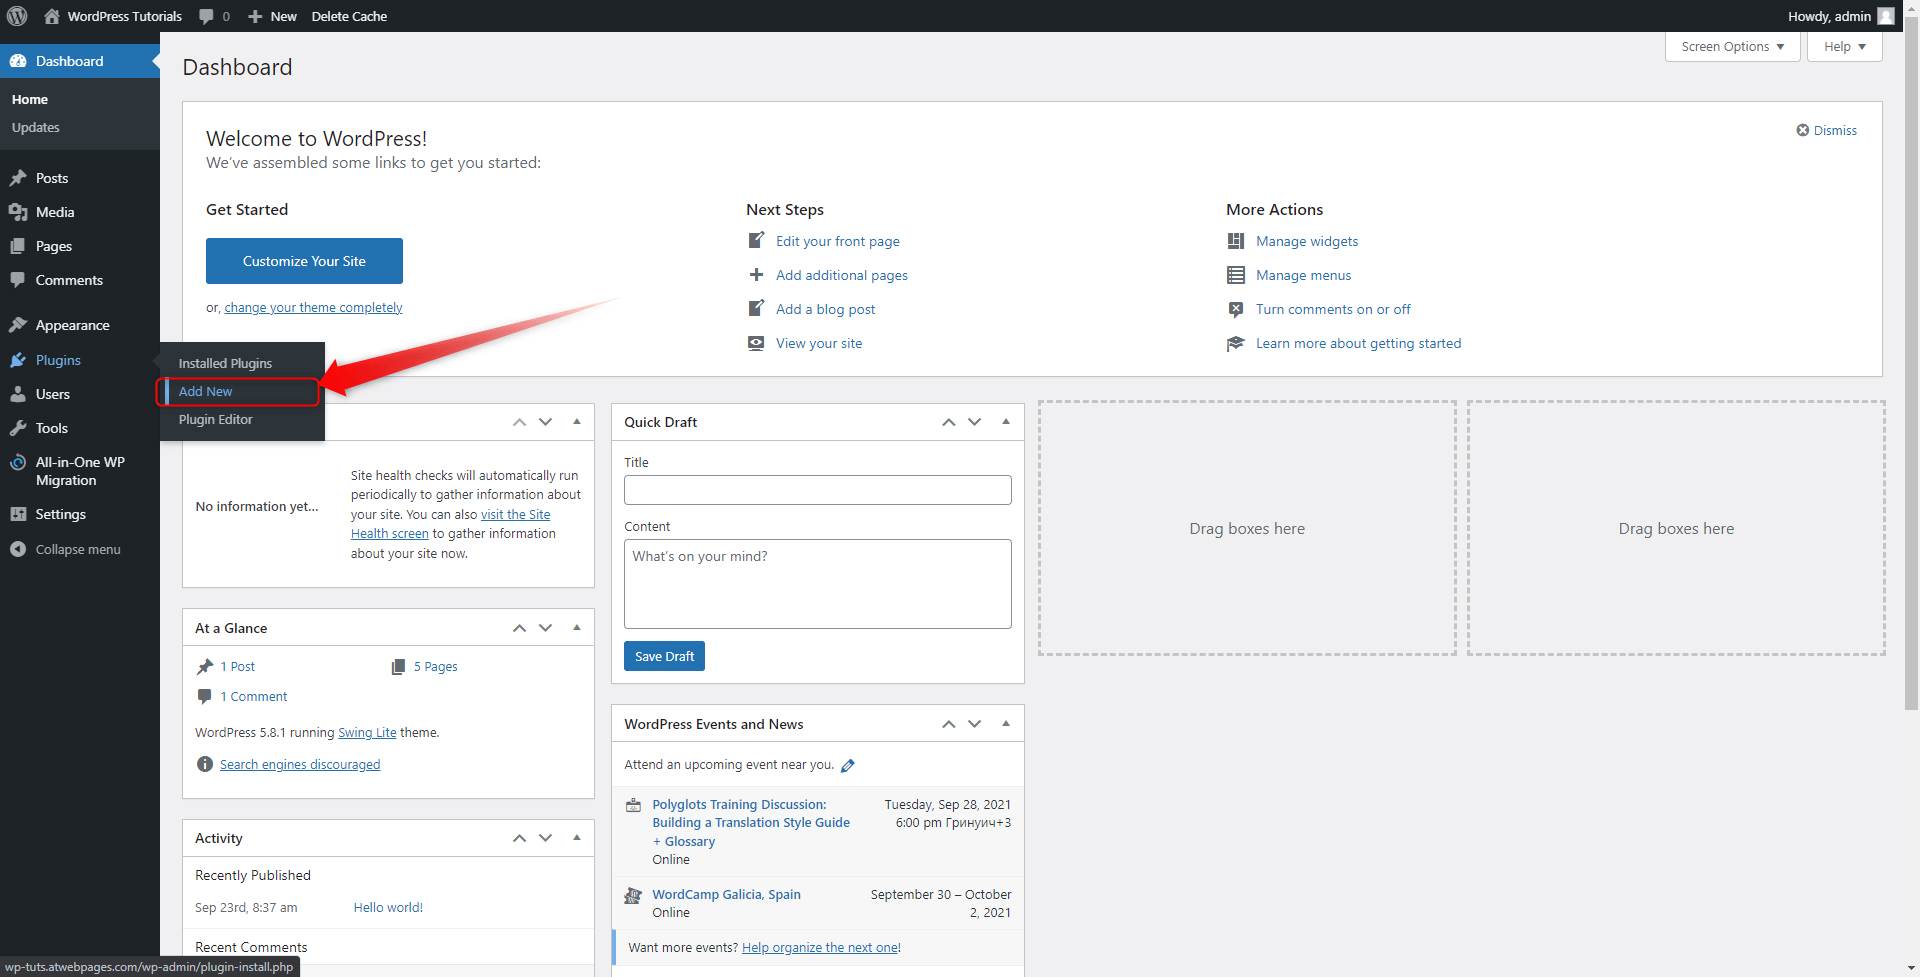
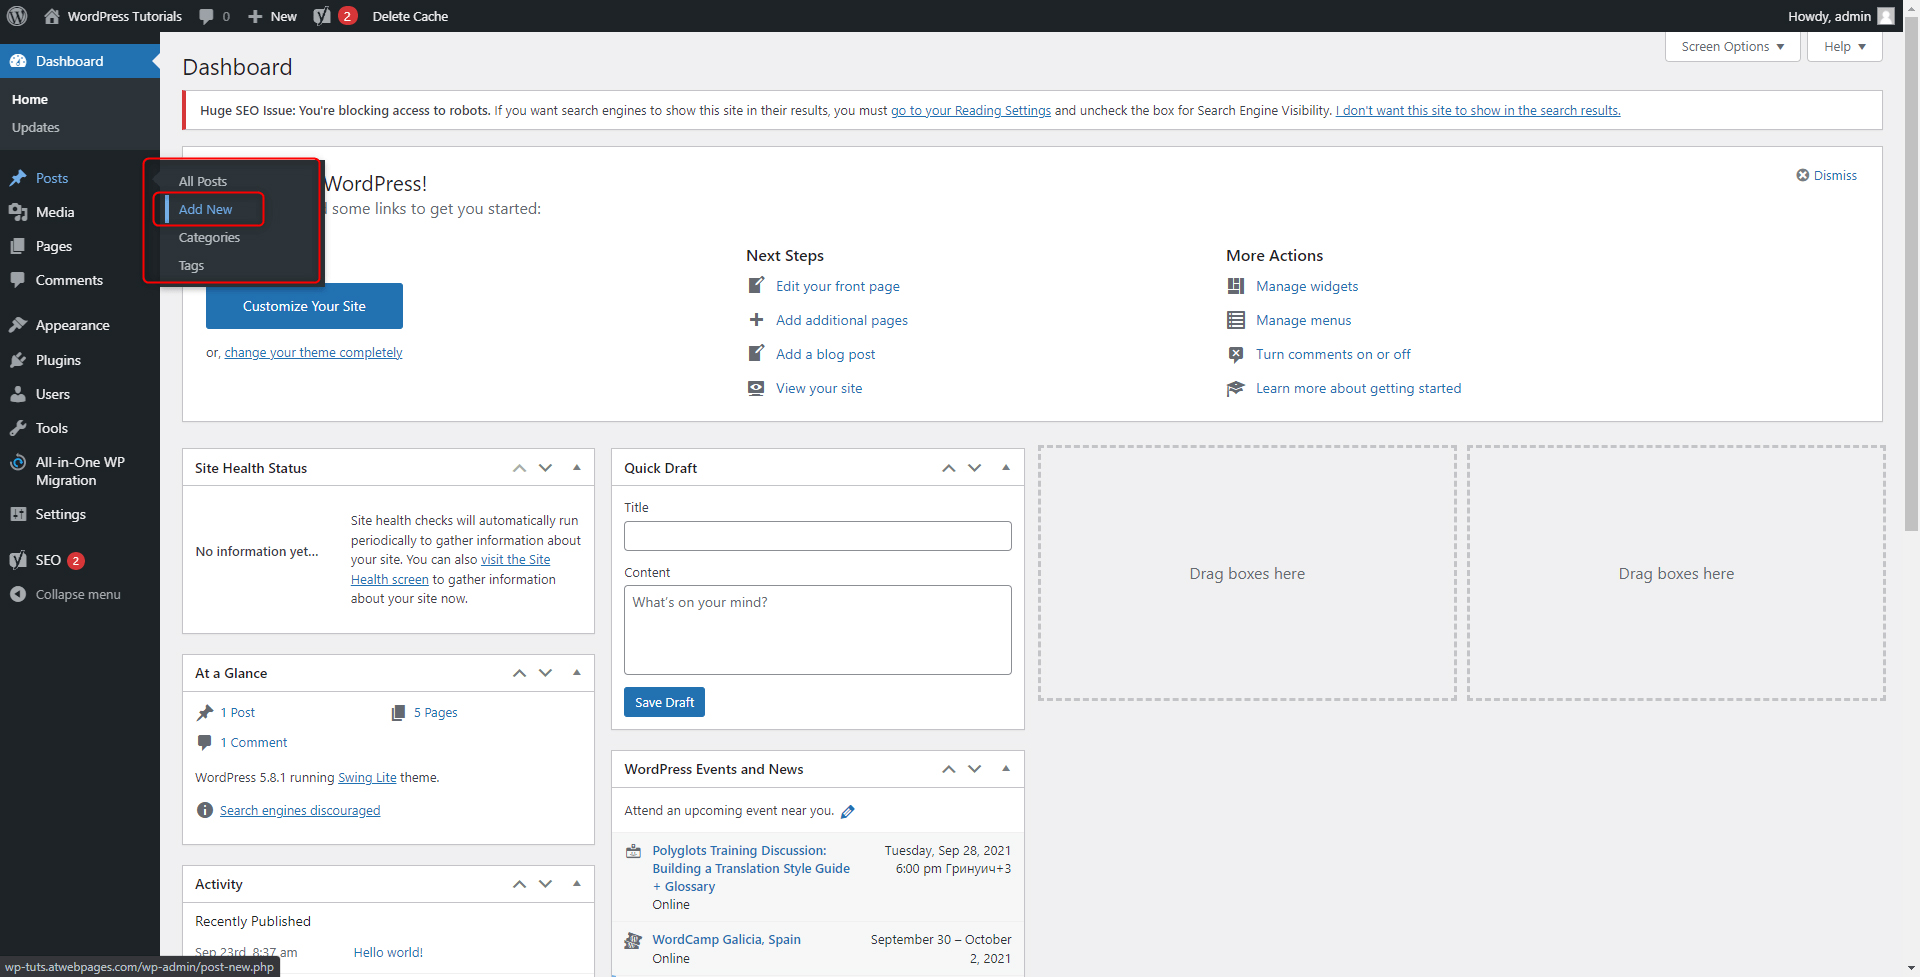
Step 1: Enter your WordPress admin dashboard and go to Plugins->Add New:
A new page with all available plugins will appear. Here you can browse and sort the plugins by name, popularity, rating, price.
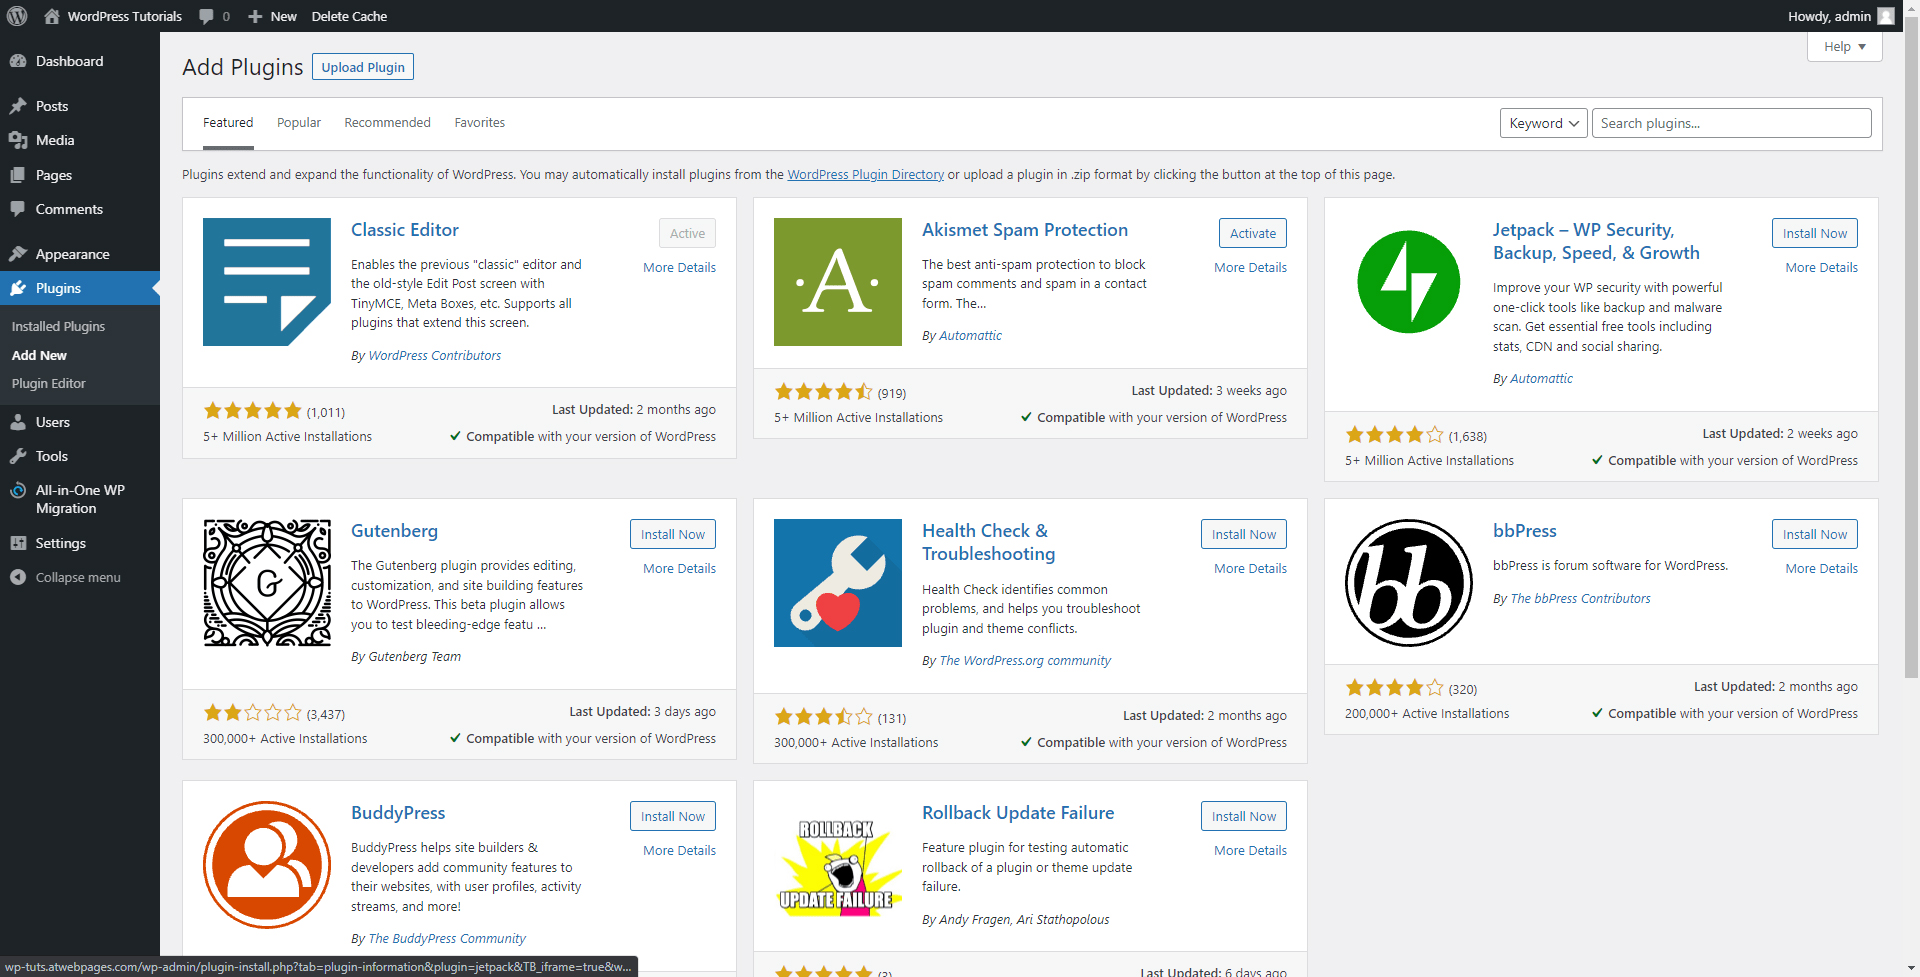
For the purpose of this guide, we will search for a quite popular and useful SEO tool – Yoast SEO. This is a handy instrument that will help you create SEO-friendly blog content.
![]()
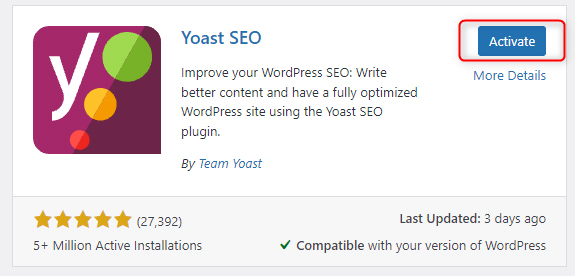
Step 2: Click on the Install Now button, located at the top right of the Plugin’s presentation image:
![]()
Step 3: Once the tool is installed, a new button will appear – Activate. Once you see it, click it – this will incorporate the tool into your WordPress system and you will be able to use it.
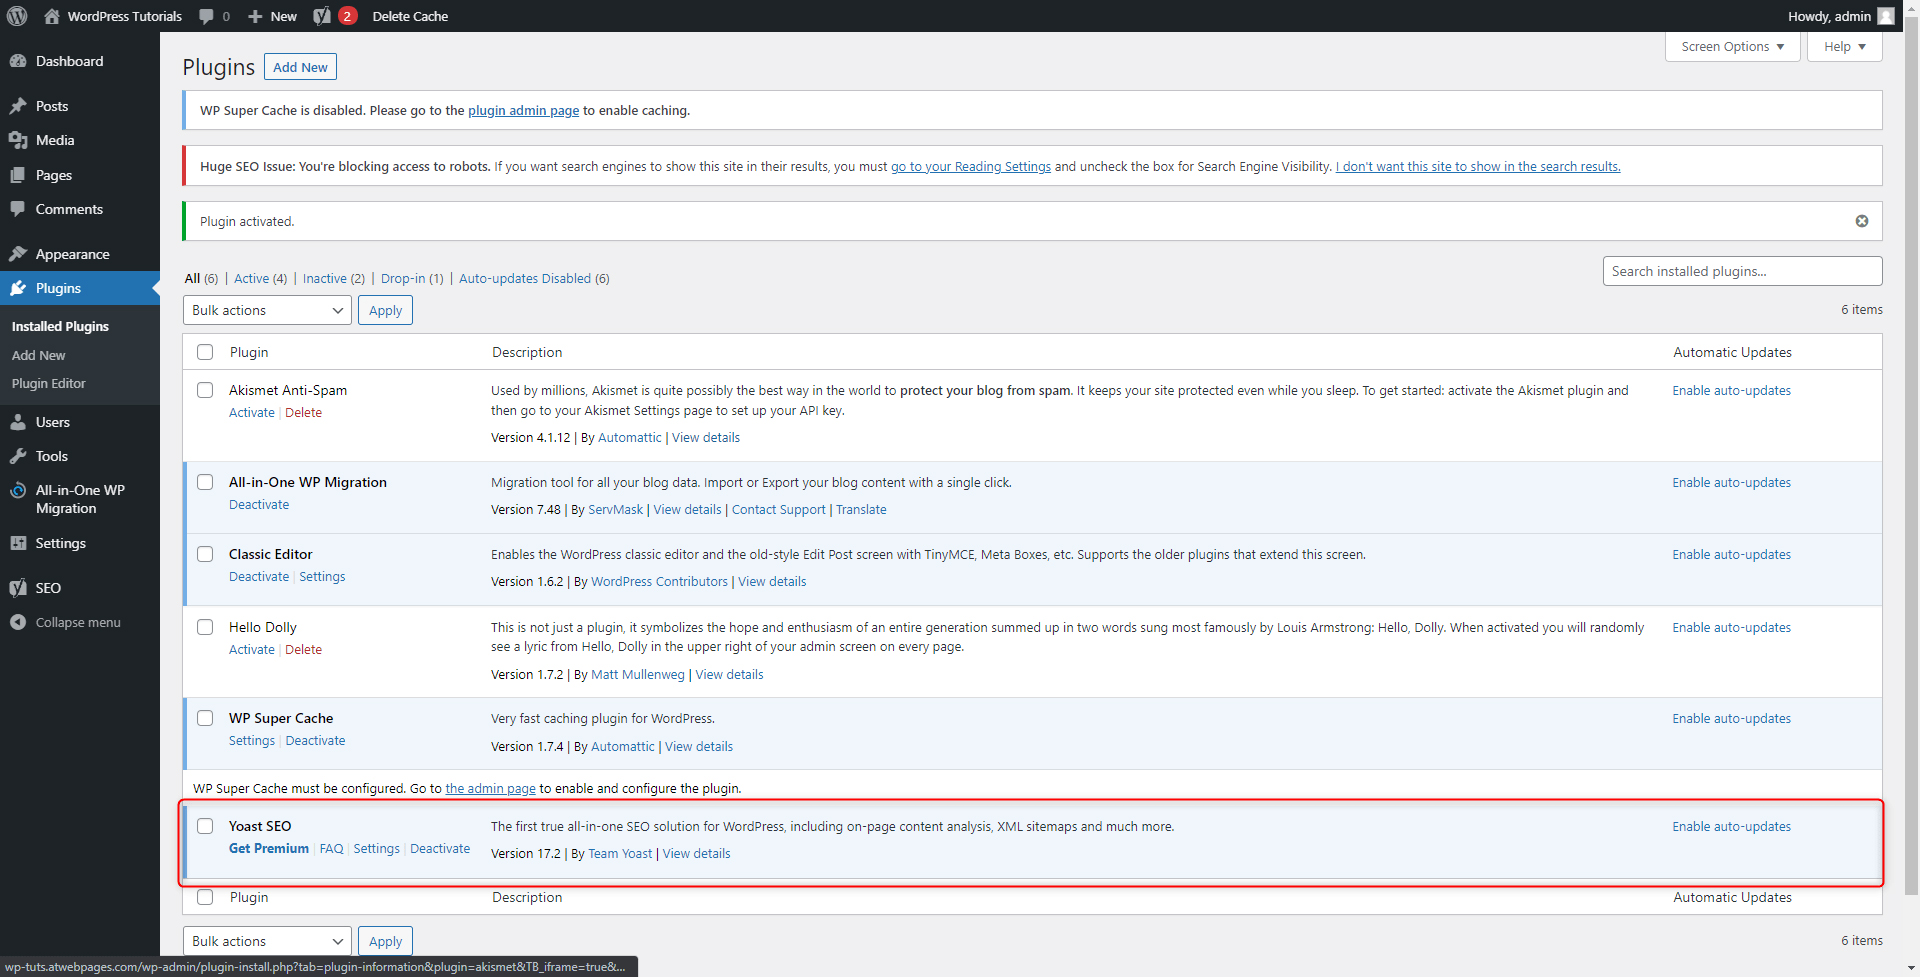
Once the activation process is completed, you will be automatically redirected to the Installed Plugins page of the WordPress Dashboard:

This page contains a full list of installed plugins on your system. Also, this is the place from which you can manage all your plugins – activate or deactivate them, update them, or simply delete them. As you will notice, there are some already installed tools by default. This page also showcases different messages concerning the proper functionality of your installed plugins.
You will see the Yoast SEO one at the bottom of the page:
Since Yoast SEO is focused on your Blog section, the plugin’s interface will be visible when you open a blog post.
To access its functions, you should open a blog piece, or add new to see the interface of the newly installed software. To do so, from your WordPress Dashboard hover your mouse cursor over the Posts button, and from the drop-down menu click on Add New. This will redirect you to the New Post creation page:
This is the place where you will write down, edit, delete and publish new blog pots. Also, have a look at the newly added box:
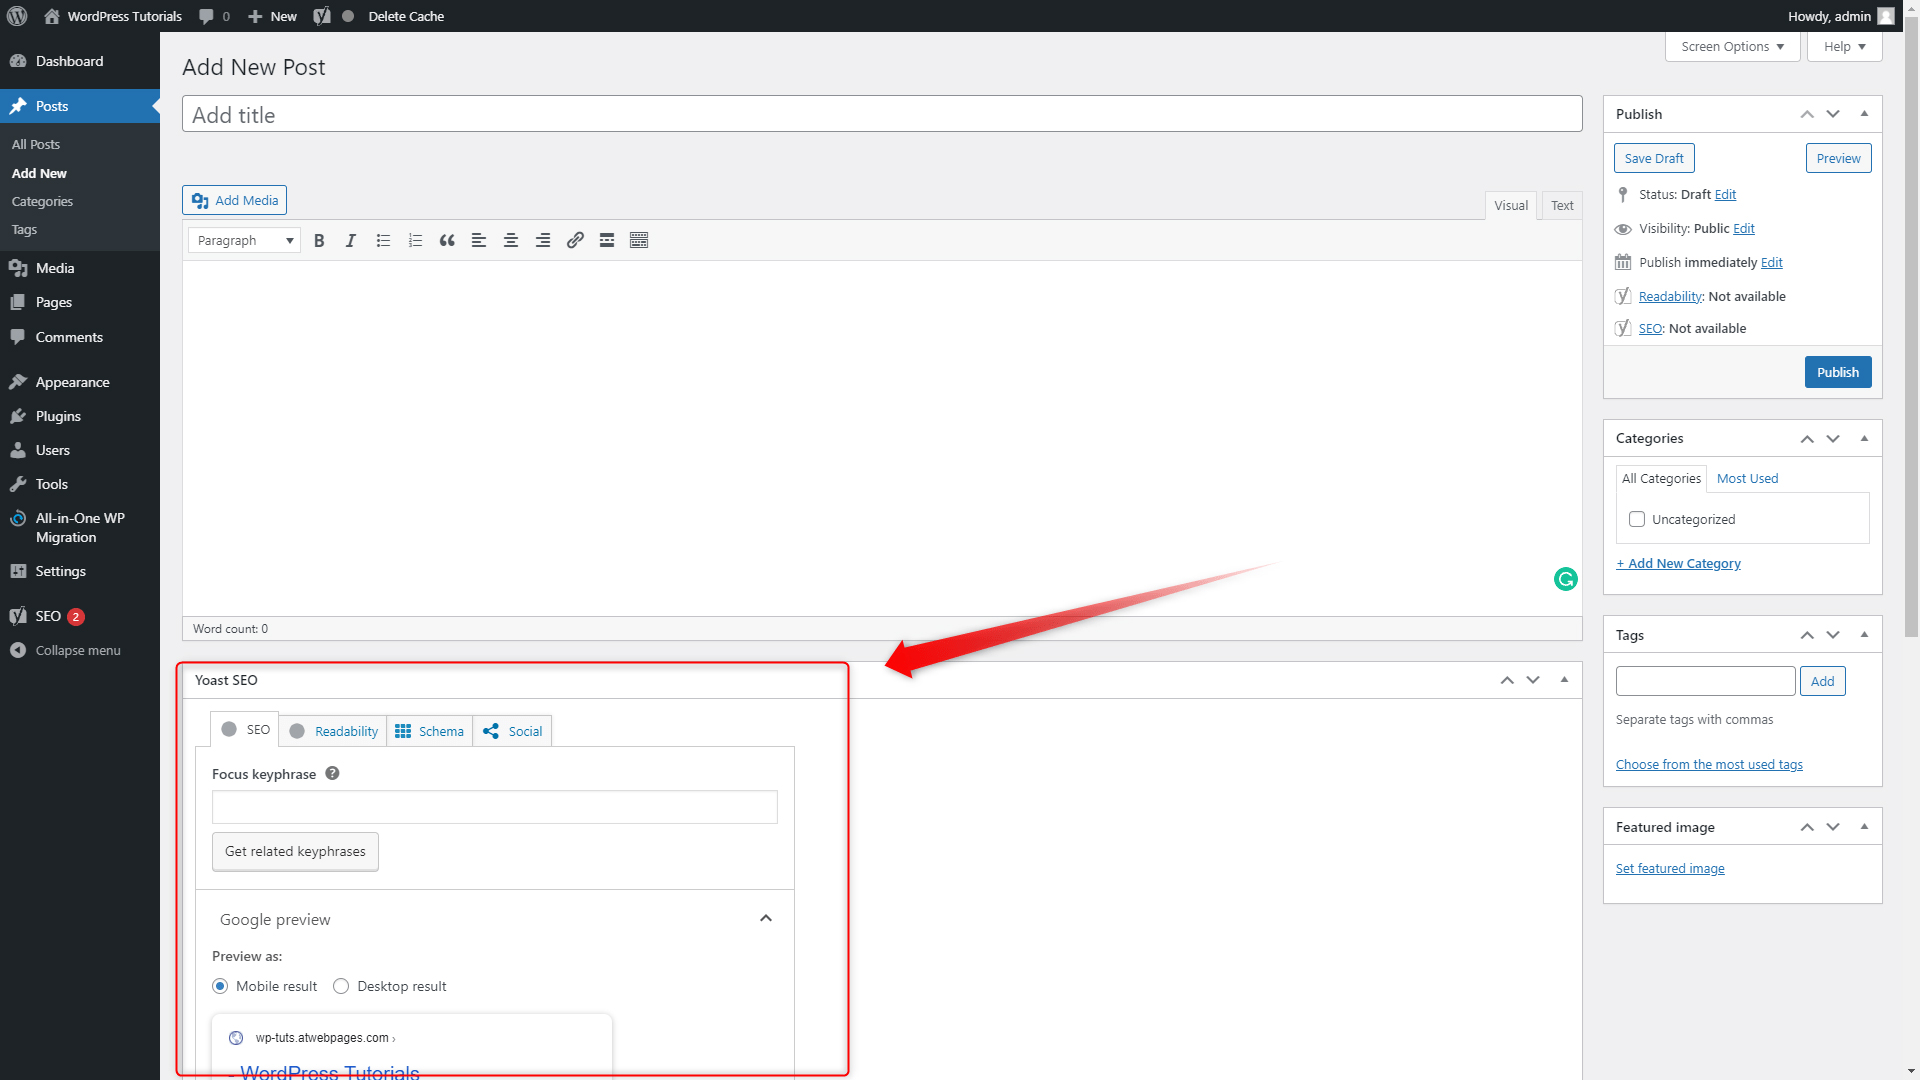
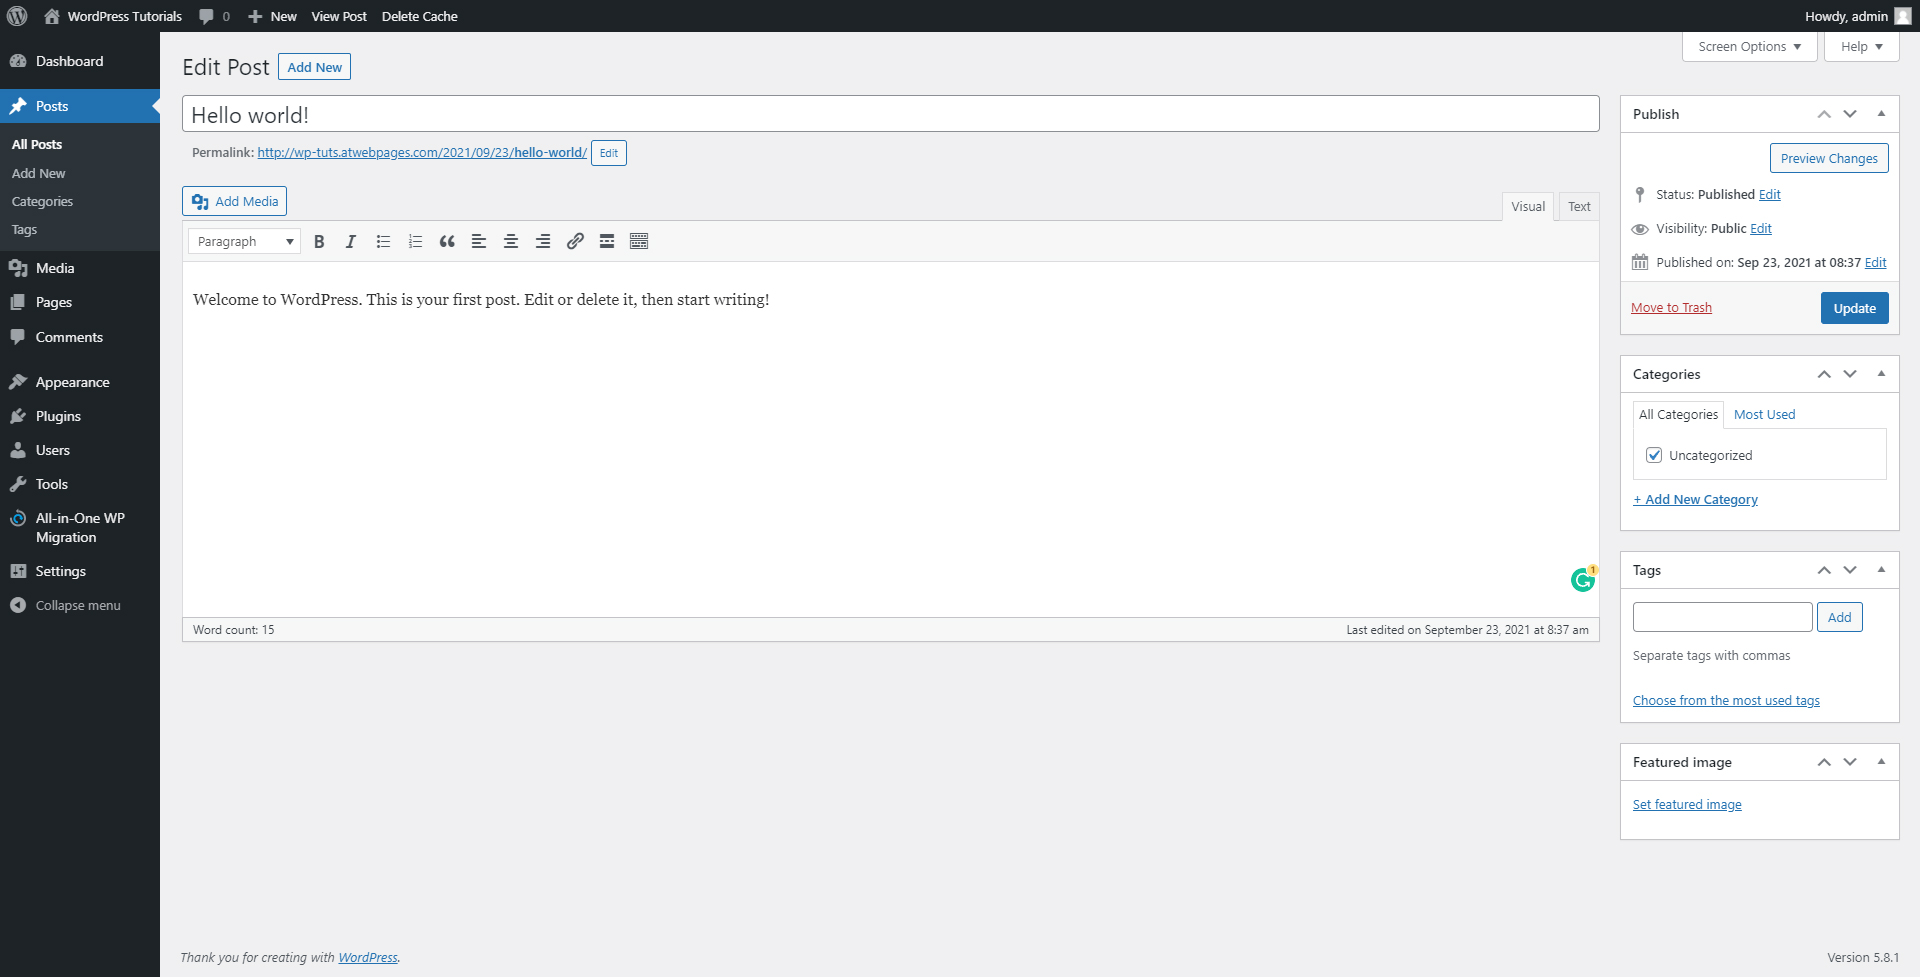
This is indeed the freshly installed Yoast SEO interface. Without this plugin being installed and activated in your system, the page looks like this:
How to Deactivate a Plugin?
Deactivating plugins means that you disable their functionality without deleting them.
To access the Activation and Deactivation functionalities, enter your Installed Plugins page and again take a look at the small menu section below the name of each individual plugin:
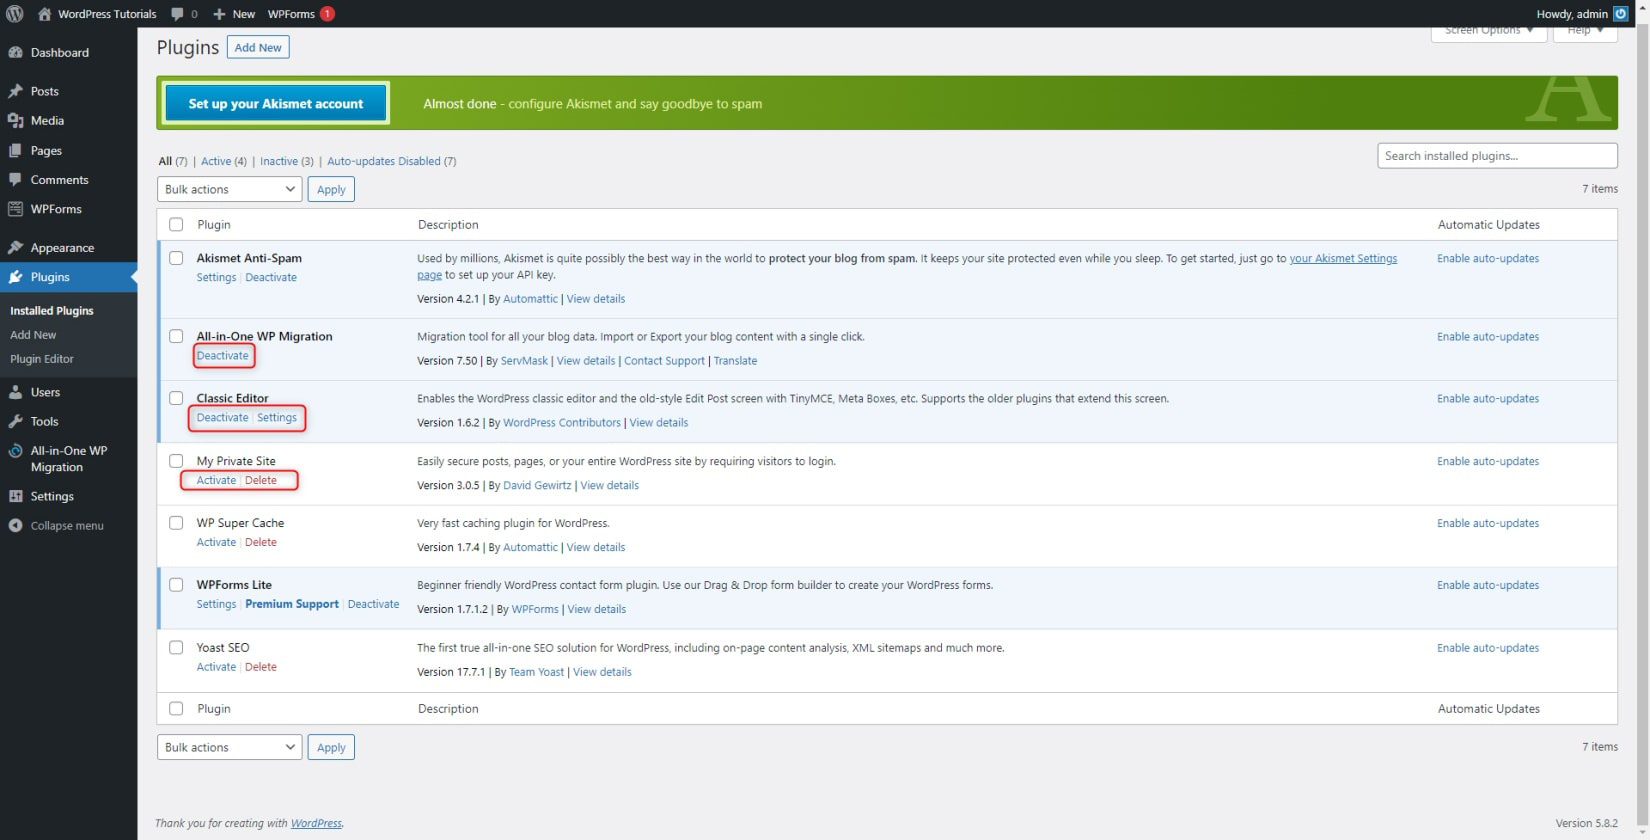
Along with the red Delete button, you will notice that there’s an Activate button for your installed and deactivated plugins and Deactivate button for your installed and activated ones. You can click these buttons to either Activate or Deactivate your installed plugins. WordPress will automatically do the rest for you.
As a rule of thumb, it is highly beneficial to experiment and activate and deactivate different sets of plugins, so you get more insight into how the tools affect your system and how big their impact is on your website and your site-building and maintenance experience.
Conclusion
Installing and activating plugins is quite an easy process. Whenever you feel that something is missing, or you need something more for your system, it is always a good idea to browse the vast library of plugins and try out the ones that you find suitable for your needs.
What makes WordPress so popular is the enhanced flexibility it offers, along with the unmatched personalization options. When it comes to adding and using the tools that you need, the WordPress plugins are the way to go!
Related: