Method not allowed is an error message that WordPress displays in a very specific situation – your web browser has requested access to one of your web pages, the server has received and recognized this request, but rejects it.
In short, Error 405 message points to a situation in which your browser is not able to access the requested page.
Although close to Error 404 Page Not Found, 405 Error message suggests a different situation – Page Not Found response code informs that the requested URL doesn’t point to any information and therefore nothing can be found on this address, whereas 405 message means that there is a page which relates to the suggested URL, but a faulty HTTP method was used to make the request, which eventually results in an error message.
If you receive such an HTTP response message, it is advisable to fix it as soon as possible, because such errors across your website can irritate your visitors and lower your traffic, search result rankings, and conversions.
This is why in the following paragraphs you will read how to quickly fix the 405 Method Not Allowed error message.
How to Fix Error 405 Method Not Allowed in WordPress
Before delving into the various methods, it is advisable to first make a backup of your WordPress site. By doing so, you save all your files, data, and settings as they were at a specific moment in time and use this copy when a serious irreversible issue appears on your site.
Method 1: Check Whether You’ve Entered the URL Correctly.
Although simple and straightforward, sometimes the reason for the 405 messages can be a mistyped URL. Double-check the URL you are about to enter into your Internet browser and see whether there are some mistakes. If you are following a link, then have a look for mistakes – not all links are made perfect.
Method 2: Reverse an Older Copy of WordPress
Although WordPress core updates can be very useful, sometimes they can lead to technical issues. If you have noticed that the error messages have started to appear once WordPress had been updated, then the problem most likely lies with the new strings of code that have been applied.
To fix the issue, you have two options:
- Use a backup copy of the website you made before updating WordPress
- Use a downgrade plugin for the job.
We have already mentioned the effectiveness of backups, however, we haven’t talked about the positive effects of downgrading – although the approach sounds counter-intuitive, lowering your version of WordPress can be the right decision to do.
The fastest and easiest way to downgrade the WordPress version without errors is by using a WordPress Plugin.
One such is WP Downgrade | Specific Core Version. The plugin offers an intuitive interface and gets the job done in minutes – to use it, simply install and activate the plugin.
If this plugin is not fitting your personal needs and requirements, then search for a different one – WordPress comes with a vast library of available downgrading tools.
Once you have downgraded WordPress core, open your website and see whether the error message is still present – if not, then the problem was rooted in the version of WordPress and you have just fixed it. If yes, then the problem doesn’t lie within the version of WordPress, but elsewhere.
If this is the case, proceed with the next step.
Method 3: Delete Newly Installed Plugins
Sometimes, a new plugin can make a lot of trouble across your pages. Should this be your case, it is best to delete it and replace it with a more useful one.
To see whether any plugin is forcing WordPress to display the 405 Error Message, go to your Plugins directory, and deactivate all plugins.
You can do so by entering your WordPress admin panel and then to Plugins->All Plugins:
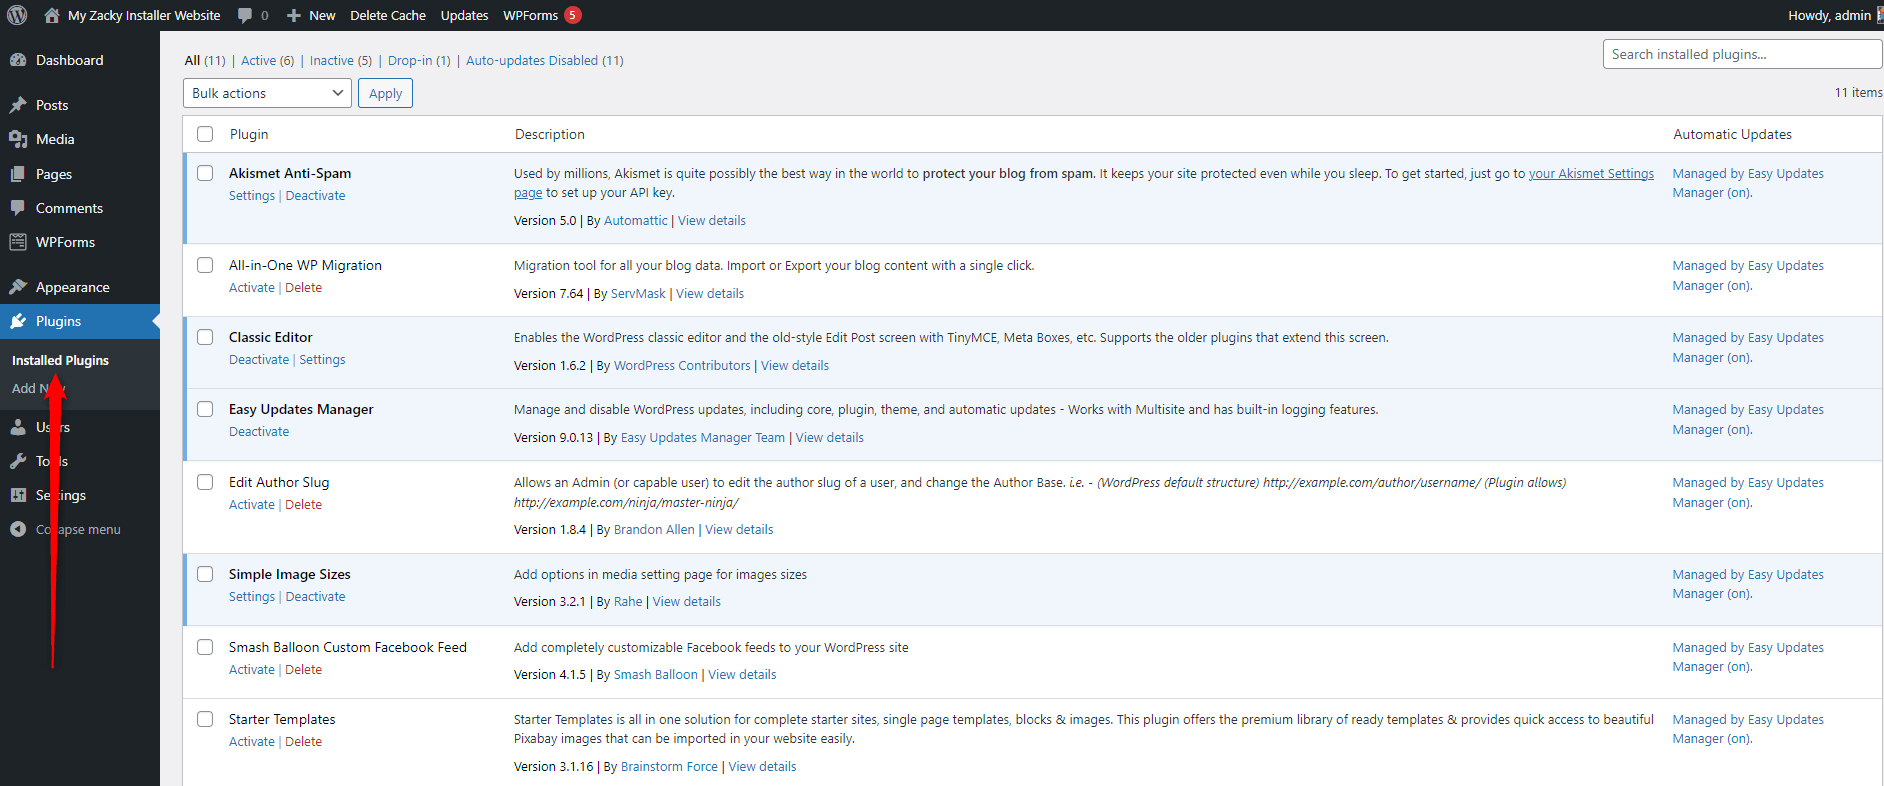
From this page deactivate your active plugins one by one and see whether your website can function properly without them. If the deactivation of a single plugin doesn’t fix the issue, then proceed with the next active one – deactivate it and see whether you can open your website.
Repeat the process until you find a plugin whose activation results in WordPress displaying a 405 Method Not Allowed error. When you spot it, simply delete it and replace it with another one. If you wish, however, you can troubleshoot developers and ask them for support.
Method 4: Delete Newly Installed Themes
Like plugins, the WordPress themes can cause your website to display a Method Not Allowed Error message. To see whether this is indeed the case, deactivate your currently used theme and change it with a default one, for example, with Twenty Twenty-One.
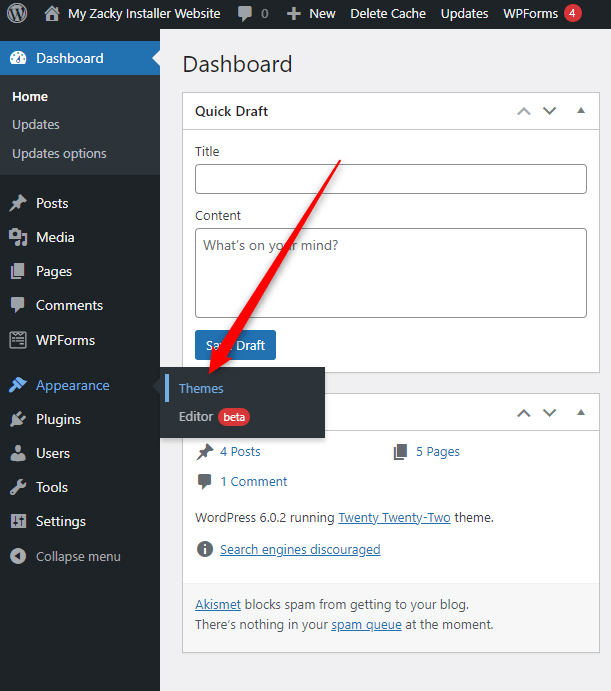
To do so, via your WordPress dashboard, go to Appearance->Themes:
This will open the page with all your installed themes. From this list, locate any of the default themes and activate them:
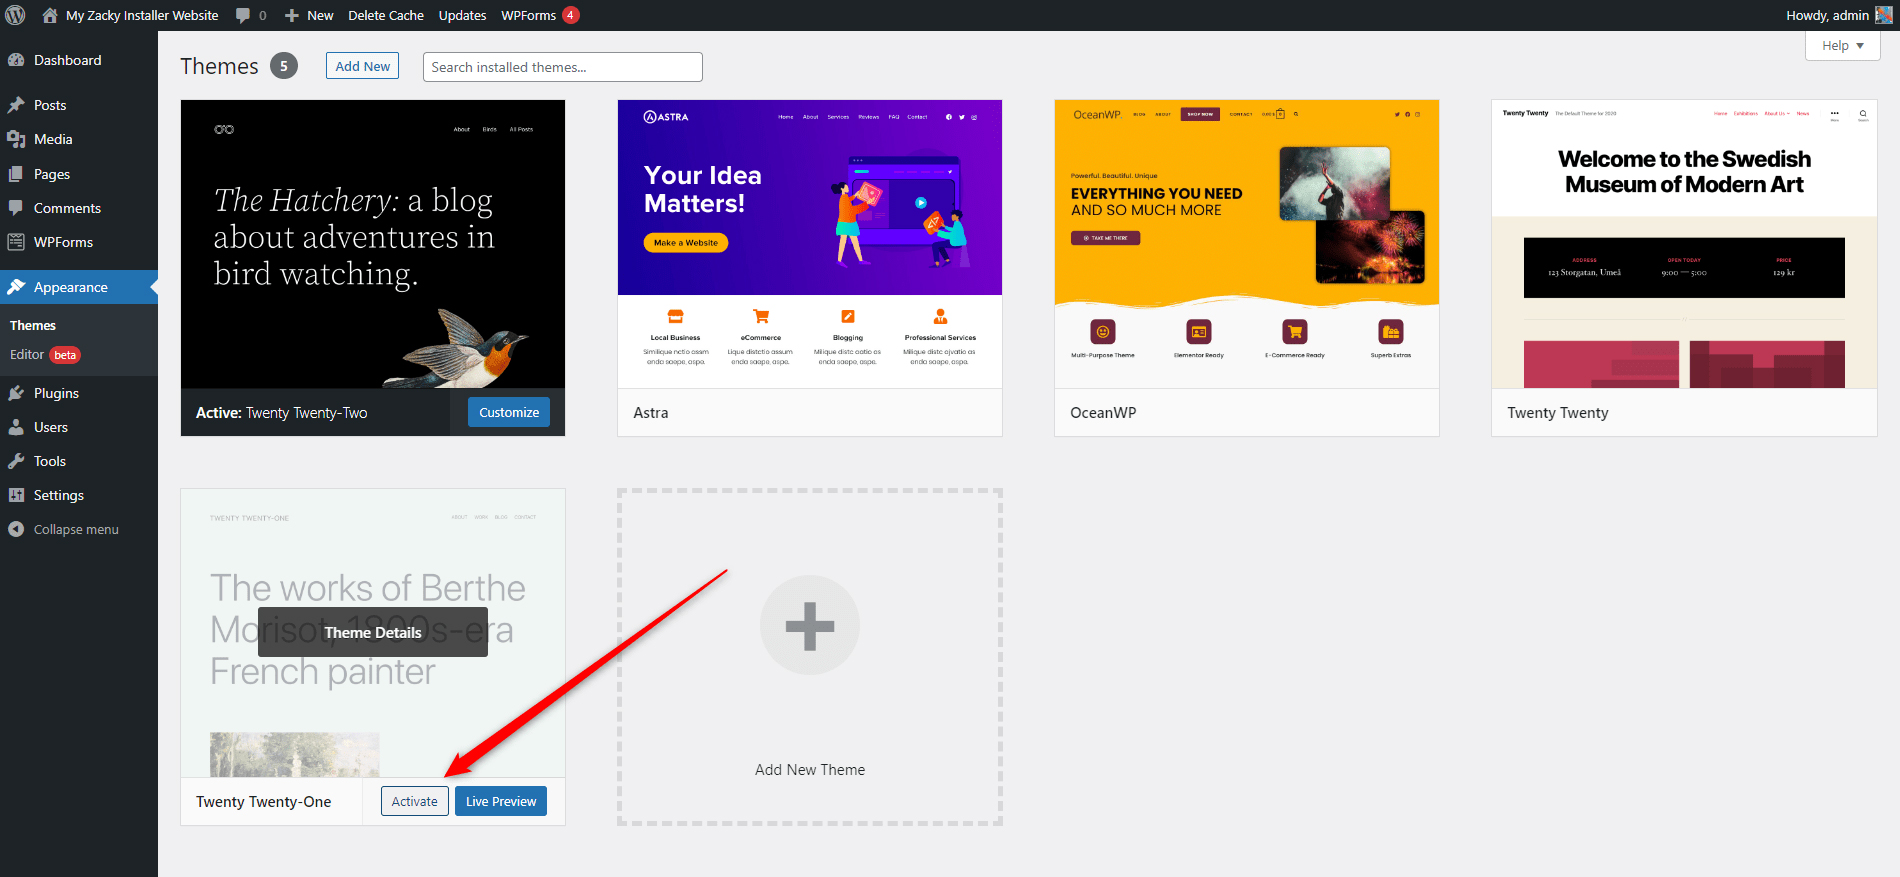
Then, open your website. If you no longer see the 405 Method Not Allowed error message, then the problem was rooted in the previously used theme.
You can delete it or report the issue to developers and see what they can come up with in terms of a solution.
If this method didn’t fix the problem, then proceed with the next step.
Method 5: Contact Your Hosting Provider
If nothing else helps, then it is time to contact your hosting provider. Usually, such businesses offer tech support services and you should be able to talk with them at all times about your website and hosting issues.
Such is the case with ZETTAHOST. If you are looking for a reliable hosting service with advanced technical infrastructure, flexible plans, and 24/7 available tech support, then have a look at our hosting plans and become a client today. Contact us for more info about our plans, services, and how we can help your website reach new audiences.
Conclusion
Error 405 Method Not Allowed is a specific kind of client-based error and requires some specific fixing approaches. Thankfully, there are several methods you can instantly apply to resolve the problem and get your website up and running.
Related:
- How to Fix WordPress HTTP Error 500
- How to Fix Error 503 Service Unavailable in WordPress
- There Has Been a Critical Error on This Website
- How to Fix Too Many Redirects Error in WordPress
- How To Fix 400 Bad Request Error in WordPress
- How to Fix Error 401 Unauthorized in WordPress (7 Methods)
- How to Fix HTTP Error 429 Too Many Requests in WordPress