The 407 Proxy Authentication Required is a type of error that WordPress displays when the server is unable to complete a request.
This is a specific error, which indicates that there is a lack of authentication when a proxy server is used between the communication of a client and a server.
As a type of HTTPS Response Code, all messages starting with 4xx indicate that there’s an issue with the client side of the process. Such is also the case with 400 Bad Request Error, 403 Forbidden, 405 Method Not Allowed, 406 Not Acceptable, and 429 Too Many Requests messages.
This error code is similar to the 401 Unauthorized, but shouldn’t be mistaken for it. In the case of 401, the client can’t be authenticated by the server.
When it comes to the Proxy Authentication Required message, it indicates that the client should authenticate with the proxy server, which must send additional data as part of the response.
Although it sounds rather challenging, there are several fixes to the 407 error code that you can use on your website.
How to Fix Error 407 Proxy Authentication Required in WordPress
In the following paragraphs, you will read about several methods that can help you deal with the annoying error message.
However, before you jump into dealing with Proxy Authentication Required problem, it is advisable to backup your website, so you save all your valuable data and files in case of unexpected issues.
Method 1: Check the URL
Although simple, this method can fix the issue. Sometimes, when entering an URL address in Internet browsers, we can accidentally make a typo, which can result in receiving the HTTP 407 error message.
So, the first and easiest thing you can do is to double-check the URL and refresh the page.
If this method doesn’t fix the issue, then proceed with the next one.
Method 2: Deactivate your WordPress Plugins
If you notice that WordPress displays the 407 error message after you’ve installed a plugin, then the issue might be rooted right there within the plugin.
To see whether this is the case, then you should deactivate all your plugins and activate them one by one, so you see whether any of them is making any issues.
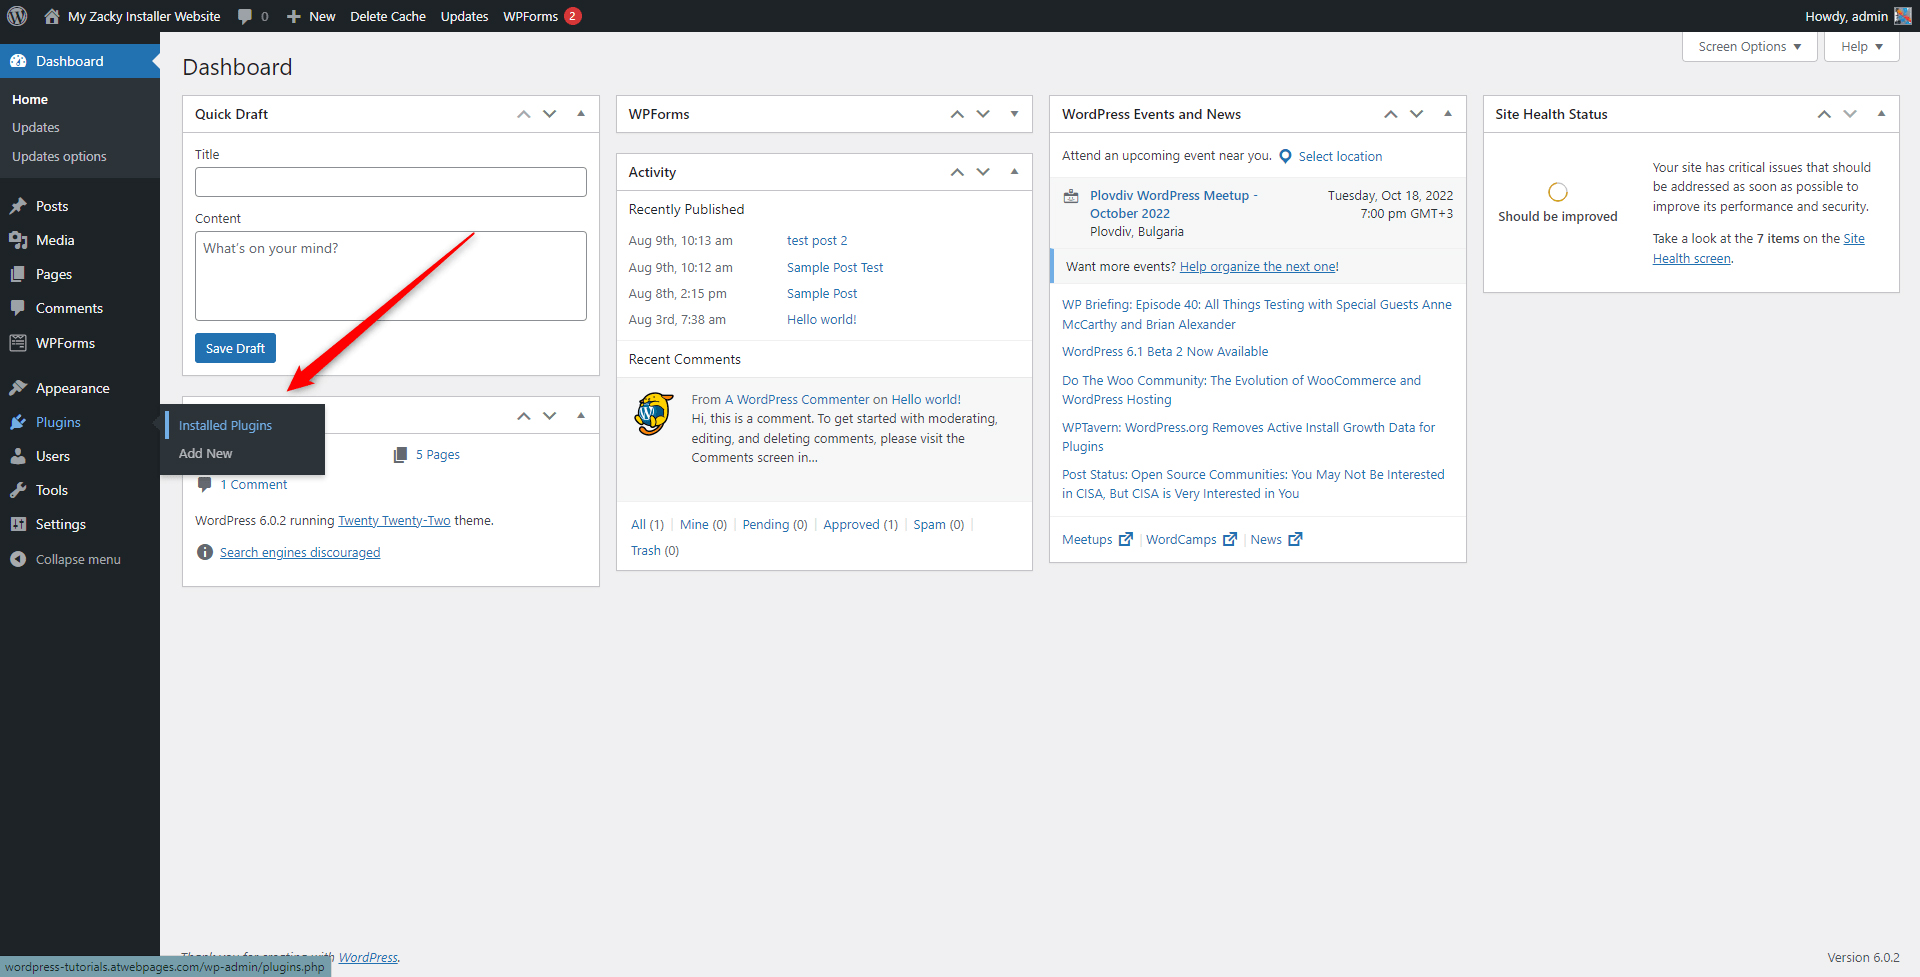
To do so, enter your WordPress dashboard and head to Plugins->Installed Plugins:
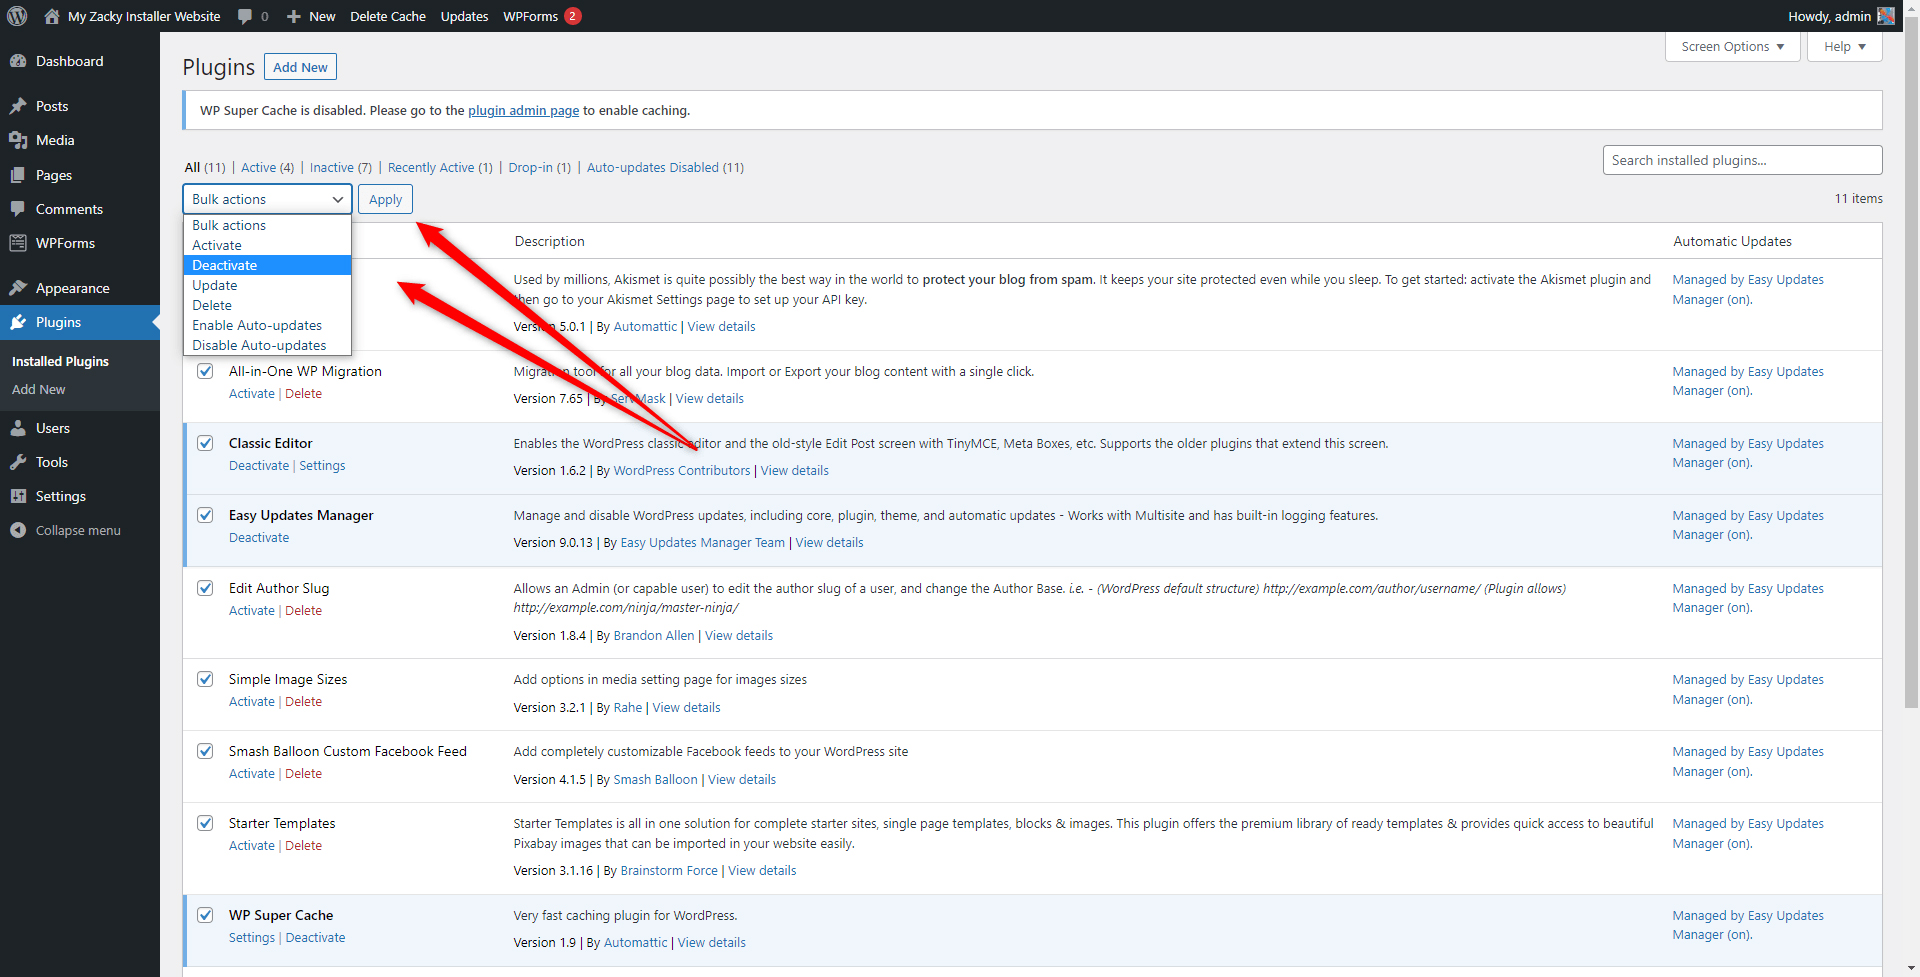
This will lead you to the page containing all your installed plugins. While there, deactivate all.
The fastest way to do so is by bulk selecting all and bulk deactivating them by the special drop-down menu in the corner left of the screen:
Once the plugins are deactivated, try to open your website. If WordPress no longer displays the Proxy Authentication Required message, then the problem is rooted in some of the plugins.
To find out which exactly is the cause of the issue, activate the first in the list and open your website. If everything works just fine, then go back to the list, deactivate the first one and activate the second one and again try to open the website.
Repeat this process until you stumble upon the plugin that prompts the HTTPS 407 error and deactivate it. You can delete it right away or contact developers for further assistance in fixing the problem.
If there’s no plugin that prompts the error message, then the problem lies elsewhere.
If this is the case, then proceed with the next method.
Method 3: Switch to a Default WordPress Theme
Sometimes your preferred theme might be causing the issue. There can be various reasons why – updates that are incompatible with your version of WordPress, faulty theme updates, or various changes to the code of the theme.
Regardless of the reason, you should try to deactivate your theme and switch to the default WordPress themes.
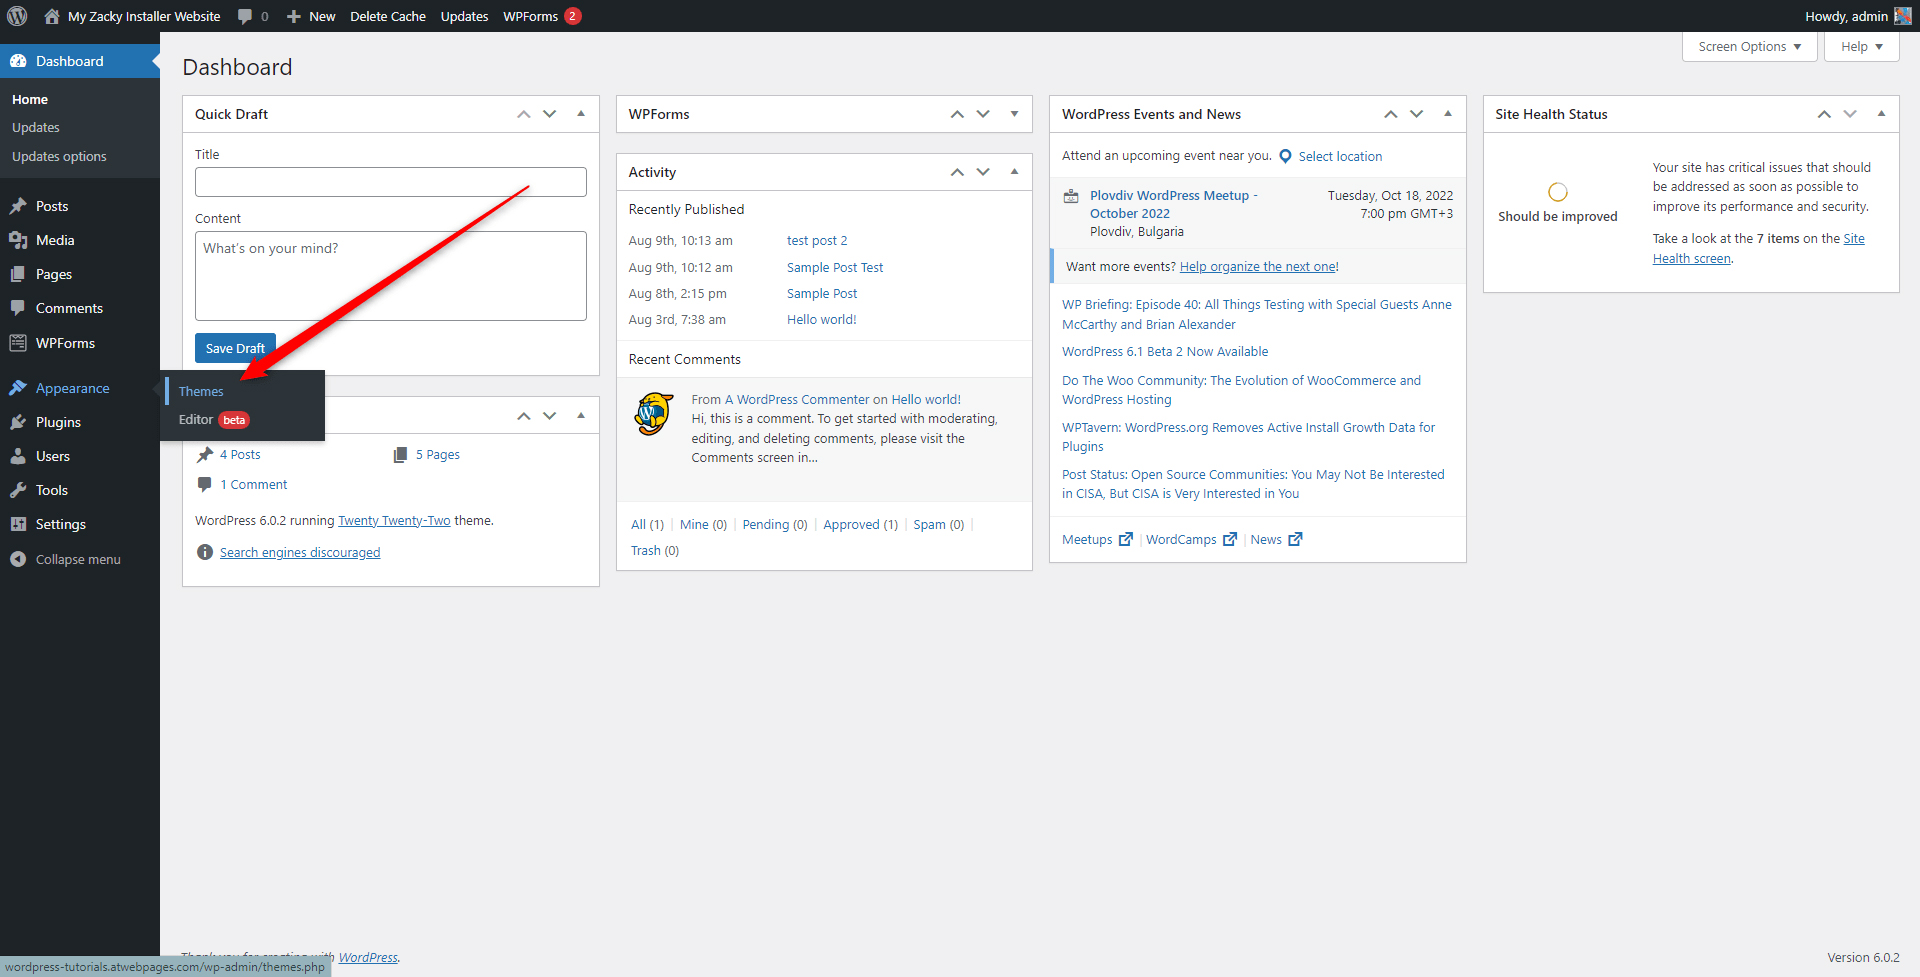
To do so, via your admin panel, go to Appearance->Themes:
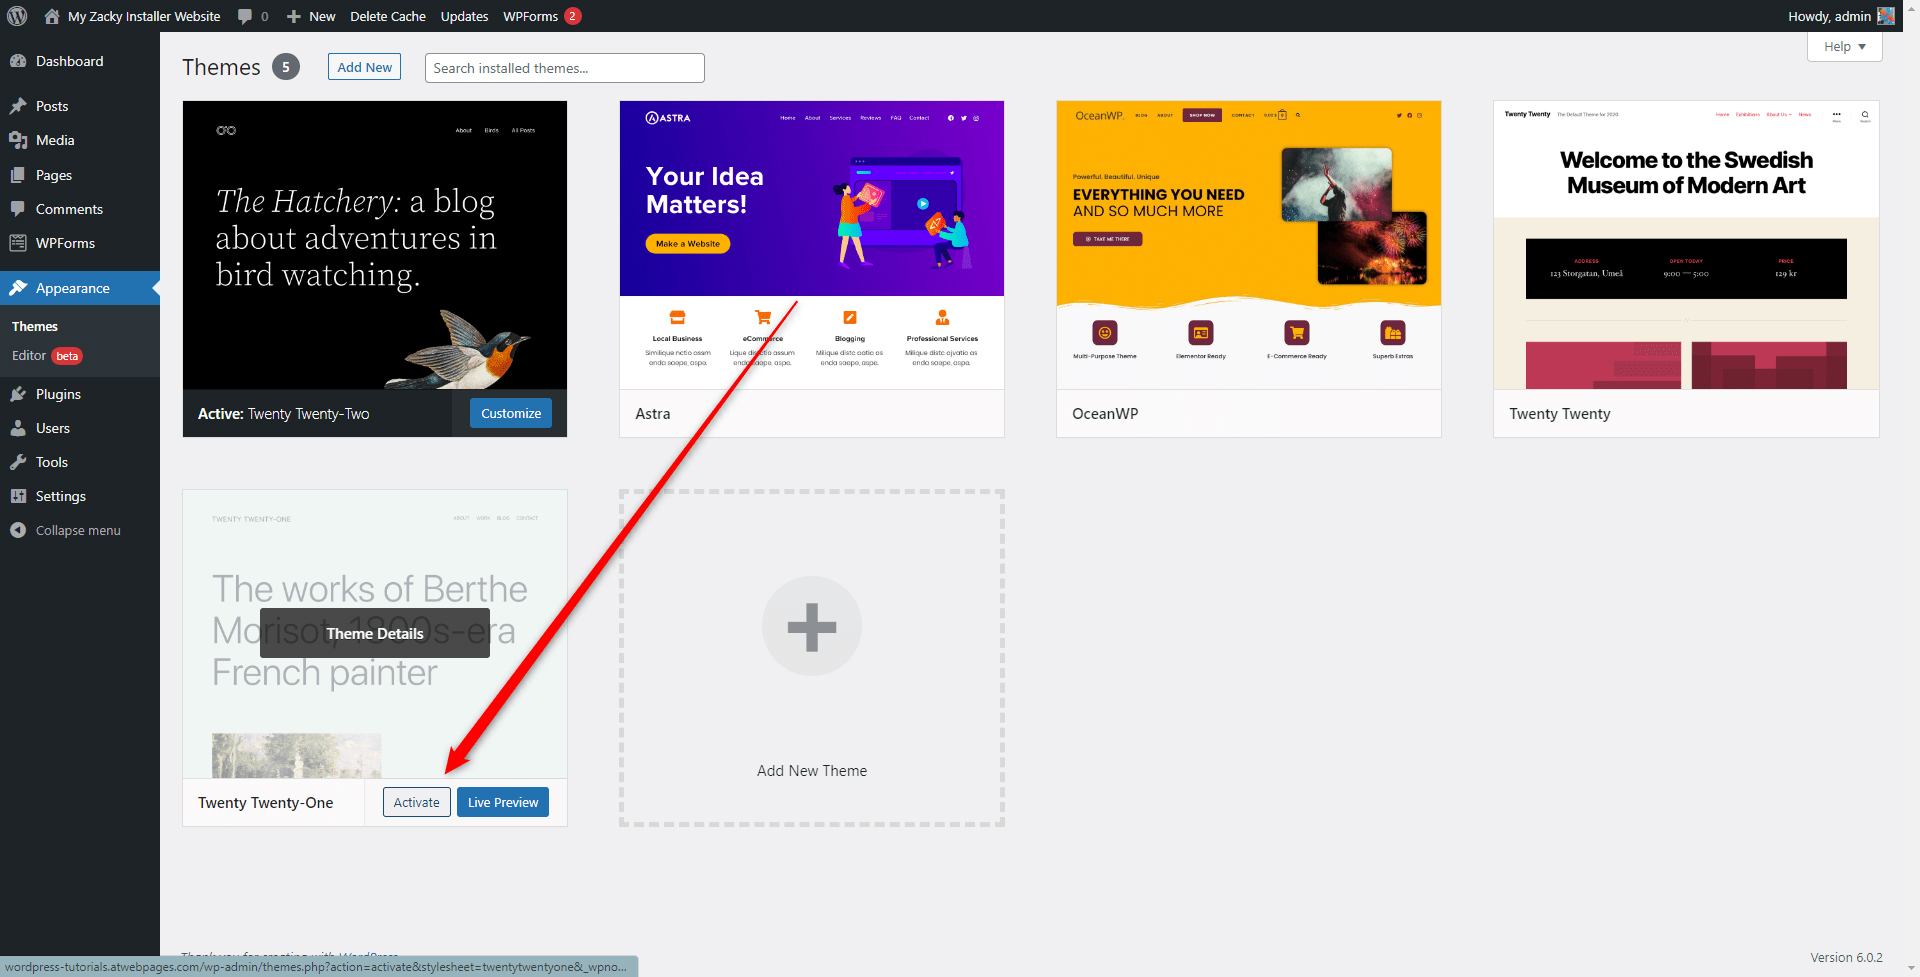
Then, select any of the default themes, for example, Twenty Twenty-One:
Now, open your website and see whether you see the error message.
If not, then the problem lies within the theme you deactivated. You can delete it right away, or contact developers for further assistance.
Method 4: Roll back Recent Changes
If you have done some updates and changes in the code of the WordPress core, then these might well be the cause of the error message.
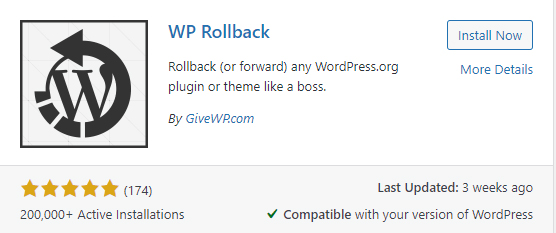
To fix the issue, you can use a plugin that rolls back any change you’ve made on your website. For example, a handy tool is WP Rollback. Use it to revert your system to a previous errors-free state:
Also, you can use a backup copy of your website that was made before WordPress displayed error messages.
Method 5: Contact Your Hosting Provider
Should you still see the error message, then it is time to reach your hosting provider.
Usually, you will contact the customer support team that can handle your issue and provide you with a handy solution.
This is the case with ZETTAHOST – with our hosting services you can benefit from quick setup, 99.9% uptime, and a skilled 24/7 tech support team.
If you are not sure about premium subscriptions, then try out our free hosting plan with a free domain and high-speed performance servers.
Contact us for more information!
Conclusion
Error 407 Proxy Authentication Required is a specific type of HTTPS response code and indicates that there is an issue with the proxy server your browser contacts before getting any information from the server it is stored on.
However, there are some quick fixes you can apply, so you get your website up and running.
Related: