It is highly likely to stumble upon various error messages when creating your WordPress site. One such is HTTP Error 409 Conflict. Although not so popular such as Page not Found or 429 Too Many Requests, it can still pop up when at least expected. This is why it is advisable to know what prompts the error message and what you can do to fix it as quickly as possible.
In the following paragraphs, you will read how to deal with Error 409 in WordPress and what you can do to prevent it from appearing again.
How to Fix HTTP Error 409 Conflict in WordPress
As with all 4xx status codes, the 409 Conflict message indicates that there’s a problem on the client side of the communication between a computer and a server.
Also, as the name suggests, there’s a kind of conflict somewhere in the exchange of data. For example, the requested information is not in the expected state, such as the case in which you wish to upload a file whose version is older than the one on the server.
Whether this is the case, or anything else prompts the error message, try out some of the suggested tips to fix it. However, before you do, it is advisable to make a backup of your website, so you can revert to a fresh copy in case some unexpected issues occur.
Check the Requested URL
Before you try some more complex solutions, start with a simple one – see whether you made a typo when writing down the URL, or check whether the link you click on contains some obvious mistakes – fix these and see whether it works properly.
Also, keep in mind that if you have changed some files on the servers, the link that leads toward them can change as well. Should this be the case, make sure you use the proper URL for the changed file.
If this doesn’t fix the problem, then move on with the next solution.
Clear Internet Browser Cache
Sometimes, too many cached files can clutter your preferred browser and make it display a 409 Conflict message. Also, although the issue is fixed, the error can still be present if the browser uses cached files.
To see whether this is indeed the case, clear your browser’s cached data and refresh the page. If you are not sure how to do that, then see how to clear the cache in WordPress.
If you no longer see the “Conflict” error after cleanup, then you’ve managed to fix it.
However, if the error message is still present, then try out the next fix.
Roll Back New Updates
Sometimes 409 Conflict messages can appear after core WordPress updates or after installing new versions of your plugins and themes. Regardless of the case, downgrading can fix the issue.
The fastest way so far is to use a WordPress plugin. One such is WP Downgrade. However, if you are new to WordPress plugins, have a look at how to install and use one, and how to update a plugin.
If downgrading doesn’t fix the 409 Conflict error, then try to deactivate plugins and themes. See how in the following paragraphs.
Deactivate your WordPress Plugins
Sometimes, badly developed plugins and themes can cause a Conflict message. If you have noticed that the HTTP 409 error appears right after a recent plugin and theme installation, then it is highly likely that they are causing the issue. To find out if this really is the root of the problem, then try to deactivate these and see whether this fixes the problem.
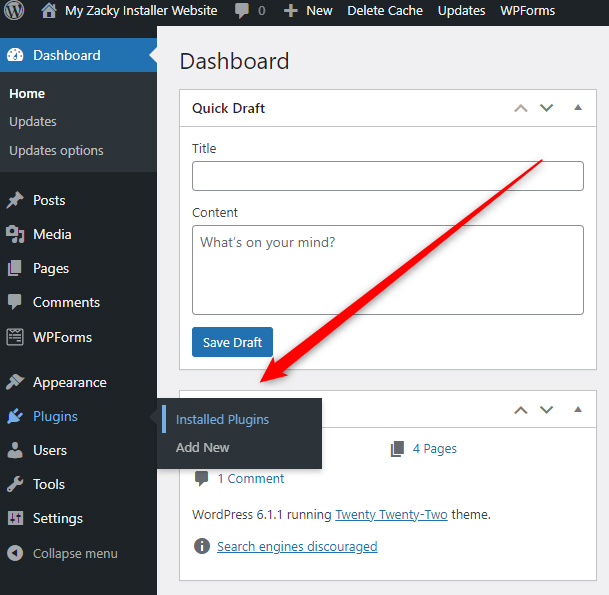
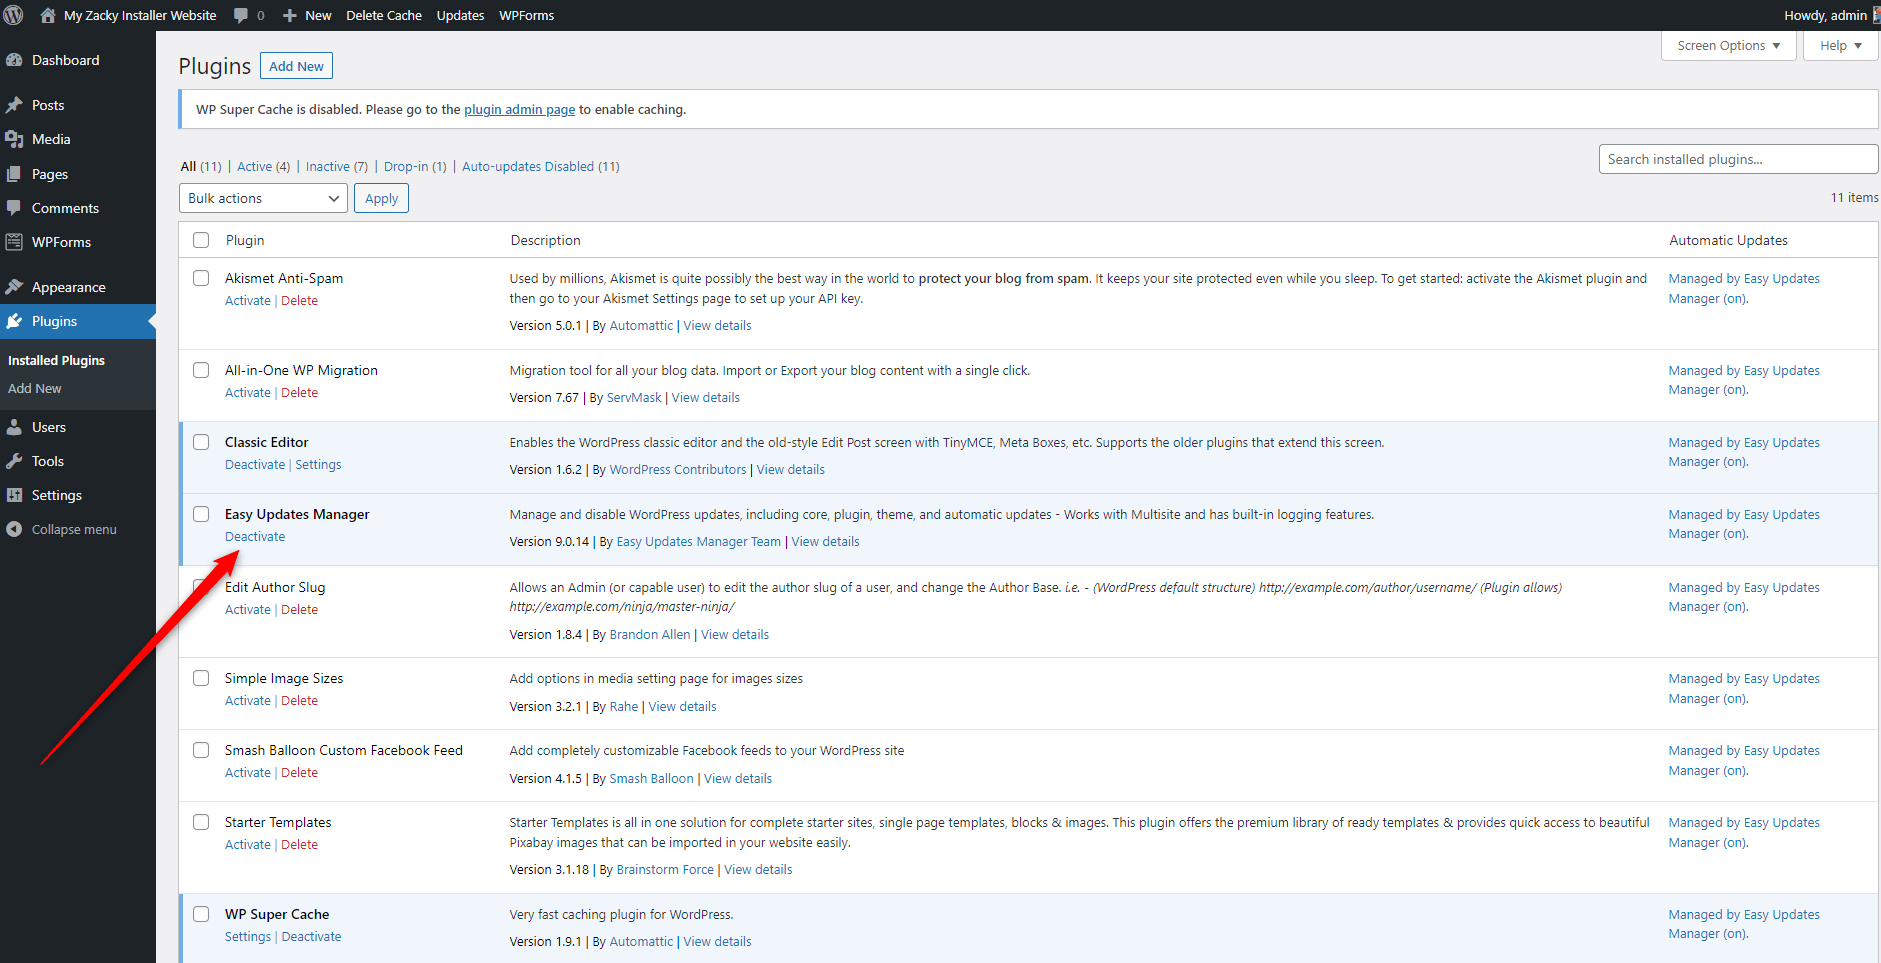
To deactivate a plugin, simply enter your WordPress dashboard and go to Plugins->Installed plugins:
Once there, notice a small Deactivate button under each activated plugin. Simply click it and deactivate all active plugins:
Then, try to open your site and look whether the error code appears. If it doesn’t, then some of your plugins are prompting the issue.
To find out which one exactly, activate a plugin, open your site, and see whether the HTTP 409 error code still appears. If you don’t see it, deactivate the plugin, and activate the next one and see for the error one more time. Repeat the process until you activate a plugin that prompts the 409 Conflict message. Once you find it, you can delete it or contact developers for further assistance.
If none of the plugins prompts the error message, then the problem lies elsewhere.
Deactivate the Applied WordPress Theme
There’s a chance that your preferred WordPress theme prompts the 409 Conflict error. To see if this is your case, deactivate your current theme and replace it with one of the default ones.
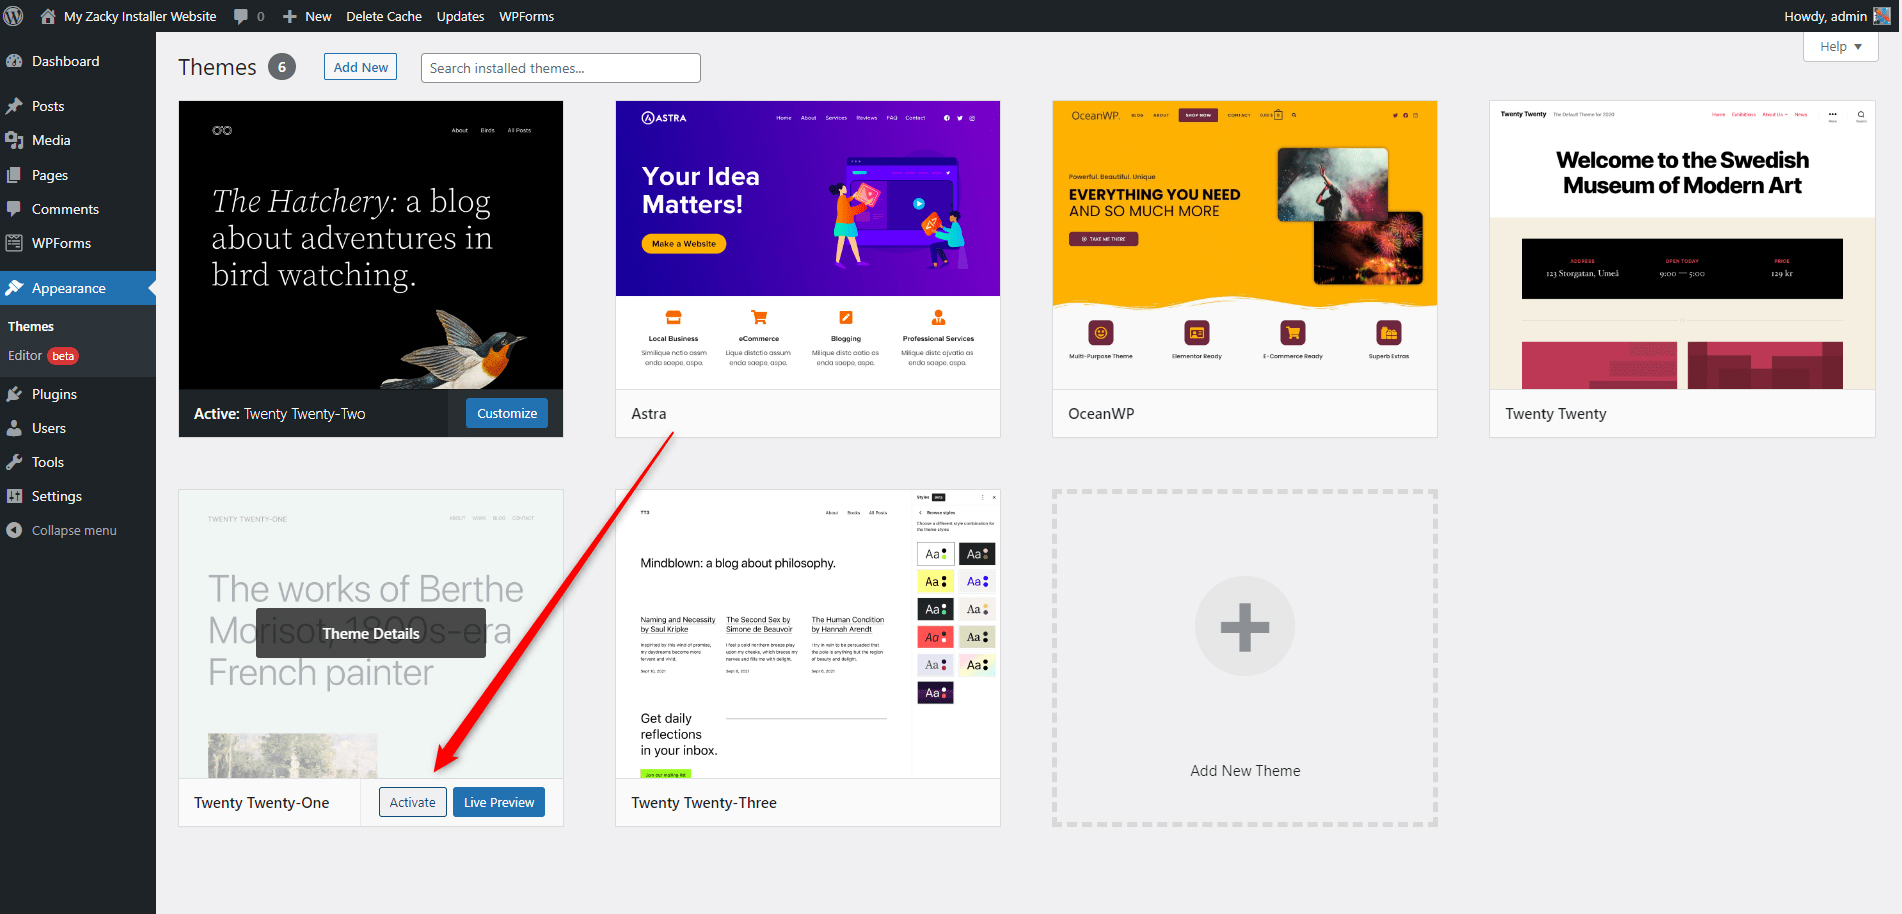
To do so, via the WordPress admin panel go to Appearance->Themes:

Then, simply select any of the default themes. For example, Twenty Twenty-One. Regardless of which one you wish to apply, hover your mouse cursor over the image and then click on Activate:
Once you apply the theme, open your website, and see whether the error message is still present – if it isn’t, then the theme you deactivated is prompting it. You can either delete it or contact developers for support.
Conclusion
HTTP Error 409 Conflict is a specific type of client-side error that although annoying, can be quickly fixed with only a few clicks here in there. In summary, when you see such an error message on your website, you can try to:
- Check the URL
- Clear your browser cache
- Roll back recent updates
- Deactivate your WordPress plugins
- Deactivate your WordPress theme
However, if none of the suggested methods fixes the problem, then you should contact your hosting provider for further assistance. In such cases, it is important to rely on a provider that can understand your needs and is qualified enough to answer all your questions and help you with any technical issue.
One such provider is ZETTAHOST – by applying to our services, you benefit from advanced technical infrastructure, a qualified tech support team, and a wide choice of web hosting plans.
Contact us and subscribe today.
Related:
- How to Fix WordPress HTTP Error 500
- How to Fix Error 503 Service Unavailable in WordPress
- There Has Been a Critical Error on This Website
- How to Fix Too Many Redirects Error in WordPress
- How To Fix 400 Bad Request Error in WordPress
- How to Fix Error 401 Unauthorized in WordPress (7 Methods)
- How to Fix Error 403 Forbidden in WordPress
- How to Fix Error 406 Not Acceptable in WordPress
- How to Fix Error 407 Proxy Authentication Required in WordPress
- How to Fix Error 408 Request Timeout in WordPress