HTTP Error 410 is a response status code that your WordPress website displays in the event of a requested file that is no longer available on the requested server now and in the future. To be labeled as a 410 error, the response code also must not include a forwarding URL address and the requested information should be considered as non-existent permanently.
In this article, you will read what might cause this error in WordPress and some tips to get it fixed.
How to fix HTTP Error 410 Gone in WordPress
As with all other 4xx response code messages, 410 Gone is a client-side error, unlike the 5xx error messages such as Error 503 Service Unavailable, which indicates there is a problem on the server side.
Furthermore, HTTP Error 410 might look similar to Error 404 Not Found, because of some first-sight similarities, but both response codes are quite different from each other. Whereas the Not Found message indicates that the resource is not found on this particular URL address and maybe could be found in the future or by using another URL, HTTP Error 410 informs that this information is nowhere to be found now or at any future moment.
With these differences being said, it is now time to delve into the various approaches that can fix the 410 Gone error and ensure a rewarding browsing experience for your website visitors.
However, before we do so, it is important to back up your website. This will help you retain all your files, data, and content and use them right away in the event of some unexpected technical issues with your WordPress site.
Check the Requested Site URL
Sometimes, the 410 Gone error might be caused by something simple – for example, mistyping the URL address you want to visit, or clicking on a mistyped hyperlink. In either case, you could stumble upon a 404 Page Not Found message, but there’s also a chance that you see an HTTP 410 Gone error. Should this be the case, then you tried to access a resource that was once available but is no more.
In either case, check whether you typed down the URL correctly, or if the link you want to follow contains any typos and other mistakes – clean these up and try again.
If this doesn’t fix the issue, then proceed with the next suggestion.
Uninstall WordPress Cache
Sometimes, too many cached files might cause your WordPress core to misbehave and display error messages. You can see whether this is the case by deleting cached files in the system and then opening your website and see for positive changes.
The process of deleting the cache is fairly simple and you only need to follow just a few steps. The fastest way so far is to use a plugin that does the job for you. Several useful caching plugins are:
However, if you don’t know how to clean up your WordPress core, then have a look at how to clear cache in our article explaining the process step by step.
Also, if you wish to know more about cache itself, then read what is WordPress cache.
If you clean up your cached files and the HTTP Error message is still present on your website, then the problem should be searched somewhere else.
Uninstall Faulty WordPress Plugins
If you have noticed that the Error Code 410 Gone started to appear after you’ve installed new plugins, then the issue might be rooted in some of them – maybe there’s some development issue that prompts the error message.
To see whether this is the case, you should deactivate all your plugins and then activate them one by one to see whether any specific one is causing the HTTP error code to appear.
To do so, enter the WordPress admin panel and from there go to Plugins->Installed Plugins:
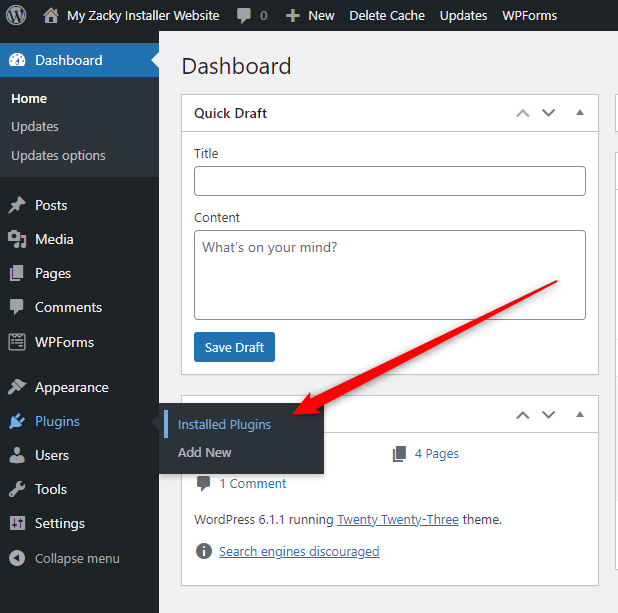
This will open the list of all your installed WordPress plugins. On this page, notice that some of them might be activated and others – deactivated. To see whether any of the plugins is causing the issue, click on the small Deactivate button located under the name of each activated plugin:
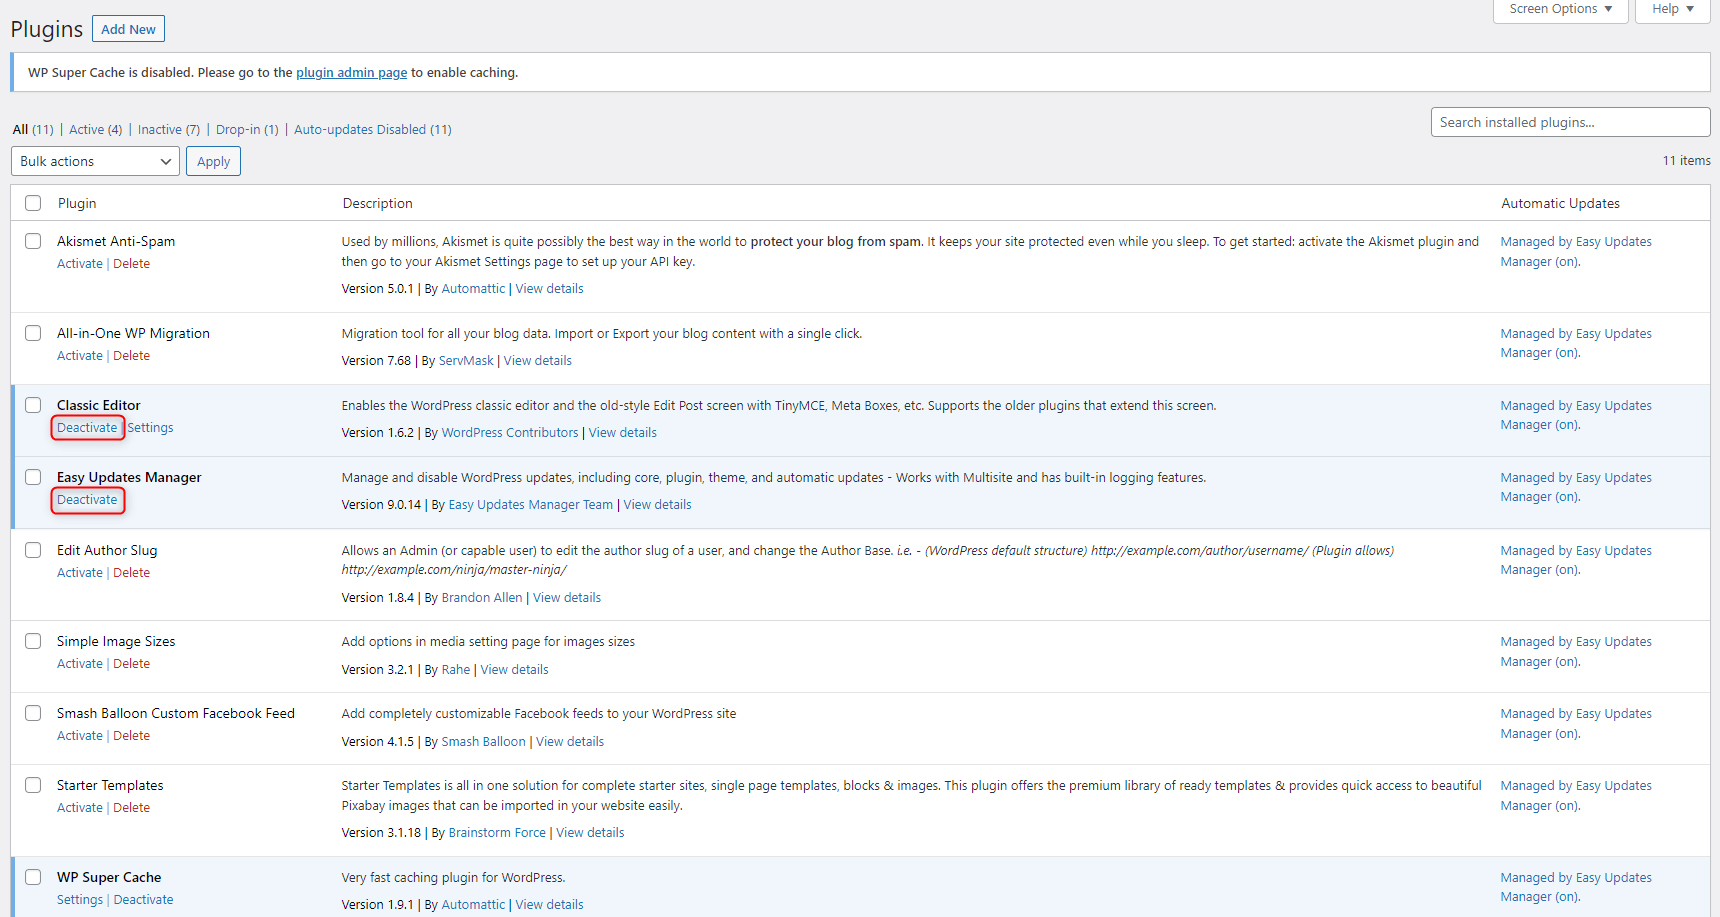
Click it and deactivate all your installed plugins. Once you do so, try to open your website. If you no longer see the HTTP Error 410 Gone message, then you’ve managed to find the cause – some of the deactivated plugins. To find out which one exactly, follow these steps:
- Go back to the plugins library and activate the first one on the list.
- Then, open your website and look for the error message – if you don’t see it, then this isn’t the plugin causing the problem.
- Go back to your website, deactivate this plugin, and activate the next in the list. Then check out again whether you see the error on your website.
- Repeat this process until you stumble over the plugin that prompts the HTTP 410 Error and deactivate it.
- You can delete it permanently or contact developers for assistance.
If the deactivation of your plugins doesn’t fix the issue, however, the problem lies elsewhere.
Continue reading.
Roll Back Recent Updates
Should Error 410 Gone appear on your site after you’ve done some updates across your WordPress site, then the problem might be rooted indeed in these changes.
To see if this is the reason for the problem, you should downgrade some of the WordPress components you’ve recently updated.
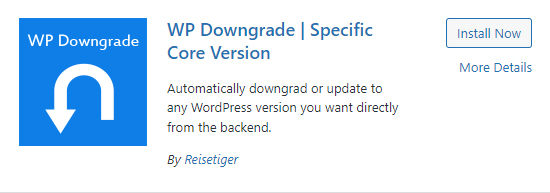
If this happens to be the WordPress core, then try a plugin such as WP Downgrade – it is easy to use and can get the job done in minutes.
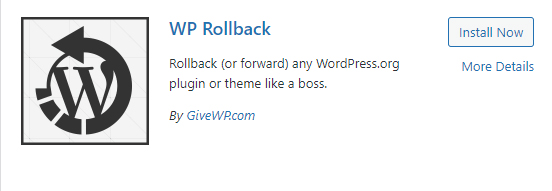
If you think the issue comes from plugins and themes, then try out WP Rollback – another handy plugin, suitable to roll back plugins and theme upgrades.
When it comes to themes, one handy way of avoiding various technical issues, HTTP error codes included, is by using WordPress child themes – incorporating such an approach in your site building and managing process can save you a lot of issues.
Once you downgrade core, plugins, or your theme, open your website and see whether the Error 410 Gone is still present – if not, you have just managed to fix the issue.
If the error message is still present, then proceed with the next suggestion.
Reinstall WordPress Core
If nothing else is working, then you should opt for a more drastic approach – reinstall WordPress core.
First, enter your WordPress dashboard and head to Updates:

This will open the page with various update options and information about the version of WordPress, plugins, and themes. If you are using the latest version of WordPress, you will notice that there’s a button prompting you to reinstall the platform:
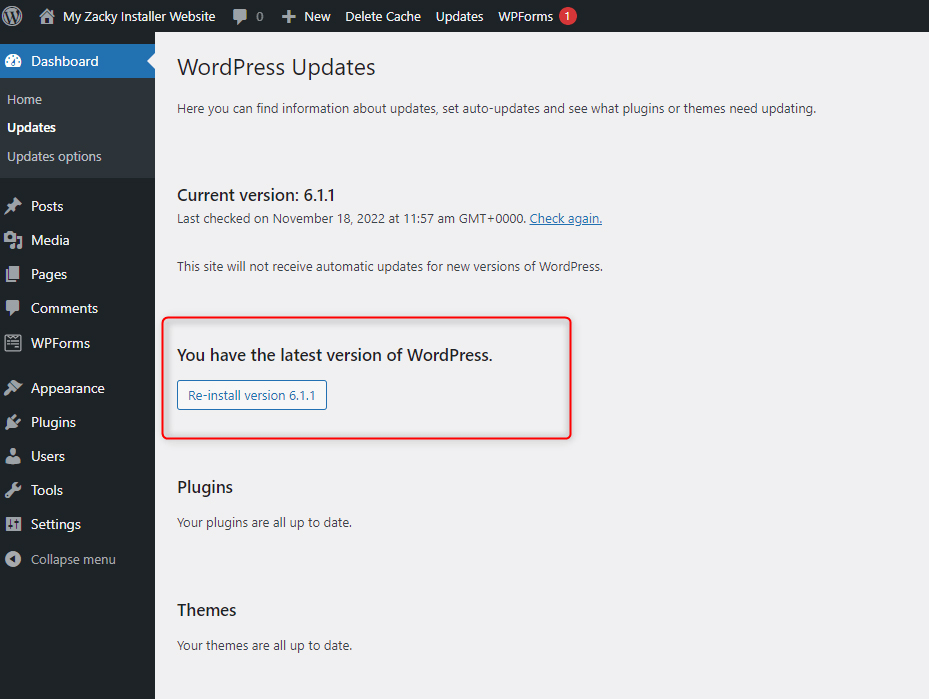
If you are using an older version of WordPress, however, you should reinstall WordPress via the ZETTAHOST hosting panel.
We have created a dedicated article explaining how to reinstall WordPress process step by step – check it out.
You have still not fixed HTTP Error 410 Gone
Should none of the suggested methods work, then it is time to contact your hosting provider.
Usually, each provider has a tech support team that can help you with each technical issue you stumble upon and answer all your queries regarding your WordPress website.
One such provider is ZETTAHOST which works with a highly skilled and experienced team of technicians that can tackle any technical challenge. Also, we offer a variety of hosting plans, including WordPress hosting and domain name registration.
Check them out and contact us for more information.
Conclusion
Usually, HTTP Error 410 Gone is a rare response code message, but there are still occasions when it can appear on your website.
Should this happen, you now know how to fix it and quickly get your entire WordPress site up and running.
In this article, you read how to fix error 410 Gone by:
- Checking the requested site URL
- Uninstalling WordPress Cache
- Uninstalling faulty WordPress Plugins
- Rolling back recent updates
- Reinstalling WordPress Core
Related:
- How To Fix 400 Bad Request Error in WordPress
- How to Fix Error 401 Unauthorized in WordPress (7 Methods)
- How to Fix Error 403 Forbidden in WordPress
- How to Fix Error 406 Not Acceptable in WordPress
- How to Fix Error 407 Proxy Authentication Required in WordPress
- How to Fix Error 408 Request Timeout in WordPress
- How to fix Error 409 Conflict in WordPress
- How to Fix WordPress HTTP Error 500
- How to Fix Error 503 Service Unavailable in WordPress
- There Has Been a Critical Error on This Website
- How to Fix Too Many Redirects Error in WordPress